
When you first get into quilting, it's easy to get lost in the beautiful fabrics and intricate patterns. But let me tell you a little secret from years of experience: the real magic behind every stunning quilt isn't just the fabric—it's the tools you use to cut it. Quilt rulers and templates are the unsung heroes of our craft. These clear acrylic guides, covered in precise grid lines and angles, are what turn a pile of fabric into a masterpiece by taking all the guesswork out of cutting, ensuring your project comes together perfectly.
Why Quilt Rulers and Templates Are a Must-Have
Think of your rulers and templates as the architect's blueprints for your quilt project. You wouldn't build a house on a shaky foundation, right? The same goes for quilting. Precise cutting is that non-negotiable first step. Without it, you’re setting yourself up for frustration—mismatched seams, wonky blocks, and a finished quilt that just doesn't lay flat. These tools are what separate a "homemade" project from a professional, heirloom-quality treasure.
Pairing the right ruler from Linda's with a sharp rotary cutter is the only way to guarantee every single strip, square, or triangle is cut to the exact same size. This consistency is the key to everything we strive for as quilters: sharp points, perfectly nested seams, and blocks that fit together like a dream. When your pieces are accurate from the start, the whole sewing process becomes a joy instead of a chore.
Building Your Quilt on a Foundation of Precision
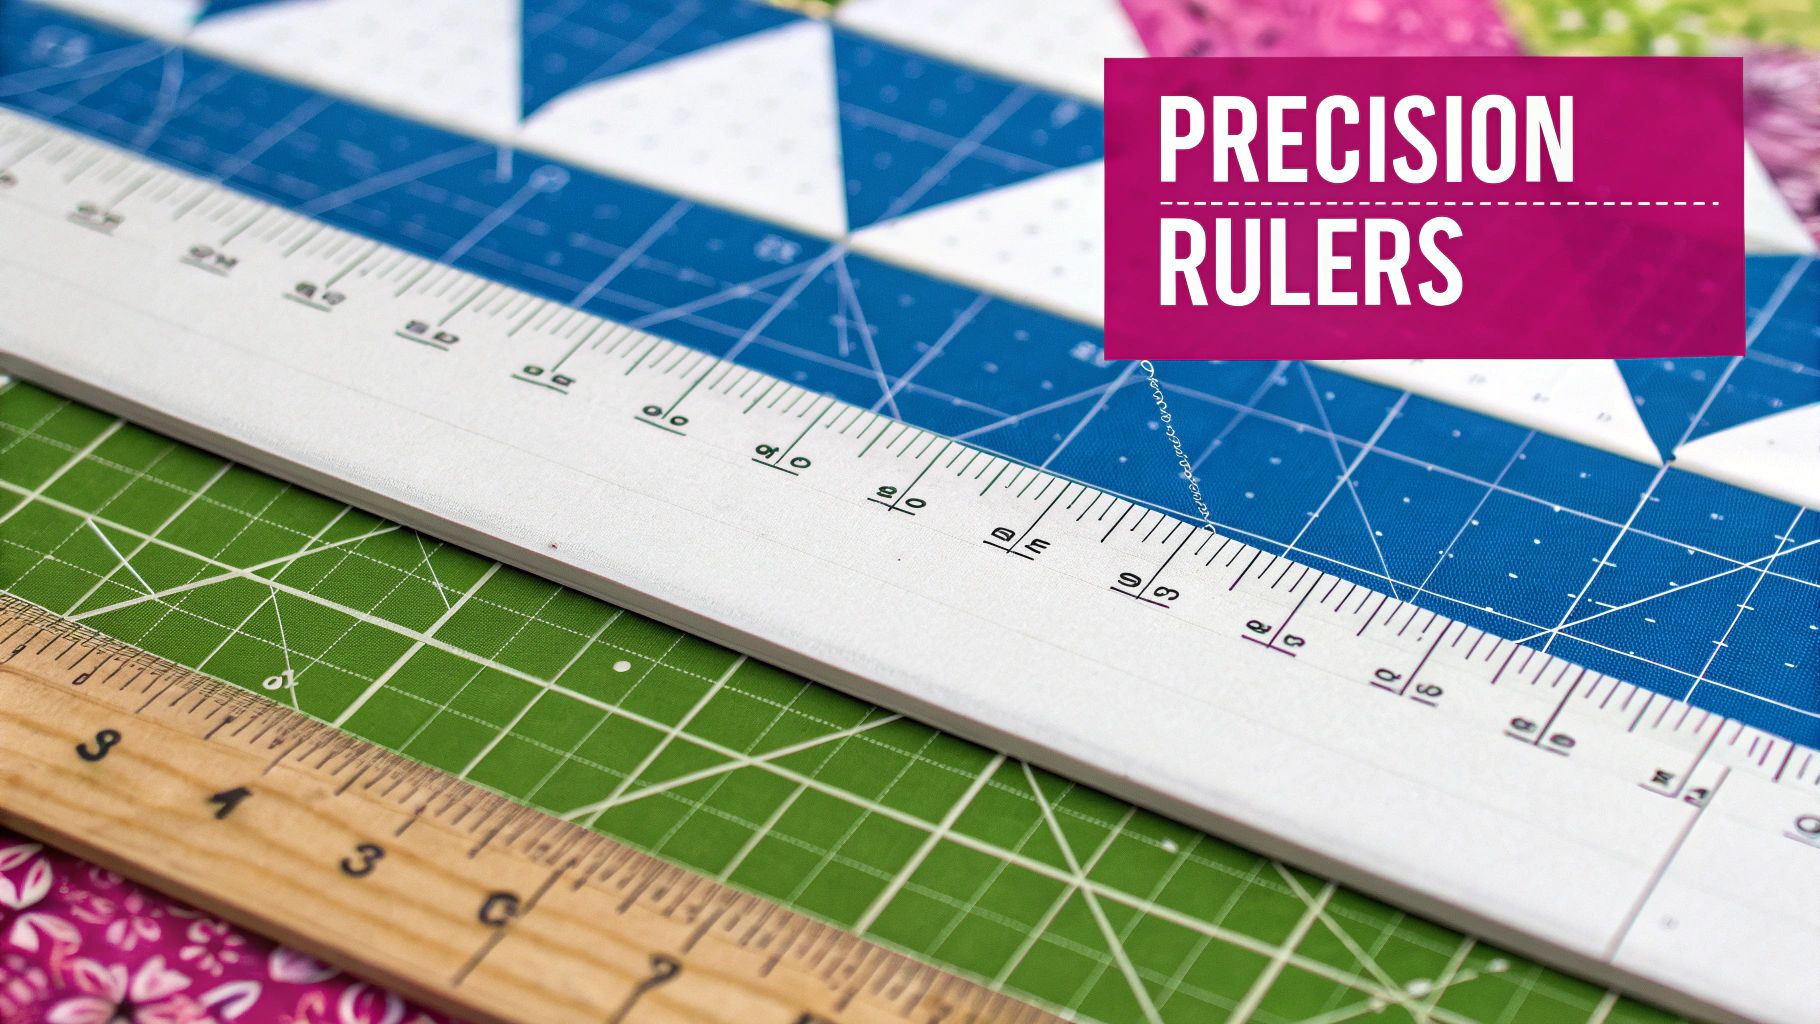
The biggest and most immediate advantage of using proper quilt rulers and templates is the incredible boost in accuracy. They’re designed with easy-to-read markings, often down to 1/8", 1/4", and 1/2" increments, plus all the common angle lines we need, like 30, 45, and 60 degrees. This built-in measuring system means you don't have to fiddle with marking pens or chalk, which saves a ton of time and eliminates those little "oops" moments.
This infographic really breaks down how these simple tools can completely elevate your quilting projects.

As you can see, it’s about so much more than just cutting a straight line. It's about creating a system of accuracy that flows through every single stitch of your project, from the first cut to the final binding.
From Frustration to Flawless Finishes
At the end of the day, investing in a good set of rulers is an investment in yourself and your creative sanity. There’s a special kind of confidence that comes from knowing each cut is perfect. It frees you up to focus on the parts of quilting we all love—playing with colors, arranging blocks, and watching a beautiful design come to life right before your eyes.
Without that initial accuracy, you could spend hours pulling your hair out, trying to figure out why your quilt top is not square—a super common problem that can totally derail a project.
The real magic of quilting happens when precision meets passion. Quality rulers and templates are the bridge between the two, enabling you to execute your creative vision with technical perfection.
Ready to build a toolkit that sets you up for success on your next project? Let's take a look at the essential rulers and templates from Linda's that you'll find yourself reaching for again and again.
Here's a quick rundown of some of the most common and useful types to help you get started.
Essential Quilt Ruler and Template Types at a Glance
This table breaks down the go-to rulers that form the foundation of most quilters' toolkits.
| Ruler/Template Type | Primary Use | Best For Projects Like... |
|---|---|---|
| Basic Rectangular Rulers (e.g., 6" x 24") | Cutting long strips, squaring up fabric, trimming blocks. | Strip quilts, sashing, borders, and general-purpose cutting. |
| Square Rulers (e.g., 6.5", 12.5") | Squaring up blocks, fussy cutting, trimming half-square triangles. | Any block-based quilt, especially log cabins and nine-patches. |
| Triangle Rulers (e.g., Half-Square, Quarter-Square) | Cutting perfect triangles without complex math. | Pinwheels, flying geese, star patterns, and hourglass blocks. |
| Specialty Shape Templates (e.g., Drunkard's Path, Dresden Plate) | Cutting complex or curved shapes consistently. | Quilts featuring curved piecing, appliqué, or specific repeating motifs. |
Getting comfortable with these core tools will give you the confidence to tackle almost any quilting pattern out there. Linda's has a fantastic selection to get your project started right.
Mastering the Essential Rulers for Every Quilter
Now that we’ve talked about why you need to be precise, let’s get our hands on the tools that actually make it happen. Every quilter, whether you have a massive studio or a tiny corner of the living room, relies on a few key rulers that see action in nearly every project. Think of them as the tried-and-true workhorses of your quilting toolkit.
These core quilt rulers and templates are your starting lineup. While it’s always fun to collect specialty gadgets, getting truly comfortable with these basics is what builds the confidence and muscle memory for tackling any pattern that comes your way. This is the single most important step toward getting those crisp, professional-looking results we all crave in our finished quilts.
The Long Ruler: The Unsung Hero
If you only buy one ruler to start, this is the one. A 6" x 24" rectangular ruler is the undisputed champion of cutting fabric right off the bolt. Its length is absolutely perfect for slicing across the entire width of your folded fabric, letting you create long, arrow-straight strips for borders, sashing, and binding without breaking a sweat.
The secret is to first align the folded edge of your fabric with one of the horizontal lines on your ruler. This first slice is called "squaring up," and it gives you a perfectly straight edge to measure from. After that, you can cut strip after strip with total accuracy.
The Square Ruler: Your Block's Best Friend
Once you have your long strips, you’ll need to cut them down into squares and other shapes. This is where a good square ruler, like a 12.5" x 12.5" or a 6.5" x 6.5", becomes your best friend. Their main job is to "square up" your finished quilt blocks—trimming them to their final, precise size after all the pieces have been sewn together.
Don't skip this step! Piecing can sometimes stretch or shift your fabric just a tiny bit. Squaring up ensures every block is identical, which means all your points will match up beautifully when you sew them together. It’s the key to getting a quilt top that lies perfectly flat. We dive deeper into how this works in our guide on the importance of a perfect seam allowance for quilting.
It's no surprise that as quilting has grown, so has the demand for great tools. The global quilting ruler market was valued at around $310 million and is expected to hit nearly $495 million by 2033. That growth shows just how much quilters rely on precision tools to bring their visions to life. You can read more about this trend at MarketIntelo.com.
Best Practices for Perfect Cuts Every Time
Having the right rulers is half the battle; using them correctly is the other half. It all comes down to technique. Follow these simple steps, and you’ll set your projects up for success from the very first cut.
- Start Sharp: Always, always use a sharp blade in your rotary cutter. A dull blade drags and pulls the fabric, leaving you with raggedy edges and inaccurate cuts.
- Line It Up: Don't just eyeball it. Take a second to carefully align the measurement marks on the ruler with the edge of your fabric. Use the grid lines for guidance, not just the edge of the plastic.
- Firm, Even Pressure: Spread your non-cutting hand flat across the ruler, keeping your fingertips safely away from the edge. Press down firmly to hold everything in place so nothing wiggles.
- Stand and Deliver: For the best control and accuracy, stand up when you cut. This allows you to get directly over the ruler and prevents distortion from looking at it from an angle.
- One Smooth Motion: Always push the rotary cutter away from your body in a single, confident motion. Never pull it back toward yourself.
Mastering these basic ruler skills isn't just about accuracy—it's about safety and efficiency. A confident cut is a safe cut, and an accurate cut saves you a world of frustration (and fabric!) later on.
By making these foundational tools and techniques second nature, you’re building a solid base for every quilt you'll ever make. Once you’ve got these down, you can explore all the fun, specialized rulers out there, knowing your fundamentals are rock solid. Here at Linda's, we have a fantastic selection of these core rulers to help you build the perfect starter kit for your quilting journey.
Unlocking Creativity with Specialty Templates
Once you’ve gotten comfortable with the foundational rulers, you’re ready to open up a whole new world of quilting. If basic rulers are for building the sturdy frame of your quilt, then specialty quilt rulers and templates are for adding the unique, artistic flair that makes it yours.
These tools are specifically designed to take the guesswork out of tricky curves and complex shapes, allowing you to confidently start projects that may have seemed too difficult before.
Think of it like this: you need a good chef's knife for all the basic chopping in the kitchen. But when you need perfect little spheres of melon or a cored apple, you grab a specialty tool. Quilting templates work the exact same way, turning difficult cuts into simple, repeatable motions that save you time and make your accuracy skyrocket.
Moving Beyond Straight Lines
The real magic of specialty templates is how they give you the confidence to tackle shapes you’d never dream of cutting by hand. They act as your perfect guide, ensuring every single piece is identical—which is absolutely critical for patterns that need every part to fit together just so.
And these tools aren't just for the pros! They actually make complex-looking quilts much more accessible for beginners. Imagine making a project with flawless circles or sharp star points without all the headaches of tracing and cutting with scissors.
Popular Specialty Templates and Their Uses
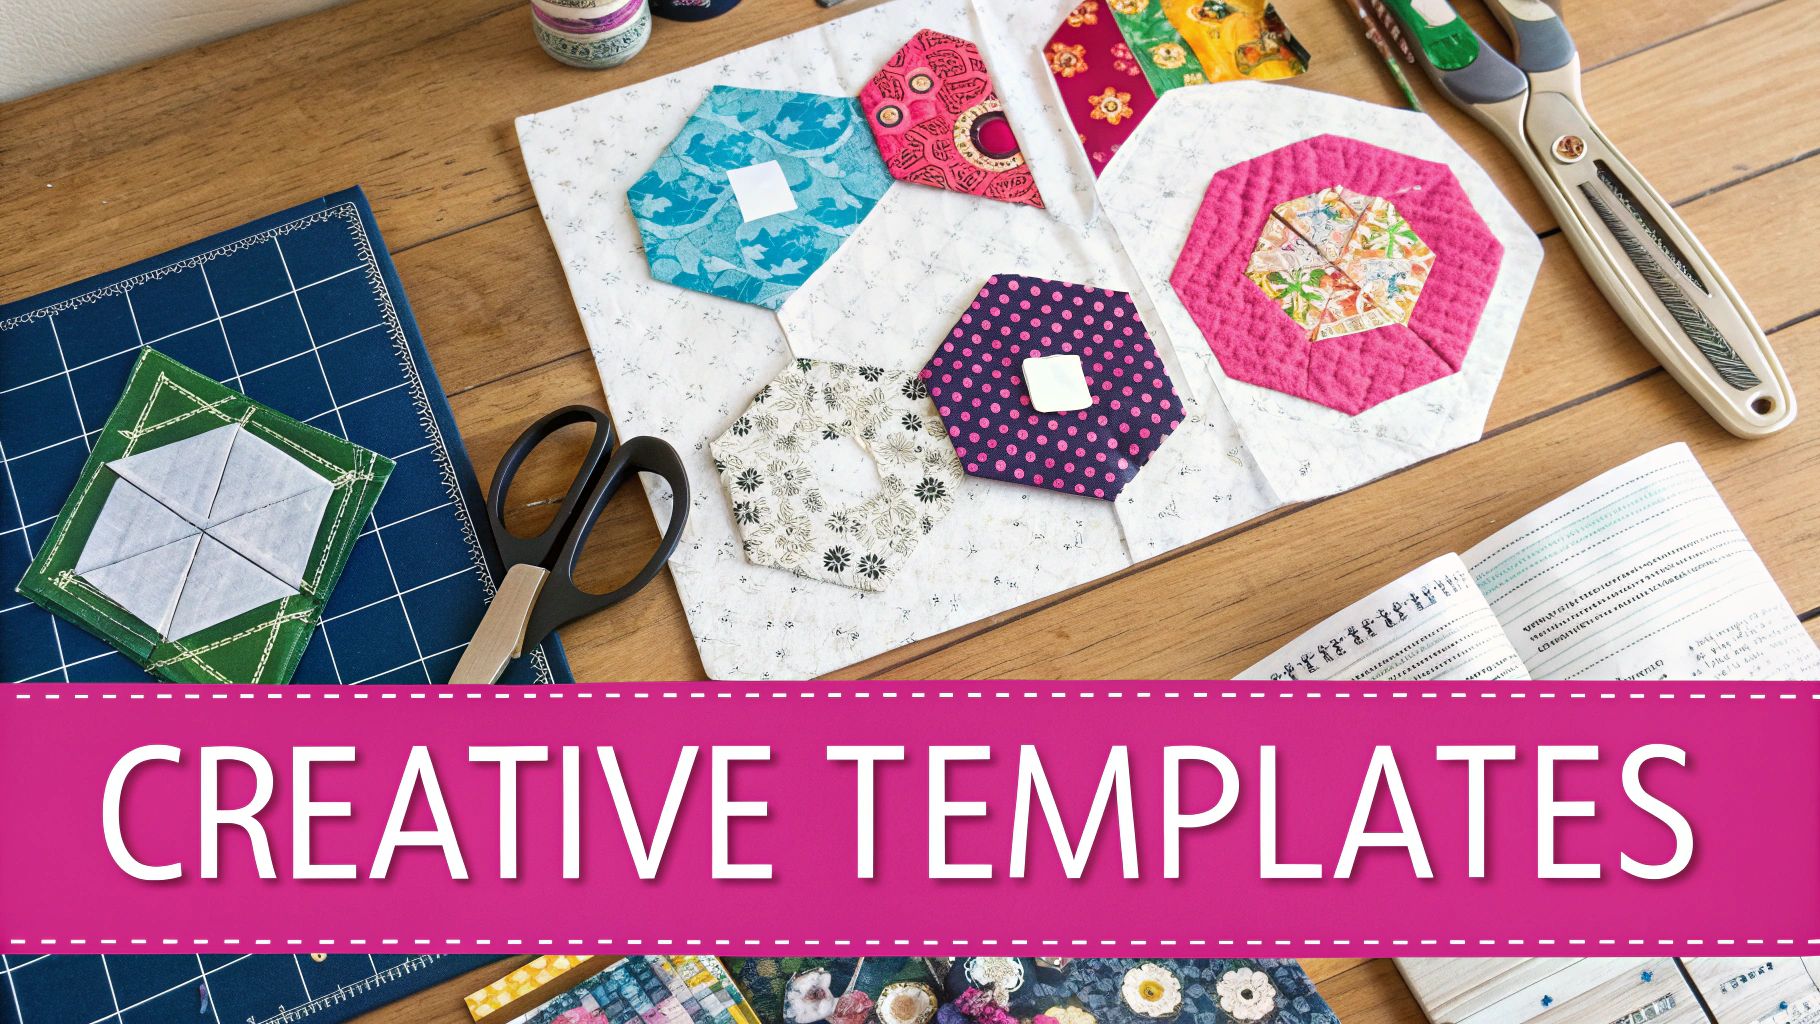
Let's dive into some of the most popular types of specialty templates and see what kind of beautiful projects they can help you bring to life. Each one is like a key that unlocks a whole different style of quilting.
-
Dresden Plate Templates: These wedge-shaped tools are for creating the classic "Dresden Plate" block, which looks like a round, vintage flower. They let you cut tons of identical "petals" in no time, which you then sew together into a gorgeous, radiating circle. They're perfect for adding a touch of nostalgia to quilts, table runners, and wall hangings.
-
Hexagon and Tumbler Rulers: If you've ever admired a "Grandmother's Flower Garden" quilt, you know the power of a hexagon. Hexie rulers make cutting hundreds of them an absolute breeze. Tumbler rulers create a fun, slightly tapered block that gives your quilt a charming cascading or tumbling look when pieced together.
-
Clamshell and Apple Core Templates: Ready to dip your toes into curved piecing? These are your new best friends. A clamshell template helps you create a lovely scalloped, fish-scale pattern, while the Apple Core makes a really unique interlocking shape. Both look incredibly difficult, but they become totally doable when every curve is cut with flawless precision.
A specialty template doesn't just make a difficult cut possible; it makes it repeatable. This consistency is the secret ingredient that transforms a collection of individual pieces into a cohesive and professional-looking masterpiece.
Adding just one or two of these to your toolbox can completely change the game, expanding your creative options overnight. You’ll start looking at complex patterns not as a challenge, but as an exciting new possibility.
Rulers for Perfecting Complex Units
Beyond cutting whole shapes, some specialty rulers are engineered to help you perfect common—but often tricky—quilt units. These are built to streamline the piecing and trimming process, guaranteeing perfect results every single time.
One of the most valuable is the Flying Geese ruler. This tool is a lifesaver for anyone who's ever struggled to get those crisp, perfect points. Instead of fiddling with tiny triangles and squares, these rulers often let you create several units at once from larger pieces of fabric, with no waste and perfect 1/4" seam allowances built right in.
In the same vein, you can find specialized rulers for half-square triangles (HSTs) and quarter-square triangles (QSTs) that take all the complicated math and trimming off your plate. They don’t just save time; they cut down on fabric waste, making them a really smart investment. As your skills grow, you can learn more about how to elevate your quilting craft with advanced techniques like these.
Here at Linda's, we know the right tool can be the spark that ignites your passion for a new project. We carry a curated selection of these innovative quilt rulers and templates to help you move beyond the basics and start making the quilts you've always dreamed of. Stop by and find the perfect specialty tool to inspire your next creative adventure.
How to Choose and Care for Your Quilting Tools
Investing in good quilting rulers and templates is one of the best moves you can make for your craft. These tools are your best friends when it comes to precision, and if you choose them well and treat them right, they'll be with you through countless quilts. Think of this as your personal buyer's guide—here to help you pick the right tools and keep them in great shape for years.
Picking out the right ruler is about more than just finding the right size. A few key features are the difference between a high-performance tool and a frustrating chunk of plastic. Paying attention to these details is what guarantees your cuts are accurate, safe, and just plain easier to make.
Making an Informed Purchase
When you're ready to bring a new ruler into your sewing room, keep these factors in mind. They make a huge difference in how the tool actually feels and performs when you're in the middle of a project.
- Material and Thickness: Stick with rulers made from durable, clear acrylic. The thickness really matters, too; longarm machines need hefty 1/4-inch thick rulers to work safely, while most home sewing machines are designed for the thinner 1/8-inch versions.
- Clarity of Markings: You need to be able to see the lines and numbers clearly, no matter what color fabric you've got underneath. The best quilt rulers and templates have markings in two different colors to really pop against both light and dark fabrics.
- Non-Slip Features: A ruler that slides while you're cutting isn't just annoying—it's dangerous and ruins your accuracy. Many top-tier rulers come with a built-in non-slip coating on the back, while others work great with some adhesive grips added on. This is the secret to confident, wobble-free cutting.
A great quilting ruler feels like an extension of your hand. It stays put, the markings are effortless to read, and it gives you the confidence to make a perfect cut every single time.
Unfortunately, with quilting's popularity on the rise, so are the knock-offs. The market has been flooded with counterfeit rulers that look legit but just don't perform. These cheap imitations will only lead to crooked cuts, wasted fabric, and a whole lot of frustration. To make sure you're getting the real deal, always buy from a retailer you trust, like Linda's. You can get more insights on how to spot fakes and shop safely on YouTube.
Proper Care for a Lifetime of Use
Once you've got your hands on quality tools, a simple care routine will keep them in perfect working order. A little maintenance goes a long way in preventing warping, protecting the measurement lines, and ensuring your rulers stay reliable. A well-cared-for ruler is just as critical as the batting you put inside your quilt, which you can learn all about in our guide to batting choices for the passionate quilter.
Follow these simple tips to keep your tools going strong.
- Gentle Cleaning: A soft, damp cloth is usually all you need. If it's really grimy, a little bit of mild soap will do the trick. Just stay away from abrasive cleaners or scouring pads that will scratch the acrylic and wear away the printed lines.
- Smart Storage: This is the big one. Always store your rulers flat or hang them up on a pegboard. If you lean them against a wall, they'll eventually start to bow and warp, and then they're no good for cutting a straight line.
- Avoid Extreme Temperatures: Never, ever leave your acrylic rulers in a hot car or sitting in direct sunlight. The heat can make them warp, and all that sun exposure will cause the markings to fade over time.
Here at Linda's, we're committed to giving quilters authentic, high-quality tools you can count on, project after project. We hand-pick our collection of quilt rulers and templates to make sure you get the performance and durability you deserve. Take a look at what we've got and invest in tools that will help you create beautiful, precise quilts for years to come.
Putting Your Tools into Practice with a Mini Project
All this talk about tools is great, but the real fun starts when you turn that beautiful stack of fabric into something you can actually use and admire. Let’s put everything we’ve covered on quilt rulers and templates to the test with a simple and satisfying project: a four-patch placemat.
This is the perfect way to get a feel for your tools and see firsthand how they work together to create a piece that looks clean, sharp, and professional.
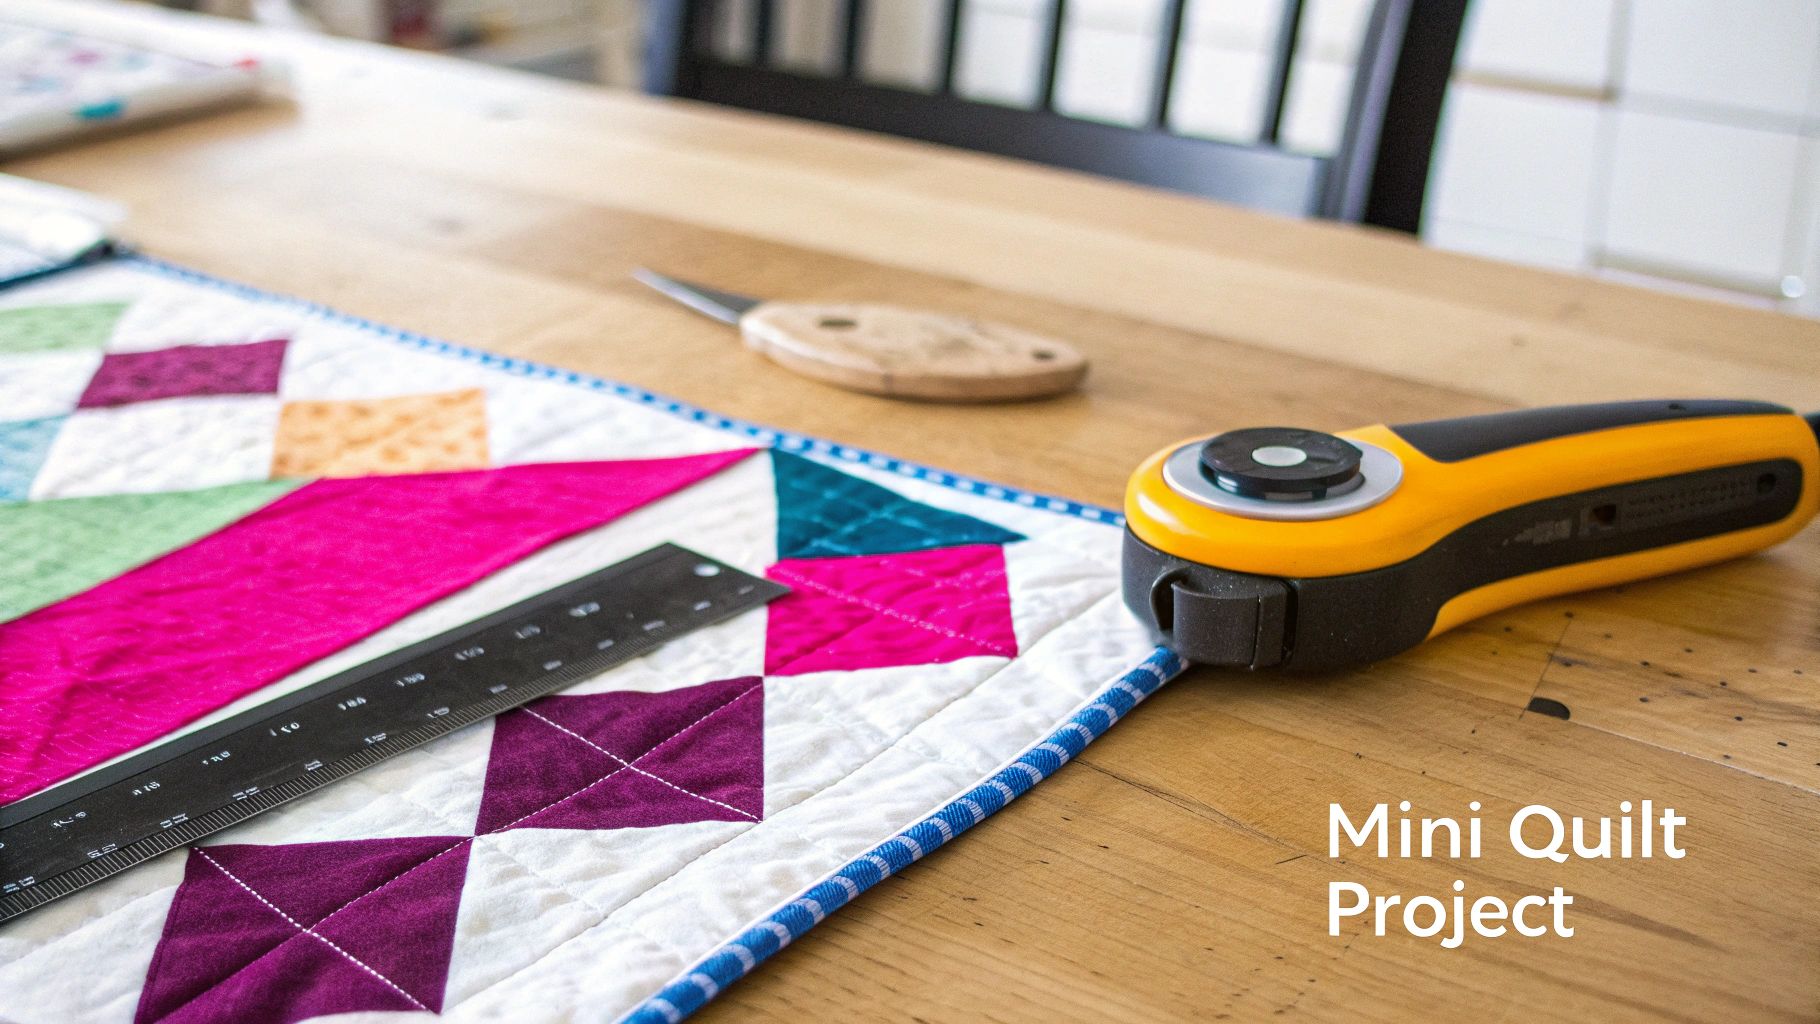
This little project hits all the core skills. You'll be using a long ruler for cutting dead-straight strips, a square ruler for trimming your blocks perfectly, and your trusty rotary cutter for those crisp edges. The result is a fast, fun project that proves anyone can get precise results with the right gear.
Gathering Your Supplies
Before that first satisfying zip of the rotary cutter, let’s get everything lined up. For one placemat, you just need a couple of fabrics and your essential cutting tools. This is a fantastic excuse to use up some favorite scraps or try out that new fabric line you've been eyeing.
Essential Tools from Linda's:
- 6" x 24" Ruler: Your go-to for cutting long, straight strips off the bolt or fat quarter.
- 6.5" x 6.5" Square Ruler: The secret weapon for squaring up your finished four-patch blocks.
- Rotary Cutter & Mat: The dynamic duo that works with your rulers for safe, accurate cutting.
- Fabric: Two contrasting fat quarters for the top, one for the backing, and one for the binding.
- Batting: A small piece, around 14" x 18" will do the trick.
It's no surprise that having good tools makes all the difference. The global quilt market is booming, expected to jump from $5.61 billion to $9.67 billion by 2035, and it’s driven by a love for handmade, quality items. Precision is key, especially since cotton—which makes up 42.7% of the market—needs to be cut accurately to fit together perfectly. You can learn more about the growing quilt market on Business Research Insights.
Step-by-Step Cutting Instructions
Accuracy is everything, and it starts right here. Follow these steps, taking your time to align your ruler’s markings with the fabric’s edge for every cut. A little patience now pays off big time later.
Step 1: Cut Your Strips
Grab your long 6" x 24" ruler and cut two 3.5-inch wide strips from each of your contrasting fat quarters. You’ll end up with four strips total—two of each color. The length of this ruler is a huge help for getting one clean, straight cut across the fabric.
Step 2: Sew Strip Sets
Take one strip of each color and lay them right sides together. Sew along one of the long edges with a scant 1/4-inch seam allowance. Press the seam toward the darker fabric to help it lie flat. Do the exact same thing with the other two strips. Now you’ve got two identical two-color strip sets.
The most critical moment in quilting happens before you even sit at your sewing machine. A precise cut made with a quality ruler is the foundation upon which every perfect point and matched seam is built.
Step 3: Cut Your Segments
Lay one of your new strip sets on the cutting mat. Using that same long ruler, slice the strip set into 3.5-inch segments. Repeat this with the second strip set. You should have a nice little pile of two-color squares.
Step 4: Create Your Four-Patch Blocks
Take two of your segments and arrange them into a classic four-patch, alternating the colors. Place them right sides together, and "nest" or "lock" the center seams so they butt up against each other. This little trick helps you get a perfectly matched center point. Sew them together, and you've made your first block!
Assembling and Finishing Your Placemat
With your blocks ready, it's time to bring it all together. This is where your square ruler really shines, making sure your final placemat has crisp corners and lays beautifully flat.
Step 5: Squaring Up for Perfection
In a perfect world, your four-patch blocks would measure exactly 6.5" x 6.5". But tiny wobbles in sewing can happen. Use your 6.5" square ruler to trim each block to size. Don't skip this step! It’s what separates a homemade look from a handmade masterpiece.
Step 6: Assemble the Placemat Top
Arrange four of your squared-up blocks in a layout you like. Sew them together in two rows of two, then sew those two rows together. Just like that, your placemat top is done.
All that’s left is to layer your top with batting and backing, quilt it however you like, and bind the edges. You’ve just made a beautiful, precise placemat by mastering your essential quilt rulers and templates.
For more practice with these foundational skills, check out this free quilt pattern for beginners.
Ready to start your own? We’ve got gorgeous fabric bundles and all the Creative Grids rulers you could ever need. Swing by Linda's, and we’ll help you gather everything you need to turn this little guide into a treasured piece for your home.
Common Questions About Quilt Rulers and Templates
Stepping into the world of quilting tools can feel like learning a whole new language. As you start working with quilt rulers and templates, it's totally normal for questions to pop up. We’ve put this section together to answer the most common ones we hear, giving you clear, simple advice to help you quilt with a lot more confidence.
Our hope is to get ahead of your questions and offer real solutions. That way, you can spend less time scratching your head and more time actually creating. Think of this as your personal FAQ for these must-have quilting tools.
Why Are My Fabric Cuts Still Inaccurate Even with a Ruler?
This is probably one of the most frustrating things that can happen, but trust us, the ruler is almost never the real problem. It's usually a few small things working together to throw off your cuts. Before you toss your ruler in frustration, let’s run through a quick checklist to figure out what's really going on.
More often than not, the issue is with your technique or another tool. The great news is these are all easy fixes once you know what to look for.
- Check Your Blade: A dull rotary cutter blade is the number one culprit. Instead of slicing cleanly, it snags and drags the fabric—no matter how hard you hold down the ruler. A sharp, new blade will change your life.
- Apply Even Pressure: Make sure your non-cutting hand is spread out flat across the ruler, pushing down firmly and evenly along the whole length. If you only press on one end, the other can easily wiggle just enough to create a slightly curved cut.
- Avoid Parallax Error: How you look at the ruler makes a huge difference. You need to be standing directly over it when you cut. Peeking from the side creates something called a parallax error, which makes the measurement lines look like they've shifted, leading to an inaccurate cut.
- Use the Grid Lines: This is a classic rookie mistake! Don't line your fabric up with the physical plastic edge of the ruler. Always, always use the printed grid lines on the ruler itself for true precision.
What Is the Difference Between a Quilting Ruler and a Regular Ruler?
While they both measure things, a quilting ruler and a regular old office ruler are built for completely different worlds. Using the wrong one isn't just a hassle; it can be a serious safety hazard. The real differences come down to the material, the markings, and how they’re designed to work with a rotary cutter.
A standard ruler just wasn't made for the demands of quilting.
At its heart, a quilting ruler is a safe, stable, and clear guide for a rotary cutter. A regular ruler doesn't have the thickness or strength, making it dangerous to use for cutting fabric.
Let's break it down:
- Material and Transparency: Quilting rulers are made from a thick, see-through acrylic that’s incredibly durable. This lets you see your fabric perfectly for precise placement. A typical ruler is flimsy and you can't see through it.
- Detailed Markings: Quilt rulers and templates have a super-detailed grid with markings for 1/8", 1/4", and 1/2" increments. They also have those all-important angle lines (30°, 45°, 60°) that are non-negotiable for patchwork.
- Safety Edge: The thickness of a quilting ruler creates a safe wall for your rotary blade to glide against. A thin office ruler can actually be sliced by the blade, causing it to jump off track and potentially hurt you.
Do I Really Need All the Different Specialty Rulers?
Definitely not! Especially when you're just starting out on your quilting adventure. It's so easy to get dazzled by all the cool specialty tools out there, but it’s much smarter to build a solid foundation with a few trusty workhorses first.
Think of it like stocking a kitchen. You need a good chef's knife long before you start buying avocado slicers and pineapple corers. The same idea applies here.
Start by mastering the basics:
- A long rectangular ruler (like a 6" x 24") for cutting long strips from your yardage.
- A couple of square rulers (a 6.5" and a 12.5" are great) for squaring up your blocks.
Once you feel comfortable with these, you can start adding to your collection based on the kinds of projects you truly love. If you find you're obsessed with making flying geese, then buying a specialty ruler for them is a brilliant move that will save you tons of time and boost your accuracy. Let your quilting passions guide your tool purchases, not the other way around.
At Linda's Electric Quilters, we believe that having the right tools makes all the difference, building your confidence and sparking your creativity. Our hand-picked selection of high-quality quilt rulers and templates has everything you need to get going on your next project, from the must-have basics to fun specialty shapes. Explore our collection today and find the perfect tools to bring your ideas to life.
Find your next favorite ruler at https://lindas.com.


