
There's something truly special about combining the age-old tradition of quilting with the incredible detail of machine embroidery. It’s how you create those one-of-a-kind, personalized heirlooms that tell a story. This guide is your complete roadmap to making your own stunning quilt, walking you through everything from the first spark of an idea to that final, satisfying stitch.
We're going to break it all down into clear, manageable steps. Our goal is to make this process feel approachable, so you can create a project you'll absolutely love and feel proud to display.
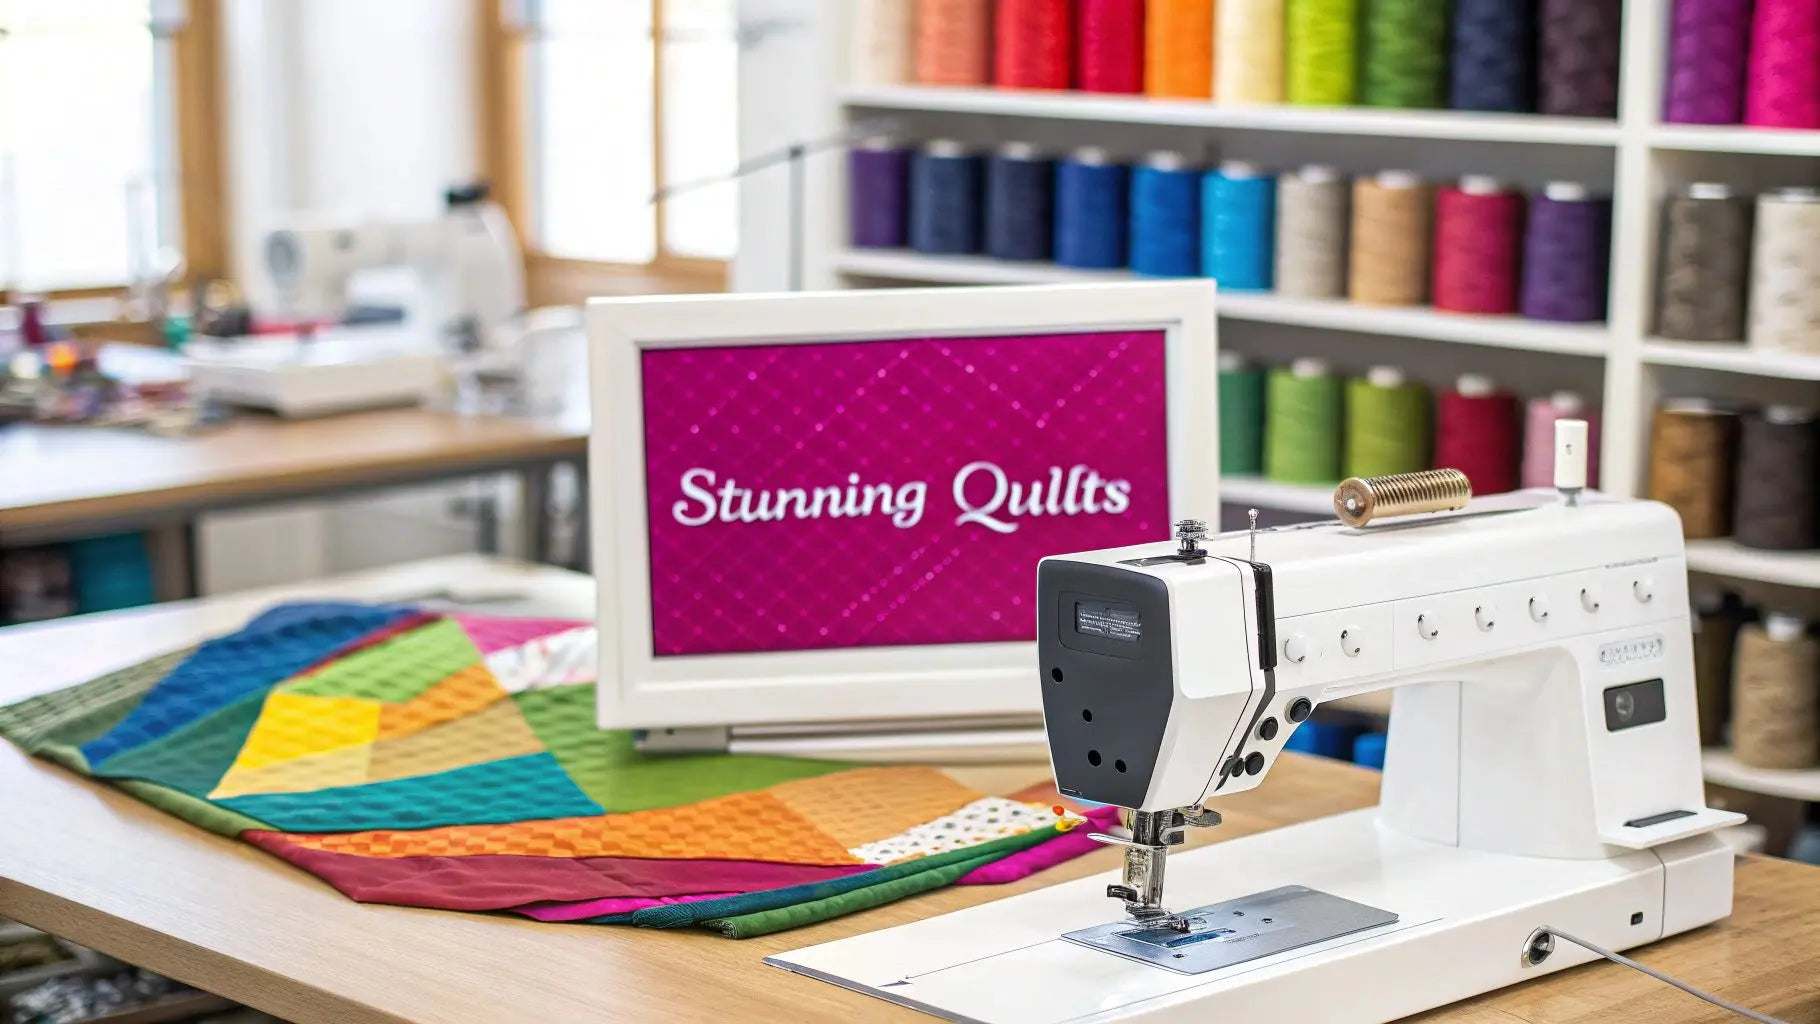
Your Journey Into Machine Embroidered Quilting
Welcome to the exciting intersection of fabric, thread, and technology! A machine embroidery quilt is a project where you combine pieced fabric blocks with beautiful designs stitched out by your embroidery machine. This technique unlocks a level of detail and creativity that used to take countless hours of meticulous hand-stitching, allowing you to create intricate art with incredible precision.
Whether you're just starting out or you've been quilting for years, this guide is for you. We'll skip the confusing jargon and focus on practical steps that get you beautiful results.
Why Quality Materials Really Matter
The foundation of a quilt that lasts is built on quality materials. When you use premium supplies, you're ensuring your creation not only has that professional look but will also stand the test of time.
Here’s what makes all the difference:
- Vibrant Threads: High-sheen embroidery threads make your designs pop. They also resist fading and won't snap mid-design, preventing frustrating stops and starts.
- Proper Stabilizers: The right stabilizer is your secret weapon against puckering and distortion. It’s what gives your embroidery that crisp, flat finish.
- Durable Fabrics: Good quilting cotton gives your stitches a stable base and holds its shape, even after washing and years of use.
Choosing the right tools and materials can truly elevate your project. Once you get the hang of it, you’ll be ready to take on more. For some great ideas on what to tackle next, check out our guide on progressing from beginner to expert with essential quilt projects for every skill level.
Expert Tip: Don't be afraid to experiment! Machine embroidery gives you so much creative freedom. You can turn almost any digital design into a quilt block, making your project completely unique to you. Find the perfect embroidery design and pair it with high-quality threads from Linda's to make your vision a reality.
As you get into creating your own designs, you might even draw inspiration from other personalized fabric projects, like custom photo blankets. This guide will give you the confidence and skills to bring your unique vision to life, one stitch at a time.
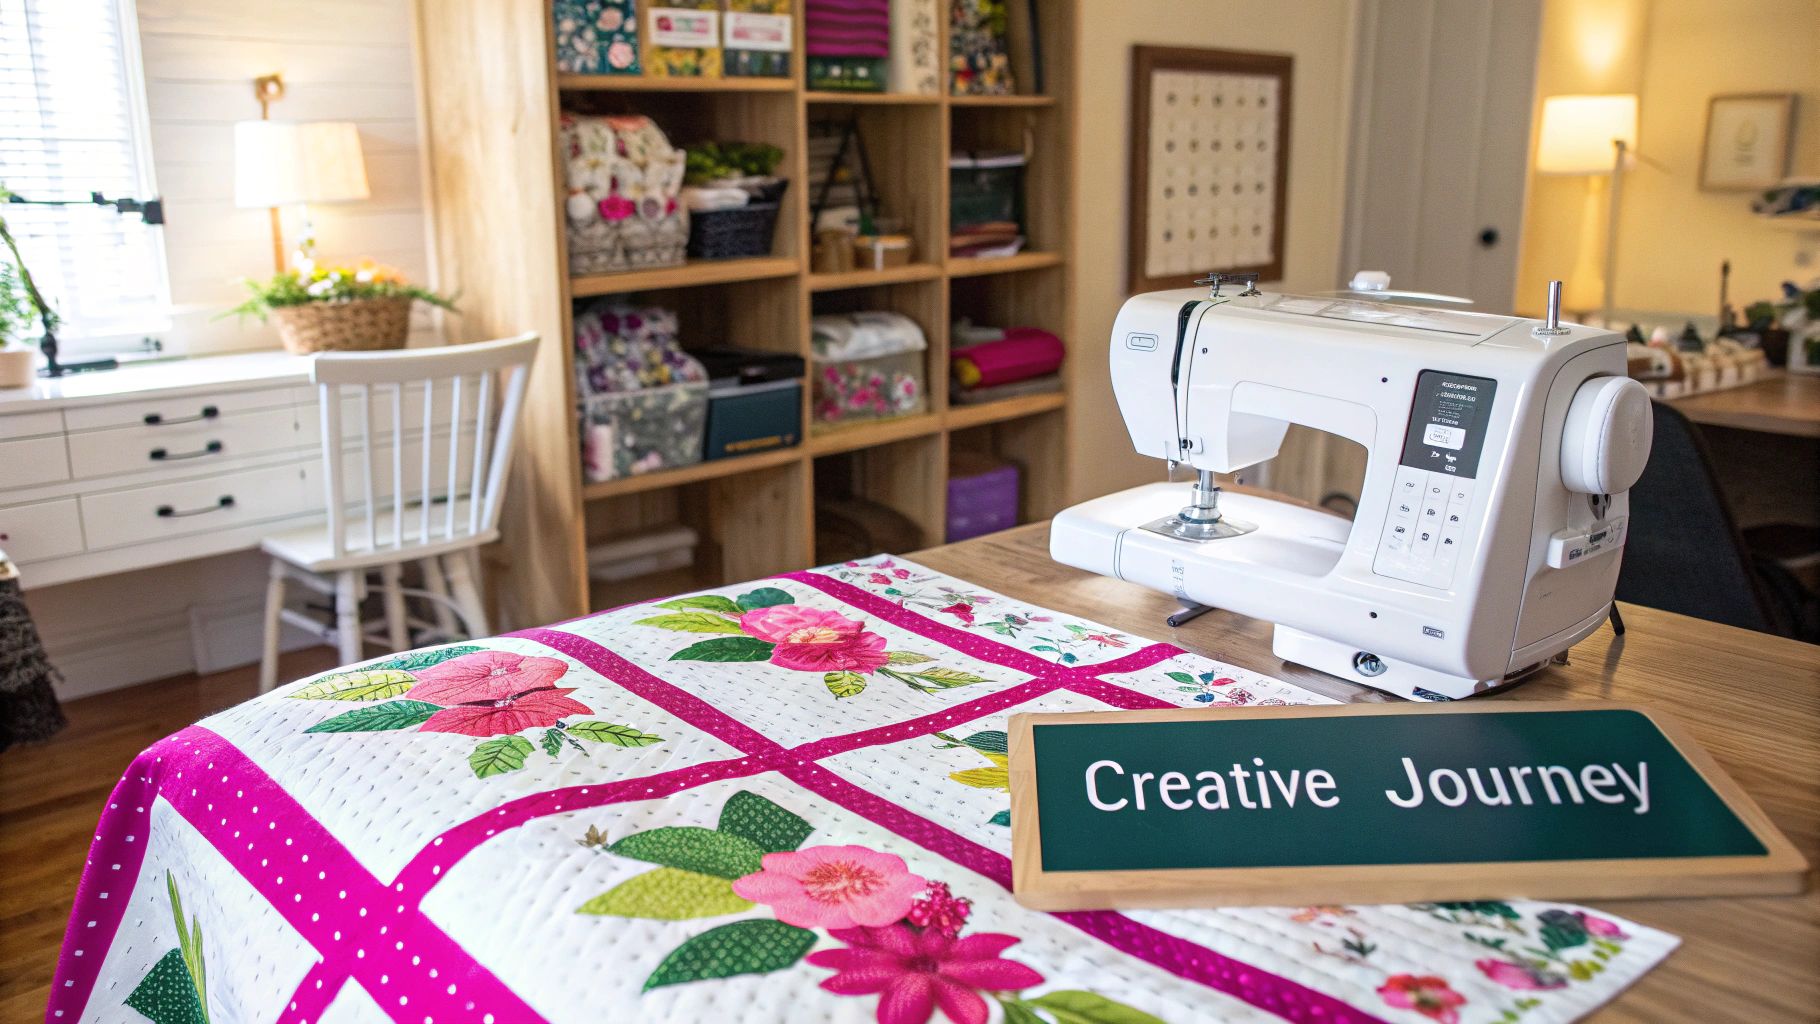
Designing Your Quilt and Gathering Supplies
Every truly stunning machine embroidery quilt starts with a bit of daydreaming and a solid plan. This is the fun part, where that spark of an idea in your head begins to look like a real, tangible project you can't wait to start.
First things first, what story do you want this quilt to tell? Maybe you're picturing a sweet baby quilt covered in playful jungle animals, or a cozy holiday throw brimming with festive cheer. It could even be a striking, modern piece full of bold geometric patterns. Let that theme be your guide for everything that comes next, from the embroidery designs you pick to the color palette that will tie it all together. A well-thought-out color scheme is often what takes a quilt from "nice" to absolutely unforgettable.
Selecting Your Materials
With a clear vision in mind, it's time to gather your tools. And trust me, this is where quality makes all the difference. The fabric, thread, and stabilizer you choose are literally the foundation of your quilt—they determine how it will look, feel, and hold up over time.
Think of it like building a house; you wouldn't skimp on the foundation, right? The same goes for quilting. Using high-quality quilting cotton from a trusted place like Linda's gives your embroidery a stable, reliable base. It’s the secret to avoiding puckering and ensuring your finished quilt drapes just right.
Your materials are more than just supplies; they are your partners in the creative process. Investing in quality thread that won't break mid-design and the correct stabilizer for your fabric saves you from frustration and ensures your hard work shines through.
This passion for detail is a huge part of why the quilting market is booming. It was valued at around USD 695.84 million and is set to grow even more, largely because people want unique, beautiful things for their homes. Machine embroidery fits perfectly into this, allowing us to create intricate, personalized patterns with incredible precision. If you're curious, you can read the full research on the quilting market to learn more.
Calculating and Organizing
Now that you have your beautiful fabrics and designs picked out, you need to figure out exactly how much of everything you need. Getting your calculations right from the start saves you from that sinking feeling of running out of your main fabric when you're almost done. We’ve all been there!
Luckily, you don't have to guess. There are simple methods to make sure you buy the right amount the first time. For a super helpful walkthrough, take a look at our guide on how to calculate fabric yardage for your quilting projects.
One last tip before you dive in: take a minute to organize your digital embroidery files. Create a specific folder for your quilt project on your computer and give your files clear, easy-to-understand names. It’s a small step, but it makes for a much smoother and more enjoyable workflow once you finally sit down at your machine to start stitching.
Prepping Your Fabric and Embroidery Machine
You've got your design finalized and your beautiful materials are all laid out. Now comes the part that truly separates a good quilt from a great one: the preparation.
This is the stage where a little bit of patience goes a long way. Think of it as laying the groundwork for your creativity. Taking the time to prep properly now will save you from a world of frustration down the road.
First things first, let's talk about pre-washing your fabric. It's a hot topic, but pre-washing gets rid of any factory residue and, more importantly, pre-shrinks the cotton. This is your secret weapon against puckered or warped blocks after that first wash. Just a simple cycle and a good press with a hot iron creates the perfect canvas for your embroidery.
With your fabric washed and pressed, it’s time to get precise. Grab your sharpest rotary cutter, a clear ruler, and your self-healing mat. Cutting your blocks to the exact size is absolutely crucial for ensuring every piece fits together like a puzzle when you start assembling. Linda's has a wide selection of cutting tools to ensure your cuts are perfect every time.
This simple workflow visualizes how planning and preparation flow directly into the gathering stage of your project.
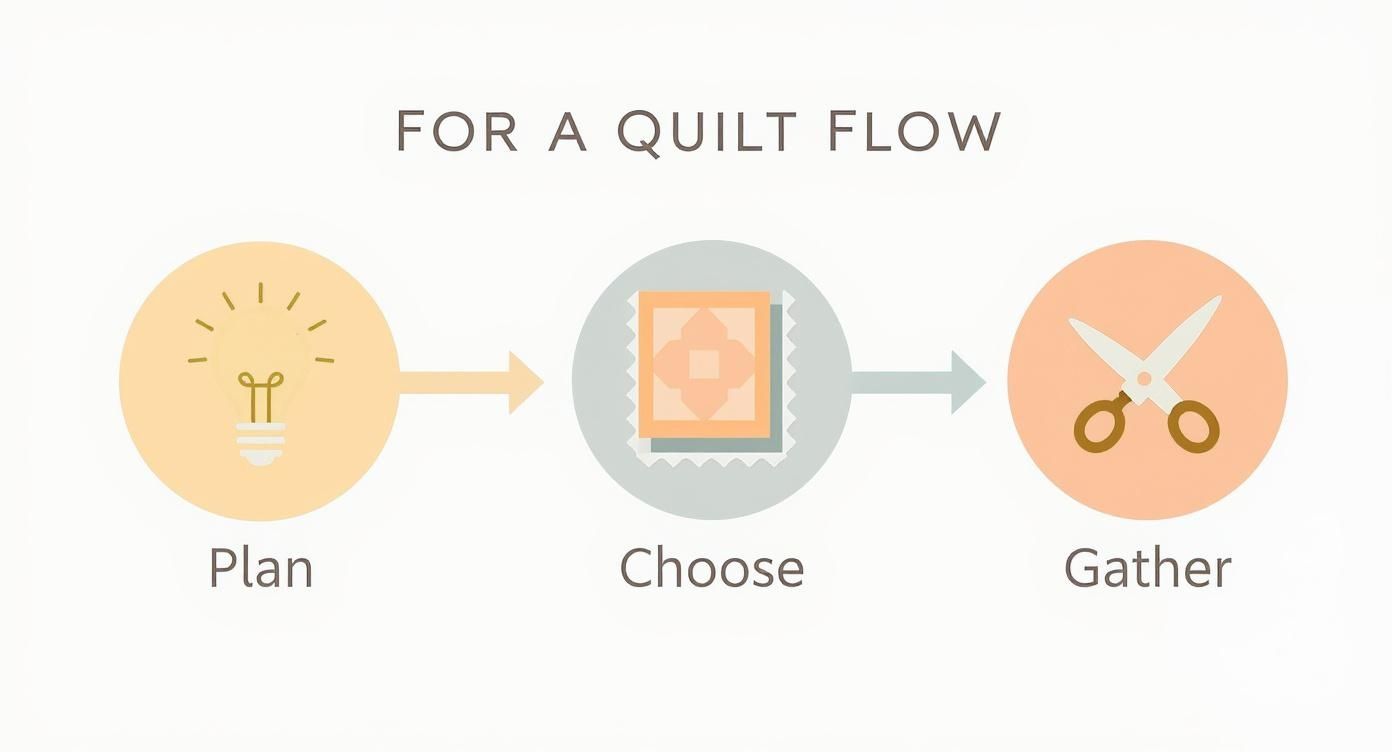
This process highlights that thoughtful preparation is just as important as the creative choices you make.
The Art of Hooping and Stabilizing
Hooping can be a real stumbling block for beginners, but mastering it is the key to crisp, pucker-free embroidery. The goal is to get your fabric taut like a drum—not stretched, but perfectly smooth and firm. This creates the stability your fabric needs to handle the high-speed stitching without shifting around.
Of course, your fabric can’t do this alone. It needs a partner in crime: the right stabilizer.
A stabilizer supports the fabric, absorbing the stress of thousands of stitches. Picking the right one for your project is non-negotiable.
Choosing the Right Stabilizer for Your Quilt Block
Here at Linda's, we have a fantastic selection of stabilizers for every project imaginable. To help you narrow it down, this table breaks down some of the most common types we recommend for quilting.
| Stabilizer Type | Best For Fabric Types | Design Density | Removal Method |
|---|---|---|---|
| Cut-Away | Quilting cotton, knits, unstable fabrics | Medium to High | Trimmed away after stitching |
| Tear-Away | Sturdy wovens like denim or canvas | Low to Medium | Gently torn away from stitches |
| Wash-Away | Delicate fabrics (organza, tulle), free-standing lace | All densities | Dissolves completely in water |
For machine embroidery quilts, a good quality cut-away is my go-to for 90% of my projects. It provides a permanent, stable foundation that stops designs from stretching or distorting over time, especially if your patterns are on the denser side. You can find the perfect cut-away stabilizer for your project at Linda's.
Setting Up Your Embroidery Machine
Alright, let's get your machine ready for action. Start with the basics: a fresh needle. Make sure you're using an embroidery needle—its sharp point and larger eye are specifically designed to handle the unique demands of embroidery thread.
Before you stitch a single block of your actual quilt, always do a test stitch-out. Use a scrap piece of the same fabric and stabilizer combination to check your machine's tension, stitch density, and overall design appearance. This five-minute test can save you from having to unpick hours of work.
This is also the perfect moment to make sure your machine is in peak condition. If you're wondering which features matter most for projects like this, our guide on deciding on a sewing machine offers some really helpful insights.
With your fabric prepped, your stabilizer chosen, and your machine tested, you're finally ready for the most exciting part: watching your designs come to life.
Stitching Your Embroidered Quilt Blocks
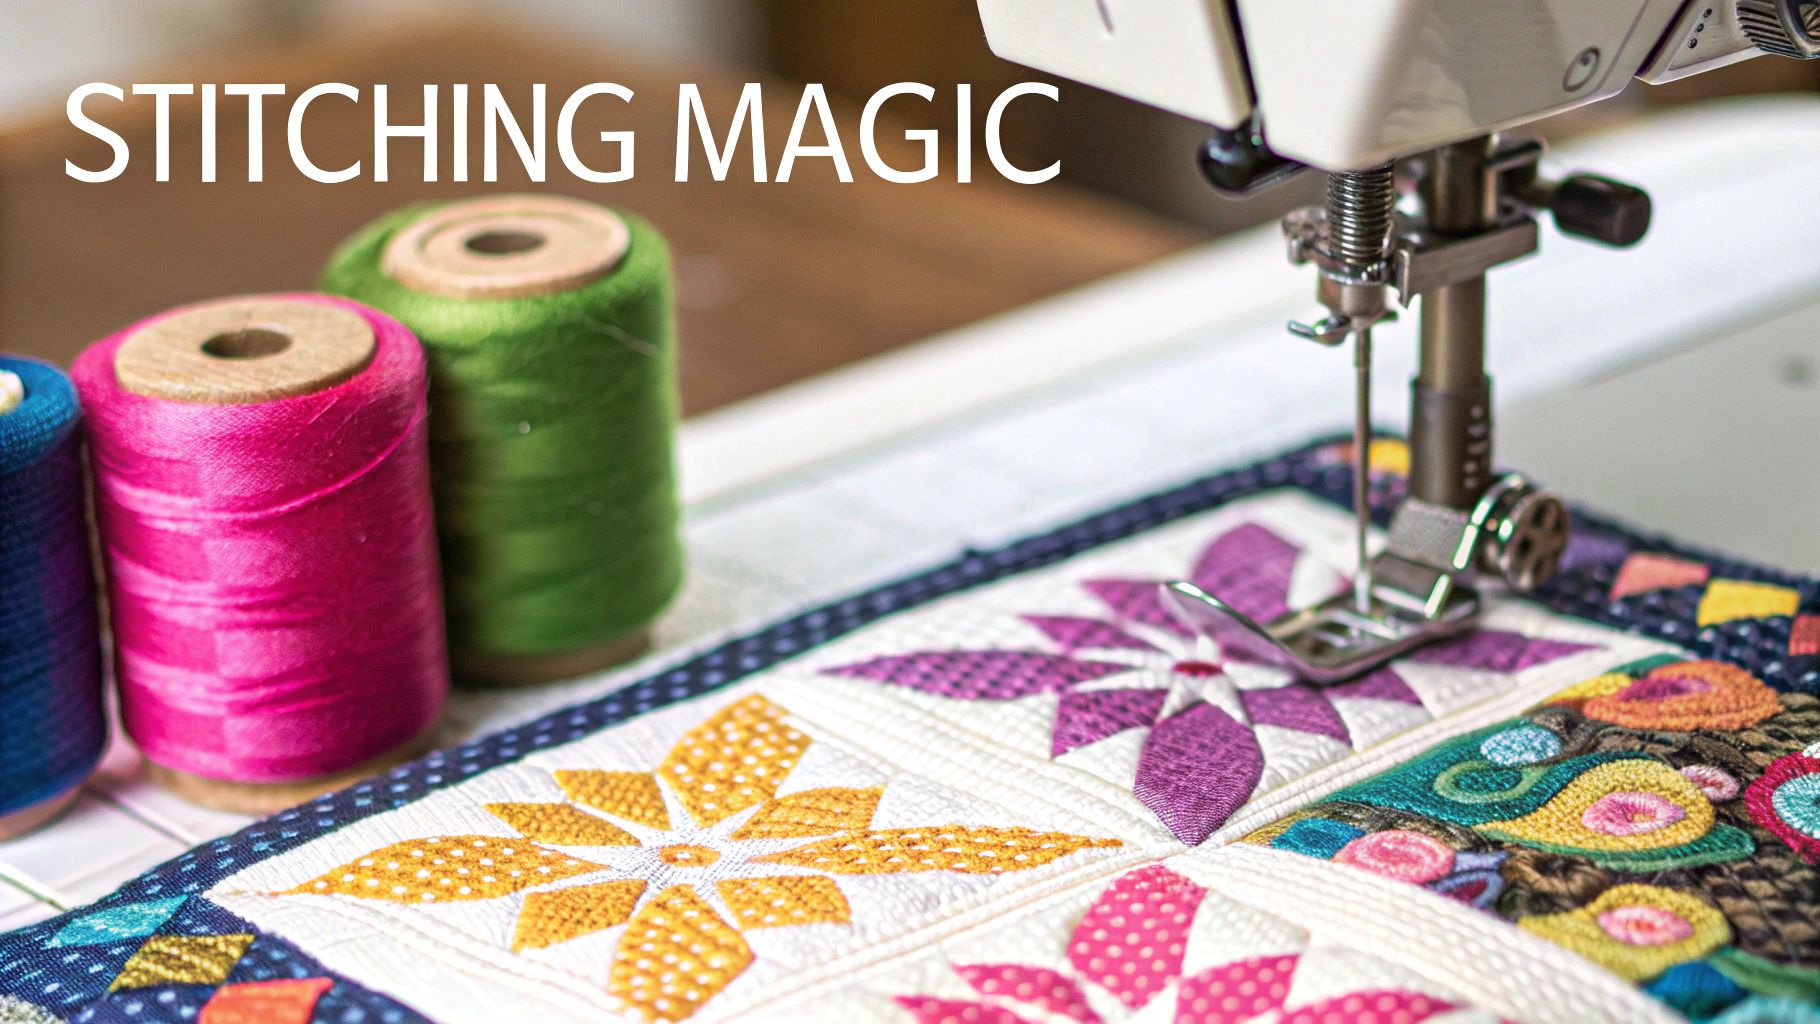
Okay, this is the fun part. All your planning and prep work is done, and now you finally get to see your quilt come to life, one block at a time. There's nothing quite like the hum of an embroidery machine as it transforms a simple piece of fabric into a little piece of art.
But when you're working on a big project with lots of blocks, you need a solid game plan. The goal is to make sure every single block is stitched out perfectly and, just as importantly, consistently.
Nailing the Design Placement
Consistency across dozens of blocks is what separates a good quilt from a great one. Even a tiny shift in placement can make the whole quilt top look off-kilter. You want that embroidery design perfectly centered on every block, every single time.
Your machine might have fancy grids or cameras to help, but a simple hands-on method works just as well.
- First, gently fold your quilt block in half both ways—vertically and horizontally. A quick press with the iron will give you temporary crease lines right in the center.
- Next, grab a fabric-safe marker and draw those same center lines directly onto your hooped stabilizer.
- Now, just line up the creases on your fabric with the lines you drew on the stabilizer. It's a foolproof little trick to get perfect centering before you hit the start button.
Keeping an Eye on the Stitch-Out
Once the machine gets going, don't just walk away. You'll want to stay close and play supervisor, especially on a multi-block project. Catching a small issue early can save you a massive headache later.
Listen for any weird noises from your machine—it could be a needle acting up or a thread snagging. Glance over at your thread spool to make sure it's feeding smoothly. These quick checks can prevent a tangled bird's nest on the back of your block.
If a thread breaks, don't sweat it. It happens! Just stop the machine, re-thread it, and use the back-up function to go back a few stitches before the break. This creates a tiny overlap that locks the threads in place, and no one will ever know.
This is where thread quality really shows. Using premium embroidery threads from Linda's gives your designs a beautiful, lasting sheen and drastically cuts down on those annoying breaks and snags. They’re built to handle high-speed stitching, so you can stitch with more confidence.
Ready to Try Some Advanced Techniques?
Once you've got the basics down, you can start playing with more advanced methods like the "quilt as you go" technique. This is a brilliant time-saver where you stitch the design through your top fabric, batting, and backing all at once. It combines the embroidery and quilting into one step.
If you're feeling adventurous and want to push your skills, we have a fantastic guide on how to elevate your quilting craft with advanced techniques that’s full of ideas.
The technology behind these machines is always getting better, making it easier for us to get incredible results. The global embroidery machine market was valued at around USD 5.71 billion and it's still growing, largely thanks to new features that help with everything from automatic tensioning to fabric analysis. All this innovation just means more creative power for you.
Assembling and Finishing Your Quilt
Your embroidered blocks are all stitched out and looking absolutely gorgeous, like a little gallery of fabric art. Now comes the really satisfying part—bringing all those individual pieces together to create your finished machine embroidery quilt. A bit of precision and patience here will make all the difference, turning your project into a true heirloom.
First things first, let's get those blocks trimmed up. Even with the most careful hooping, a tiny bit of distortion can sneak in. Grab a sharp rotary cutter and a square quilting ruler to trim each block to its final, perfect size. The goal is to get that embroidered design flawlessly centered. This step is your secret weapon for making sure all your seams line up beautifully later on.
Once they're trimmed, clear a big space on the floor and start playing. Lay out your blocks and move them around until you land on an arrangement that just feels right—something that’s balanced and tells the story you had in mind. When you've got it just so, snap a quick picture with your phone. Trust me, you'll be glad you did.
Putting the Pieces Together
It's time to start sewing your blocks into rows. The absolute key to success here is a consistent quarter-inch seam allowance. If you have a quarter-inch foot for your sewing machine, now is its time to shine; it makes getting that perfect seam almost effortless.
As you sew the blocks into horizontal rows, press the seams in alternating directions for each row. So, for the first row, press all the seams to the left. For the second, press them all to the right.
This little trick is a game-changer when you join the rows together. It lets the seams "nest" or lock right into each other, giving you perfectly matched corners and crisp points without any lumpy, bulky intersections.
With your quilt top all pieced, you're ready to build the "quilt sandwich."
Pro Tip: Make sure your backing fabric and batting are at least four inches larger on all sides than your quilt top. This extra wiggle room is a lifesaver, giving you space for any shifting during the quilting process and making it so much easier to square up the final quilt.
Creating the Quilt Sandwich
The quilt sandwich has three layers: your backing fabric (laid wrong side up), your batting, and finally, your finished quilt top (right side up). Start by laying the backing fabric down smoothly—a little painter's tape on the corners can help keep it taut. Next, add the batting, smoothing it out completely. Finally, center your beautiful quilt top over the batting.
Choosing the right batting is a big deal; it's what determines the quilt's warmth, how it drapes, and its overall finished look. Different fibers like cotton, wool, or polyester blends each have their own unique qualities. To help you figure out what's best for your project, we put together a complete guide to batting choices for the passionate quilter.
Once your layers are perfectly smooth, you'll need to baste them together to stop them from shifting around. You have a few options here: curved safety pins, a spray adhesive designed for fabric, or good old-fashioned long basting stitches.
The Final Flourish Binding Your Quilt
After you've quilted through all the layers, the very last step is adding the binding. Trim the extra batting and backing fabric so they’re perfectly flush with the edges of your quilt top. Then, create your binding strips, attach them to the quilt's raw edge, and fold the binding over to the back for that clean, professional finish.
It's amazing to think that the demand for beautiful textiles like the one you're making is a global passion. The Asia-Pacific region alone makes up about 38.7% of the sewing and embroidery machine market, thanks to a huge home décor sector. It's this worldwide love for detailed textile art that makes our craft so special.
Mitered corners are what really give a quilt that polished, professional look. Take your time folding the corners to get that perfect, sharp 45-degree angle. Stitch the binding down, either by hand or by machine, and stand back to admire your incredible work. Your beautiful quilt is complete.
Your Top Questions About Machine Embroidery Quilts
Diving into your first machine embroidery quilt is exciting, but it’s completely normal to have a few questions pop up along the way. Let's get them answered so you can start stitching with confidence.
One of the first things people ask is, "Do I really need to use special embroidery thread?" The answer is a resounding yes! Embroidery thread isn't just regular sewing thread with a bit of shine. It’s specifically engineered to run smoothly at high speeds without shredding or breaking, which is exactly what your machine needs. Using the right thread is the secret to getting that vibrant, professional look. Linda's offers a huge variety of colors and brands to match any project.
Next up: "Can I just use any old fabric for my quilt blocks?" While you can technically embroider on just about anything, you’ll save yourself a lot of headaches by sticking with high-quality quilting cotton. Its tight, stable weave is the perfect canvas for embroidery designs, helping to prevent all that frustrating puckering and distortion.
Troubleshooting a Few Common Bumps in the Road
Even with the right supplies, you might hit a snag. Knowing what to do when things go a little sideways makes the whole process so much more enjoyable.
A classic problem is puckering. You look down and see your fabric bunching up around the design. More often than not, this is a stabilization issue. Puckering happens when the fabric has too much freedom to move around while the needle is doing its work.
- Check Your Stabilizer: Make sure you're using the right type and weight for your fabric and the density of your design. For quilting cotton, a medium-weight cut-away stabilizer is usually your best bet.
- Perfect Your Hooping: Your fabric needs to be taut in the hoop—think of a little drum. You don't want to stretch it out of shape, but it needs to be smooth and firm. Any slack is an open invitation for puckers.
"What about using bedsheets for my quilt backing?" Ah, the great quilter's debate! The short answer is, go for it. Modern sewing and longarm machines are powerhouses that can easily handle the higher thread counts in sheets, unlike the old days of hand-quilting. Just be sure to pre-wash them first, just as you would any quilting fabric, to get any shrinkage out of the way.
My biggest piece of advice? Remember that there are very few hard-and-fast "rules" in quilting. The best materials are the ones that work for you and your machine. Don't be afraid to experiment—that’s how you find your own unique style.
At the end of the day, creating machine embroidery quilts is all about the journey. It's a fantastic blend of learning and creativity, so embrace the process and have fun with it!
Feeling inspired and ready to bring your own beautiful quilt to life? From vibrant embroidery threads and durable stabilizers to premium quilting cottons, Linda's Electric Quilters has everything you need to get started. Explore over 30,000 craft products and find the perfect materials for your next masterpiece at https://lindas.com.


