If you've ever admired a beautiful quilt, convinced you could never create one yourself, you're in the right place to prove yourself wrong. The entire craft of quilting boils down to three core skills: cutting fabric accurately, sewing a consistent quarter-inch seam, and pressing those seams correctly. Master these, and you’ll unlock a world of creative possibilities.
Your Quilting Journey Starts Now
Welcome to the wonderfully creative world of quilting! This guide is designed to demystify the process, showing you how simple shapes and beautiful fabrics come together to create functional works of art. This isn't just about sewing; it’s about learning a timeless skill, joining a vibrant community, and making projects you can be proud of.
Forget feeling overwhelmed. Our goal is to give you the confidence to make your first cut and sew your first stitch. Think of this as your educational roadmap to a fulfilling new hobby.
What Exactly Is a Quilt?
Before we dive in, let's break down the basic anatomy of a quilt. At its heart, every quilt is a "quilt sandwich"—three distinct layers working in harmony. Understanding the components will make the entire construction process clear.
- The Quilt Top: This is the decorative layer, the star of the show. It's created by sewing different pieces of fabric together in a pattern (a process called "piecing"). This is where your artistic vision comes to life.
- The Batting: This is the cozy filling in the middle, providing warmth and dimension. Batting can be made from cotton, wool, polyester, or blends, each offering a different weight and texture.
- The Backing: This is the foundation—typically a single large piece of fabric on the back that completes the sandwich.
These three layers are held together by "quilting," the stitching that runs through the entire sandwich, creating the classic textured look we all love.
Quilting is a journey of patience and precision, where every small, careful step contributes to a beautiful and functional piece of art. It’s about celebrating progress, not just perfection.
What You'll Learn in This Guide
This educational guide will walk you step-by-step through making your very first quilted project. We'll cover everything from selecting the essential tools and fabrics to mastering the foundational techniques that guarantee success. By the end, you'll have the skills and confidence to tackle new quilting challenges.
Ready to get started? A great first step is to browse the amazing selection of beginner-friendly fabrics and notions at Linda's. They have everything you'll need to create your first masterpiece.
Gathering Your Essential Quilting Tools
Before you can make your first stitch, you need to assemble the right gear. Modern quilting tools are designed for precision and ease, making the craft more accessible and enjoyable than ever. Think of this as building your foundation—investing in a few quality pieces now will prevent frustration and set you up for success.
Your sewing machine is the heart of your quilting studio. You don't need a complex, computerized model; a reliable machine with a solid straight stitch is perfect for a beginner. A "needle down" feature is a fantastic bonus, as it allows you to pivot fabric with the needle in place for crisp, accurate corners.
The Holy Trinity of Precision Cutting
Beyond your sewing machine, your success hinges on three tools that work together seamlessly. To achieve the accuracy quilting demands, put away the scissors for cutting pieces. Instead, you'll need a rotary cutter, a self-healing mat, and a clear acrylic ruler.
-
Rotary Cutter: This tool looks like a pizza cutter but is designed for fabric, delivering clean, precise cuts. A 45mm rotary cutter is the perfect all-around size for a beginner, ideal for cutting straight lines and trimming blocks.
-
Self-Healing Cutting Mat: This mat protects your work surface and the rotary blade. The "self-healing" surface magically closes over cuts, ensuring you always have a smooth base to work on. We recommend starting with a mat that's at least 18" x 24" to give yourself ample room.
-
Acrylic Ruler: A transparent ruler is non-negotiable for accuracy. A 6" x 24" ruler is the workhorse of quilting, allowing you to see your fabric, align cuts with the grid on your mat, and hold everything steady as you slice.
Let's break down the must-haves for your new quilting toolkit.
Beginner Quilter's Essential Toolkit
Here’s a quick-reference chart of the core tools every new quilter should have, what they're for, and a pro tip for selecting the right one for your project.
| Tool | Primary Use | Beginner Buying Tip |
|---|---|---|
| Rotary Cutter | Precisely cutting fabric into shapes. | A 45mm blade is the most versatile. Look for an ergonomic handle for comfort during long cutting sessions. |
| Self-Healing Mat | Protecting your work surface and cutter blade. | An 18" x 24" mat is a great starting size that won't feel cramped as you work on your first project. |
| Acrylic Ruler | Measuring and guiding the rotary cutter for straight lines. | A 6" x 24" ruler is the industry standard for a reason—it can handle nearly any cut a beginner will need. |
| Sewing Machine | Stitching your fabric pieces together. | A simple machine with an excellent straight stitch and a "needle down" function is all you need to start. |
| Cotton Thread | Piecing your quilt blocks together. | Start with a spool of 50-weight, 100% cotton thread in a neutral color like grey or cream for strong seams. |
| Fabric Scissors | Snipping threads and making small, detailed cuts. | Keep a small, sharp pair dedicated to thread—never use them on paper to keep them sharp! |
Acquiring these basics will set you up for a smooth and successful start. You'll use these items for every project you make.
The Little Things That Make a Big Difference
Once you have your main gear sorted, a few smaller items, known as "notions," will complete your setup and make the process much smoother.
A high-quality thread is probably one of the most underrated tools in a quilter's box. It can be the difference between a quilt that lasts for generations and one that shows wear after just a few washes. Don't skimp here!
You'll want a good 100% cotton thread (a 50-weight is a fantastic place to start) for strong seams that blend beautifully with your fabric. It’s also smart to have a good pair of small scissors or snips just for trimming threads. And trust us, a magnetic pin dish is a lifesaver for keeping sharp pins contained and off your floor.
Picking up these essentials is part of a bigger picture. Quilters are part of a growing global community, with the market expected to grow at a 6% CAGR between 2025 and 2033, as more people seek personalized, handmade items for their homes. You can discover more about the quilting market's growth if you're curious!
Ready to build your toolkit? At Linda's, we offer fantastic beginner toolkits that bundle all these essentials together. It’s a convenient way to ensure you have exactly what you need to start your quilting adventure with confidence.
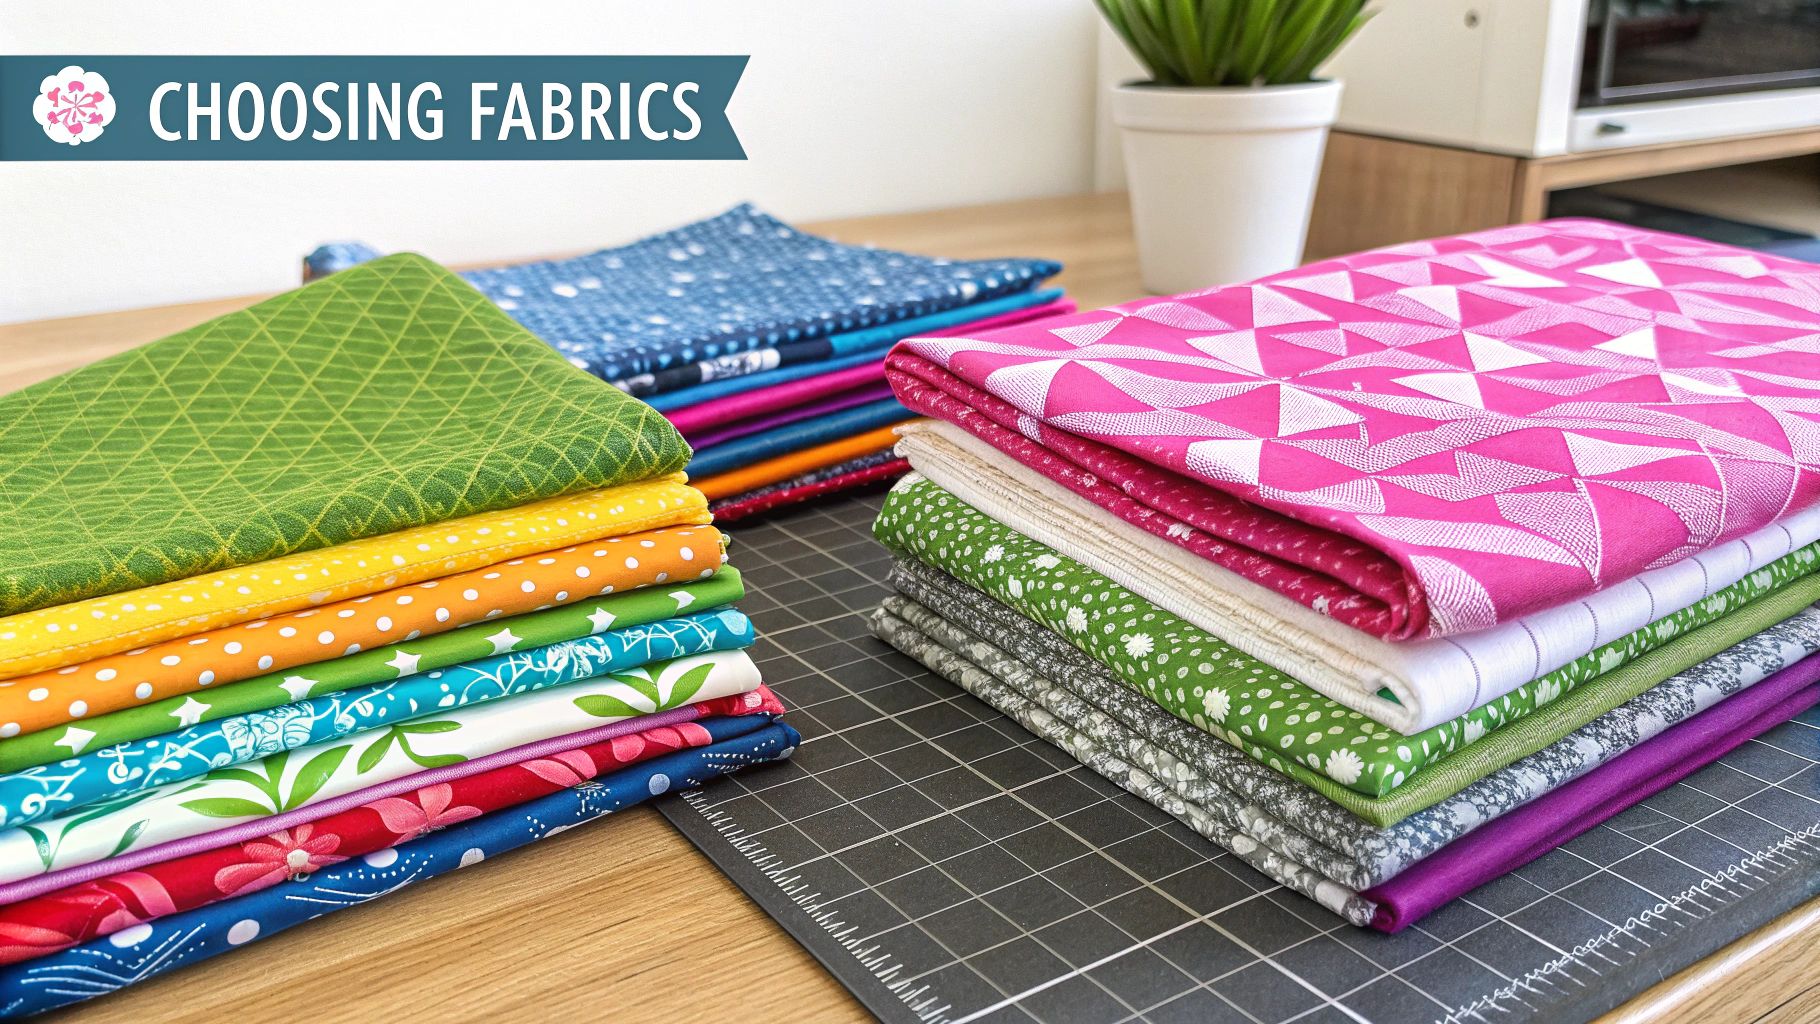
Choosing and Preparing Your Fabric
The fabric you choose is the heart and soul of your quilt—it’s what turns a simple pattern into a work of art that is uniquely yours. This is one of the most exciting parts of the quilting process, and making a smart choice here will make your first project much more enjoyable.
For anyone just starting, the best choice is 100% quilting cotton. It’s the gold standard for good reason: it’s stable, easy to cut and sew, presses beautifully, and comes in an endless variety of colors and prints. This stability removes a lot of potential frustration from the learning process.
There's a good reason cotton quilts command about 42.7% of the market—their reliability, paired with affordability and breathability, is unmatched. And if you're curious about where the craft is headed, you can explore emerging trends in quilting materials to see some of the cool, sustainable options on the horizon.
Navigating Colors and Patterns
Walking into a quilt shop for the first time is a magical but potentially overwhelming experience. With so many gorgeous choices, where do you begin?
A fantastic starting point for beginners is a curated fabric collection like a fat quarter bundle. These are coordinating stacks of fabric, pre-selected by designers to work together perfectly. It takes the guesswork out of matching colors and prints, ensuring a beautiful result for your project.
When you feel ready to pick your own combinations, keep these principles in mind:
- Vary the Scale: Mix large, medium, and small-scale prints. This creates visual interest and texture, preventing your quilt top from looking flat.
- Balance with Blenders: Don't forget to include solid colors or fabrics with very subtle, tone-on-tone prints (called "blenders"). They provide a place for the eye to rest and make your bolder patterns stand out.
- Trust Your Taste: This is the most important rule. Choose fabrics that you absolutely love. You'll be spending a lot of time with them, so make sure they bring you joy!
The Crucial Step of Pre-Washing
You'll find quilters on both sides of the pre-washing debate, but for a beginner, our advice is simple: always pre-wash your fabric. Think of it as insurance for the time and effort you're about to invest in your project.
Pre-washing your fabric is a simple act of preparation that prevents future heartaches. It addresses the two biggest fabric-related issues: shrinkage and color bleeding.
Washing your fabric before you cut does two critical things. First, it pre-shrinks the cotton, so your finished quilt won't pucker or warp after its first real wash. Second, it rinses out any excess dye, which is especially important for deep reds or blues that can bleed onto lighter fabrics and ruin your work.
Simply wash your new fabric on a gentle cycle, dry it on low, and press it with a hot iron while it's still slightly damp. This will give you perfectly prepared, stable fabric that's ready for cutting.
Ready to find the perfect fabrics for your first project? Explore the gorgeous selection of fat quarter bundles at Linda's—they're curated to make any project a stunning success.
Mastering Core Quilting Techniques
Alright, you've gathered your tools and prepped your fabric. Now for the really fun part—transforming those beautiful pieces into a finished quilt top.
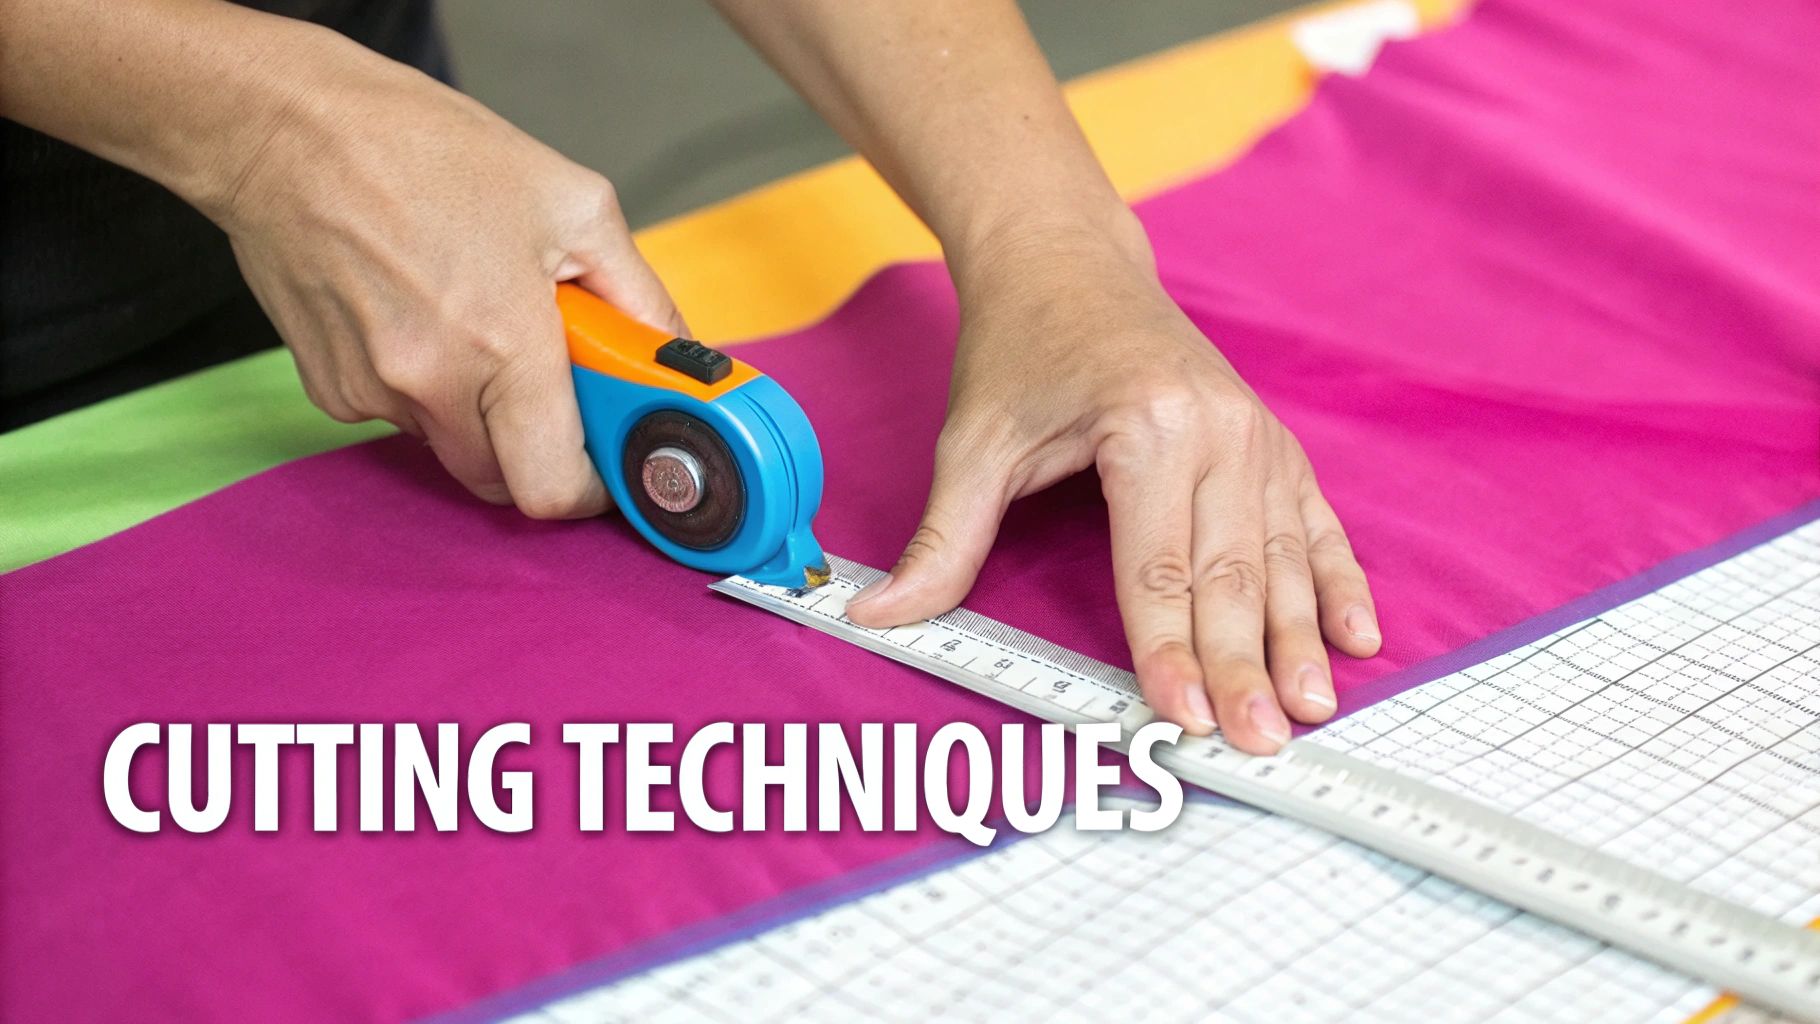
This is where you'll learn the three fundamental skills of every quilt: precise cutting, consistent sewing, and proper pressing. Your goal isn't immediate perfection, but rather building good habits and muscle memory. These are the pillars that will support all your future quilting projects.
Cutting your fabric is arguably the most critical step. If your cuts are inaccurate, your pieces won't fit together correctly, no matter how well you sew. Always use a sharp rotary blade, a clear acrylic ruler, and a self-healing mat. Standing up while cutting allows you to apply firm, even pressure directly over the ruler. Hold it securely with your non-dominant hand, keeping your fingers well away from the edge.
The All-Important Quarter-Inch Seam
Once your pieces are cut, the next essential skill is sewing a consistent quarter-inch seam allowance. In the quilting world, this measurement is everything. It is the bedrock of accuracy.
Nearly all quilting patterns are designed around this exact measurement. Even a tiny deviation can compound across a block, throwing off its final dimensions. Before sewing your project fabric, take two scraps and stitch them together. Use your ruler to measure the seam from the stitch line to the fabric's edge. Is it exactly 1/4 inch? If not, adjust your needle position or find a guide mark on your machine's throat plate to follow.
Pro Tip: One of the best tools a new quilter can buy is a quarter-inch sewing machine foot. This specialty foot has a built-in guide that makes it almost foolproof to sew a perfect quarter-inch seam every single time. It takes the guesswork out of the equation.
A great DIY hack is to place painter's tape or a stack of sticky notes on your machine bed to create a physical guide for your fabric. Experiment to see what works for you, but whatever method you choose, consistency is the goal.
Sewing and Pressing Your Seams
With your seam allowance dialed in, you're ready to start piecing. Place two fabric pieces with their right sides facing each other, aligning the edges to be sewn. As you feed them through the machine, let the feed dogs do the work; your job is simply to guide the fabric straight.
After a seam is sewn, pressing it correctly is just as important as sewing it accurately. A good press helps your blocks lay flat and ensures your points line up crisply. The golden rule is to press, not iron. This means lifting and setting the iron down on the seam rather than scrubbing it back and forth, which can stretch and distort your fabric.
This simple infographic shows how these steps work in harmony.
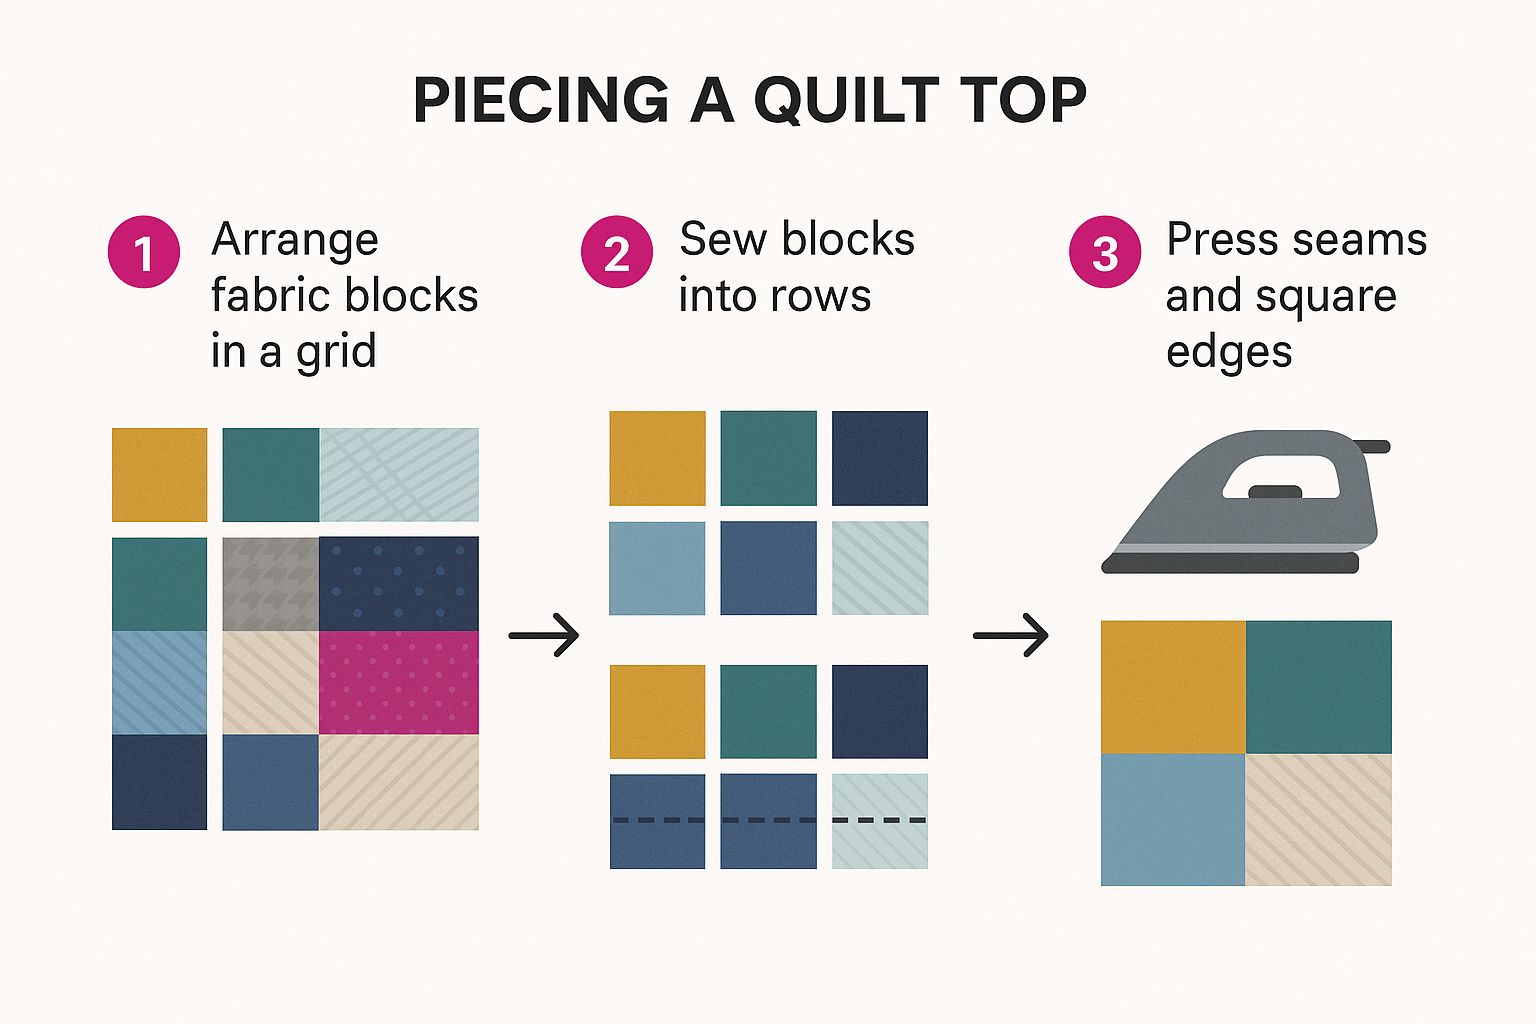
Arranging, sewing, and pressing—it’s a simple workflow that creates a flat, accurate foundation for every quilt block you make.
Building Efficient Quilting Habits
As you get more comfortable, you can start using time-saving techniques like chain piecing. This is a game-changer for efficiency. Simply feed pairs of fabric through your machine one after another without snipping the threads in between. You'll end up with a long "chain" of connected units that you can cut apart later.
This simple trick accomplishes a few things:
- It saves a surprising amount of thread.
- It significantly speeds up your piecing.
- It helps you get into a smooth rhythm, which often leads to more consistent sewing.
One last tip on pressing: a common practice is to "press seams to the dark side," meaning you press the seam allowance toward the darker of the two fabrics. This sets you up for success later. When you join these units to other pieces, you can "nest" the seams by tucking the opposing seam allowances right up against each other. It’s the secret to achieving perfectly matched points where corners meet.
These core skills are the building blocks for every single quilt you'll ever make. To ensure your beautiful work lasts, always start with a high-quality thread. We have beautiful and reliable 100% cotton threads at Linda's that will give your project the strong, durable foundation it deserves.
Your First Project: A Simple Patchwork Coaster
You've learned the techniques—now it's time to put them into practice and make something. A simple patchwork coaster is the perfect first project. It's small, quick, and allows you to practice every skill we've discussed—cutting, piecing, quilting, and binding—on a manageable scale.
We're going to walk through creating a classic four-patch quilt block, making your quilt sandwich, and finishing it with quilting and binding. Let's dive in!
Gathering Your Coaster Materials
For this mini-project, you only need a few fabric scraps and a small piece of batting. This is a great way to use up leftover bits or test-drive a new fabric collection without a big commitment.
Here’s your materials list for one coaster:
- Two different quilting cotton fabrics: You’ll need two squares from each fabric, cut to 2.5 x 2.5 inches. This gives you four squares total.
- One square of batting: Cut this to 5 x 5 inches.
- One square of backing fabric: This also needs to be 5 x 5 inches.
- One strip of binding fabric: Cut this 2.25 inches wide by about 22 inches long.
Think of this coaster as the entire quilting process in miniature. Every single step—from cutting your squares to stitching on the binding—is exactly what you'll do on a full-size quilt. Mastering this small project is fantastic for building the muscle memory you'll rely on for bigger things.
Assembling Your Coaster
With all your pieces accurately cut, it's time to assemble your four-patch block. This is a foundational quilt block and a great way to perfect your seam accuracy.
Creating the Quilt Top:
- Take one square of Fabric A and one of Fabric B. Place them right sides together and stitch along one edge, using your precise quarter-inch seam allowance.
- Repeat with the remaining two squares. You now have two identical two-patch units.
- Press your seams. On one unit, press the seam allowance toward Fabric A. On the second unit, press it toward Fabric B. This crucial step allows your center seams to "nest" together for a perfectly matched center point.
- Place your two units right sides together, aligning the edges. You should feel the center seams lock into place. Pin them together and sew along the unsewn edge.
- Press this final seam open to reduce bulk in the center. Your four-patch coaster top is now complete!
Quilting and Finishing Your Project
You're in the home stretch! Now it's time to assemble the quilt sandwich and add the professional finishing touches.
First, create the "quilt sandwich." Lay your 5x5 inch backing fabric face down, place the 5x5 inch batting square on top, and center your finished four-patch top right-side up. A few pins through all layers will baste them together and prevent shifting.
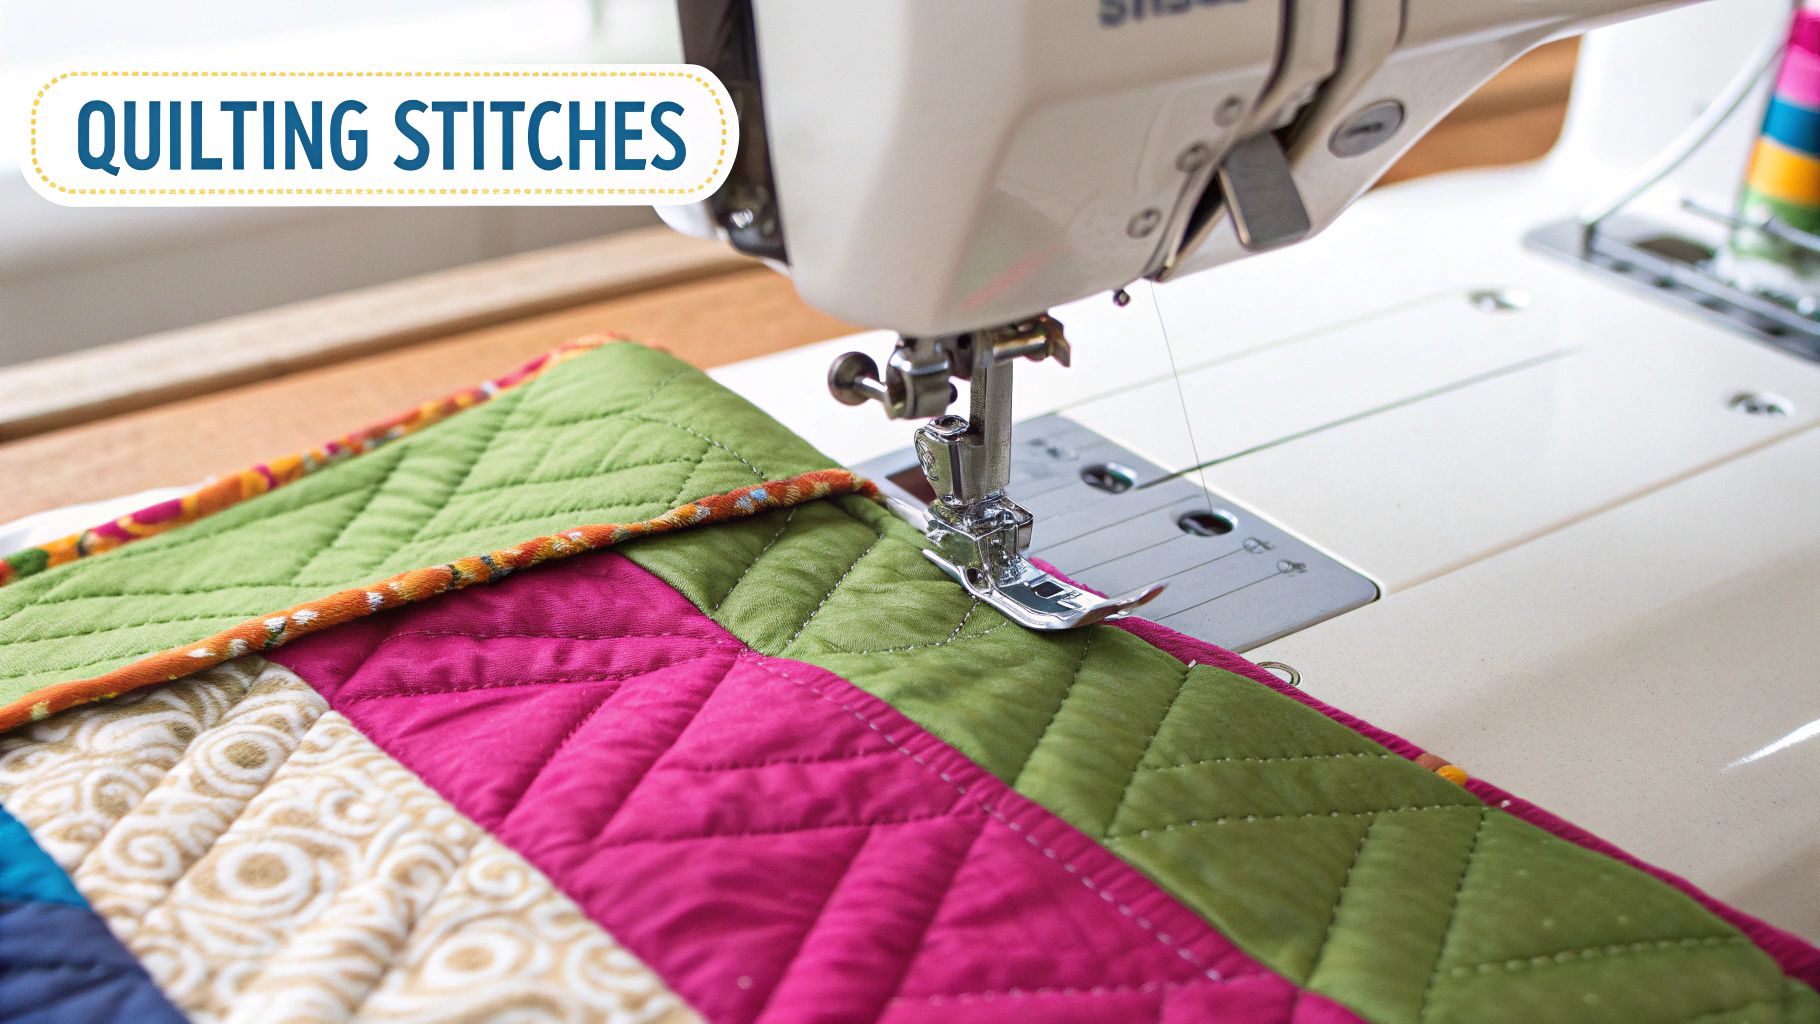
Next, it's time to quilt your coaster. If you have a walking foot for your machine, now is a great time to use it. You can stitch "in the ditch" (right along your existing seam lines) or quilt a simple grid by sewing a quarter-inch away from each side of the seams.
Finally, trim the excess batting and backing so everything is flush with your quilt top. Grab your 2.25-inch binding strip and use it to encase the raw edges for a clean, durable finish.
Congratulations—you've officially completed your first quilting project! To make it even easier, you can grab one of the complete coaster project kits at Linda's. They come with all the pre-cut fabrics and supplies you need to create a beautiful set right out of the box.
Common Quilting Questions Answered
As you begin your quilting journey, questions are a natural part of the learning process. Here are answers to some of the most common queries from new quilters.
The biggest hurdles for beginners are almost always inaccurate cutting and an inconsistent seam allowance. Quilting is a precision craft, and even a tiny error with a ruler or at the sewing machine can throw off an entire block.
The best way to avoid this is to always use a sharp rotary blade—change it more often than you think you need to. Before starting a project, stitch a test seam on a scrap and measure it to confirm you're hitting that perfect quarter-inch. A dedicated 1/4" sewing machine foot is a game-changer for accuracy and one of the best investments you can make.
Pressing Questions and Clear Answers
Let's dive into some of the most common questions I hear from quilters who are just starting out.
Do I really have to pre-wash my fabric?
While you'll find quilters on both sides of this issue, we strongly recommend that beginners pre-wash their fabric. It accomplishes two important things: it pre-shrinks the fabric before you sew, so your finished project stays flat and square after washing. It also removes excess dye that could otherwise bleed onto lighter fabrics. Think of it as essential insurance for all your hard work.
What does 'basting' mean in quilting?
Basting is the process of temporarily securing the three layers of your quilt "sandwich" (top, batting, and backing) together before quilting. If you skip this step, the layers can shift during quilting, causing puckers and tucks on both the front and back of your quilt.
The secret to a smooth, professional-looking quilt is a good baste. Most beginners have great luck with either curved safety pins placed every few inches or a temporary fabric spray adhesive.
Can I quilt by hand instead of using a machine?
Absolutely! Hand quilting is the traditional method and a wonderfully relaxing, portable craft. You can piece your top and add the final quilting stitches entirely by hand with just a needle and thread. It is a slower process, but it offers incredible control and creates a soft, classic texture that can't be replicated by a machine. You'll just need a few specialty tools, like a thimble and short, strong needles called 'betweens'.
Feeling more confident? Let's keep that creative energy flowing! Here at Linda's Electric Quilters, we have all the high-quality fabrics, notions, and tools you need to bring your vision to life. Come explore our amazing selection and find your next inspiration at https://lindas.com.


