If you're just dipping your toes into the world of quilting, a simple block quilt pattern is the absolute best place to start. Think of it as your friendly introduction to patchwork. You'll be working with basic shapes like squares and rectangles, sewing them together to create a larger, beautiful design.
It's a wonderfully forgiving first project that lets you build your quilting muscles, one stitch at a time. This guide is designed to be an educational resource, walking you through each step of the process so you can finish your project with confidence.
Why Start with a Simple Block Quilt
Jumping into your first quilt can feel a little daunting, but choosing a simple block pattern really sets you up for a win. These designs are a classic for a reason—they give you a clear, uncomplicated path to making something you can be proud of. The whole process is broken down into small, repeatable chunks, which is perfect when you're just learning the ropes.
The magic of a block quilt is in its repetition. You'll truly master the core skills because you get to practice them over and over. With every block you finish, you'll notice your cutting gets straighter, your seams get more consistent, and your confidence gets a huge boost. It’s all about nailing those fundamentals before you tackle something more complicated.
Building Foundational Skills
Starting simple means you can really zoom in on the skills that matter most, without getting sidetracked by complex patterns. A basic block is the perfect training ground. You’ll get tons of practice with:
- Accurate Cutting: Getting comfortable with a rotary cutter and ruler is everything. Simple squares and strips are the perfect low-stakes shapes to practice on until it feels like second nature.
- Consistent Seam Allowances: That perfect quarter-inch seam is the secret sauce for points that match up and blocks that lie flat. Repetition is key here!
- Proper Pressing: You’ll quickly learn when to press your seams open and when to press them to one side. It seems like a tiny detail, but it makes a world of difference in your finished quilt top.
- Basic Block Construction: It all comes down to understanding how individual fabric pieces fit together to become a block. This is the bedrock of all patchwork.
By focusing on just one simple block, you create a really relaxed space to perfect these skills. This turns learning from something intimidating into something genuinely fun, making sure your first quilting experience is a great one.
Ready to start creating? You can find all the gorgeous beginner-friendly fabrics and tools you’ll need to get started over at Linda's Electric Quilters. Our team has curated an amazing collection to help you finish your project beautifully.
Gathering Your Essential Quilting Tools
Before you even think about cutting a single piece of fabric, let's talk about what you'll be cutting with. Honestly, having the right tools in your corner is what separates a joyful, relaxing afternoon of quilting from a frustrating mess of wonky seams.
For a simple block quilt pattern like this one, you don't need a whole studio's worth of gear. Just a few key items will make sure your cuts are crisp, your seams are straight, and the finished quilt is something you can be proud of.
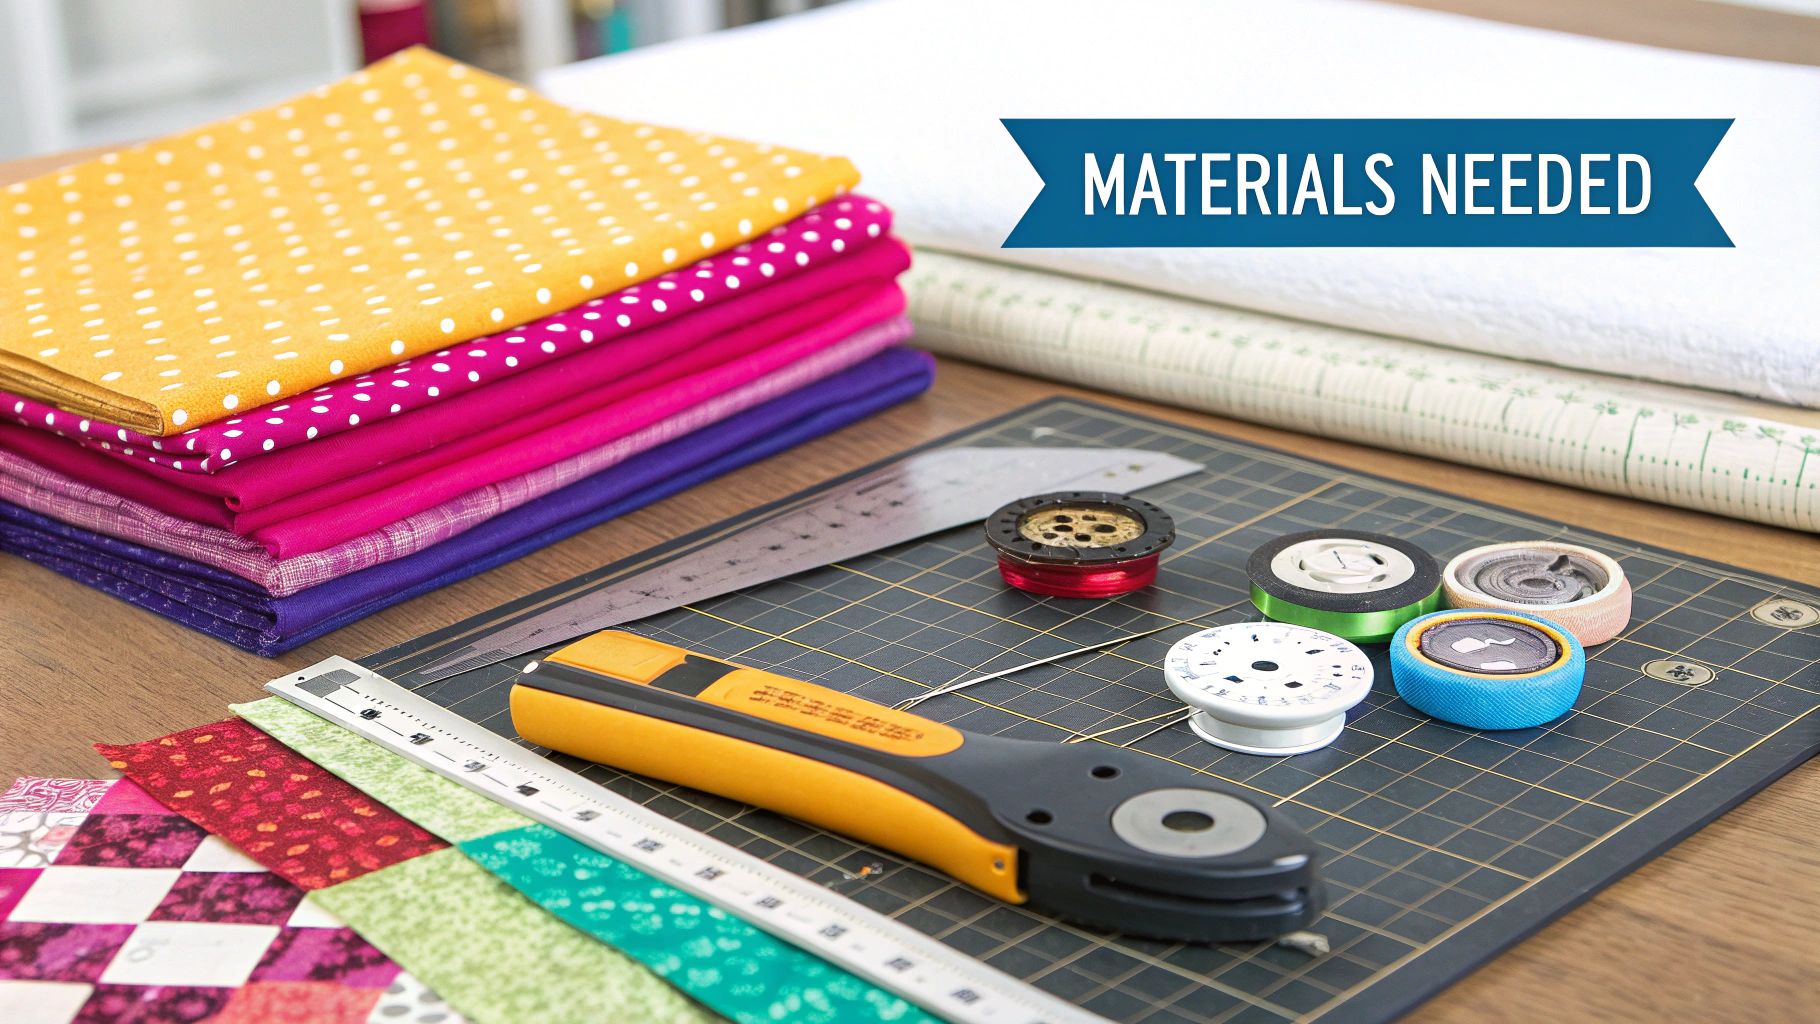
Of course, great tools need great fabric. I always tell beginners to stick with high-quality, 100% cotton. It's the gold standard for a reason—it behaves beautifully, presses like a dream, and holds its shape. Fun fact: the rise of affordable cotton in the mid-19th century is what really kicked off the quilting boom, making these simple block quilts accessible to everyone. You can dive deeper into how fabric availability shaped this timeless art if you're a history buff like me.
The Essential Toolkit for Your First Block Quilt
To get started, let's build your foundational toolkit. These are the workhorses you'll reach for again and again, so think of them as an investment in your new favorite hobby.
| Tool | Primary Function | Pro-Tip for Beginners |
|---|---|---|
| Rotary Cutter | Swift, precise fabric cutting | A 45mm cutter is the perfect all-rounder. Always start a new project with a fresh blade—it makes a world of difference! |
| Self-Healing Mat | Protects your table and blade | Go for a 24" x 36" mat if you have the space. It gives you plenty of room to cut long strips without shifting your fabric. |
| Quilting Rulers | Guides for accurate cuts | Start with a 6" x 24" for strips and a 12.5" square for trimming blocks. Look for rulers with clear markings you can read easily. |
These three tools are the holy trinity of quilting. They work together to give you the accuracy you need for patchwork that lines up perfectly.
At Linda's, we've taken the guesswork out of it and put together a fantastic selection of tools that are perfect for getting started. Check out our collection of high-quality cutters, mats, and rulers to find everything you need. Setting yourself up for success from day one makes the whole process so much more fun.
How to Sew a Perfect Nine Patch Block
Alright, let's get to the good stuff—turning those neat stacks of fabric into a beautiful quilt block. We’re going to tackle the iconic Nine Patch, a true cornerstone of classic quilt design. It's simple, elegant, and the perfect block to really hone your piecing skills.
The Nine Patch isn't just a pretty pattern; it’s steeped in history, with roots reaching back to at least the mid-1800s here in America. It was often the very first block young quilters learned, a practical way to ensure not a single precious scrap of fabric went to waste. You can dive deeper into its story and place in quilting history over at the Quilt Discovery Experience.
Before you even think about cutting, take a moment to plan your fabrics. The right combination can make all the difference.
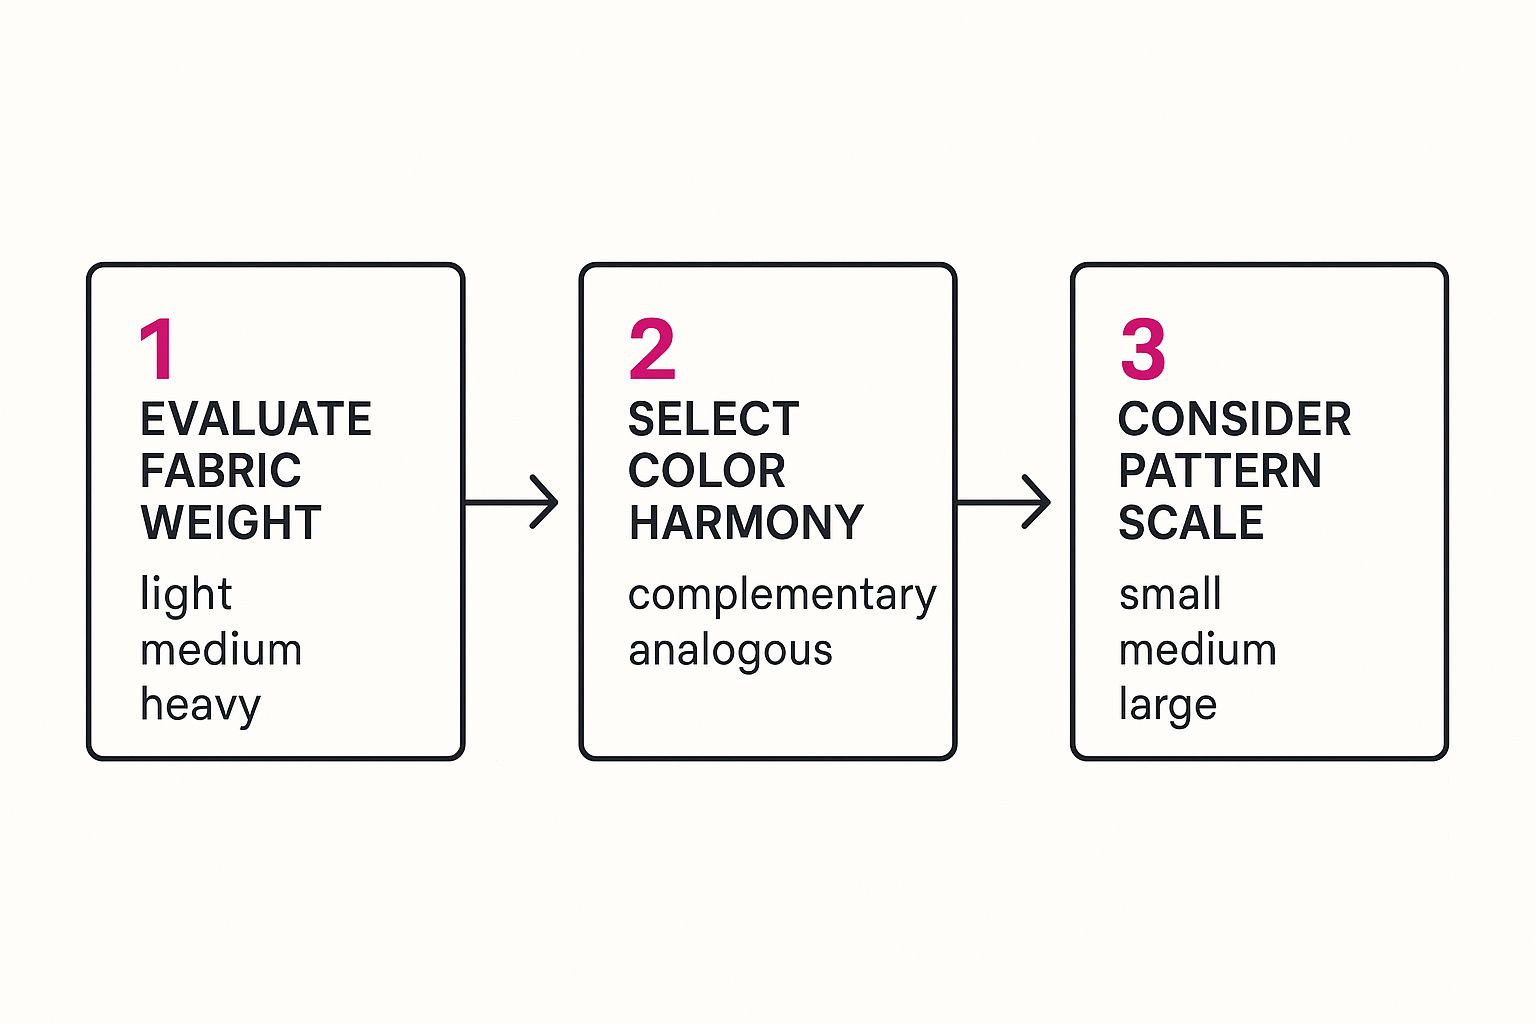
Walking through these steps—from the practical feel of the fabric to the artistic play of color and scale—is how you end up with a block that just sings.
Mastering the Quarter-Inch Seam
Before we start sewing, we need to have a little chat about the most critical skill in all of quilting: the perfect quarter-inch seam allowance. I’m not kidding. Nearly every pattern you'll ever use is built on this exact measurement. If your seams are off, even by a hair, your blocks just won't fit together properly. It’s a recipe for frustration.
So, how do you nail it? Don't just eyeball it. Get yourself a specialty quarter-inch presser foot for your sewing machine. It has a little metal guide that you run your fabric edge against, which makes sewing a consistent seam almost automatic.
Pro-Tip: Take a few scraps and sew some test seams. Pull out your quilting ruler and measure them. Are they exactly a quarter-inch? If not, adjust your needle position and try again until it's perfect. This five-minute check will save you hours of headache down the road.
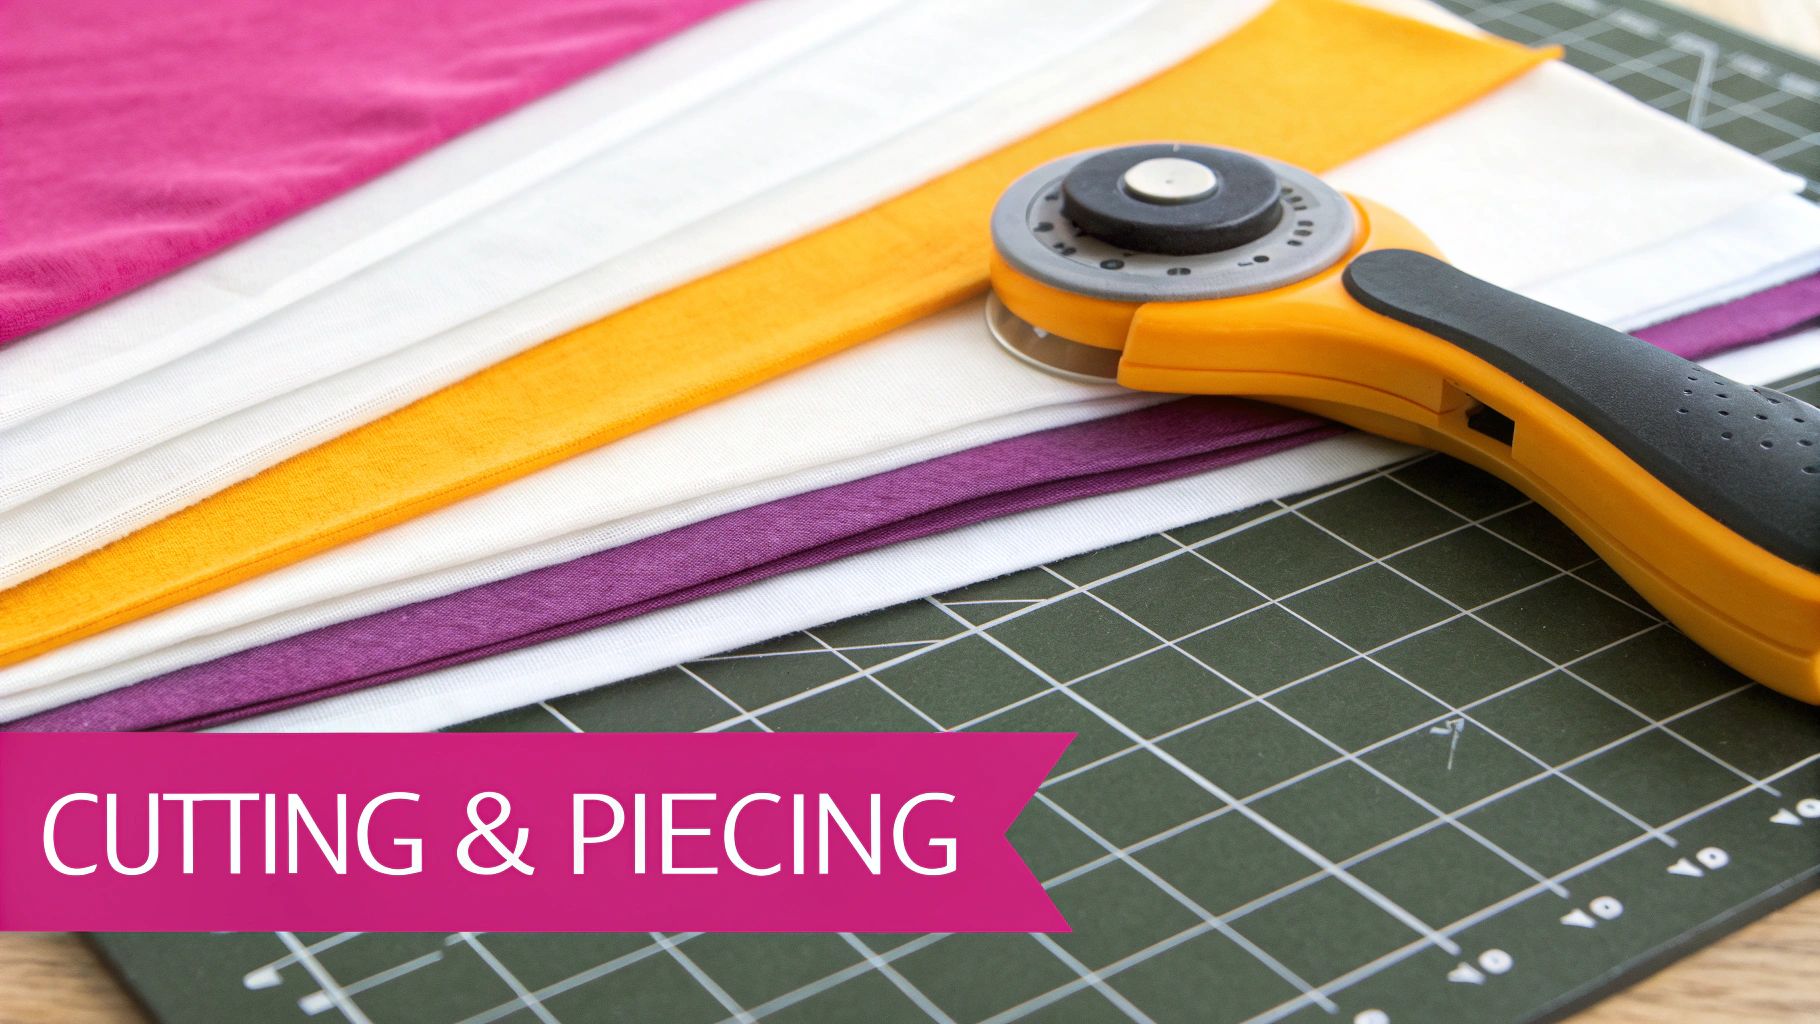
Piecing Your Block with Speed and Accuracy
A Nine Patch block is, you guessed it, made of nine squares. To join them efficiently, you’re going to fall in love with a technique called chain piecing. Instead of sewing two squares together, cutting the thread, and picking up the next pair, you just keep feeding them through the machine one after another. It’s a huge time-saver.
Here’s the game plan for assembling your block:
- Lay it all out. First, arrange your nine squares into a 3x3 grid, just like it will look when it’s finished. This helps you keep your colors and patterns straight.
- Chain piece the rows. Pick up the first and second squares of your top row and sew them together. But don't cut the thread! Just feed the first and second squares of the middle row right in behind them, followed by the pair from the bottom row. You'll have three pairs connected by a little thread chain. Snip them apart, and repeat the process to add the third square to each row. Now you have three completed rows.
- Press for success. Pressing is everything! Here’s the trick: for the top and bottom rows, press your seams toward the darker fabric. For the middle row, press the seams in the opposite direction. This is called "nesting."
When you go to sew the rows together, those opposing seams will lock into each other perfectly. It’s the secret to getting those sharp, professional-looking points where your corners meet.
And speaking of a smooth process, the right thread makes a world of difference. To find one that glides through your fabric without snagging or breaking, check out the incredible selection of quilting threads at Linda's. A quality thread really does make every stitch a pleasure.
Putting It All Together with Sashing
You’ve got a beautiful stack of finished Nine Patch blocks, and now the real fun begins. This is where your quilt’s personality truly comes to life, as all those individual pieces start to look like a cohesive, stunning quilt top.
How you arrange your blocks can completely transform your quilt. It’s a key part of any simple block quilt pattern. You could go for a classic grid, or maybe rotate every other block to create some exciting movement.
My favorite part of the process is laying all the blocks out on the floor or a big table and just playing around. Move them, swap them, turn them. You’ll be amazed at how a tiny tweak can create an entirely new look.
Why Sashing and Cornerstones Are Your Best Friends
Sashing is simply the fabric strips you sew between your blocks. Think of it as a frame for each little work of art. It serves a couple of important jobs: it adds size to the quilt and, more importantly, it gives your blocks some breathing room. This makes the whole design feel less crowded and more deliberate.
If you want to add an extra touch of classic charm, you can also pop in cornerstones. These are just small squares of fabric that sit right where your sashing strips intersect.
- Sashing Strips: You'll cut these to the exact finished length of your quilt blocks.
- Cornerstones: These are cut to the same width as your sashing strips, forming perfect little squares.
A bold, contrasting sashing will make your block colors pop right off the fabric. On the other hand, a coordinating fabric will create a softer, more blended feel. There's no wrong answer—it’s all about the look you’re going for!
Nailing the Measurements for Sashing
When it comes to sashing, precision is everything. If your strips are even slightly off, you can end up with a wavy, puckered quilt top that's a real headache to quilt later on.
Here’s a pro tip: always measure through the center of your block to figure out the right length for your sashing. The outer edges can sometimes stretch a bit during piecing, so they aren't as reliable.
The secret to a perfectly flat, square quilt top is gentle handling. Be extra careful with any fabric strips, especially those cut on the bias, to avoid stretching them out of shape. Always pin your sashing to the blocks before sewing to keep everything perfectly aligned.
Start by sewing the vertical sashing strips to one side of each block in a row, then join the sashed blocks together. Once your rows are complete, you'll create long horizontal sashing rows (with cornerstones added in, if you're using them) to sew between the block rows.
To get those perfectly straight cuts, a good ruler is non-negotiable. Linda's has a fantastic selection of quilting rulers and cutting tools built for the kind of accuracy this step demands. The right tools make all the difference.
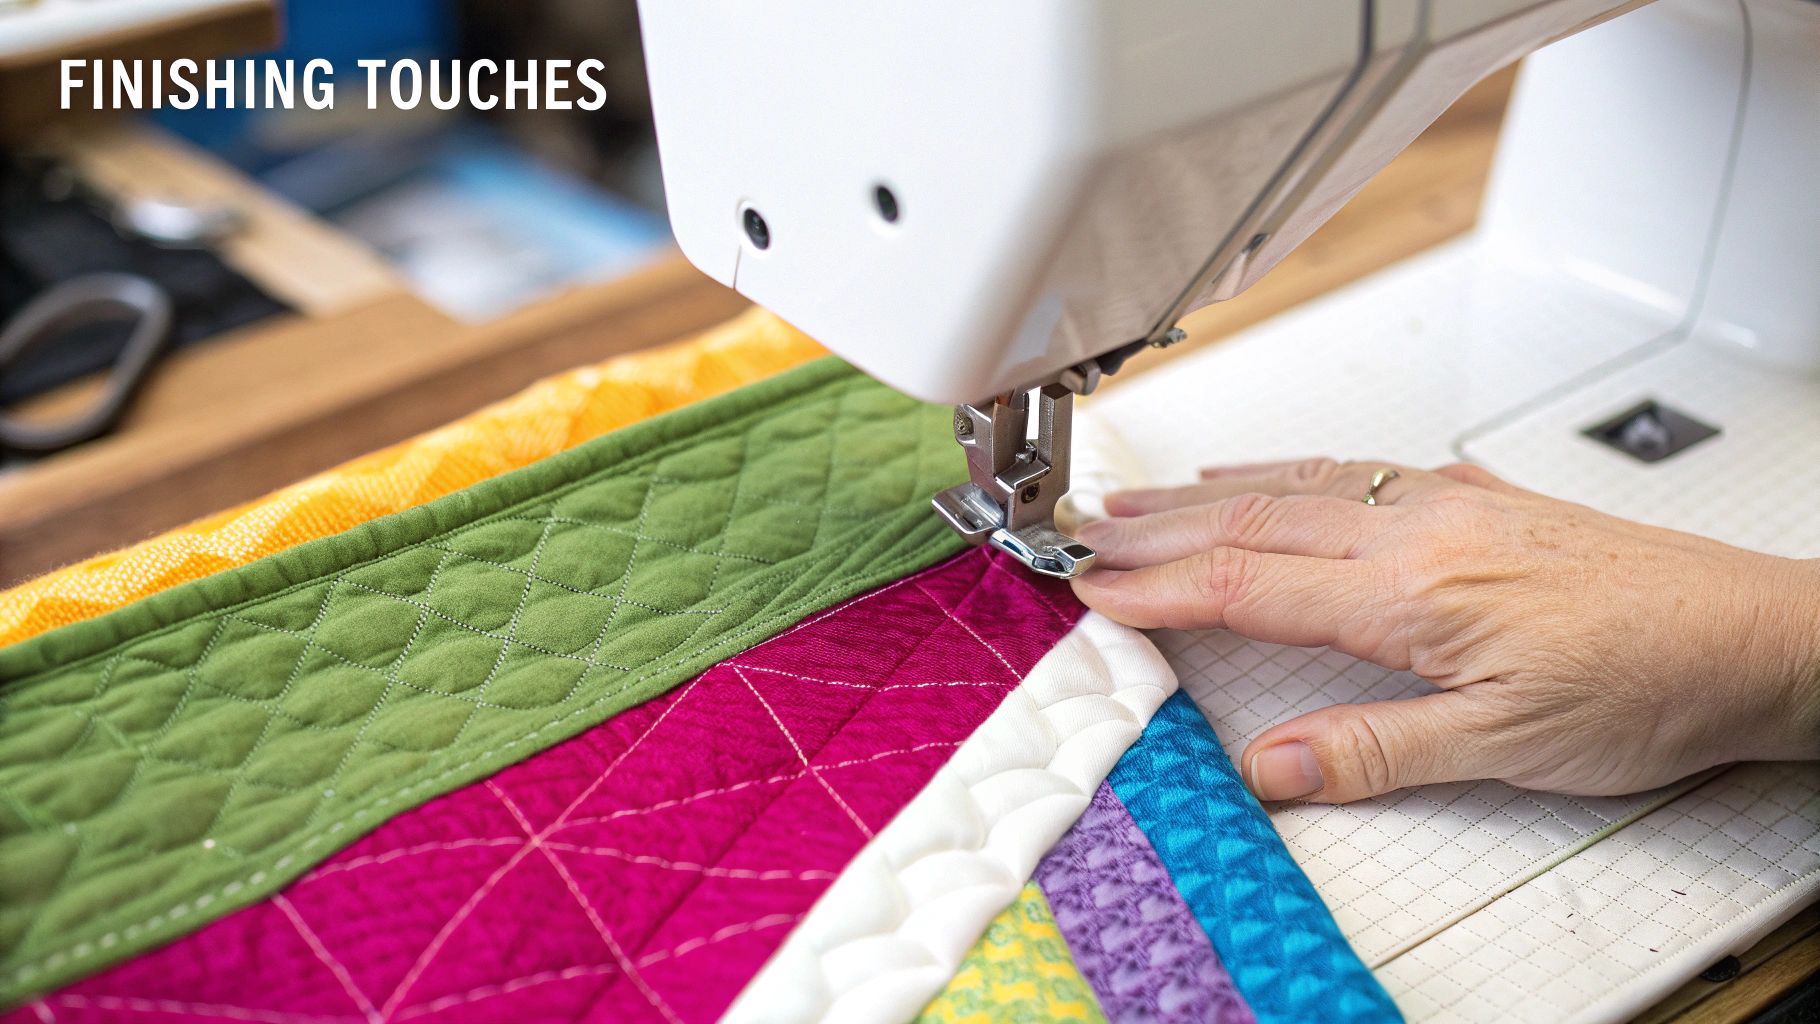
Bringing It All Together: From Sandwich to Binding
This is where the magic really happens. Your pieced top is about to become a real, honest-to-goodness quilt you can snuggle under. Don't be intimidated by these final steps; we'll tackle them one layer at a time, starting with the classic "quilt sandwich."
First, lay out your backing fabric with the wrong side facing up. Next comes the batting, followed by your beautiful quilt top, right side up. The real trick here is patience. Spend a few minutes smoothing every single wrinkle and pucker out of each layer. A perfectly smooth sandwich is the secret ingredient for a finish that looks like it came from a pro.
Pinning It All in Place
Now that your sandwich is made, you need to make sure it stays that way. This is called basting, and it’s just a temporary way to hold everything together so it doesn’t wiggle around while you’re quilting. For your first quilt, safety pins are your best friend.
- Pin Basting: Pop a safety pin in every 4-6 inches all over the quilt. I always start in the very center and work my way out to the edges—it helps keep everything flat.
- Other Options: Some quilters swear by spray adhesive. It’s definitely faster, but you’ll want to make sure you have plenty of fresh air and a space you don't mind getting a little sticky.
The whole point is to get those three layers to act like one piece of fabric. This little bit of prep makes the actual quilting so much easier. Speaking of which, for a simple block quilt pattern, you don't need to get fancy.
My favorite technique for beginners is “stitching in the ditch.” All you do is quilt right along the existing seam lines of your blocks. It’s clean, almost invisible, and really lets your piecing shine.
The Perfect Frame for Your Quilt
Last but not least, it’s time to bind the quilt. The binding is that neat fabric border that covers all the raw edges. You'll cut long strips of fabric, usually 2.5 inches wide, sew them together end-to-end, and press the whole thing in half lengthwise to create a strong double-fold binding.
You’ll sew the raw edge of this binding strip to the front of your quilt, then wrap it around to the back. You can stitch it down by hand for a traditional look or use your machine to finish it off quickly. Either way, you get a crisp, durable edge.
Getting these final steps just right is so much easier with the right gear. You can find everything you need, from fluffy batting to handy binding tools at Linda's, to give your project that perfect, polished touch.
Common Questions About Block Quilting
As you get started, a few questions always seem to pop up. Let's tackle some of the big ones.
The age-old debate: to pre-wash or not to pre-wash? Honestly, it comes down to personal preference, but I always recommend it for beginners. Giving your cotton fabric a quick wash first helps prevent any surprises later on. It gets rid of potential shrinkage and stops vibrant colors from bleeding, so your finished quilt looks just as beautiful after its first wash as it did on your sewing table.
Then there's the question of thread. What color should you use? My go-to advice is to stick with a neutral shade. A good gray, beige, or even an off-white is incredibly versatile and will blend in seamlessly with almost any fabric palette you choose. Your stitches will just disappear!
And remember, the skills you're learning here go far beyond just making blankets. While this guide has you focused on a simple block pattern, these same techniques are the foundation for so much more. You could create smaller projects, like a cozy baby quilted vest coat or a set of placemats. Once you have the basics down, your creativity is the only thing holding you back!
Ready to bring your vision to life? For all your quilting fabrics, high-quality threads, and essential notions, head over to Linda's Electric Quilters. You can find everything you need at https://lindas.com.


