
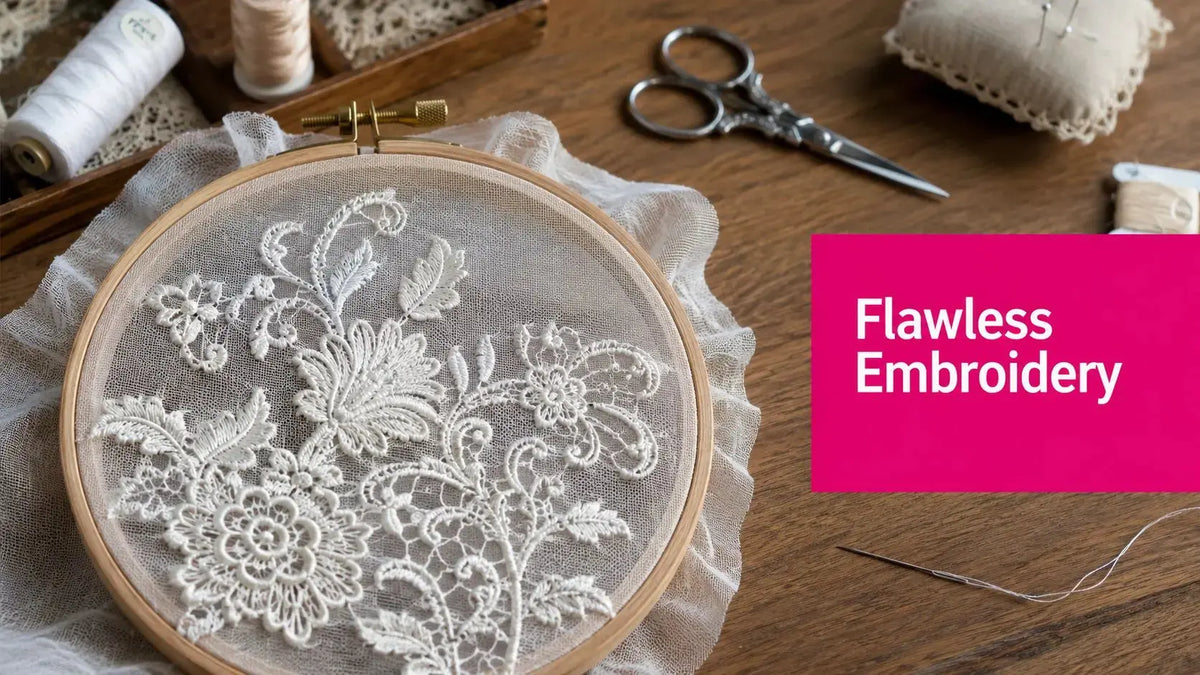
You've probably seen this happen. The design stitches beautifully, the thread looks clean, and then the finished piece feels stiff, scratchy, or slightly puckered because the wrong stabilizer stayed behind or the right one wasn't removed correctly.
Wash away stabilizer is the answer when you want support during stitching but no backing left in the final hand of the project. That's why it's the standard choice for freestanding lace, delicate fabrics, and embroidery that needs to stay soft and flexible. The trick isn't just knowing how to use wash away stabilizer. It's knowing which type to use, how to hoop it, and why water temperature and agitation matter during removal. Our team in McKinney, Texas, tested these methods on our own embroidery setups and found that the cleanest finishes come from disciplined prep, not from trying to fix residue later.
If you're gathering supplies before your next stitch-out, it's worth browsing the notions and stabilizer options at Linda's so you can match the material to the project instead of forcing one stabilizer to do every job.
The Secret to Soft Flexible Embroidery Finishes
A clean embroidery finish starts before the first stitch. If the project needs temporary support but should feel soft when it's done, wash away stabilizer gives you that support during stitching and then dissolves in water so the embroidery can flex naturally.
That matters on pieces where leftover backing would spoil the result. Freestanding lace is the obvious example, but it also matters on sheer fabrics, open designs, and projects where the back needs to stay unobtrusive. On the machine side, correct stabilization also helps tensioning stay more predictable and reduces distortion while the needle penetrates dense areas.

Why soft hand matters
A design can look excellent in the hoop and still fail in use if it feels boardy. That's usually the result of one of three mistakes:
- Wrong stabilizer choice for the fabric or design density
- Poor hooping that distorts the base before stitching even begins
- Incomplete removal that leaves film or clumped residue in the stitches
Practical rule: If the finished project should feel like fabric and thread, not fabric, thread, and backing, wash away stabilizer belongs on your shortlist.
In the shop, we treat stabilizer choice the same way we treat needle selection or bobbin setup. It's a structural decision. A soft finish doesn't come from luck. It comes from matching the stabilizer's job to the design's demands.
Where it works best
Wash away stabilizer shines when you need temporary structure and a clean finish. Typical uses include:
- Freestanding lace
- Satin-stitched edges
- Topper use on lofty fabrics
- Delicate or semi-sheer fabrics
- Small patch edges where visible backing would be distracting
If your goal is a project that stays supple after rinsing, learning how to use wash away stabilizer correctly saves a lot of frustration at the sink and at the pressing board.
Selecting the Right Wash Away Stabilizer for Your Project
Choosing wash away stabilizer is the first real technical decision in the process. On our machines, the wrong type shows up fast. Stitches sink, edges wobble, or a lace design looks fine in the hoop and falls apart in the rinse. The core choice is film versus fibrous wash-away stabilizer, and each one solves a different problem.

Film versus fibrous
Film is for surface control. Fibrous is for structure.
That distinction matters because the needle, thread, and fabric are all reacting to the stabilizer while the design builds. Film lays over lofty fabric and keeps the top stitches from dropping into the pile. Fibrous wash-away has more body, so it can carry dense stitch formation until water removes it.
| Wash-Away Stabilizer Comparison | Best For | Key Characteristic |
|---|---|---|
| Film | Towels, fleece, velvet, other fluffy fabrics | Acts as a topper to keep stitches from sinking into loft |
| Fibrous | Freestanding lace, satin-stitched edges | Provides stronger temporary support during stitching |
| Layered combination | Project-specific setups with multiple support needs | Uses different stabilizers for different jobs in the same embroidery stack |
For freestanding lace and satin-stitched edges, the setup needs to resist pull from several stitch directions at once. That is why two crossed layers of fibrous wash-away stabilizer, one horizontal and one vertical, work better than a single sheet, as outlined by Embroidery Hoop Store's wash-away stabilizer guidance.
Clear film still has an important place. It just does not provide the backbone that freestanding lace needs.
Match the stabilizer to the project
A few choices are straightforward once you focus on the job the stabilizer is doing during stitching:
- For freestanding lace: use fibrous wash-away stabilizer, not film.
- For towels and fleece: use clear film as a topper so the stitches stay above the nap.
- For dense decorative edges: choose a wash-away with enough body to keep the edge from collapsing before rinse-out.
- For projects where softness matters after washing: use wash-away only if the design does not need permanent backing.
Fabric choice matters here too. If you are stitching counted or decorative work on linen, 100% Rustic Linen 13ct 15" X 18" is a 13-count rustic linen suitable for cross-stitch and embroidery. It is not Aida. That difference matters because linen handles tension, needle penetration, and distortion differently than Aida does. Follow the product care guidance: hand wash in cool to lukewarm water, skip detergents with additives, and press on a low setting with a press cloth.
What doesn't work
One generic wash-away product will not cover every job well. Film used under lace usually lacks the support for dense connecting stitches. Fibrous backing placed on top of plush fabric does not control sinkage the way clear film does.
The reason is mechanical, not cosmetic. Stabilizer affects how the thread column forms, how the fabric surface supports the stitch, and how cleanly the piece rinses out later. For readers learning how to use wash away stabilizer, this is the first fork in the road. Get this choice right, and the project has a much better chance of finishing soft, clean, and stable.
Proper Hooping and Layering Techniques
Once you've chosen the right stabilizer, hooping decides whether the machine can do its job cleanly. Good hooping supports the design without stretching the stabilizer out of shape. Bad hooping creates drag, distortion, and uneven stitch formation that no amount of rinsing will fix later.

Build a stable hoop sandwich
For most embroidery, the goal is a taut hooping surface, not a stretched one. The stabilizer should sit smooth and supported. The fabric should be secure without being pulled off grain. On machine embroidery, that balance helps the top thread, bobbin draw, and needle penetration stay consistent.
For freestanding lace, layering matters more than hoop tension alone. The crossed fibrous layers create a temporary grid that resists shifting while the stitch field builds.
A practical setup looks like this:
- Cut enough stabilizer to extend beyond the hoop comfortably.
- Place the layers smoothly without wrinkles or buckling.
- Hoop firmly so the stabilizer is secure but not distorted.
- Add the fabric only if the project requires a fabric base.
- Check the surface by touch before stitching. It should feel stable, not strained.
Our team in McKinney, Texas, tested this on an embroidery machine setup and found that a properly hooped stabilizer stack reduced the kind of flex that often throws off dense satin edges. If you need general machine prep help before stitching, a related machine embroidery tutorial is worth keeping open in another tab.
Use adhesives carefully
Temporary adhesive can help when floating fabric over stabilizer, but use it with restraint. You want the fabric secured, not saturated. Too much adhesive changes the hand, attracts lint, and can make cleanup less pleasant around the needle area.
If you're shopping for setup tools, the embroidery supplies collection is one place to compare hoops and other notions used during prep.
Pro tip: Store wash-away stabilizer in zip-top bags. Exposure to air over long periods can cause fibrous toppings and stabilizers to degrade or stick together, which compromises how they behave in the hoop, as noted in this video guidance on stabilizer handling.
Stitching and Preparing for Removal
Stitch the design with the same discipline you used in setup. Dense files benefit from a quick tension check before you commit the full run. If the design is especially packed, slowing the machine a bit can help keep penetration cleaner and reduce the chance of tearing the stabilizer during sharp directional changes.
The most overlooked step comes after the machine stops. Trim the excess stabilizer before any rinsing starts. That single move changes how the stabilizer dissolves and whether you end up with a clean finish or a sticky mess.
Trim close before water hits it
Users should trim the excess to within a quarter inch of the design before rinsing, which helps prevent clumping and residual bits on the fabric, according to M Creative J's wash-away stabilizer instructions.
That quarter-inch margin gives you enough support around the stitch field while removing the bulk that would otherwise soften into gummy fragments in the rinse. On patches and lace edges, precision matters. A clean trim line means less dissolved material to chase out of dense stitching.
What to keep nearby at this stage
- Small sharp scissors for controlled trimming
- Good lighting so you don't nick satin edges
- A flat work surface to keep the project from twisting while you cut
Precision tools demonstrate their value. A sloppy trim creates cleanup work later. A careful trim makes removal faster and helps the finished embroidery stay soft.
The Art of a Clean Rinse and Troubleshooting Residue
Rinsing isn't the easy part. It's the technical part. Most problems people blame on the stabilizer come from poor removal habits, especially dropping the whole project into water and hoping time does the work.

Use warm water and movement
To remove washaway stabilizer from finished embroidery or piecing, the project should be soaked in warm water and swished flat until completely dissolved, then rolled in a flat terry cloth towel and squeezed dry before laying flat to block out, as shown in this warm-water washaway removal demonstration.
That “swished flat” part matters. Agitation helps the dissolved stabilizer leave the stitch field instead of hanging in it. In our own testing on dense embroidery samples, the pieces that got active movement rinsed cleaner than the ones left sitting still.
Handle stubborn residue without roughing up the stitches
When residue lingers, don't jump straight to aggressive scrubbing. Try these adjustments first:
- Increase agitation gently by swishing the piece flat under water
- Rinse under running water if dense areas are holding softened stabilizer
- Add a mild helper if the stabilizer brand is sticky and water alone isn't enough
Some embroiderers use a softener or mild detergent in the rinse when residue is stubborn. If you prefer a lower-additive option for fabric care, a sustainable fabric care solution can be a useful reference point when you're evaluating what to keep in your laundry area for post-stitch cleanup.
Don't wring embroidery. Roll it in a towel, squeeze, and let it dry flat so the stitches keep their shape.
Drying and pressing without creating new problems
Lay the piece flat to dry. That helps the stitches settle in the right direction and keeps lace or satin edges from drying twisted. If any residue remains visible, rinse again before pressing.
A visual walkthrough helps here, so embed or link a rinsing demo from your shop's video library or live shopping clip. Seeing how much movement to use under the faucet often solves the confusion faster than a paragraph can. Good stitch quality also starts before removal, which is why machine maintenance matters. Clean running parts, stable tensioning, and sound consumables all contribute to an embroidery surface that rinses out more evenly.
Frequently Asked Questions About Wash Away Stabilizer
Can wash away stabilizer be used on projects that will go through the washing machine
Use caution. A practical view from embroiderers is that if an item will ever be put through a washing machine, cutaway stabilizer should be used underneath instead, because wash-away stabilizers may not hold up or dissolve consistently after repeated mechanical agitation, as discussed in this machine embroidery forum thread on stabilizer choice.
That's why quilts, heavily embroidered utility items, and anything that will see regular laundering usually need a different stabilization plan than lace or decorative pieces.
Can I iron a project after rinsing
Yes, but only after the piece is dry enough to handle properly and any visible residue is gone. Use a press cloth when the fabric calls for it, and stay alert around anything that may still have trace stabilizer in the stitches. Dry, controlled pressing is safer than rushing the finish.
Do I always need two layers
No. Two crossed fibrous layers are tied to specific high-support uses such as freestanding lace and similar dense edge work. Many everyday projects don't need that much structure. The design density, fabric hand, and stitch goal should drive the choice.
Why does my embroidery still feel stiff after washing
Usually one of three things happened:
- Residue stayed in the stitch field
- Too much stabilizer was left around the design before rinsing
- The project needed a different stabilizer type from the start
If the embroidery feels crisp in a way the fabric shouldn't, inspect the densest areas first. That's where dissolved stabilizer likes to hide.
What should I shop for besides stabilizer
A well-finished embroidery project usually depends on more than one supply. Along with stabilizer, many stitchers keep hoops, sharp trimming scissors, topper films, and support materials on hand. For adjacent quilting projects, batting often belongs on the same order so you're not waiting on the next phase of the project.
When you're ready to put this into practice, shop the stabilizers, batting, fabric, and embroidery notions at Linda's Electric Quilters. Matching the right support material to the project is what gives embroidery a clean stitch-out, a soft hand, and a finish that looks intentional instead of improvised.


