
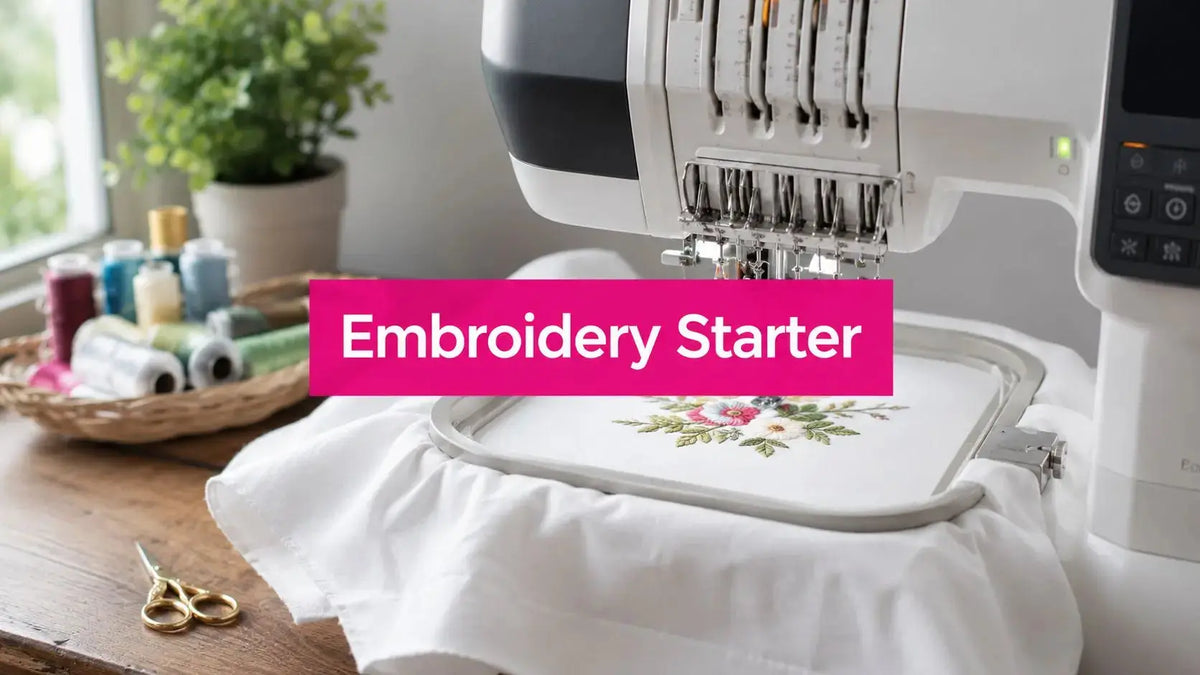
You've got the machine unboxed, the table cleared, and a stack of shiny thread spools in front of you, but the first question is still the hard one, what do you need to buy first? Machine embroidery for beginners gets a lot easier once you stop guessing and follow a simple rule, match the machine, the hoop, and the project to each other before you stitch a single line. Linda's team in McKinney sees the same pattern again and again, the people who start with the right hoop size, the right stabilizer, and one simple first project usually have a calmer first week than the people who buy random supplies and hope for the best.
Quick Start for Machine Embroidery Beginners
A first embroidery project feels easier when the purchase choice matches the job in front of you. A towel, a patch, and a shirt each ask for something different, so the cleanest start is to compare cost, risk, and how much setup each item demands. Linda's team in McKinney, Texas often walks new stitchers through that decision the same way they would sort tools on a workshop table, one item at a time.
A towel is usually the gentlest place to begin. The fabric is stable, the surface is forgiving, and small design mistakes are easier to hide than on a fitted shirt. A patch also stays beginner-friendly because you can stitch it flat and attach it later, which lowers the chance of puckering. Shirts ask for more attention, since seams, curves, and stretch can shift under the hoop.
| First project | Cost pressure | Stitching risk | Why beginners choose it |
|---|---|---|---|
| Towel | Low to moderate | Low | Flat surface, easy to hoop, forgiving finish |
| Patch | Low | Low to moderate | Small area, simple test of thread and design |
| Shirt | Moderate | Higher | Good practice, but stretch and seams can distort the result |
That table is the practical version of what Linda's crew explains in the shop. A beginner does not need the fanciest project, just the one that gives useful practice without making every mistake expensive.
The machine itself still matters, but the first project decides how hard your learning curve feels. A small hoop can handle towels and patches comfortably, while shirts often force you to think more carefully about placement and stabilizer from the first stitch. If you are choosing between a few options, the guide for enterprise apparel decoration decisions can help you compare how different decoration choices affect risk and fit.
Practical rule: start with the item that gives you the cleanest setup, then move to the one that asks for more control after you understand how your machine behaves.
A good start is not about proving you can handle the hardest fabric. It is about getting one finished piece under your belt, so the next project feels familiar instead of mysterious.
Choosing Your First Embroidery Machine and Supplies
A first embroidery machine should fit the kind of project you plan to repeat, because the setup can either help you learn or make every stitch feel harder than it should. For beginners, the main questions are hoop size, screen clarity, stitch speed, and how easy it is to load a design. Entry-level machines usually keep the price lower and the hoop range narrower, while mid-range models give you more space to work and reduce how often you have to re-hoop larger designs. That same beginner cost ladder can help you decide whether to stay with a compact setup or move toward a more flexible one.
Linda's team in McKinney, Texas usually starts that conversation with the question, “What will you stitch again and again?” A machine for small gifts and test runs can be simple and still serve you well. A machine for larger monograms, sleeve designs, or repeat apparel work needs more room, because the extra hoop space gives you better control and fewer compromises at placement.
What to look for before you order
- Hoop size first: it sets the design size and how often you need to re-hoop.
- Interface second: a clear screen or simple software path makes loading designs less stressful.
- Supplies third: needles, thread, bobbins, and stabilizer need to match the machine and fabric.
For a technical reference on needle selection, the #16 MR 3.5 R-Point (Regular Sharp) 134MR is a Groz-Beckert 134 MR needle in size #16, available for $7.19 and listed as in stock. That MR style is made for multi-directional use on longarm systems, and the product snapshot says it has maximum flexibility plus a deep scarf that helps reduce breaks and skipped stitches. That is why machine owners pay close attention to the point style before they buy.
If you are also weighing embroidery for apparel versus print for business wear, the guide for enterprise apparel decoration decisions is a useful outside comparison point because it frames the purchase around the final use, not just the machine specs.
When you shop at Linda's Electric Quilters, keep the rest of the setup in view. A beginner purchase works better when the machine, thread, stabilizer, and needle choice are matched to each other, because that combination keeps the first project from turning into a repair lesson.
Navigating Embroidery Software and Designs

Software gets easier once you treat it like a layout tool, not a magic button. Begin with a simple outline design, then set the final size before you start adding stitch types. One beginner workflow recommends reducing the backdrop opacity, planning the stitch path to avoid jumps and trims, and using a narrow satin or steel-style fill at about 1.5 mm for small details, followed by a final redraw and stitch-count check before stitchout. That process helps you spot digitizing problems before thread ever hits fabric, which saves time and reduces wasted material.
Loading, resizing, and saving without confusion
Most beginners first meet design software when a file arrives through USB or a touchscreen menu. After the file loads, resize it to fit the hoop you own, not the hoop you wish you had, then move the design so it sits correctly in the embroidery field. If your machine uses built-in editing tools, keep the first changes small, because beginners usually get into trouble when they resize too aggressively and distort stitch density.
Short workshop rule: if the design looks crowded on screen, it usually stitches crowded on fabric too.
The video tutorial below is worth watching before your first real stitchout, because it shows the workflow in a visual sequence.
A useful habit is saving a working copy and a final copy. That way, when you come back later, you can adjust the stitch path without rebuilding the whole design. If your software lets you preview stitch count, use it every time on a new file.
Hooping Techniques and Stabilizer Selection
The cleanest beginner embroidery starts with fabric that's smooth, flat, and supported. Hoop the fabric taut, but not overstretched, and keep the fabric and stabilizer at least 5 cm larger than the frame on all sides. Brother also recommends using the smallest embroidery frame that still fits the design, which helps reduce distortion and keeps the stitch area under better control. That setup rule appears in beginner guidance from Brother's embroidery blog.
Why hooping feels fussy at first
Hooping is where many new stitchers feel the machine is being picky, but the fabric is just reacting to tension. If the cloth is stretched too hard, the stitches can pull back after the hoop comes off. If the fabric is loose, the needle can push it out of place and leave the design slanted or puckered.
Linda's team in McKinney keeps the early hooping lesson simple, smooth the fabric, support it with the right stabilizer, and lock it down without pulling the cloth out of shape. The same test-stitch habit helps here too. A beginner guide notes that running a test stitch on sample fabric before the main project is standard practice, and that small habit catches hooping problems before they spread across the finished piece. See the beginner setup reminder from Bowen Material's guide.
Pro-Tip: if you can see waves in the fabric before the stitch starts, the hoop is already too tight or the stabilizer is too weak for that textile.
For beginners, tear-away and cut-away stabilizers are the most common starting points, and the right choice depends on fabric behavior and how much support the design needs. Smooth hooping is not about force, it's about holding the project steady enough that the needle can do its job.
Picking Embroidery Needles and Thread
Needle and thread choices sound small until they start causing thread breaks. Professional beginner guidance recommends a 75/11 embroidery needle and 40 wt polyester, rayon, or metallic thread, with bobbin thread usually thinner than the top thread. That setup is a solid starting point because it balances visibility, stitch formation, and basic compatibility across common beginner projects. The source on those recommendations is Stitchpilot's beginner guide.
How needle and thread work together
A beginner often chooses thread by color first, but the construction matters just as much. Polyester tends to give a durable working thread, rayon adds sheen, and metallic thread behaves differently again because it asks more from the needle path and tensioning. If the combination is wrong, the machine can pull too hard, fuzz the thread, or skip stitches in dense areas.
Bobbin thread deserves its own attention because it's usually finer than the top thread. That thinner profile helps reduce bulk on the back of the design, which keeps the stitchout cleaner and less likely to feel heavy against the garment.
- Match the needle to the fabric: lighter fabrics need a gentler approach, while dense fabrics need stable penetration.
- Match the thread to the design: shiny thread looks different from durable polyester, so choose by final use.
- Keep the bobbin lighter: the back of the design should support the top stitches, not crowd them.
If you're building your first supply list at Linda's, thread and needles are the parts you'll replace the most often, so order with the project in mind instead of buying random colors you won't use. That keeps your stash useful instead of cluttered.
Embroidery Project Comparison and Sample Stitch
Not every first project gives you the same odds of success. The easiest way to choose is to compare the fabric, the hooping, and the failure risk before you stitch anything. Linda's team in McKinney likes to start beginners with a choice that fits their confidence level, not just what looks cute in a photo.
| Project Type | Stability | Hooping Difficulty | Cost |
|---|---|---|---|
| Towels | Stable with the right topper and support | Moderate | Moderate |
| Patches | Very stable once prepared | Lower | Lower |
| Shirts | Varies by fabric type | Higher | Moderate |
| Ornaments | Small but can be fiddly | Moderate to higher | Lower to moderate |
Picking the easiest first win
Towels are a strong first choice because they're forgiving when supported correctly, and they make the stitchout easy to see. Patches are also beginner-friendly because the material is stable, which reduces fabric shifting. Shirts can look simple but tend to vary more, especially if the knit stretches or the garment slips under the hoop. Ornaments can be fun, but the smaller scale gives you less room to correct mistakes once you start.
If you want an apparel example to compare project choices, the category of custom embroidered caps shows why structured surfaces often feel easier than soft knits, because the shape gives the machine more consistency to work with.
A good sample stitch begins with a simple towel monogram. Import the design, place the towel and stabilizer so the fabric sits flat, then run the first test lines slowly. Watch for thread lays, corner turns, and whether the stitching lands where the design preview said it would.
Linda's workshop habit: start with one color and one shape, because the first success teaches more than a crowded design ever will.
Once the first lines look right, complete the stitchout, trim the jump threads neatly, and check the back before you remove the hoop. That single habit tells you a lot about tension, stitch consistency, and whether the stabilizer matched the fabric.
Common Embroidery Issues and Next Steps
Dense designs, thread breaks, and tension issues need more than the usual advice to “use stabilizer and slow down.” Beginner guides increasingly point out that the fix depends on how design density, thread weight, and stabilizer choice interact, especially on modern machines. That's the core troubleshooting mindset in this beginner troubleshooting video.
What to change when the stitchout goes wrong
- Puckering on dense areas: simplify the design or change stabilizer support before blaming the machine.
- Thread breaks: check the path, the thread type, and whether the design is asking too much of a delicate stitch area.
- Tension quirks: test again on scrap fabric, because the back and front of the stitch can tell different stories.
- Skipped stitches: look at the needle and the design density together, not in isolation.
The next step after your first few successful pieces is to repeat the same basics on a new fabric. That's how beginners move from lucky stitchouts to predictable ones. Keep notes on what needle, thread, and stabilizer worked, then use those notes on the next project instead of starting over from scratch.
Linda's Electric Quilters in McKinney also shares educational resources, live shopping events, and instructional videos, so once you're ready to expand beyond the first project, you can keep learning while you shop for the parts that fit your machine and your goals.
A CTA for Linda's Electric Quilters. Bring your first embroidery project to life with the right machine, stabilizer, needles, and thread from Linda's Electric Quilters, then use our tutorials and live shopping events to keep building skill with every stitch.


