
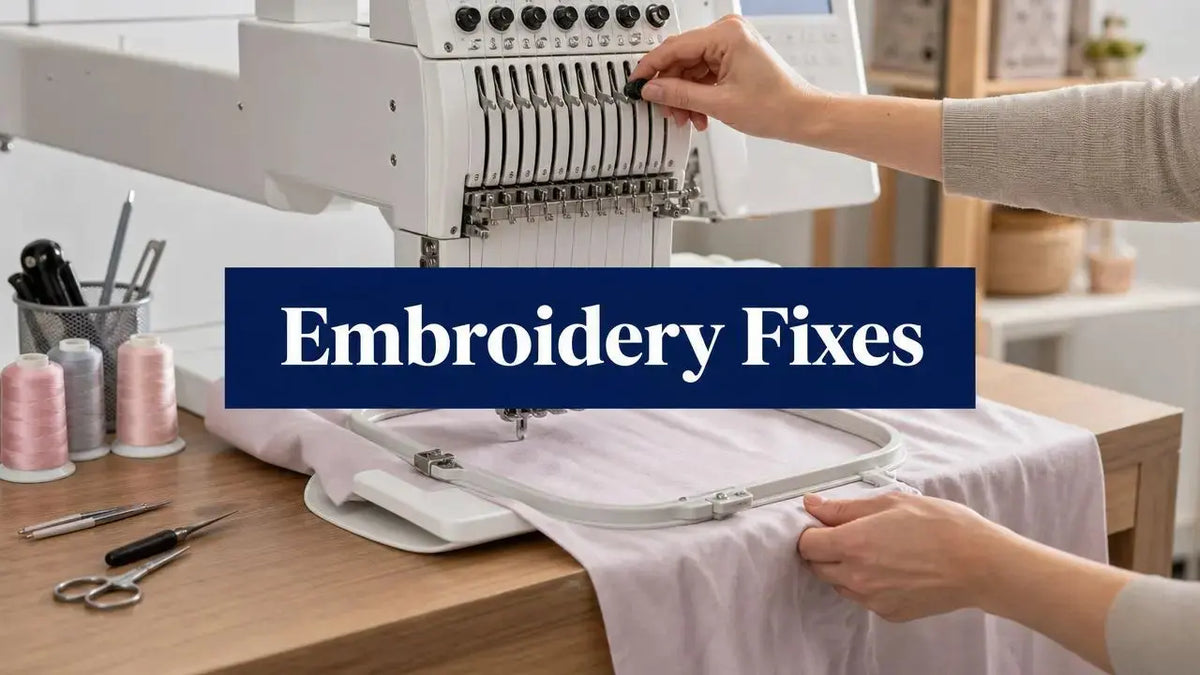
You're staring at a hoop that should've been stitching cleanly ten minutes ago, but now the machine is throwing thread, skipping spots, or locking up under the fabric. The frustrating part is that the fix is usually not some mysterious mechanical failure. In machine embroidery troubleshooting, the fastest wins come from a clean rethread, a fresh needle, a proper bobbin reset, and a calm test stitch before you touch tension.
Machine Embroidery Troubleshooting: Fixes That Work
Start with the 60-Second Embroidery Check

Most embroidery headaches start in the thread path, not inside the machine. A full rethread from scratch catches more problems than turning a tension knob first, because the thread has to pass every guide and the take-up lever correctly before the stitch can balance at all Hoop Talent.
The first pass that saves the most projects
Start by pulling the thread out completely and threading it again from the spool. Watch each guide, the take-up lever, and the needle bar area, because one missed guide is enough to cause breaks or ugly stitches. Then stitch on scrap fabric before you change tension, so you're reacting to the machine's current behavior instead of guessing.
Practical rule: if the thread path is wrong, tension changes just hide the real problem for a while.
Next, reseat the bobbin case until you hear a distinct click, and confirm the bobbin rotates clockwise when you pull the thread tail Hooping Station. That quick check catches a lot of sudden stops before they turn into a pile of knots. I've pulled enough tangled bobbins out of machines to say this plainly, a loose bobbin case wastes more time than a lot of people want to admit.
Replace the needle if it's dull, bent, or has too many hours on it. A practical benchmark is to replace embroidery needles about every 10 hours of stitching, and another expert tutorial recommends about 8 hours to reduce breaks and skipped stitches Latest Embroidery Hooping Station. The point is simple, a worn needle is cheaper to replace than the time you lose chasing the damage it causes.
A final fast check is the rotary hook. Lint “spiderwebs” around the hook can trap the loop and stop stitch formation, so inspect the area after cleaning Hooping Station. If the machine jams or the motor strains, stop immediately, turn off the power, and check for obstructions like the hoop hitting the machine bed or the embroidery foot catching on the hoop before you sew again Kreations by Kara.
Dial In Tension Without Losing Your Mind

https://www.youtube.com/embed/QHHgXT_fWwE
Tension only makes sense when you treat it like a balance between the top thread and the bobbin system. The bobbin side effectively determines the final result, so the goal is an even stitch balance, not a random turn of the dial YouTube. That's why most experienced stitchers start with a sane setting around 4–5, then make small changes after test stitching Latest Embroidery.
Test first, adjust second
Run the design on the actual production fabric, or at least on a scrap that behaves the same way. Then inspect the back of the stitchout and make changes in 0.25 to 0.5 turns or about 0.5 increments instead of chasing the look with big swings Hoop Talent Latest Embroidery. Small moves tell you what changed, which is the only way to know whether you fixed the problem or just moved it around.
If the top thread is too tight, you'll usually see the bobbin thread pulled up too far on the face of the design. If it's too loose, top thread can look sloppy, loop, or sit unevenly. Don't rush to blame the bobbin case unless the thread path is clean and the needle is fresh, because upper-thread mis-setting is more common than deeper mechanical faults Hoop Talent Sewing Machine Fun.
Monthly calibration matters when you bounce between thread weights or fabric types. Weekly cleaning of the bobbin area, tension discs, and feed dogs keeps stitch formation steadier, and it's a habit worth keeping even when the machine seems fine Latest Embroidery. A quick control sample now beats a full restart later.
The Four Stitch Problems and What Each One Is Telling You
| Symptom | Most Likely Cause | Fastest Fix |
|---|---|---|
| Thread breaks | Needle wear, incorrect thread path, or tension too tight | Rethread from scratch, replace the needle, then rebalance tension |
| Skipped stitches | Dull or bent needle, wrong needle size, or burrs near the plate or bobbin case | Swap the needle, inspect the hook area, and check for burrs |
| Looping on top | Upper tension too loose or thread not seated in a guide | Rethread and tighten tension slightly in a test stitch |
| Birdnesting underneath | Bobbin issue, thread path error, or start-up tension imbalance | Reseat the bobbin case, verify bobbin direction, and restart cleanly |
Thread breaks, skipped stitches, looping on top, and birdnesting underneath are four symptoms, and the job is to sort out where they start. Sometimes the fault is the needle. Sometimes it is the thread path, the bobbin, the fabric, or the file. Public troubleshooting guides often stop at “replace the needle,” but that only solves the problem when the needle is the source of the failure Sewing Machine Fun.
What the needle is telling you
A size 70 or 75 embroidery needle is a safe starting point for most fabrics Lindee G Embroidery. A bent needle, a dull point, or the wrong needle style for the material can cause skipped stitches or shred thread before tension ever enters the discussion. Start with a fresh needle and the right size. That fix is plain, but it solves a lot more issues than a heavy-handed tension change.
A dirty hook area can look like a tension fault, which is why cleaning and burr checks come before any dial changes.
Check the upper thread path, the bobbin case, and the underside of the needle plate, then inspect for burrs after cleaning Sewing Machine Fun. Miss one snag point and the same thread will keep catching in the same place. That is how a small mechanical nick turns into repeated breaks or ugly loops.
When the file may be the real problem
If you have rethreaded, changed the needle, cleaned the hook, and the stitch is still wrong, look at the design file. That matters most when the problem shows up on one design, one size, or one section of a design, such as blurry edges, uneven fill density, or small text that loses shape YouTube. Test the original design at its intended production size, then inspect the smallest text, thinnest lines, and tightest curves before blaming the machine. A file that sews cleanly at one size can fall apart when it is resized too far, and that is a design issue, not a machine breakdown.
Hooping, Stabilizer and Needle Work as One System

Puckering usually starts with fabric support, not tension. The fabric needs to be taut, not overstretched in the hoop, because a hoop that is pulled too hard distorts the base before the first stitch lands YouTube Emb Punch. Pull the cloth too tight and the design may look fine in the hoop, then wrinkle as soon as the fabric relaxes.
Match the stabilizer to the fabric
Cutaway belongs with stable knits and stretchier goods, tear-away fits many woven fabrics, and wash-away works for sheer or delicate pieces. If hooping is awkward, floating sticky backing can solve the setup without forcing the fabric to stretch YouTube. The back of the stitchout gives you the clearest clue, because stabilizer failure, needle problems, and fabric stretch leave different marks.
A clean control test makes the diagnosis easier. One source recommends stitching the original design on white or off-white broadcloth with one layer of medium-weight cutaway hooped with the fabric Lindee G Embroidery. That gives you a predictable swatch, so you can see whether the trouble comes from the material or from the machine setup.
A note on tools and consumables
If you are comparing support materials for sewing projects beyond embroidery, 1-1/2in Triangle Paper-For Charms is a paper notion made for 5in charms and half square triangles. It is not an embroidery fix, but the shop logic is the same. Use the right consumable for the job instead of forcing the wrong one to do extra work.
Pro-Tip: If puckering shows up only after washout or after the hoop comes off, the problem is usually fabric support, not stitch density.
Is It the Design File or the Machine

If the machine is rethreaded, the needle is fresh, the hook is clean, and tension is balanced, stop treating every defect like a hardware issue. A disciplined machine embroidery troubleshooting routine has to separate the machine from the file, because a lot of stitchouts that look “bad” are digitizing choices showing up on the wrong fabric. The test is the exact design at the exact size you plan to sew.
What to compare before you blame the machine
Run the original file on the target fabric, then compare the result at the intended production size. Watch the smallest text, thinnest lines, and tightest curves first, because those areas expose file problems faster than broad fills do. If the same flaw shows up on different fabrics and with different tension settings, the file is the stronger suspect.
Blurry edges usually point to underlay or density choices. Inconsistent fill density can also come from the digitizing itself instead of the machine. Distorted small text is especially useful, because tiny lettering shows whether the file was built to sew cleanly at that size or only looked right on screen.
As noted earlier, a control test helps separate setup issues from stitch-file issues. Stitch the design on a predictable test fabric, then compare that result with the production run. If the test sew looks clean and the customer fabric does not, the machine is probably doing its job and the file, fabric, or support stack needs another look.
For project planning around sewing and construction, Linda's also carries patterns like #22, a fat-quarter-friendly quilt pattern with multiple finished sizes and a standard machine sewing technique. The same shop rule applies here, match the file or pattern to the output you want, not the version you hope will work.
Preventive Maintenance and Your Pin-It Troubleshooting Chart

A machine that is cleaned on a schedule breaks less often than one that only gets attention after a jam. The cheap repair is the one you never need to make. Keep a steady rhythm with weekly cleaning of the bobbin area, tension discs, and feed dogs, then do monthly tension calibration so stitch formation stays consistent across different fabrics and thread types Latest Embroidery.
Pin this chart above the machine
| Symptom | First Check | Second Check | Call a Technician When |
|---|---|---|---|
| Thread breaks | Rethread from scratch | Replace the needle | Breaks continue after cleaning and rethreading |
| Skipped stitches | Needle condition | Bobbin case and hook area | The machine keeps skipping on multiple designs |
| Sudden stop | Reseat bobbin case until it clicks | Check for lint in the rotary hook | The motor strains or jams again |
| Puckering | Hooping tension | Stabilizer choice | Fabric distorts even with proper support |
Use the chart as a decision tree, not a guess sheet. Start with the symptom, then check the simplest machine-side causes before you blame the design file or the fabric. That order matters because a loose bobbin case, a dull needle, or lint in the hook can create the same mess as bad digitizing.
For sudden stops, the fastest path is still the same, reseat the bobbin case, make sure it rotates the right way, and clear out lint “spiderwebs” in the rotary hook Hooping Station. I prefer that sequence because it tells you whether the fault is a simple machine stop or something deeper before you start tearing apart the setup.
Needle replacement belongs on the calendar, not in your head. A practical benchmark is about 10 hours of stitching, and another source puts the change point closer to 8 hours if you want fewer breaks and skips Latest Embroidery. Shops that run production every day feel that difference fast, because a worn needle can turn a good file into a noisy, ragged stitchout.
Our McKinney team keeps the right consumables close because thread, needle, and stabilizer failures usually show up together. Glide thread is a common embroidery thread choice, and fresh needles with matched stabilizers keep the machine from becoming the bottleneck. If you also need to prepare artwork for sweatshirt work, prepare artwork for sweatshirts the same way, match the setup to the stitchout you need, then test before you commit.
Frequently Asked Embroidery Questions and Your Next Stitch
How often should I replace my embroidery needle? A practical rule is about 10 hours of stitching, with some experts recommending about 8 hours for fewer breaks and skips Latest Embroidery Hooping Station. If the needle is dull, bent, or burred, replace it sooner.
Why does thread keep shredding or breaking? Start with a full rethread, then check the needle, the thread path, and the tension balance Hoop Talent Sewing Machine Fun. If that doesn't fix it, inspect the bobbin area and hook for burrs or lint.
When should I adjust bobbin tension? Only after the thread path is correct and the test stitch shows a real balance issue YouTube. Many jobs that appear to be bobbin trouble are often top-thread or needle problems.
Where can I get more help preparing artwork for embroidery-related garment work? If you're branching into decorated apparel, prepare artwork for sweatshirts is a useful resource to review before you send a file out or build one yourself.
Visit Linda's Electric Quilters for embroidery thread, stabilizers, needles, and the everyday consumables that keep a machine sewing clean. If your setup is fighting you, bring the problem back to the basics, then shop the parts that match the fabric, the thread, and the design.


