
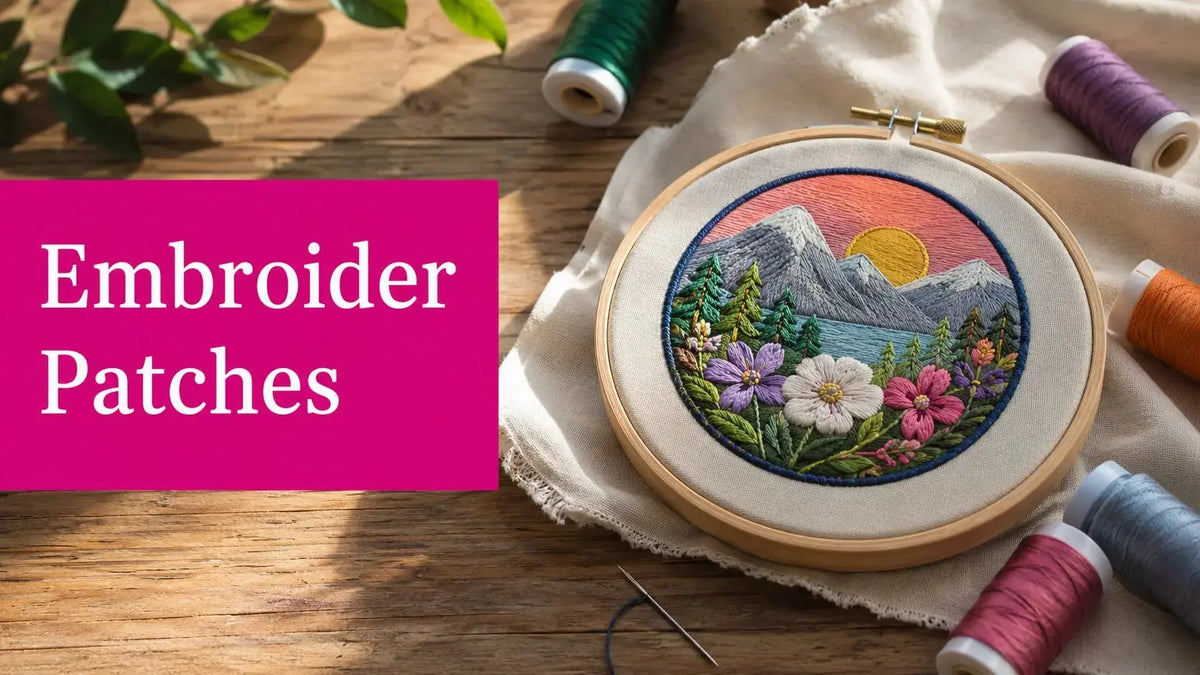
You probably know the feeling. A patch looks finished on the table, then the border starts to feather, the corners sit proud of the fabric, or the whole piece puckers after a quick wash test. How to embroider patches comes down to a few things that most tutorials rush past, namely stabilizer choice, stitch tension, and edge finishing. Get those right, and the patch stays legible, flat, and durable.
Why Most Embroidered Patches Fail Before They Start

The most common patch failure starts before the final border ever goes in. A maker hoops the wrong support, stitches on a surface that drifts, or trims too close while the edge is still vulnerable. In the shop, I've watched a good design turn sloppy in the last five minutes because the base wasn't locked down.
Why patch logic has always been about durability
Patch embroidery didn't begin as decoration. Historical sources place its roots in ancient China, where embroidery first served as functional repair before it became a signal of wealth, status, and identity, and later a visual language of allegiance in medieval Europe (Panda Patches history of custom patches). That's why the same three habits still matter now, durable base fabric, secure stitching, and clean edge finishing.
Practical rule: if the patch can't survive handling before attachment, it won't magically become stable after it's sewn or fused to a garment.
That logic is what separates a patch that looks good in a hoop from one that still looks good after wear. A dense design helps, but density alone doesn't fix a shifting substrate or a rough cut line. The patch has to stay readable under stress, and the edge has to hold its shape.
A lot of beginners blame the thread first. Thread can cause trouble, but the first question should be whether the patch had a stable base and whether the border was given enough structure before trimming. That's the part people skip, and it's usually where the repair starts to fail.
Machine Embroidery Patch Workflow From Hoop to Trim

A reliable machine patch starts with support material in the hoop, not the patch fabric itself. Tear-away stabilizer or water-soluble support gives the design a controlled surface, and that control matters when you're trying to keep the border geometry clean. The workflow used in technical guides is consistent, hoop the support, stitch a placement line, position the patch fabric with spray adhesive or tape, run the tack-down, then stitch the final border and trim after removal from the hoop (Eric Campbell machine patch workflow).
Sequencing the stitchout so the design stays crisp
The order of stitchout matters more than most people think. A patch guide from Maggie Frames recommends starting with background layers first, adding foreground details last for clarity, and finishing with a border that uses either faux merrow or satin stitch for clean edges, with underlay stitches helping stabilize the design and prevent shifting (Maggie Frames step-by-step patch guide).
That sequencing keeps the image readable. If you place tiny detail work too early, later fill stitches can bury it or distort it. If the underlay is weak, the top stitches can wander, especially on patch fabric that wants to stretch.
A clean machine patch usually looks boring in the best way. The shape reads clearly, the border sits even, and the trim line is predictable. That predictability is what lets you scale from one patch to a small run without each piece drifting into its own version.
Heat finishing and the point where trimming becomes safe
Some patch construction methods add heat to lock the substrate before the final handling. A documented benchmark is about 330°F for 10 seconds, or a very short 1 to 2 second iron seal for Heat n Bond-style backing before final edge stitching, so the substrate stays stable while you trim (University of Illinois digital labs tutorial). The same guide warns about cutting too close before the border is secure, shifting during tack-down, and using the wrong stabilizer surface.
Cut with patience. A patch that looks finished in the hoop can still fray if the border hasn't been fully locked.
If you want a shop-tested shortcut, use the placement line as your visual fence. It helps you set the fabric accurately before tack-down, which reduces drift and keeps the trim line honest. That's one of the reasons a stable hooping setup beats trying to rescue a wandering patch later.
For anyone building a material stack, Linda's Electric Quilters carries the kinds of stabilizers, thread, and finishing notions that make this workflow easier to manage. If you're comparing support materials, it's worth checking the Batting category alongside your embroidery supplies, because the same mindset about structure and hand applies across sewn projects. The right support isn't flashy, but it decides whether the patch stays flat.
Hand Embroidery Techniques for Custom Patches
Not every patch needs a machine. Hand embroidery gives you slower control over line weight, border texture, and small-batch work, and it's especially useful when the design is tiny or intentionally irregular. For a patch base, choose a fabric that can hold a firm stitch path without collapsing under the needle, then transfer the design cleanly so your stitch map stays visible while you work.
Thread handling and stitch choices that hold up
A hand-embroidery patch tutorial shows a specific thread setup that matters more than people expect, three strands doubled and tied in a knot at the end, rather than the full six strands of floss, even though six strands is the general floss baseline in many handwork contexts (YouTube patch tutorial). That change affects bulk and handling. More bulk can help a border read clearly, but too much bulk can make corners stiff and lumpy.
For a patch, borders need the most discipline. Fill areas can tolerate a little texture, but edge stitches have to stay even because they define the shape. If the border turns loose, the whole patch starts looking handmade in the wrong way.
| Best Hand Stitches for Patch Embroidery | Best Use | Durability |
|---|---|---|
| Satin stitch | Clean borders and tight edge coverage | Strong when packed evenly |
| Backstitch | Outlines and small lettering | Good for definition, lighter finish |
| Stem stitch | Curved outlines | Moderate, depends on tension |
| Split stitch | Fine detail and compact lines | Solid for controlled shapes |
Keeping hand tension even without over-pulling
Hand tension is easy to ruin by trying to force a neat line. Pull too hard and the fabric cups. Leave it too loose and the edge floats. The better habit is to keep each stitch seated firmly, then check the patch flat against the table every few passes.
A backing fabric helps when the patch base is soft or the design is more open. It gives the stitches a second layer to bite into and reduces the chance that the work warps as the thread density climbs. That's especially useful if the patch will be attached to clothing that gets wear at the shoulder, chest, or bag strap.
Linda's Electric Quilters carries embroidery floss, needles, and patch-making notions that fit this kind of work if you prefer hand methods. If you need a simple marking surface before stitching, the Hera Marker for Applique & Sewing is useful for creasing seam allowance in small applique and reverse applique work, and its thin end helps fold back applique cleanly. That kind of marking tool keeps the shape readable before the first stitch ever lands.
Choosing the Right Backing and Attachment Method
The biggest mistake I see is treating iron-on as the default answer for every patch. It isn't. Fabric care labels, heat tolerance, garment structure, and the patch's final use all affect whether heat is smart or risky, and one source specifically advises checking the label, testing a hidden area, and switching to sewing or fabric adhesive if the material can't tolerate heat (New York Custom Labels patch mistakes guide).
A practical decision tree for attachment
If the garment is sturdy cotton or cotton-poly and can take heat, an iron-on style can work well when you use firm, stationary pressure and the right iron temperature. If the garment is delicate, structured, or heat-sensitive, sewing is usually safer and often more durable. Adhesive-backed options sit in the middle, useful when you need a controlled attach-and-position method without committing to a permanent heat press.
Practical rule: if you're unsure about heat, don't guess on the finished garment. Test a hidden area first.
This is also where removable or modular patch setups come in. If you're planning a patch that needs Velcro backing for reuse, the details matter, and the practical attachment path is different from a permanent sew-on finish. A helpful discussion of that route is covered in apply velcro to patches, which is useful when the patch needs to come off and go back on without damage.
Why iron-on can fail on the wrong fabric
A short press can help lock the patch before stitching, but heat alone doesn't solve poor compatibility. The same attachment that bonds well to a stable fabric may lift on a surface that flexes, melts, or distorts. That's why the cleanest patch makers think in terms of fabric plus use case, not just patch plus backing.
For marking the fold line or seam allowance on applique-style patch work, the Hera Marker for Applique & Sewing gives a clean crease without ink. On small patch builds, that kind of mark is easier to manage than a pen line because it doesn't add residue or bleed risk.
If you're sewing labels or patch-style identifiers onto clothing, a separate guide on sew on labels for clothing is a good companion read because the same attachment logic applies, especially when wash durability matters. In practice, sewing wins when the garment will be handled, laundered, or flexed often.
Troubleshooting Common Patch Embroidery Problems

A neat patch usually fails for one of four reasons, fraying edges, puckered fabric, thread breaks, or lifting after wash. The fixes are different, but they all point back to tension, edge geometry, and attachment method. A professional guide from Maggie Frames notes that multi-needle head-to-head tension should stay within ±2 grams for uniform bulk results, and a university tutorial warns that cutting too close to the embroidered border can cause fraying (Maggie Frames professional patch guide).
Symptom, cause, fix
- Fraying edges: The cut line is too close or the border isn't dense enough. Use a tighter satin stitch and leave the edge fully supported before trimming.
- Puckered design: The base fabric moved or the stabilizer wasn't matched well. Stabilize more firmly and confirm the support surface is correct before stitching.
- Thread breaks: Tension is inconsistent or the thread quality isn't consistent through the run. Recheck machine setup and run a test sample before the final patch.
- Lifting after wash: The patch was attached with the wrong method for the fabric. Use proper heat and time for iron-on, or switch to sew-on when the garment needs more durability.
What good quality control looks like in the shop
I check the edge before I check the artwork. If the border is even, the patch lies flat, and there are no loose loops at the corners, the patch has a chance to last. If the border is fuzzy or the fabric can be flexed out of shape with a fingertip, it needs correction before it goes anywhere near a finished garment.
When people ask for garment identifiers that survive the laundry cycle, the conversation often turns toward permanent attachment rather than convenience. That's why a product category like sew-on labels for clothing fits naturally into patch work, because the same durability standards apply. A clean patch is as much about what holds it in place as what's stitched on top.
If a patch keeps distorting, don't add more decorative stitching and hope it hides the problem. Fix the setup first. The machine can only reproduce the structure you give it.
Essential Supplies and Final Quality Checklist

A patch kit doesn't need to be complicated, but it does need the right mix of support, cutting tools, thread, and finishing supplies. The essentials are an embroidery machine or hand setup, stabilizer, patch fabric, thread, and scissors. After that, the quality check is simple, the design density should be correct, edges secured, backing applied cleanly, loose threads trimmed, and the patch lying flat before attachment.
Supplies that actually change the result
For machine work, start with the support material that matches the patch size and fabric behavior, not the one sitting nearest to the hoop. A patch that's meant to be trimmed tightly needs a border that can survive handling, and that's where the backing choice pays off. For finishing, clean scissors matter more than fancy ones, because a ragged trim can undo a good stitchout fast.
Linda's Electric Quilters carries the kinds of threads, stabilizers, notions, and finishing tools that fit embroidery and sewing projects without making you piece together a random supply list. For a decorative patch edge or a garment accent, the 1-inch Faux Velvet and Rhinestone Trim – 10 Yard Roll can work as a separate border element when the design calls for a stronger visual finish, though it belongs on projects where the trim style suits the garment.
Final patch check before you attach it
- Inspect the edge line: Make sure the border is even and fully supported.
- Check the flatness: Lay the patch on the table and confirm it doesn't cup or twist.
- Verify the backing: Confirm the attachment method matches the garment fabric.
- Trim stray threads: Clear loose threads before heat or stitching locks them in.
- Test the hold: If it's iron-on, check a hidden area first and press only on compatible fabric.
Pro-tip: the last quality check should happen before the patch leaves the hoop or the table, not after it's already fused to a garment.
If you want to keep building your patch skills, pair this with Linda's educational resources, live shopping, and tutorial content, then stock the stabilizers and notions that make the next patch cleaner than the last. For supplies and project support, visit Linda's Electric Quilters and build your next patch with the right backing, thread, and finishing tools.


