
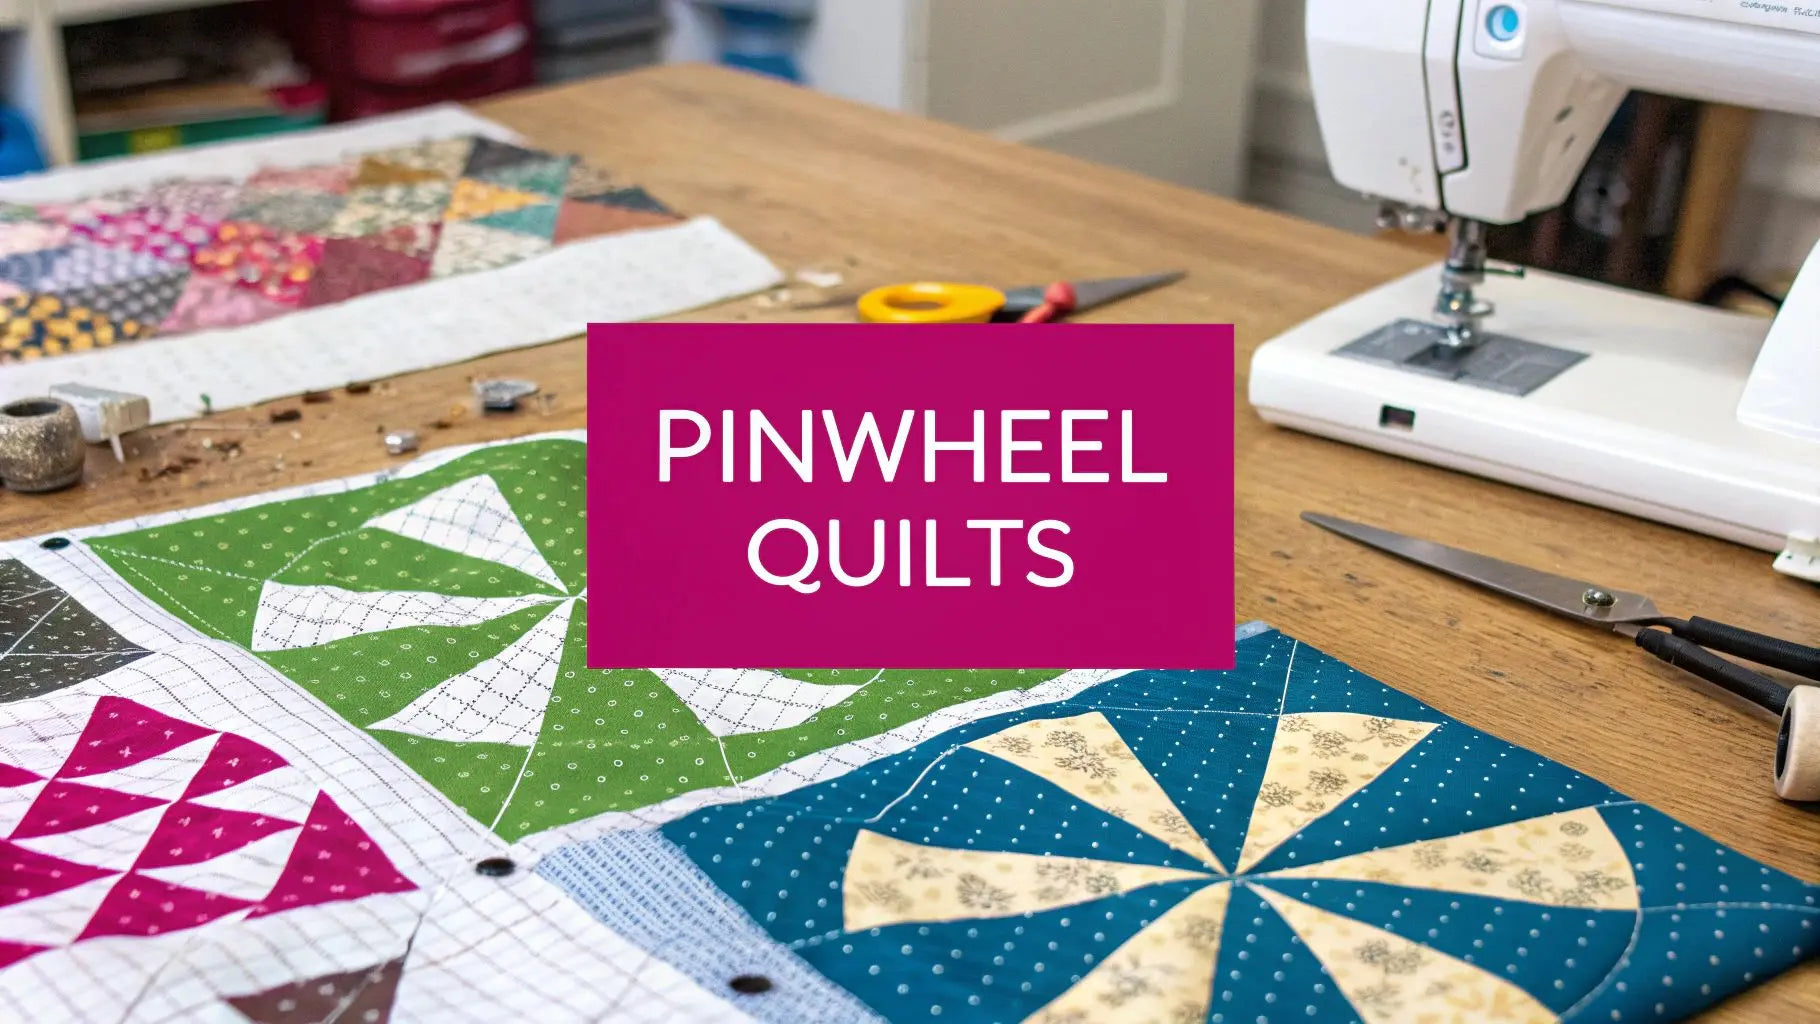
Pinwheel quilt blocks bring energy and movement to any project. Whether you’re just starting out or you’ve got years behind the needle, these spinning squares add a playful twist to traditional quilts. Check Linda’s Electric Quilters shop for curated pinwheel-friendly fabrics and tools to complete your project.
Why Pinwheel Quilt Patterns Captivate Quilters
Geometry meets motion in the simplest way. Those four-triangle blocks spin at the center, guiding your eye across the quilt top and creating a dynamic visual flow.
A favorite piece among museum curators is a War of 1812-era quilt. It alternates 7-inch pinwheels with stuffed white squares in a 90×82-inch cotton spread preserved at the Smithsonian. That early 19th-century stitching shows just how long quilters have loved a bit of three-dimensional flair. Read more about this historic quilt on the Smithsonian site.
Key advantages of pinwheels include:
- A bold spin that draws attention across the quilt
- Easy use of scraps, fat quarters, or yardage
- Multiple block sizes—6", 9", 12", 15"—to fit any design
- Versatile construction methods: half-square triangles, strip piecing, square-in-square
- Linda’s cutting mats and rulers that keep waste minimal and precision high
You might enjoy our beginner-friendly layouts in the Quilting Patterns for Beginners guide.
Grab Linda’s Electric Quilters Precision Rotary Cutter and self-healing cutting mats at Linda’s Electric Quilters to start cutting your pinwheel pieces with confidence today!
Quick Comparison Of Pinwheel Construction Methods
Before you cut and sew, take a moment to weigh which technique fits your pace and precision needs.
| Method | Speed | Accuracy | Fabric Waste | Skill Level |
|---|---|---|---|---|
| Half-Square Triangles | Medium | High | Low | Intermediate |
| Strip Piecing | High | Medium | Medium | Beginner to Intermediate |
| Square-in-Square | Low | High | High | Beginner |
Each approach has its place. If you’re racing against time, strip piecing wins. On the other hand, square-in-square gives perfect points when accuracy is everything. Stock up on Linda’s Triangle Ruler Set and Chain-Piecing Clips to streamline whichever method you choose—shop now at Linda’s.
Ready for step-by-step photos, comprehensive cutting charts, and handy lining suggestions? Gather your favorite fabrics, pick your method, and get ready to bring those pinwheels to life with Linda’s Electric Quilters supplies.
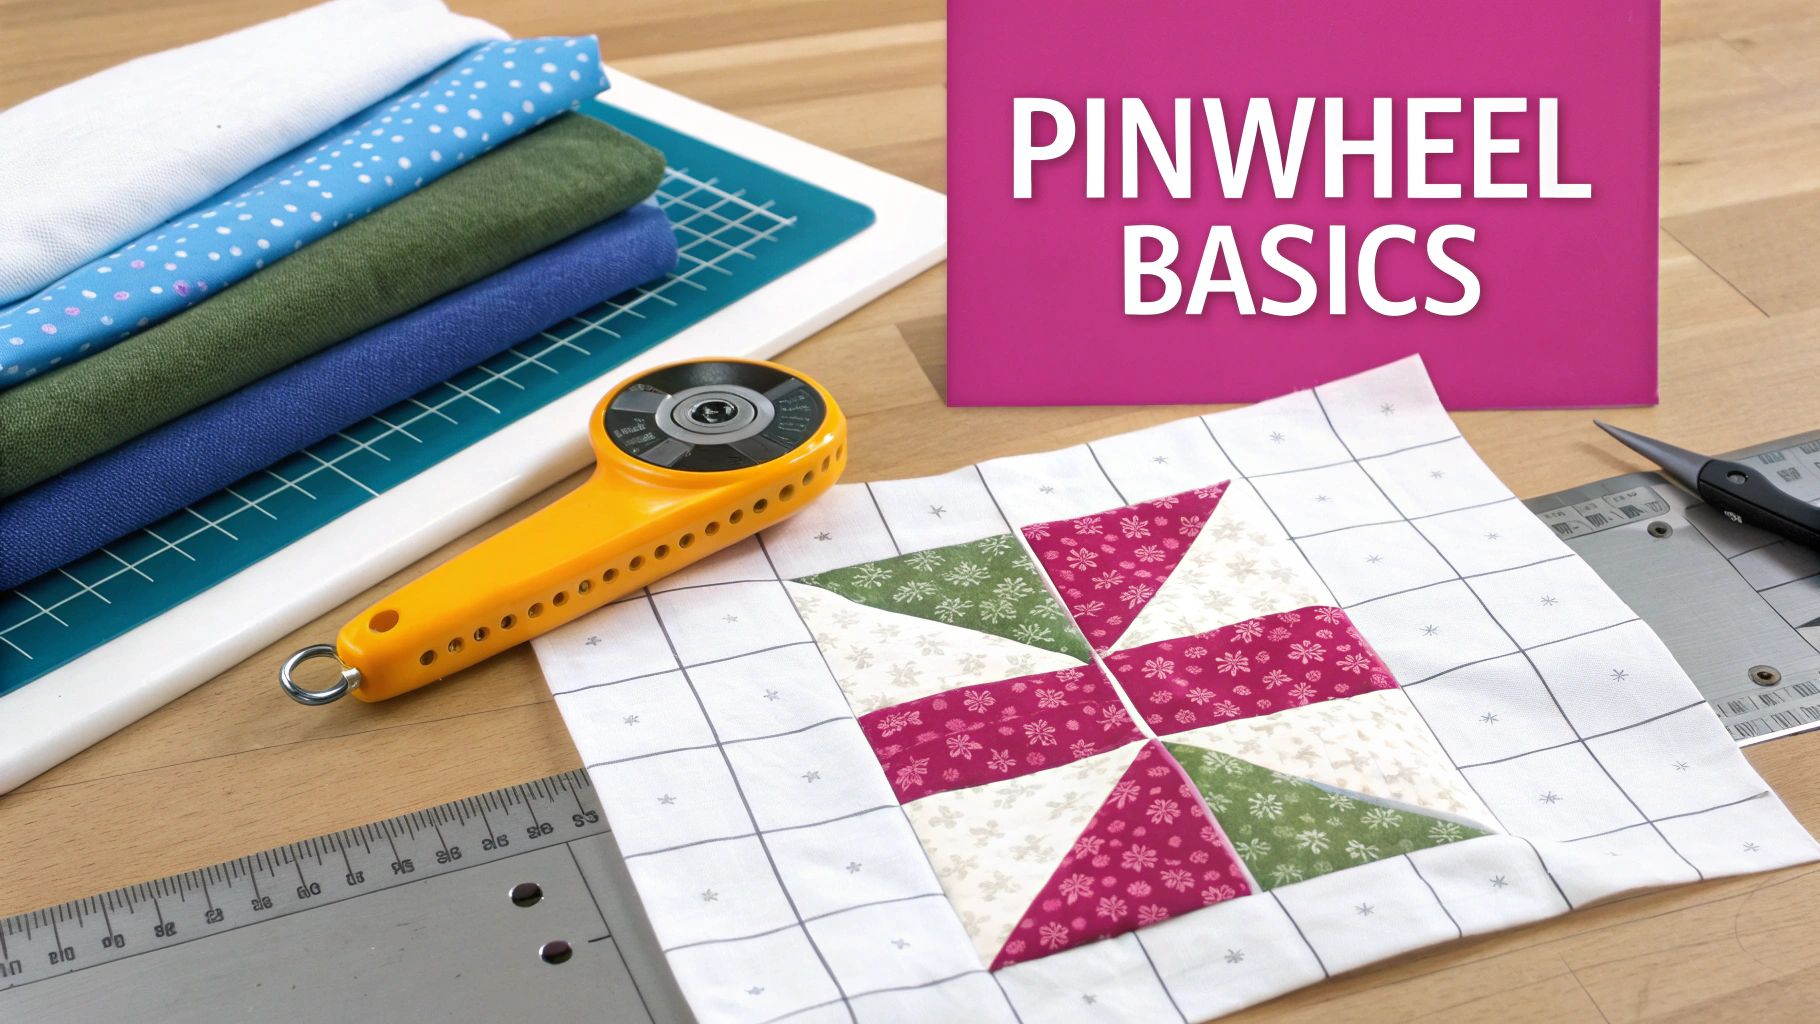
Understanding Pinwheel Block Basics
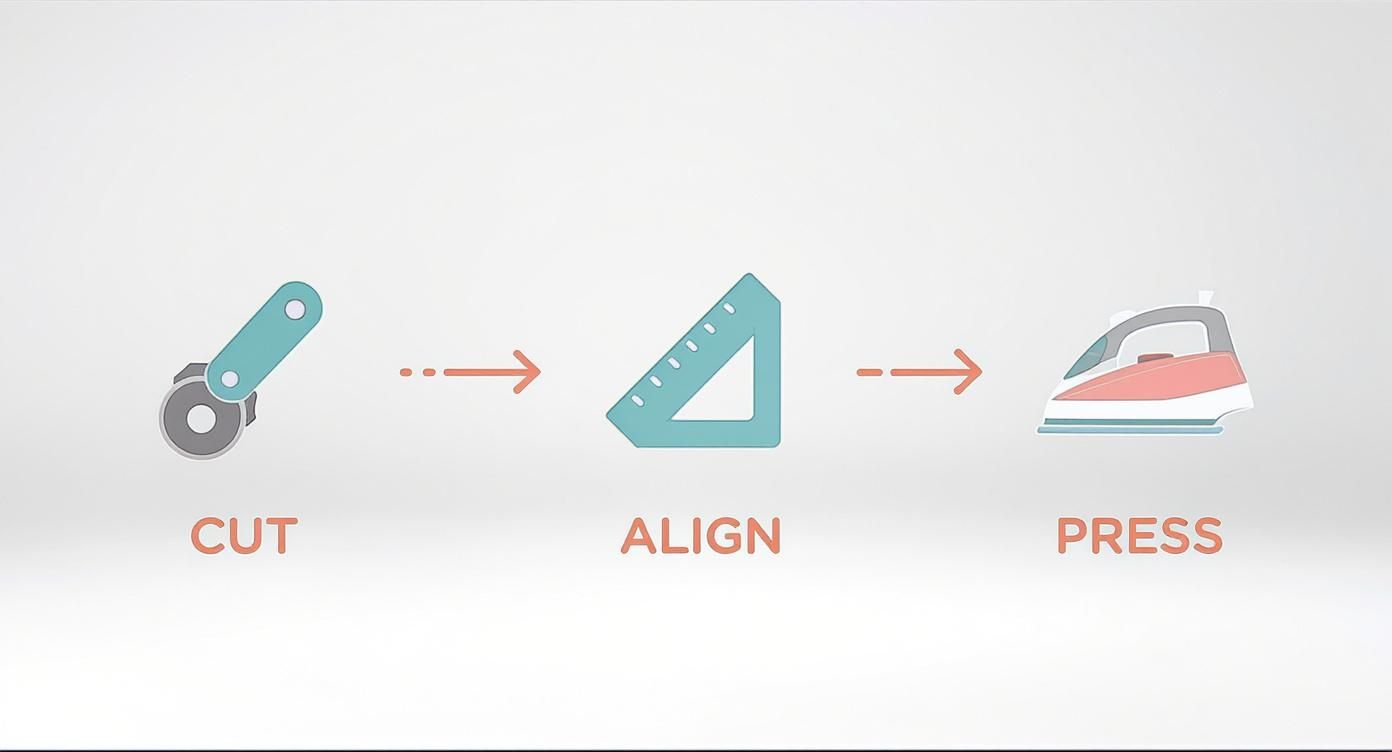
A pinwheel block starts its spin with four half-square triangles, and every little detail matters. Match grain lines carefully, keep seams at a ¼-inch, and you’ll see those points snap into place with crisp precision.
Deciding on a 6″, 9″, 12″ or 15″ finished block? Cut your starting squares ½″ larger than the finished size. That extra margin is your safety net for trimming and perfect alignment.
- ¼″ Seam Allowance for uniform piecing
- Grain Line Alignment to prevent bias distortion
- ½″ Extra Cut so you can square up without stress
Linda’s Electric Quilters swear by their high-quality rotary blades and precision rulers. Sharp blade edges translate into consistently clean cuts, while accurate rulers keep every trimmed block identical—no guesswork required. Pick up your Omnigrid Rotary Ruler and Triangle Squaring Ruler at Linda’s Electric Quilters to nail these basics on your first try.
One seasoned quilter shared a trick: trim seams to about a 1/16″ scant for a flatter finish. Press seams open on a low-heat setting to avoid stretching the bias edge. These small tweaks keep your pinwheel points razor-sharp, wash after wash.
Fine Tuning Seam Allowances
Some quilters stick strictly to ¼″, but others shave off a tiny fraction to reduce bulk. Before you cut, decide if you’ll use a full or scant quarter-inch. Adjust your cutting lines to match.
Keeping triangles true means marking grain lines on the wrong side of each square. A washable pencil works great—just draw a line, match those symbols when you pair pieces, and you’ll avoid unwanted stretch at the bias.
Pairing Fabric For Contrast
A pinwheel sings when dark and light fabrics play off each other. High-contrast prints next to solids make that spin pop. If you prefer a subtler effect, stick to tonal shades of the same hue.
Try these tips for a standout layout:
- Limit busy prints to two triangles—solids on the other pair for a cleaner look
- Use Linda’s curated fabric bundles to mix prints, textures, and basics
- Reserve a calmer background fabric so the pinwheel design takes center stage
Block design isn’t new—pinwheels appeared on the frontier during westward expansion. By the mid-1800s, about 15–20% of documented quilts featured this fun motif. Those early pioneers were inspired by windmills pumping water, after all. Learn more about these findings.
Sears mail-order catalogs even offered over 800 quilt patterns by 1890, making pinwheels a household favorite. Before you dive deeper, brush up on your fundamentals with our guide to basic quilting patterns.
Comparing Construction Methods
Finding the right way to build pinwheel blocks often comes down to balancing speed, accuracy, and fabric usage. In my years of quilting, I’ve leaned on three main techniques—each one tailored to different project sizes and timelines. Below, we’ll unpack how they differ and when to reach for each approach.
Classic Half Square Triangles
This method hinges on four precise HST units meeting perfectly at the center. When you want crisp points and minimal trimming, nothing beats it. Over the years, I’ve trusted Linda’s Precision Triangle Ruler alongside a sharp rotary cutter to keep those angles spot on.
• Precision Triangle Ruler for dead-on 45° cuts
• Chain-Piecing Clips to snip less and sew more
• High-Quality Rotary Cutter for clean edges every time
Fast Strip Piecing
When your quilt top calls for dozens of blocks, strip piecing turns your sewing table into a well-oiled machine. In fact, 73% of fellow quilters choose this for king-sized or bed quilts. Simply grab a jelly roll bundle and a strip-piecing foot to speed through batch cuts.
• Layer strips right sides together and stitch a ¼″ seam
• Subcut segments and pivot pieces for the pinwheel layout
• Press seams open to stay flat and reduce bulk
Square In Square Shortcut
Need a quick gift or baby blanket? The square-in-square trick delivers pinwheel vibes without wrestling HST trimming. Stack a smaller square inside a framed border, then trim to size. I often reach for Linda’s Square Squaring Ruler and leftover scraps to whip these up in no time.
Balancing Speed And Accuracy:
Depending on your quilt’s final size, you might switch methods mid-project. For instance, quilts over 60″ square shine with strip piecing, while baby throws under 50″ square come together beautifully with square-in-square.
| Technique | Recommended Tools | Time Per Block | Accuracy Rating | Best For |
|---|---|---|---|---|
| Half-Square Triangles | Precision Triangle Ruler, Rotary Cutter | 8–10 mins | High | Small quilts, heirlooms |
| Strip Piecing | Strip-Piecing Foot, Jelly Roll Strips | 5–7 mins | Medium | Large quilts, throws |
| Square In Square Shortcut | Square Squaring Ruler, Scrap Bundles | 4–6 mins | Medium-High | Quick gifts, baby quilts |
“Combining half-square precision with strip-piecing batches has been my go-to hack for keeping points sharp and progress steady.”
While strip piecing works wonders, don’t forget to peek at our Easy Jelly Roll Quilt Patterns for fresh ideas on mixing prints in a flash. Stock up on Linda’s specialty rulers, mats, and blades now to keep your project moving forward.
Sizing And Cutting Charts
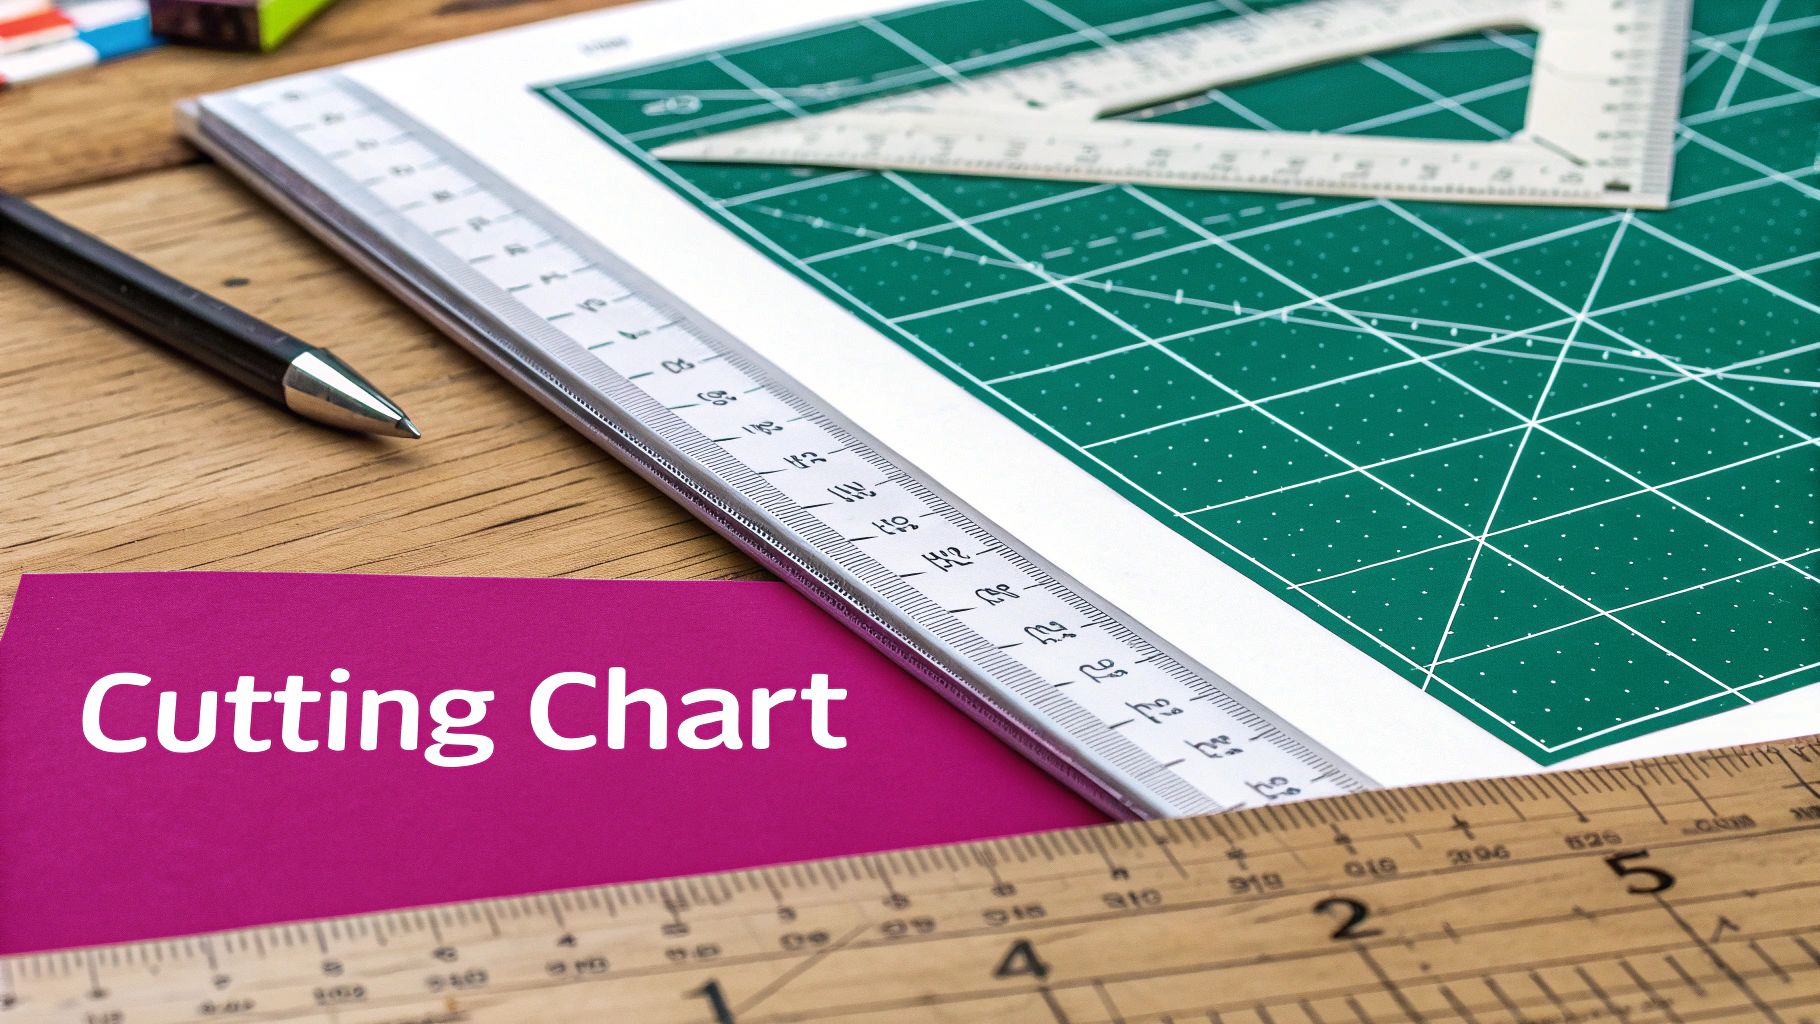
Precision cutting is the foundation for crisp pinwheel designs. Every half-square triangle snaps into place when your fabric pieces are exact. With firm confidence in your cutting, the rest of the quilt flows more smoothly.
- Keep your rotary cutter blade sharp and steady.
- Always include a ¼-inch seam allowance in each square.
- Trim HST units to the HST Trim Size listed in the chart.
- Lean on Linda’s Electric Quilters fabric bundles for cohesive color combos.
Block Size Cutting Chart
A quick glance at measurement tables saves you time at the cutting mat. Below is the Block Size Cutting Chart for popular pinwheel block dimensions.
| Finished Block Size | Print Fabric Cut | Background Fabric Cut | HST Trim Size |
|---|---|---|---|
| 6″ | 2⅞″ × 2⅞″ squares (4) | 2⅞″ × 2⅞″ squares (4) | 2½″ |
| 9″ | 4⅜″ × 4⅜″ squares (4) | 4⅜″ × 4⅜″ squares (4) | 3⅝″ |
| 12″ | 5⅞″ × 5⅞″ squares (4) | 5⅞″ × 5⅞″ squares (4) | 5″ |
| 15″ | 7⅜″ × 7⅜″ squares (4) | 7⅜″ × 7⅜″ squares (4) | 6½″ |
Fabric Yield And Storage
Think about yardage in terms of strip width and HST output. A 42″ wide bolt often yields several half-square triangle pairs from one run, cutting down waste.
Tuck your pre-cut strips into clear storage trays and label each compartment. Rotating fabrics by color family makes it effortless to grab what you need next.
Routine maintenance on your cutting tools pays off. Swap your rotary blade after 6–8 hours of use to maintain clean cuts and crisp points.
Sharp tools and an organized stash can reduce prep time by up to 30%.
Visit Linda’s Electric Quilters to stock up on rotary blades, rulers, and cutting mats—everything you need to master pinwheel quilt patterns.
Exploring Layout And Design Variations
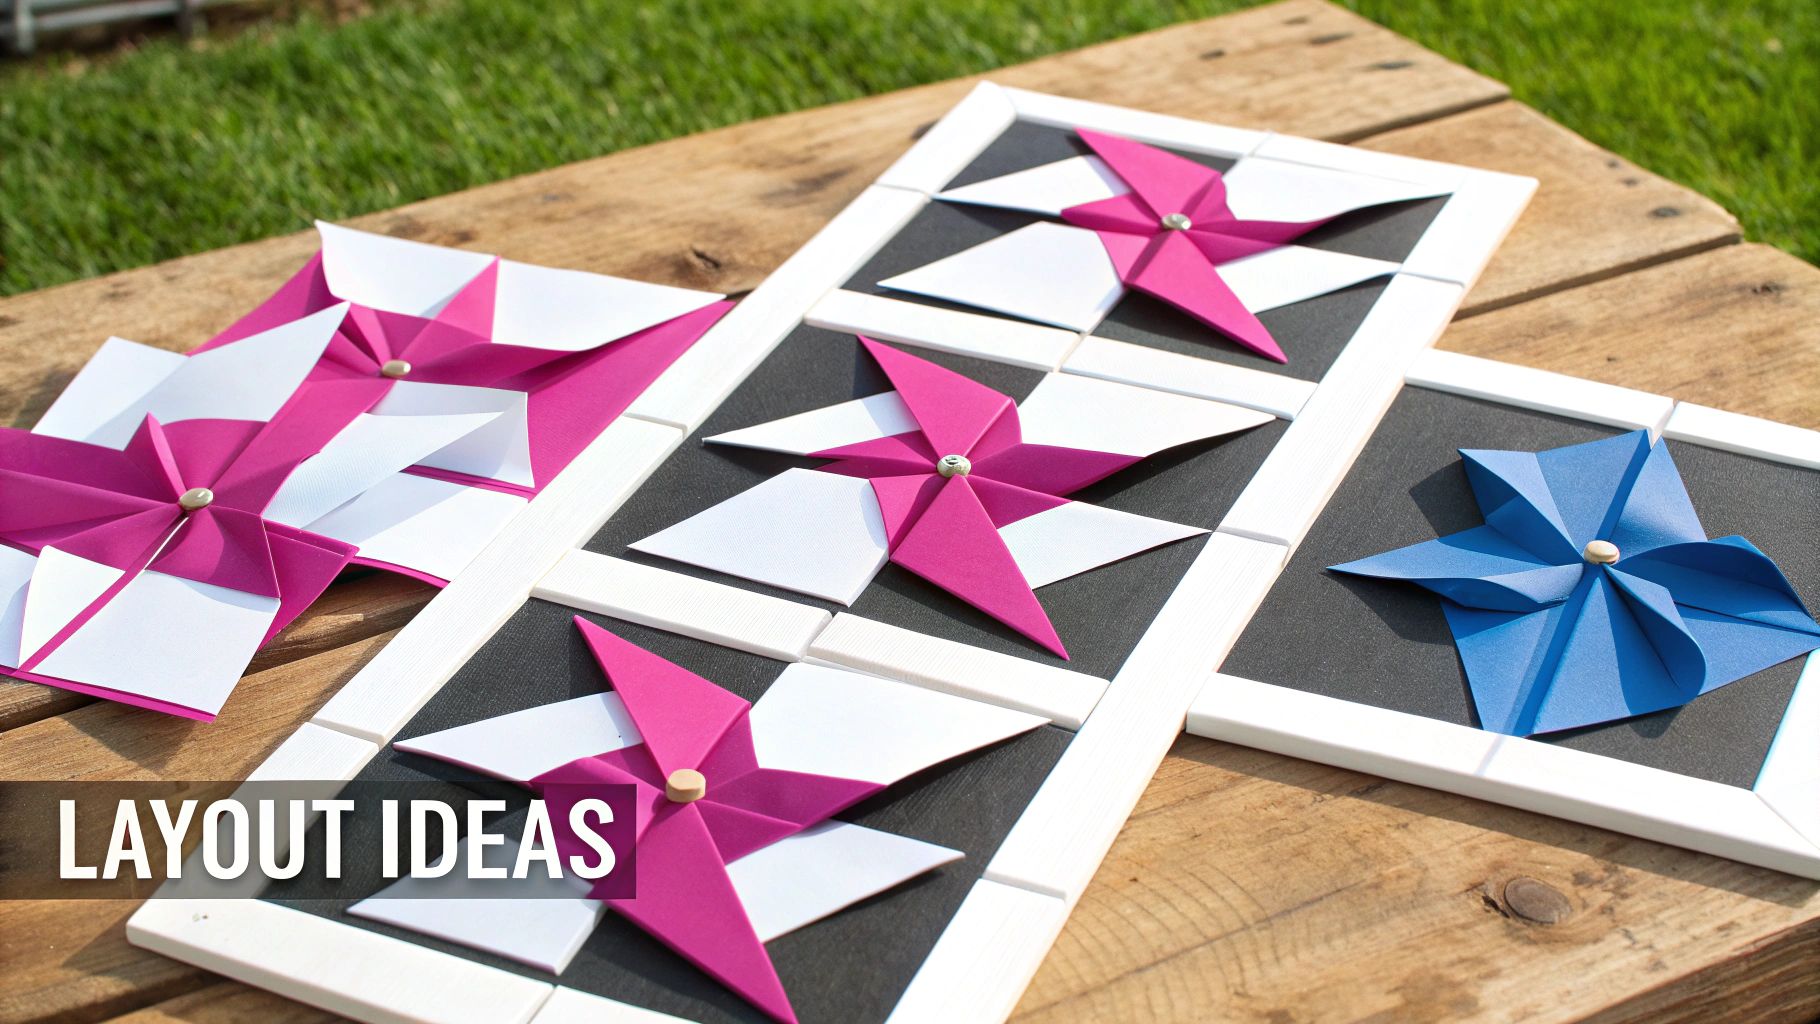
Choosing the right layout can turn a stack of simple pinwheel blocks into a quilt that practically dances across your bed. Mix and match shapes, sizes, and negative space to guide the eye and dial up the visual excitement.
Experiment with fabrics from Linda’s curated collections, and you’ll see how small shifts in placement create a big impact.
Grid And Checkerboard Layouts
A straightforward grid keeps every pinwheel block marching in tidy rows. Swap in a neutral square between each block and suddenly you have breathing room—what quilters call a checkerboard effect. It’s an easy way to highlight each spin without crowding the eye.
• Grid layout delivers a predictable, rhythmic journey
• Checkerboard lends breathing room and subtle accent tones
• Linda’s tone-on-tone bundles make contrasting colors a snap
| Layout | Description | Best For |
|---|---|---|
| Grid | Uniform rows for predictable flow | Geometric enthusiasts |
| Checkerboard | Alternate blocks with neutral spaces | Showcasing bold color pairs |
| Offset | Staggered rows for dynamic motion | Modern and playful designs |
Advanced Setting Techniques
Turning pinwheel blocks on point instantly boosts their energy. Each square becomes a diamond, but don’t underestimate the trimming—accurate corner cuts keep everything lining up.
• Rotate chosen blocks 45° before pinning down
• Insert sashing strips to fill corner gaps
• Trim setting triangles for 1/16″ precision
• Press seams toward sashing to tame bulk
Framing with sashing or lattice strips not only squares up your top; it’s the perfect spot to sneak in a pop of accent print from Linda’s Electric Quilters shop.
Borders And Quilting Motifs
Borders do more than finish a quilt—they amplify your pinwheel’s spin. A narrow 1″–2″ inner border in a solid shade offers a crisp buffer, while a wider 3″–4″ or scrappy pieced border brings that homemade charm.
| Border Width | Style | Impact |
|---|---|---|
| 1″–2″ | Solid strip | Clean separation of blocks |
| 3″–4″ | Pieced strips | Adds scrappy, modern flair |
| 5″+ | Bold print | Frames entire quilt dramatically |
When it comes to quilting motifs, think about echoing the pinwheel rotation or layering in angular crosshatching. Even a simple spiral starting at the block center can emphasize your fabric choices and add delightful texture.
Strategic border and motif choices enhance directional flow and reinforce the pinwheel spin.
Ready to map your layout? Download Linda’s layout worksheet or shop fabric bundles at Linda’s Electric Quilters to plan your next design.
Finishing And Common Issues
Bringing a pinwheel quilt to life depends on a few well-chosen details. Smart binding, the right batting, and a stitch selection that echoes your pinwheel design all pull the look together.
Binding Techniques
Perfect mitered corners start with bias binding strips that flex around curves without puckers. My go-to tools include Linda’s bias tape makers and corner clamps, which take the guesswork out of each fold.
- Bias Tape Maker for consistent strip width
- Binding Clips to hold everything snug
- Hand-Sewing Needles and sturdy thread
For a detailed walk-through, check out this binding a quilt by hand guide. Grab Linda’s bias tape makers and clips at Lindas to finish with confidence.
Batting Selection And Motifs
Your batting choice has a direct impact on warmth, drape, and block definition. Cotton batting gives a soft, classic hand; wool adds loft and structure; high-loft polyester creates a puffy feel that snaps back fast.
- Natural Cotton Batting (breathable, lightweight)
- Wool Batting (warmth, resilience)
- High-Loft Polyester (dramatic puff, easy recovery)
Echo quilting around each pinwheel or a simple crosshatch can make your design truly pop. Stock up on batting and marking tools at Linda’s Electric Quilters.
Troubleshooting Common Issues
Even seasoned quilters hit snags—skewed blocks, wavy edges, borders that won’t lie flat. Most of these problems spring from uneven seam allowances or rushed pressing.
| Issue | Quick Fix |
|---|---|
| Skewed Blocks | Trim triangles, measure seams |
| Warped Borders | Press inward, apply starch |
| Wavy Edges | Lightly starch and re-press on a firm mat |
A quick seam intersection check before assembly can cut rework by 30%—a tip shared by a Linda’s customer who swears by this simple audit. Browse Linda’s pressing mats and starch sprays to nip issues in the bud.
Pressing And Final Touches
Direction matters when pressing: always push seam allowances toward the darker fabric to avoid shadowing. Opening seams at intersections creates a flatter, more even quilt top.
- Self-Healing Pressing Mat for a solid ironing surface
- Tailor’s Chalk (or water-soluble pens) for mapping lines
- Binding Clips to keep corners crisp
An edge-stitch foot makes topstitching the binding a breeze, especially when paired with heavy-duty thread like Linda’s Cotton+Steel #28. Shop these finishing tools now at Linda’s Electric Quilters.
FAQ
Here are some of the most common questions that come up when you’re piecing pinwheel blocks—plus the real-world fixes that keep your seams straight and your points sharp.
Bias Control Tips
A light spray of starch before cutting works wonders. It stabilizes those bias edges so nothing stretches out of shape when you sew.
When it’s time to trim, grab Linda’s Precision Triangle Ruler and:
- Draw your diagonal line on the wrong side of the square
- Square up each half-square triangle to the exact size
- Aim for crisp, consistent points every time
Speedy Chain-Piecing
Chain-piecing can cut your sewing time in half. Instead of stopping to snip each seam, feed units one after another.
- Clip the chain apart with Linda’s Thread Snips
- Press seams open—this keeps blocks flat
- Trim edges and stack them neatly for your next step
Playing With Block Sizes
Mixing pinwheel sizes adds a playful rhythm to your quilt top. A few smaller blocks nestled between larger ones give your design some dance. I often slip in slim sashing strips or setting triangles to fill awkward gaps without interrupting the flow.
Shop Curated Tools & Fabrics
When you want everything in one place, check out Linda’s Electric Quilters for:
- Coordinated fabric bundles
- Precision specialty rulers
- Durable cutting mats
- A variety of batting and finishing kits
Each item is road-tested by quilters to ensure smooth piecing and point-perfect results. Visit Linda’s Electric Quilters to stock up on all your pinwheel quilt pattern supplies and tools.


