
When you hear "quilting with machine embroidery," what comes to mind? For me, it’s the incredible art of using an embroidery machine to stitch gorgeous designs directly onto quilt blocks or even to quilt all the layers together.
This blend of old and new is what gets me so excited. It takes the timeless craft of quilting and elevates it with the stunning precision of automated stitching. Think of the intricate patterns, custom lettering, and rich textures you can add—details that would be incredibly difficult, if not impossible, to achieve by hand.
The Art of Combining Quilting and Machine Embroidery
Welcome to the beautiful intersection where two of our favorite crafts meet. When you merge quilting with machine embroidery, you're not just stitching fabric; you're opening a door to endless creative possibilities. It’s your chance to turn a traditional quilt into a truly one-of-a-kind work of art, and modern machines make it easier than ever to get started on your next project.
Whether you're a long-time quilter who's curious about embroidery or an embroiderer itching to tackle a bigger canvas, you've come to the right place. We're going to walk through the entire process together, from the first spark of an idea to that final, satisfying binding stitch.
What You Will Discover
We're here to demystify the process of bringing these two art forms together. You'll see just how versatile your embroidery machine can be as a powerful quilting tool, covering everything from the initial setup to the final assembly of your project.
Here are a few of the creative avenues we'll explore:
- Creating Custom Quilt Blocks: Imagine adding detailed motifs, monograms, or themed designs to individual blocks before you even piece them together. The personalization is endless!
- Designing Elegant Borders: Stitch continuous, flowing patterns along the edges of your quilt for a frame that looks incredibly professional and polished.
- Quilting in the Hoop: This is a game-changer. Use specialized embroidery designs to quilt all three layers of your quilt sandwich—the top, batting, and backing—all in one go.
To really appreciate the artistry, it helps to know what makes a quilt a quilt. A good starting point is understanding the difference between comforters and quilts, which gives you a better perspective on the craft.
A Growing and Welcoming Community
The quilting world is more vibrant than ever, filled with a passionate and engaged community of makers. It’s a huge market, with an estimated 9-11 million active quilters globally. What's really exciting is that 18% of quilters in a recent study were new to the craft, showing just how many newcomers are picking up a needle and thread.
Our goal is to give you the inspiration and confidence to dive into your first embroidered quilt. As you work through this guide, you can always find ways to elevate your quilting craft with advanced techniques and get all the amazing tools you need right here at Linda's to finish your project.
Gathering Your Essential Supplies and Tools
Diving into a quilting project with machine embroidery is a blast, but just like any good recipe, success starts with getting your ingredients ready. Gathering everything beforehand lets you stay in that creative zone without having to stop and hunt for a tool. It’s not just about grabbing some fabric and thread; it's about picking the right partners for your project to make sure your vision comes to life.
When your materials work together, your stitches lay flat, puckering becomes a non-issue, and your finished quilt gets that polished, professional look we all crave. Let's walk through the must-haves that will be the foundation of your amazing embroidered quilt.
Choosing Your Fabric Canvas
Think of your fabric as the canvas for your art. While quilters use a huge variety of materials, machine embroidery has some specific preferences.
- High-Quality Quilting Cotton: This is your go-to for most projects. Its tight, stable weave is the perfect base for dense embroidery designs. At Linda's, we recommend top brands like Moda, Kona, and Art Gallery because their high-thread-count cottons hold up beautifully under the needle.
- Specialty Fabrics: If you want to add a little something extra, you could bring in linen blends, denim, or even cozy Minky. Just know that these fabrics usually need a bit more stabilizer to keep them from stretching or distorting while the machine works its magic.
No matter what fabric you choose, always pre-wash it. This simple step pre-shrinks the material and gets rid of any factory finishes, making sure your embroidered blocks stay perfectly flat and square after all your hard work is done.
The Foundation of Great Embroidery: Stabilizers
If fabric is the canvas, then stabilizer is the sturdy easel holding it in place. Honestly, it’s the single most important supply for stopping puckers, shifting, and distortion while your machine is stitching. Getting a handle on the different types is a game-changer.
Stabilizer provides temporary support to the fabric during the stitch-out. Choosing the wrong one is the number one reason for frustrating results, so this is one detail you really want to get right.
It creates a firm foundation, letting the needle and thread form perfect stitches without yanking the fabric out of shape.
Selecting the Perfect Stabilizer Type
So, which one do you need? It really depends on your project. Here’s a quick guide to help you choose the right stabilizer when you're adding embroidery to your quilt blocks.
Choosing the Right Stabilizer for Your Quilt Block
Understanding the basics of stabilizers can save you a world of headaches. This table breaks down the most common types and where they shine in quilting projects.
| Stabilizer Type | Best For | Removal Method | Linda's Product Pick |
|---|---|---|---|
| Cut-Away | Dense designs, knit fabrics, or anything needing lasting support. It's the most stable option and our go-to for quilt blocks. | Trimmed away with scissors after stitching, leaving a permanent backing behind the design. | OESD PolyMesh CutAway Stabilizer |
| Tear-Away | Light to medium stitch-count designs on stable, woven fabrics like quilting cotton. | Gently torn away from the design's edges once embroidery is complete. | OESD Medium Weight TearAway Stabilizer |
| Wash-Away | Free-standing lace or when you need zero stabilizer left behind, like on sheer fabrics or towels. | Dissolves completely in water. | OESD AquaMesh WashAway Stabilizer |
For most quilt blocks made from standard quilting cotton, a medium-weight cut-away stabilizer is a fantastic, reliable choice. It gives your embroidery solid support that keeps designs looking crisp, even after the quilt has been washed and loved for years. You can find all these options and more at Linda's to get your project started right.
Threads, Needles, and Notions
With your fabric and stabilizer sorted, it’s time for the finishing touches: your thread, needles, and a few other key tools.
The thread you pick has a huge impact on how your embroidery looks. Polyester and rayon are the most common, and they each give a different effect. If you want to get into the nitty-gritty, check out our detailed guide on the best thread for quilting to help you pick the perfect one.
Finally, you'll want to have these other essentials on hand:
- Embroidery Needles: Stick with a size 75/11 or 80/12 embroidery needle. They have a specially shaped eye that helps prevent frustrating thread shredding.
- Temporary Spray Adhesive: A light spritz of a product like Odif 505 is perfect for bonding the fabric to the stabilizer. It creates a solid foundation that won't shift.
- Small, Sharp Scissors: A good pair of curved embroidery scissors or appliqué snips makes trimming jump stitches and cutting away stabilizer a breeze.
- Marking Tools: You'll need a water-soluble or air-erasable pen to mark the center of your designs on the quilt block. This is key for getting perfect placement every time.
Having these high-quality notions from Linda’s will make your project run smoothly from start to finish.
Preparing Your Machine Embroidery and Quilt Blocks
With all your supplies gathered, it's time to get everything prepped. Honestly, this is where the real magic begins. Taking a few extra minutes to properly set up your machine, design, and fabric will save you a world of frustration later and set the stage for a flawless finish.
It all starts with picking the right design for your quilt block. You have to think about scale and density. A super dense, stitch-heavy design might turn a small quilt block into a stiff board, while a light, airy design could completely disappear on a larger piece of fabric. Always ask yourself: how will this embroidery play with the quilt's overall vibe?
Selecting and Positioning Your Embroidery Design
The best design is one that works with your fabric, not against it. A lush floral pattern, for instance, looks absolutely stunning on a solid cotton block. But if you’re working with a busy print, a simpler running-stitch design might be the way to go—it adds beautiful texture without creating visual chaos.
Once you’ve landed on a design, getting the placement just right is everything. Most embroidery machines have built-in software to help you nail the alignment. A great trick I use all the time is printing a template of the design from my software to audition its placement on the fabric before I even touch the hoop. Then, I grab a water-soluble or air-erasable marking pen to draw center crosshairs on my block. This simple step is your best friend for perfect alignment, every single time.
Pro Tip: If you're stitching multiple embroidered blocks for one quilt, use your machine's grid or placement stickers. This ensures every design is consistently spaced and oriented. It’s that consistency that takes a project from looking homemade to looking professionally handmade.
This infographic breaks down how all the materials come together, showing why each component is so important.
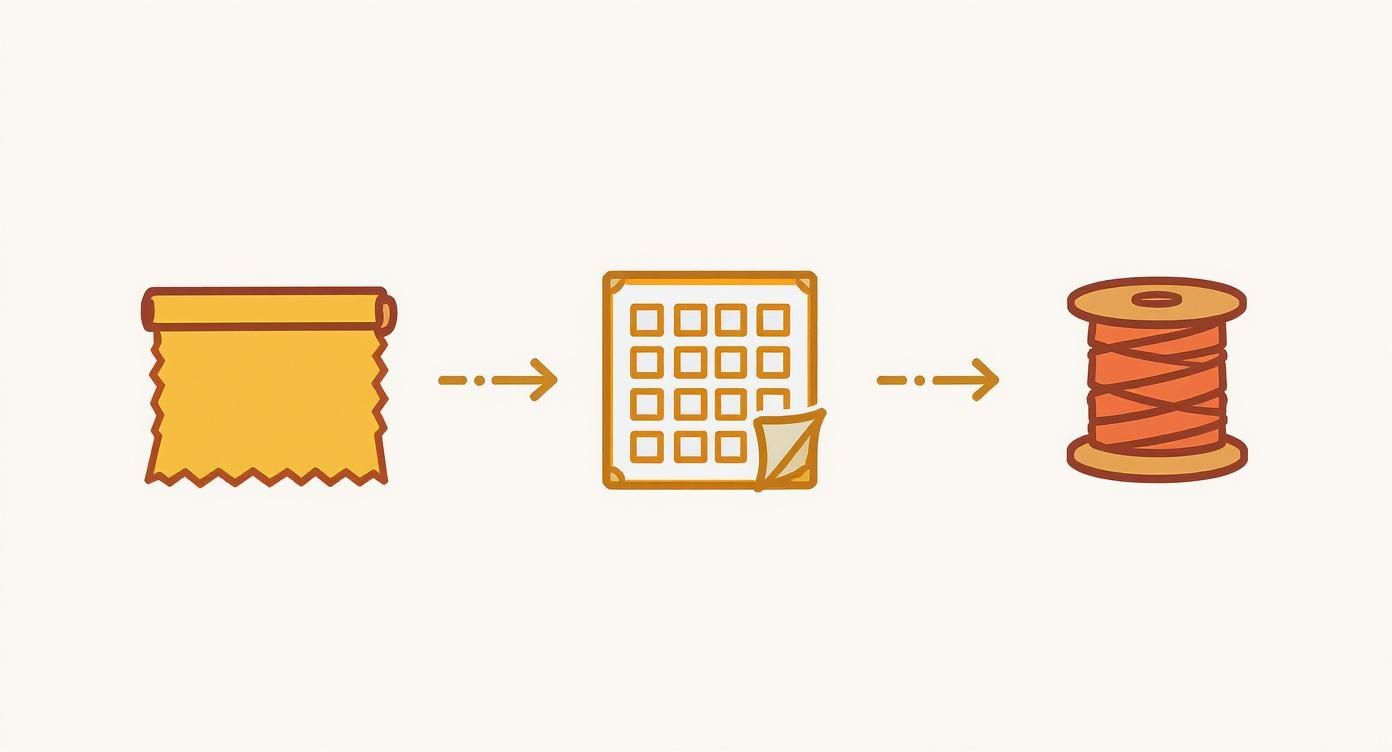
When you see it laid out like this—fabric, stabilizer, thread—it’s easier to understand how each piece builds on the last to create a stable foundation for gorgeous embroidery.
Mastering the Art of Hooping
Let's be real: hooping is probably one of the most critical steps, and it’s where a lot of us run into trouble with puckering and shifting fabric. Your goal is to get the fabric taut like a drum, but—and this is key—not stretched. If you stretch the fabric in the hoop, it’s just going to spring back when you take it out, leaving you with puckered, distorted embroidery. No, thank you.
For a standard quilt block, lay your stabilizer down first, then place your pressed fabric on top, making sure both are perfectly smooth. Loosen the screw on your hoop, lay the materials over the bottom ring, and gently press the top ring into place. As you slowly tighten the screw, keep smoothing the fabric from the center out to get rid of any wrinkles.
Techniques for Perfect Fabric Tension
Sometimes, traditional hooping just isn't the answer, especially if you're working with a thick quilt sandwich or a very delicate fabric. This is where "floating" the fabric becomes your go-to technique.
Floating, also known as the "hoopless" method, means you only hoop the stabilizer. Here’s how it works:
- Hoop a piece of cut-away or sticky-backed stabilizer until it’s perfectly taut.
- Give the hooped stabilizer a light mist of temporary spray adhesive (I love Odif 505 for this).
- Carefully lay your marked quilt block right on top of that sticky surface, lining up your placement marks with the hoop's center markings.
- Gently smooth the fabric from the center outwards. You want to make sure you have a firm bond with no air bubbles.
This method completely eliminates the risk of hoop burn and prevents you from accidentally stretching your fabric. It’s the perfect technique for embroidering directly onto a full quilt sandwich (top, batting, and backing).
For some extra stability, you can also apply a bit of fusible interfacing to the back of your fabric before you start. If you haven't used it much before, you can check out our guide on how to use fusible interfacing for all the details. A little prep work now makes for a beautiful stitch-out later and a quilt you'll be incredibly proud of.
The Stitch-Out Process and Quilting Techniques
Alright, your machine is prepped and your block is hooped up perfectly. This is the moment we've been waiting for—watching that design come to life! All that careful setup is about to pay off big time.
While the embroidery machine takes over from here, your job isn't quite done. Think of yourself as the supervisor on duty. You're there to monitor the process, listen for any strange noises, and just generally keep an eye on things. A happy, rhythmic hum is exactly what you want to hear.
Watching Your Machine for a Flawless Stitch-Out
As the machine starts stitching, pay close attention to the first few hundred stitches. This is your golden opportunity to spot any little hiccups before they turn into major headaches. You'll want to check both your top thread and what's happening with the bobbin thread underneath.
One of the most common gremlins you might encounter is funky tension. You'll know it when you see it—little loops of thread, often called "eyelashes," appearing on the top or bottom of your fabric. If you see bits of bobbin thread popping up on top, your top tension is probably too high. If your top thread is getting yanked to the back, it's likely too loose. It's a delicate balance, and if you want to get into the nitty-gritty, you can learn more about how to adjust bobbin tension settings to get it just right.
Beyond tension, here are a few other things to be mindful of:
- Needle Check: A dull or damaged needle is a recipe for shredded thread and skipped stitches. I make it a habit to change my needle after about 8 hours of embroidery. It makes a world of difference.
- Clear Thread Path: Just make sure the thread is spooling off nicely and not getting caught on anything. A simple snag can cause a thread break and halt your entire project.
- Snip as You Go: Keep a small pair of scissors nearby. When the machine pauses for a color change, snip those little jump stitches. Trust me, it saves a ton of cleanup work later!
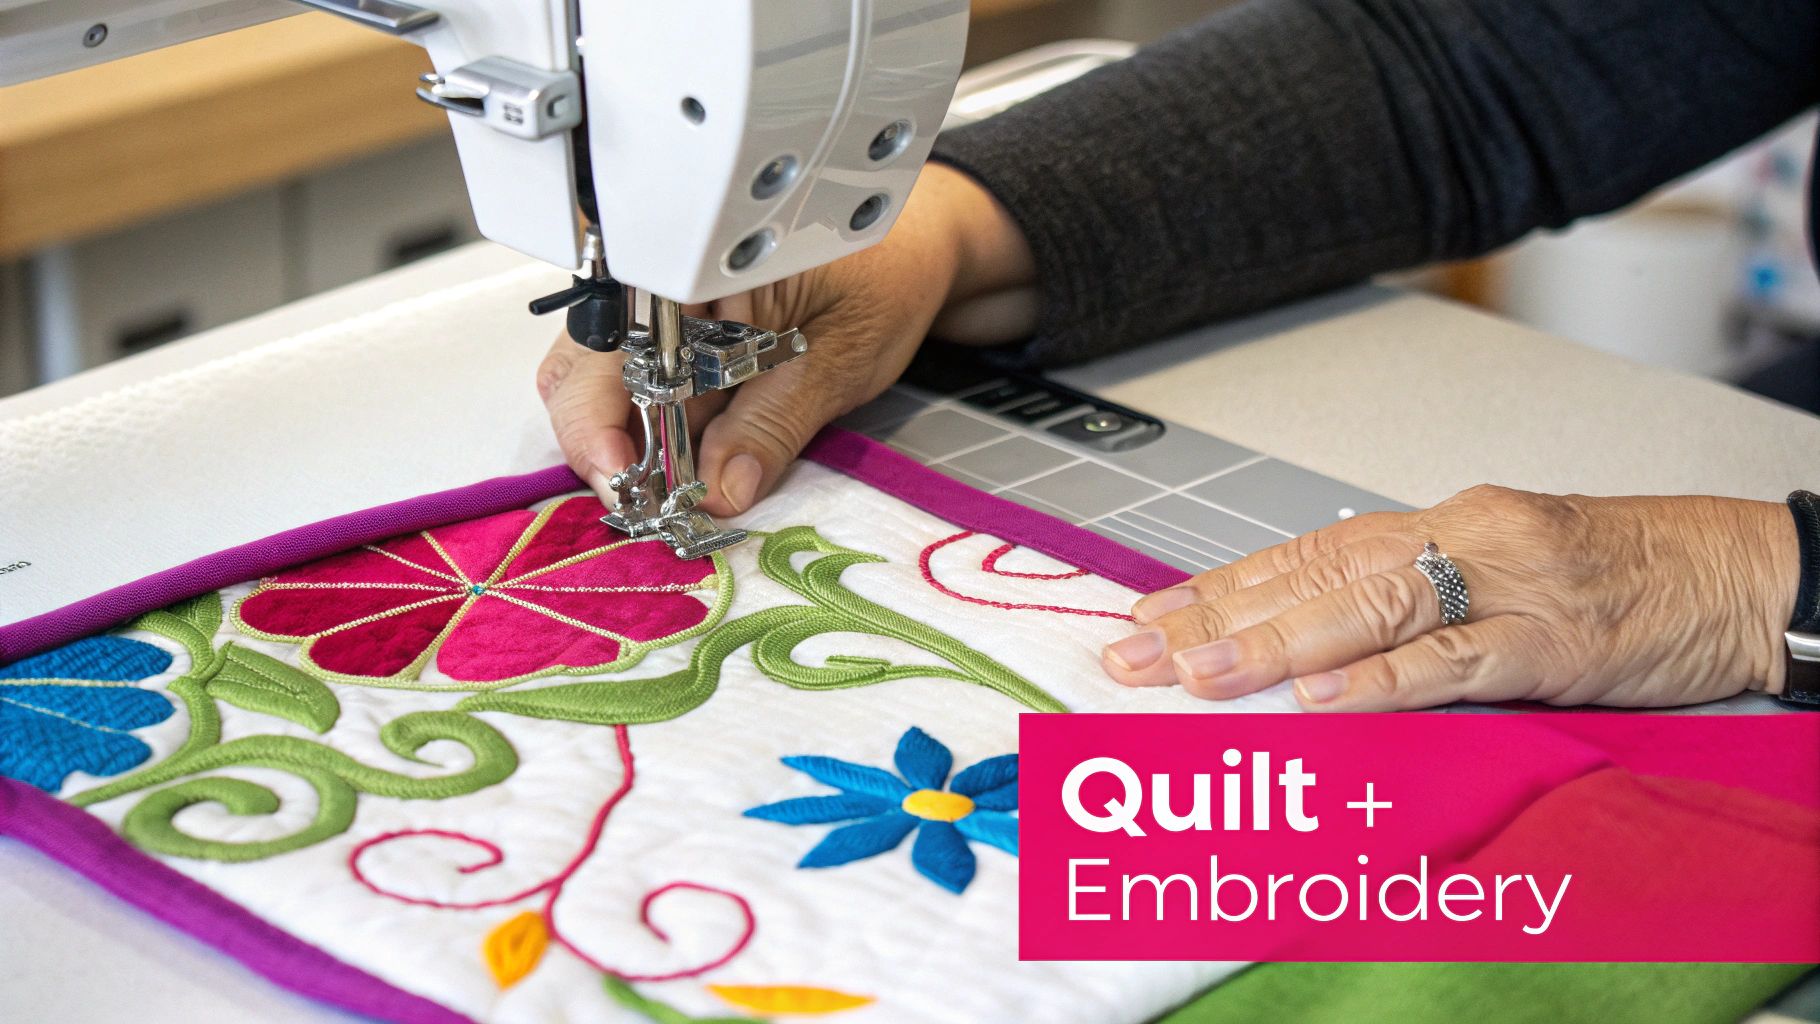
Turning Embroidery Into Quilting
Now for a technique that truly marries these two art forms: using your embroidery machine to do the actual quilting. This is where you stitch through your fabric top, the batting, and the backing all in one go. You'll often hear this called "quilt-as-you-go" or "in-the-hoop" quilting.
This method is an absolute game-changer, especially for tackling large quilts on a standard home machine. Instead of trying to wrestle a giant quilt under your needle, you're working with easy-to-handle individual blocks. The embroidery design itself becomes the quilting stitch, locking all three layers together beautifully.
Think about making a baby quilt where each block has a sweet embroidered animal. The outline of that animal isn't just decoration—it's also the quilting that holds the block together. You're adding design and structure at the same time. How cool is that?
Project in Practice: A Quilted Table Runner
Let’s walk through how this works with a simple table runner. First, you'd create your "quilt sandwiches"—one for each block. Each sandwich has your top fabric, a slice of batting, and your backing fabric.
Using the "floating" method we talked about, you'll hoop just your stabilizer. Then, you'll use a bit of temporary spray adhesive to secure one of your quilt sandwiches right on top of the hooped stabilizer.
Next, you'll load up a quilting embroidery design. These are usually lighter, running-stitch patterns made specifically for this purpose. We have some absolutely gorgeous collections at Linda's from designers like OESD or Kimberbell that are perfect for this.
Hit start, and the machine will stitch the design through all three layers, quilting the block for you. You just repeat this for every block. Once they’re all done, you trim them to size and sew them together. The result? A perfectly quilted project that was created almost entirely inside your embroidery hoop. Your embroidery machine just became a quilting powerhouse.
Assembling and Finishing Your Embroidered Quilt
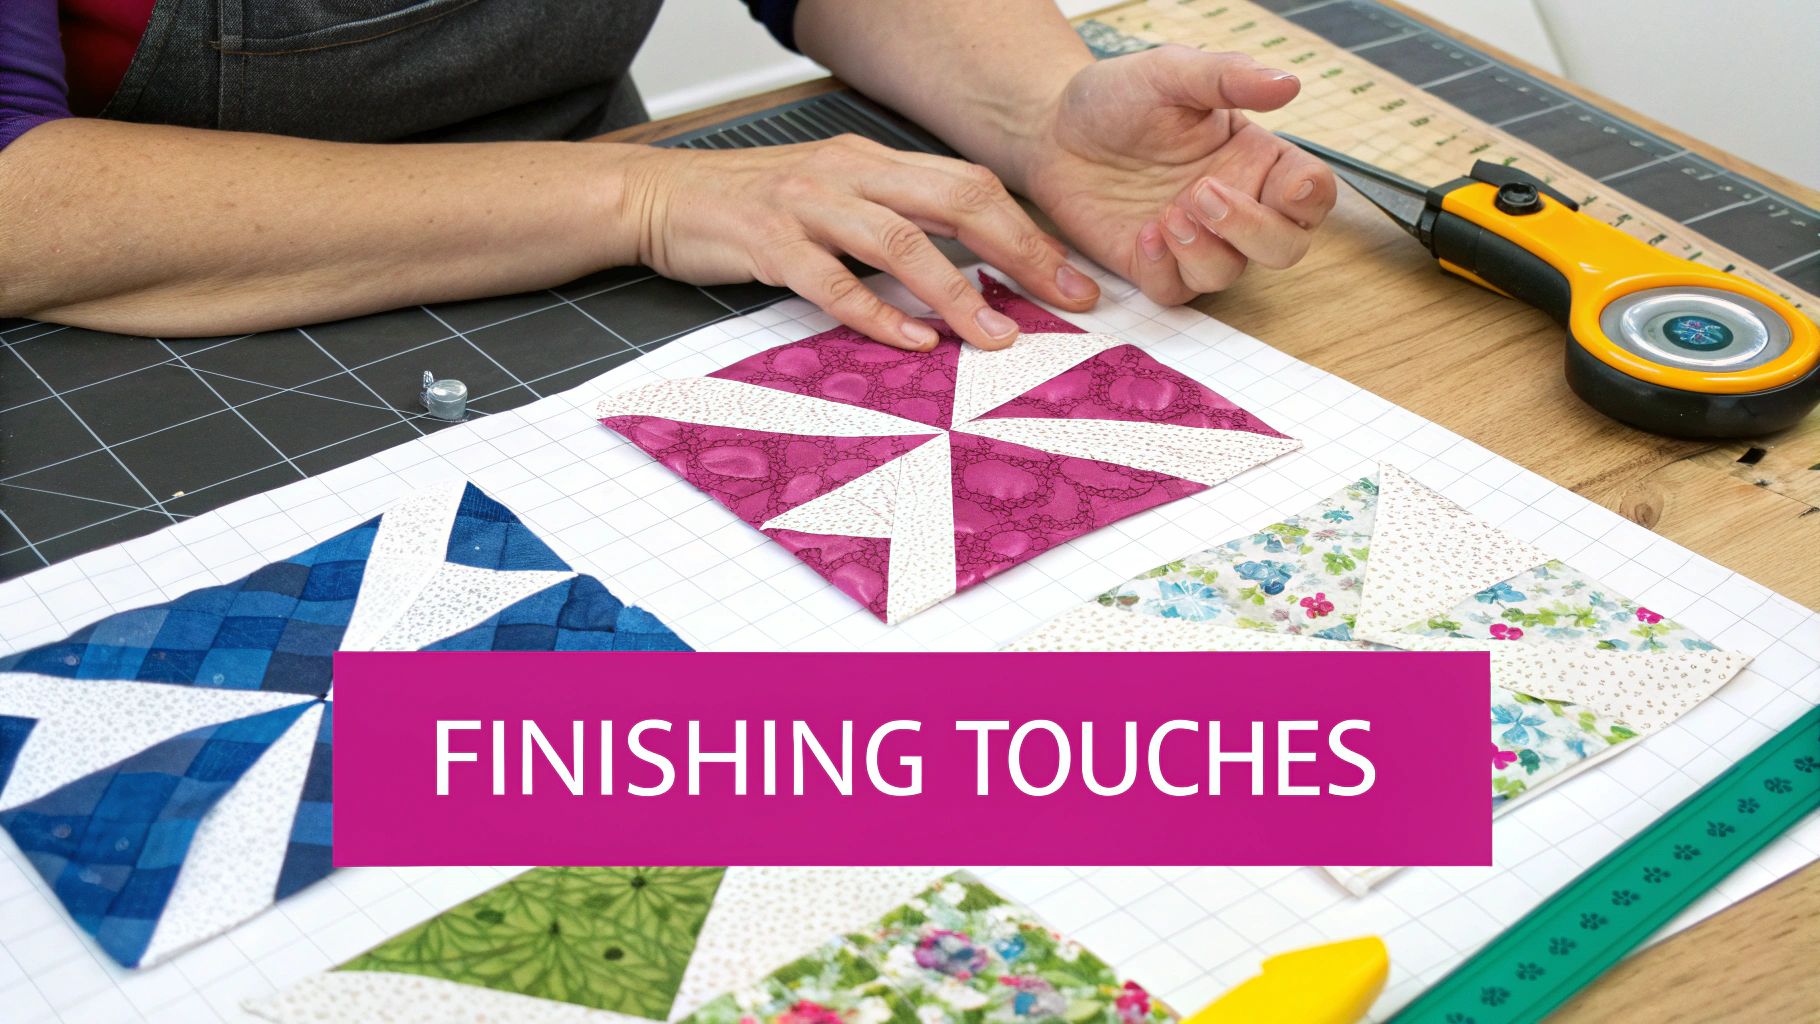
This is the moment we've all been waiting for! All those gorgeous embroidered pieces are about to become a single, stunning quilt. The final assembly is where the magic really happens, turning individual blocks into a true work of art. A little precision and the right tools at this stage will give your quilt that professional polish it deserves.
We’re going to walk through the essentials, from trimming your blocks with razor-sharp accuracy to attaching that final, perfect binding. These are the techniques that ensure your quilt lays flat, your points match up beautifully, and your edges are built to last.
Trimming Your Blocks for Perfect Alignment
After all the stitching is done, the first order of business is trimming your blocks to a final, uniform size. I can't stress this enough—this is probably the most critical step for getting a flat quilt top with crisp, matching seams. The combination of fabric, stabilizer, and thread can sometimes cause a little warping, which makes a sharp rotary cutter and a good ruler your absolute best friends.
Lay each embroidered block on your self-healing cutting mat. Now, grab a square quilting ruler and align its grid lines with the center of your embroidery design, not the raw edges of the fabric. This is key! It ensures your design is perfectly centered in the final block.
Always trim from the center out. By using the design itself as your reference point, you guarantee every block is visually consistent across the whole quilt, even if things shifted a tiny bit in the hoop. This one simple trick is a total game-changer for professional results.
A high-quality rotary cutter, like the ergonomic ones we carry at Linda's, will slice cleanly through the fabric and stabilizer layers without snagging. That precision is what makes the piecing process go so much smoother.
Joining Blocks: Sashing and Seams
With your blocks perfectly trimmed, it's time to join them together. You've got a couple of options here, depending on the look you're going for. Sewing blocks directly to each other creates a modern, seamless grid. Or, you can add sashing—strips of fabric between the blocks—for a more traditional frame that really makes each embroidered design pop.
Remember, you're working with more bulk than in a typical quilt top. A walking foot is a lifesaver here; it feeds both the top and bottom layers of fabric through at the same rate, which prevents any shifting or puckering. Don't be shy with the pins or binding clips to hold everything securely before you sew.
- Pressing is Crucial: I always press my seams open. This helps distribute the extra bulk from the embroidery and stabilizer, which is essential for getting the quilt top to lay nice and flat.
- Manage Thread Tails: Before you join anything, snip any loose thread tails on the back of your embroidery. You don't want them getting caught in your seam allowances.
- Consider a Stronger Needle: A slightly beefier needle, like a 90/14, can handle punching through those thicker seam layers without breaking or skipping stitches.
Adding Borders and Preparing for the Finish
Once your quilt top is all pieced together, borders are the perfect way to frame your work. To avoid wavy borders, always measure your quilt through the center, both vertically and horizontally, before you cut your border strips.
I recommend attaching the side borders first, then the top and bottom. Once again, your walking foot will be your best friend for keeping all those layers feeding evenly. After the borders are on, give the entire quilt top one last, careful pressing.
Now, you're ready to create your quilt sandwich with the backing and batting, just like you would with any other quilt. Baste the layers together securely to get it ready for binding.
The binding is the final touch that encloses all the raw edges and gives your quilt a durable, beautiful finish. If you're new to this, getting those corners neat and the final join seamless can feel a bit tricky. Luckily, our detailed guide on how to join quilt binding ends breaks it down with clear, step-by-step instructions. With the right tools from Linda’s, like binding clips and a fresh rotary blade, you’ll create a beautiful edge for your masterpiece.
Project Ideas & Must-Haves From Linda's
Alright, you've got the techniques down. Now, let's get those creative gears turning! Sometimes the hardest part is just starting, but seeing a few finished project ideas can be the spark you need to dive in.
This is where the real fun begins. I’m going to walk you through a few projects that perfectly blend embroidery and quilting, and I'll point you to some of my favorite products from our shop that will make the whole process a dream.
The Personalized Baby Quilt
There’s nothing quite like a handmade baby quilt. It’s an instant heirloom. Add machine embroidery, and you’ve created something truly unforgettable. Think sweet little woodland creatures in each block, or maybe the baby's name and birth date in a beautiful script. I always reach for soft, high-quality quilting cottons in gentle pastels for these—they make the perfect backdrop.
To get this look, check out the absolutely adorable baby-themed design packs from Kimberbell or Anita Goodesign. When it comes to the machine, something like the Bernina 790 PRO is perfect. Its huge hoop and pinpoint placement features are a lifesaver for getting names and designs centered just right. And don't forget the thread! A curated Isacord embroidery thread set from Linda’s gives you that perfect soft-hued palette for any nursery.
An Elegant Embroidered Table Runner
A table runner is a fantastic project—it’s small enough to finish quickly but makes a huge statement on your dining table. Imagine a beautiful linen runner with a delicate, continuous floral design flowing down the middle. This is the perfect chance to put that "quilt-as-you-go" method we talked about into practice.
Our craft is just booming right now—the global sewing and quilting market was valued at USD 5.8 billion in 2024 and is expected to hit USD 10.5 billion by 2033! That kind of growth means we get incredible new tools and supplies all the time. You can see the full research about the sewing market for yourself.
For a project like a table runner where precision is everything, the right stabilizer is a must. You can't skip it. A product like OESD's PolyMesh CutAway Stabilizer gives you all the support you need without making the runner stiff, so it lays perfectly flat on the table.
A Decorative Accent Pillow
Need a project that gives you that "I finished something!" feeling fast? Make a pillow. This is your chance to go bold and really play with detailed, dense embroidery designs. A single, show-stopping motif embroidered on a piece of quality fabric can instantly become the centerpiece of a sofa or bed.
For a sturdy pillow, you’ll be working with heavier fabrics like canvas or twill, so you need a machine that can handle it. I’d point you toward the Janome Memory Craft 550E. It’s a dedicated embroidery machine with a really generous embroidery area that’s perfect for large designs. A little pro tip: use a temporary spray adhesive like Odif 505 to keep your fabric perfectly smooth on the stabilizer. It makes a world of difference.
You can find all these essentials and more right here at Linda's Electric Quilters. Go on, get stitching
A Few More Questions Answered
Let's tackle a few common questions that pop up when you're blending machine embroidery with quilting. Getting these details right from the start will save you a ton of headaches and help you get straight to the fun part.
Can I Embroider On An Assembled Quilt?
Technically, yes, but I really wouldn't recommend it, especially if you're just starting out. Trying to wrangle the bulk of a finished quilt into an embroidery hoop is a real challenge. It puts a lot of strain on your machine, and honestly, the results are usually pretty disappointing.
For the best possible outcome, always embroider your individual blocks before you piece the quilt top together. This is the professional approach—it gives you total control over hooping and stabilizing, ensuring every single stitch-out is crisp, clean, and perfectly flat.
What's The Right Needle For Quilting Cotton?
You'll definitely want to use an embroidery needle. They're designed with a unique scarf and a slightly rounded point that protects your thread from shredding and breaking as it stitches.
A 75/11 or 80/12 size is the perfect starting point for almost any quilting cotton you'll work with. And a pro tip: get in the habit of changing your needle every 8-10 hours of stitch time. A fresh needle is cheap insurance against skipped stitches, snags, and other frustrations.
Puckering is the number one enemy of beautiful embroidered quilt blocks. But here's the good news: it's almost always preventable, and the fix is all in your setup.
How Do I Stop My Fabric From Puckering?
Puckering is almost always a sign that something is off with your stabilization or hooping. First things first, check your stabilizer. Are you using the right type and weight for your fabric and design density? For most quilt blocks, a medium-weight cut-away stabilizer is a reliable workhorse.
Next, look at how you've hooped everything. You want the fabric to be "taut as a drum," but it's critical that you don't stretch it out of shape. I often use a light mist of temporary spray adhesive to bond the fabric and stabilizer together. This simple trick adds an extra layer of support that keeps everything locked in place, preventing the shifts that lead to puckers.
With these tips squared away, you're all set to create some truly stunning embroidered quilts. At Linda's Electric Quilters, we've got every tool, thread, and fabric you could possibly need to make it happen.
Come explore our full collection of quilting and embroidery supplies and get started on your next masterpiece today.


