
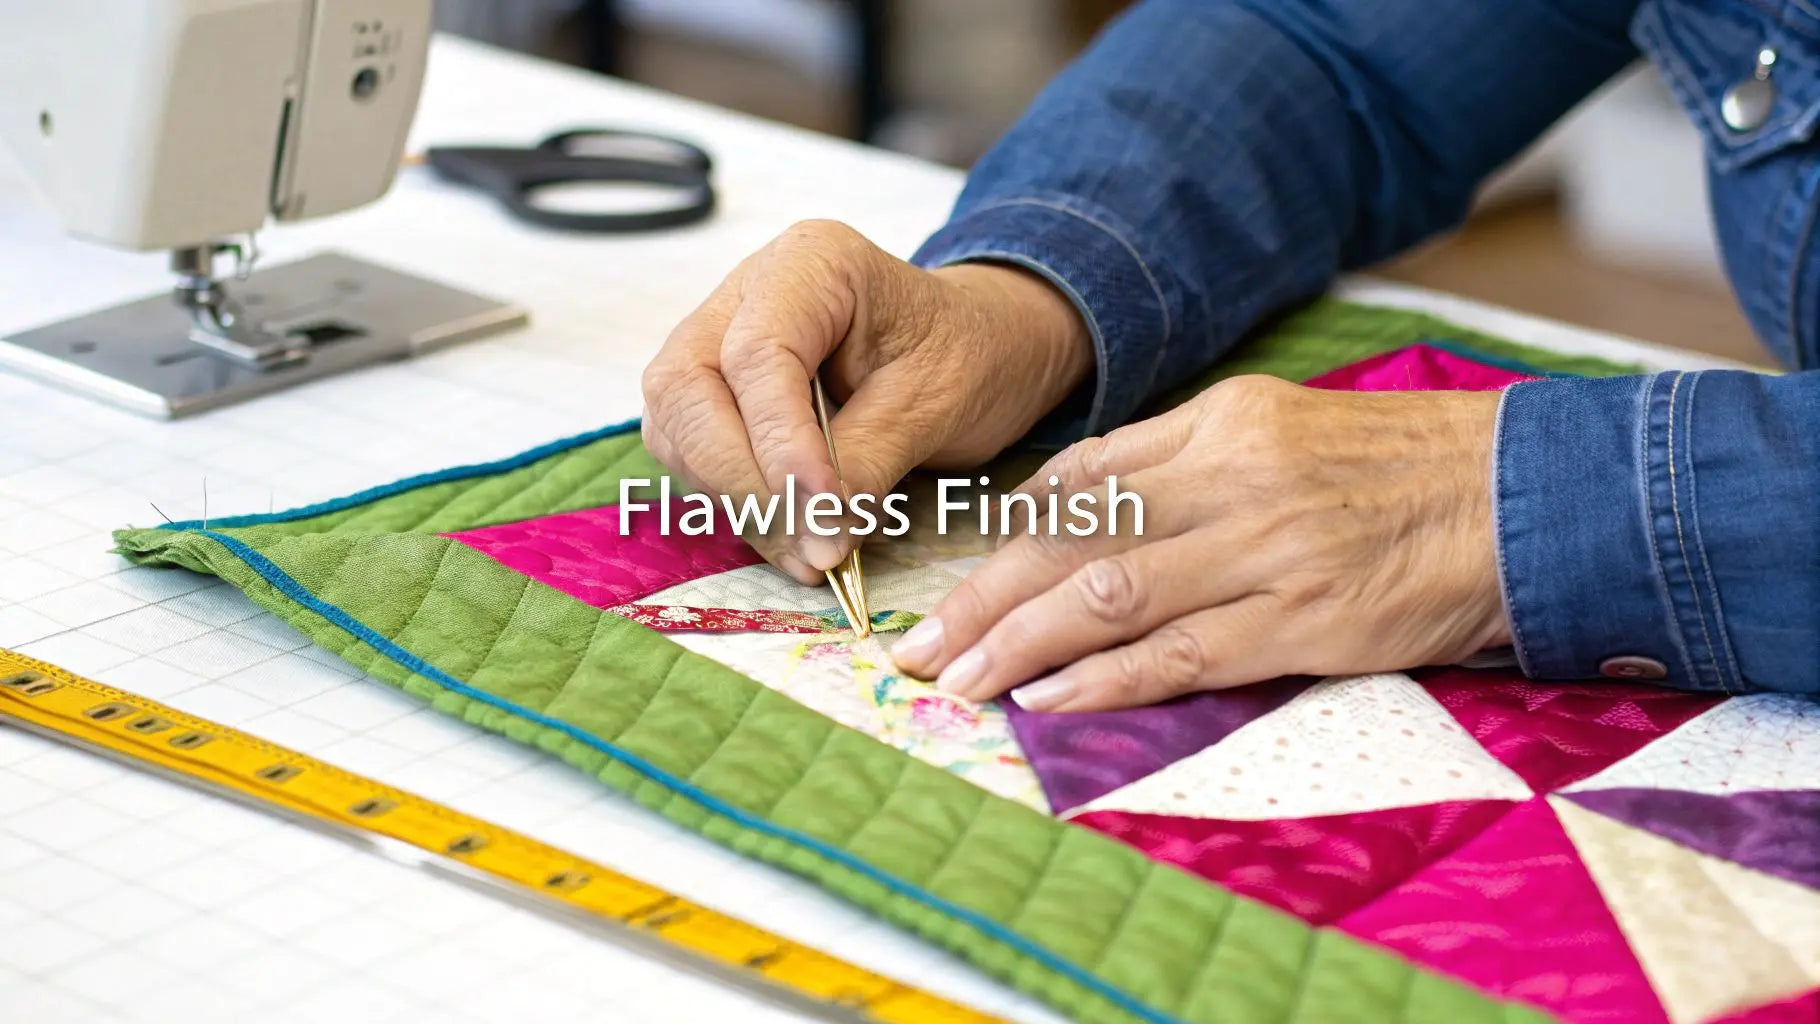
That final step of adding the binding is really where your quilt gets its professional polish. It's the frame for your beautiful work! When it comes to how to join quilt binding ends, the technique I always come back to is the diagonal seam method. It creates a join that’s wonderfully flat, strong, and takes corners like a dream by spreading out the fabric bulk. This guide will walk you through creating that perfect finish, turning your hard work into a treasured heirloom.
The Secret to a Perfect Quilt Edge
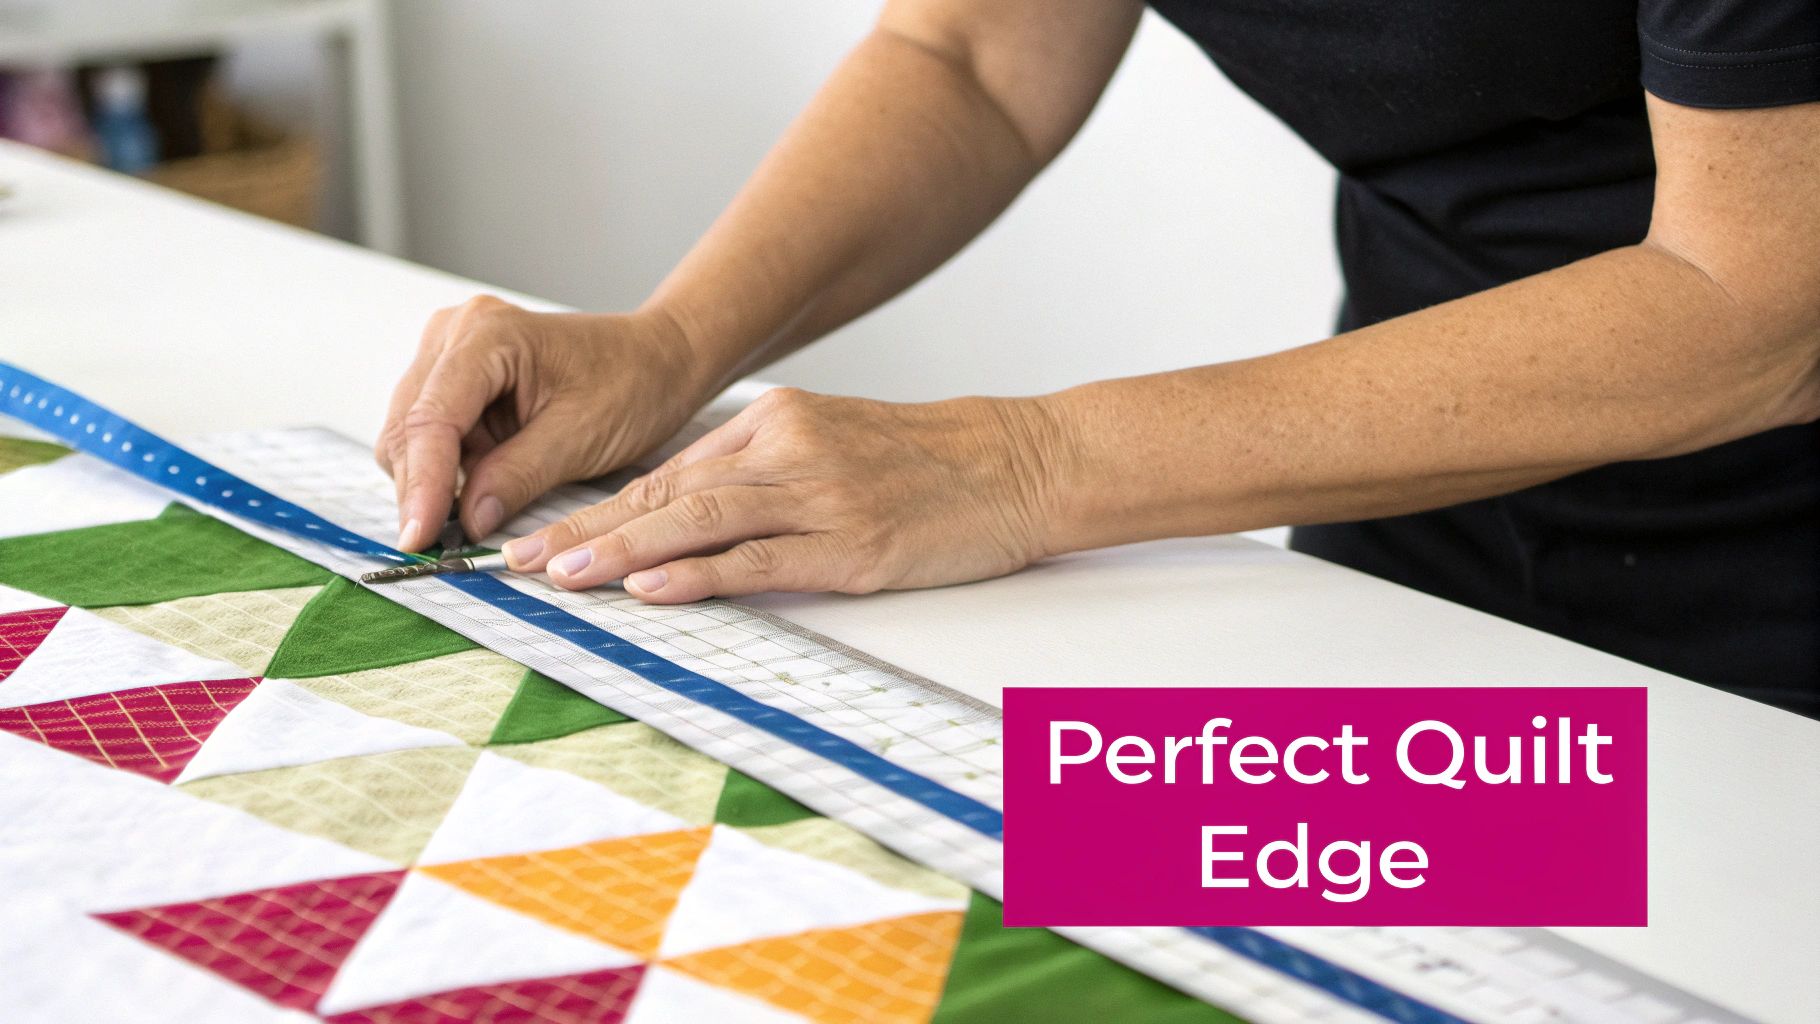
We've all been there—you finish a gorgeous quilt top, but the binding join ends up lumpy or awkward, drawing the eye for all the wrong reasons. Don't worry, getting that seamless finish is much easier than it looks. We're going to walk through the best techniques so you can confidently pick the right one for your project.
Think of it this way: a beautiful binding complements your quilt. A bad one distracts from it. Mastering how to join those final ends is the secret to getting that perfect, polished look every time.
Why the Right Join Matters
This isn't just about looks; the method you choose directly impacts how well your quilt holds up over the years. A poorly made join is a weak spot, just waiting to unravel after a few trips through the washing machine. A strong, flat seam, on the other hand, ensures your quilt's edges are as durable as the rest of it.
This is especially critical for quilts that are meant to be loved and used, like a baby quilt or a throw for the living room couch. That final seam has to be ready for real life!
Here’s why you should sweat the small stuff on this final step:
- Durability: A solid join is your first line of defense against frayed edges, protecting your quilt for years of snuggling.
- Appearance: An invisible join gives your quilt that high-quality, professional finish that really shows off your skill.
- Functionality: When the seam is flat, the quilt hangs and drapes beautifully without any weird bumps or puckers along the edge.
My goal is always to make the start and end of the binding disappear into each other. You shouldn't be able to tell where it began or ended. It’s that final little flourish that tells everyone, "This was made with love and care."
Binding Join Methods at a Glance
To help you decide which approach to take, here's a quick rundown of the most common methods. Each one has its place, and knowing the difference will help you choose the best fit for your current project.
| Join Method | Best For | Skill Level | Key Benefit |
|---|---|---|---|
| Diagonal Seam | Continuous bias or cross-grain binding | Intermediate | The strongest, flattest, and most invisible join. Perfect for curves. |
| Butt/Straight Seam | Quick projects, straight-grain binding | Beginner | Simple and fast to execute, though it can create a bit of bulk. |
| Mitered Corner Join | Joining binding at a corner | Advanced | Creates a perfectly mitered join at the corner instead of mid-quilt. |
While each method works, the diagonal seam is the gold standard for a reason. It's my go-to for almost every quilt I make.
Choosing Your Method
The hands-down favorite in the quilting community is the continuous strip, finished off with a clean diagonal seam. In fact, if you poll most quilting guilds, you'll find around 70% of quilters swear by bias-cut strips joined this way. Why? Because they hug curves and corners beautifully without any fuss.
Of course, your fabric choice makes a huge difference, too. A good quality cotton gives you the crispness and stability you need for a sharp binding. If you’re hunting for the right material, our guide on the best quilting fabric can get you started on the right foot. Here at Linda's, we have a fantastic selection of fabrics perfect for creating a durable, beautiful binding for your next masterpiece.
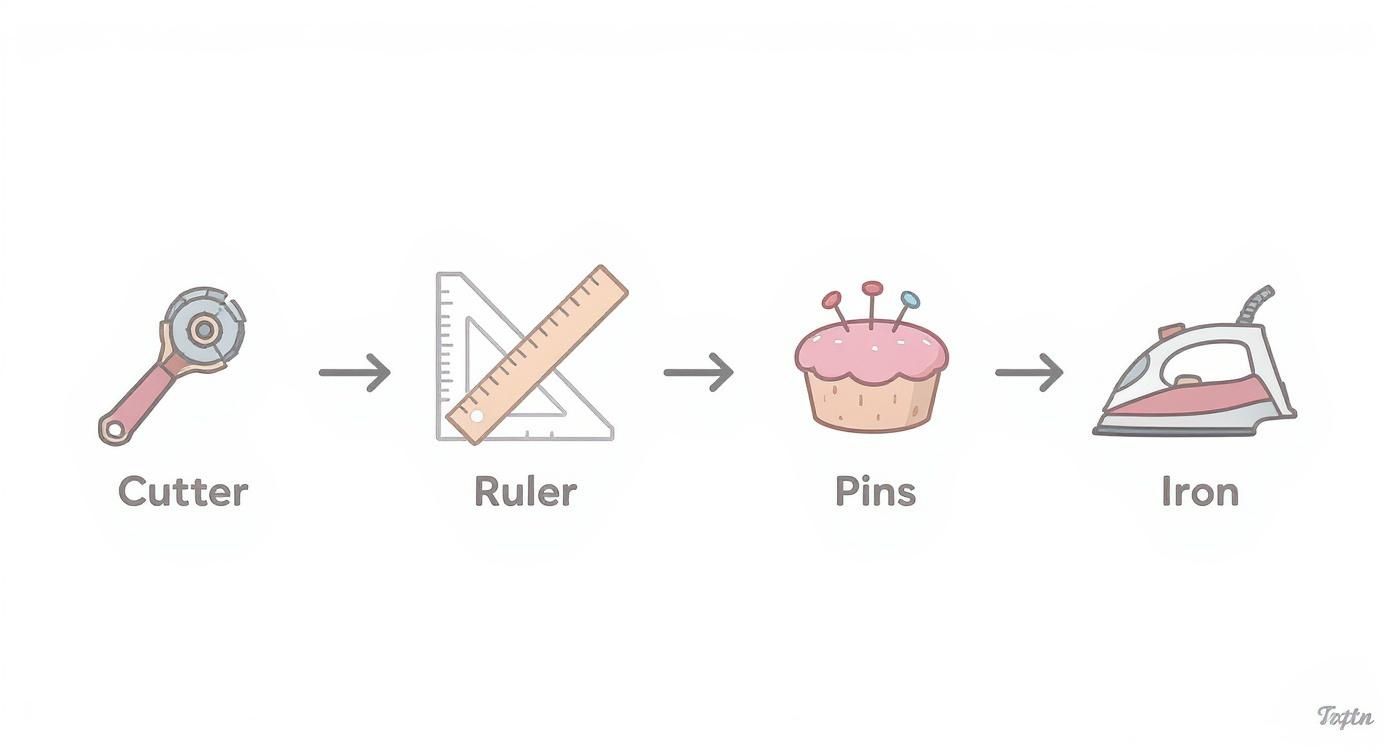
Gathering Your Essential Binding Tools
Before we dive into the nitty-gritty of how to join quilt binding ends, let's talk about getting your toolkit in order. Working with the right gear isn't just about making things easier—it's about setting yourself up for that beautiful, professional finish we all crave. The right tools mean every cut is clean, every press is sharp, and every stitch is just right.
Think of these tools as your trusty sidekicks in the sewing room. You wouldn't try to fussy cut with dull scissors, right? The same logic applies here. Let's get beyond just the fabric and focus on the specific gear that truly makes a difference in your binding.
Cutting and Measuring for Perfection
A perfect binding starts with a perfect cut. When you're cutting those long strips, accuracy is everything. Even a tiny wobble can lead to wavy, puckered edges on your finished quilt. This is where your cutting tools really have to shine.
- Rotary Cutter and Self-Healing Mat: A sharp 45mm or 60mm rotary cutter is your non-negotiable for slicing through fabric layers like butter. Using it with a self-healing mat is a must—it'll protect your table and keep your blade from dulling prematurely.
- A Long Quilting Ruler: I can't live without my 6x24 inch acrylic ruler for binding. Its length lets you cut straight across the entire width of your fabric in one go. No repositioning means no wobbly cuts. It's a game-changer.
- Wonder Clips or Fine Pins: You've got to hold that binding down securely while you sew. Wonder Clips are amazing for this; they grip everything tight without leaving holes or distorting your fabric. If you're a pin purist, just make sure you're using fine, sharp pins that will glide through all those layers without a fight.
Pressing and Sewing Supplies
Once your strips are cut, it’s time to head to the iron and the sewing machine. A good iron and the right kind of thread are just as critical as your cutting tools for getting a flat, durable binding.
A quality steam iron is your best friend for pressing those binding strips in half and for setting your seams after you've joined them. A crisp, flat press makes the binding so much easier to handle and attach to the quilt. As for thread, you want something strong but not bulky. We go into all the details in our guide on choosing the best thread for quilting.
Takeaway Tip: Never, ever underestimate the power of a hot iron and a shot of steam. A properly pressed binding is the secret to a flat, clean edge. It's such a simple step, but it has a massive impact on how your finished quilt looks.
Ready to gear up for your project? You can find all the essential quilting notions you need, from rotary cutters to the perfect thread, right here at Lindas.com. We have everything to help you finish your next masterpiece with confidence.
How to Sew a Perfect Diagonal Seam Join
If you want that truly invisible, flat-as-a-pancake binding join, the diagonal seam is the technique you need to master. Ask any experienced quilter, and they'll likely swear by it. The magic is in how it distributes the fabric bulk, which is absolutely essential for getting your binding to flex around corners without creating little bumps. It’s what takes a quilt from looking homemade to professionally finished.
This isn’t some new trick, either. The diagonal seam has a long and storied history. Quilters in the West adopted this method back in the late 1800s to get those crisp, clean corners and reduce bulk. In fact, when researchers studied heritage quilts, they found that over 85% of bindings from that period were joined this way. That’s a real testament to a technique that just plain works.
Preparing the Binding Tails
Alright, let's get down to it. After you’ve stitched your binding almost all the way around your quilt, you’ll want to stop and leave a gap of about 10-12 inches from where you started. This gives you plenty of room to work without fighting the rest of the quilt.
Let the two ends of your binding—the tails—overlap right in the middle of this gap. This is where precision becomes your best friend. You need to trim one of the binding tails so that it overlaps the other by the exact width of your binding strip. So, if you cut your binding strips 2.5 inches wide, your overlap needs to measure exactly 2.5 inches. Get this part right, and the rest is a breeze.
Having the right tools, like a sharp rotary cutter and a reliable ruler from Linda's collection, makes getting these precise cuts so much easier.
As you can see, each tool plays a role, from the initial cut to the final press with an iron. They all work together to give you that polished look.
Marking and Stitching the Seam
Now, take the top binding tail, open it up, and lay it flat with the right side facing up. Next, grab the bottom tail and place it right on top, right sides together, so they form a perfect 90-degree angle. The spot where they overlap should create a neat little square.
This is where you'll need your favorite marking tool. Using a fabric pen or pencil, draw a diagonal line from the top-left corner of that square down to the bottom-right corner. This line is your new best friend—it’s your stitching guide.
Pro Tip: Before you even think about heading to your machine, pin those two strips together right along the line you just drew. It’s a simple step, but it’s crucial for preventing any slipping and sliding, which is the number one cause of a wonky seam.
With your strips pinned and secure, you’re ready to sew. Stitch directly on that marked line, and don't forget to backstitch at the beginning and end to lock it in place. If you're curious about the best tools for the job, we've got a great article on quilting ruler templates that can help you get those perfectly accurate lines.
Finishing the Perfect Join
Hold on, don't trim anything yet! First, gently fold the binding back into its place along the edge of the quilt to test the fit. It should lie perfectly flat with no tension or bagginess. If it looks great, you're clear to move on.
Take your project back to the cutting mat and trim the excess fabric, leaving a clean ¼ inch seam allowance on the outside of your stitch line. This gets rid of those little corner triangles and all the unnecessary bulk.
The final, crucial step is pressing. Take the joined section over to your ironing board and press that seam open. This is the secret to making the join completely disappear into the binding. Once it's pressed nice and flat, you can fold your binding in half again and stitch down the remaining section to the quilt. With the right tools and notions from Lindas.com, you’ll have everything you need to give your project a flawless, professional finish.
Other Ways to Join Your Binding Ends
While the diagonal seam is my favorite for a reason, it's definitely not the only trick in the book. Sometimes you need a different approach—maybe something a little faster, or a method that’s just a better fit for the project you’re working on.
Knowing a couple of solid alternatives gives you the freedom to choose the perfect finish for any quilt that comes across your cutting table. Let's dig into two other great techniques.
The Simple Straight Seam (or Butt Join)
For projects that aren't going to get a ton of heavy use, like a wall hanging or a decorative table runner, a simple straight seam is a totally fine—and super fast—option. This method, often called a butt join, is exactly what it sounds like.
You just overlap the two binding tails, trim them so they meet perfectly, and stitch them together with a straight seam. It’s quick, it's easy, and you don't have to fuss with marking any diagonal lines.
The only real downside is that all the bulk from the seam allowance gets concentrated in one spot. It’s not something I’d recommend for a cozy bed quilt, but it’s a lifesaver for smaller, quicker projects where that little bit of extra bulk just doesn’t matter.
Honestly, when I'm cranking out a mini quilt or a last-minute gift, the straight seam is my secret weapon for a fast finish. It's proof that not every step in quilting has to be complicated to look great.
The Clever Pocket Tuck Join
If you're after a really elegant finish but want to skip sewing a diagonal seam, the pocket method is a brilliant little trick. With this technique, you create a tidy pocket with one end of the binding that neatly swallows up the raw edge of the other end.
Here’s the rundown:
- Prep the Start: Before you even think about sewing the binding to your quilt, take the starting tail and press the raw edge under by about ¼ to ½ inch. This creates your pocket.
- Attach the Binding: Go ahead and stitch the binding all the way around the quilt like you normally would.
- Tuck and Finish: When you get back to where you started, trim the finishing tail so it tucks right inside that folded pocket you made. A little topstitching along the folded edge is all it takes to secure the join.
This method gives you such a clean look with zero visible raw edges. It's an especially handy technique when you want that polished look without the fuss of lining up a diagonal seam perfectly. For a deeper dive into finishing touches, our guide on how to bind a quilt by hand has some fantastic tips you might find useful.
In the end, knowing different ways to join your binding makes you a more resourceful quilter. And of course, starting with high-quality fabric and sharp cutting tools from Lindas.com means that no matter which join you choose, your results will be crisp, professional, and built to last.
Troubleshooting Common Binding Problems
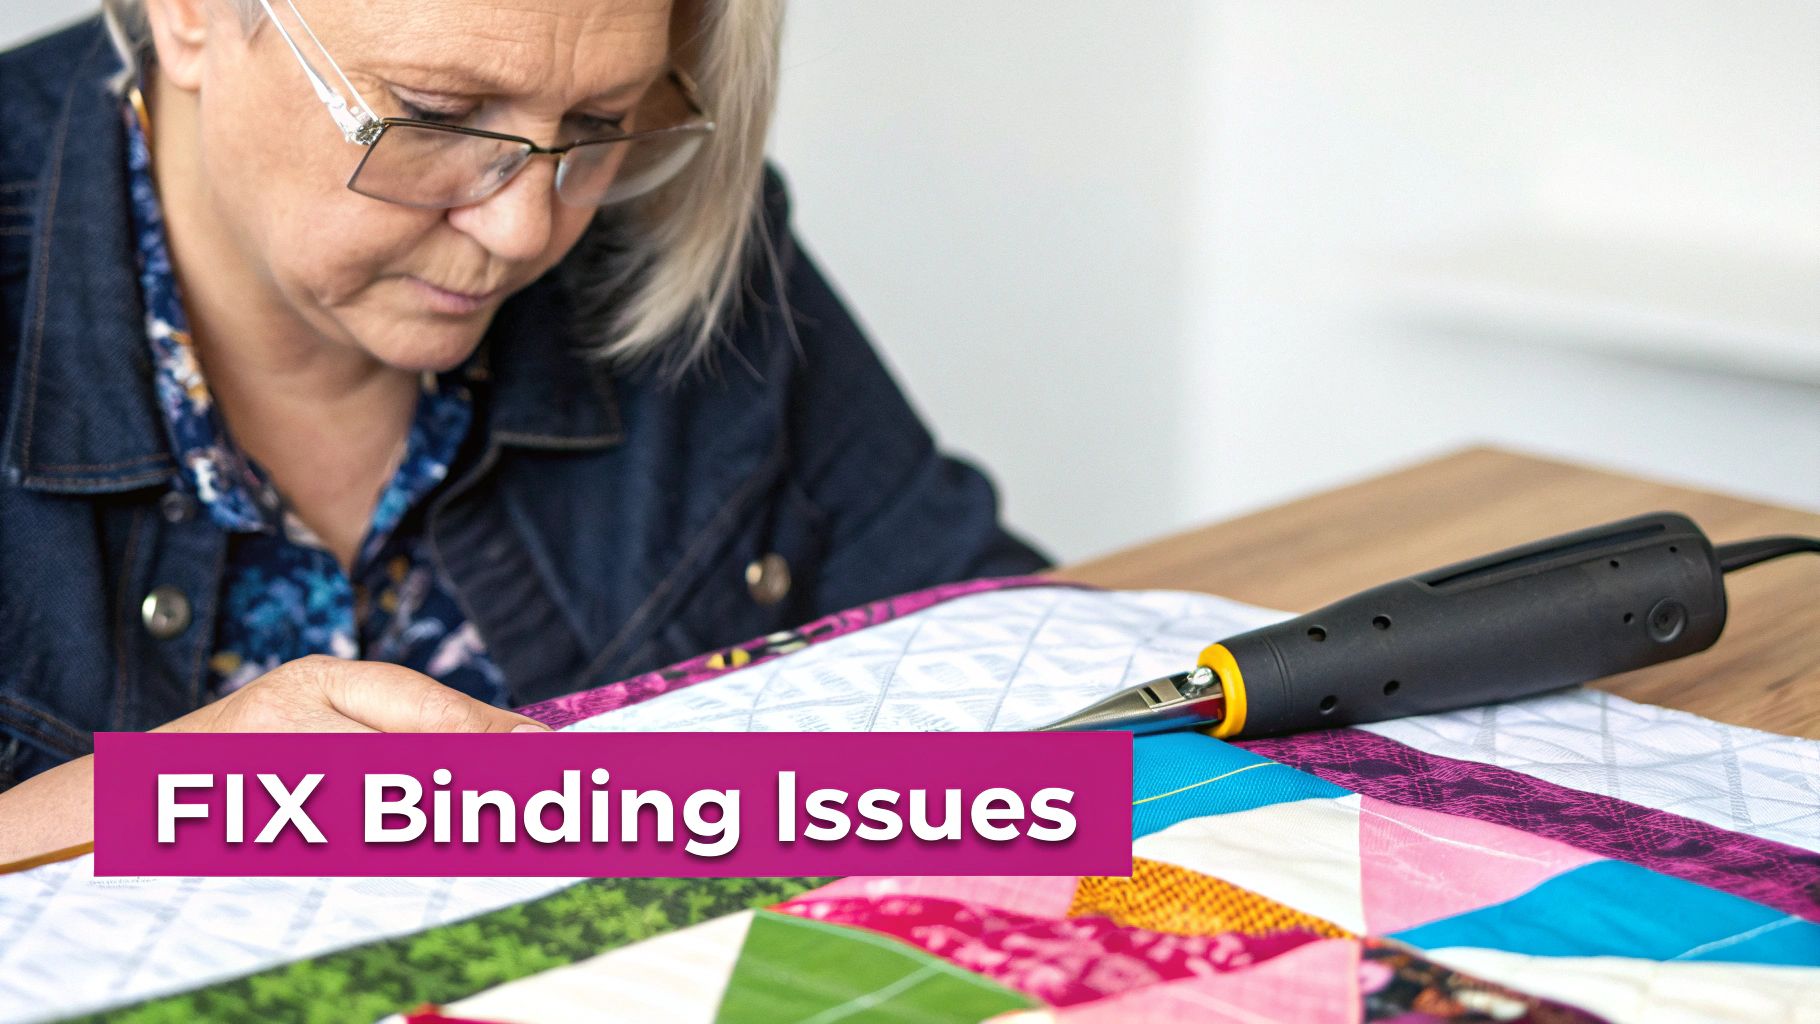
Even when you've measured twice and cut once, things can go a little sideways on that final binding join. Don't panic! Most of these little hiccups are completely fixable and, honestly, are just part of the learning process.
A wavy or puckered edge is probably the most frequent frustration. This almost always means one of two things: you accidentally stretched the binding as you were sewing, or the final join was sewn just a tad too tight, causing it to pull the quilt edge inward.
On the flip side, if you see a noticeable gap or a loose spot, the opposite happened. The binding tails were likely trimmed a little too short, so there wasn't enough fabric to create a flat, snug seam. Both issues are small measuring errors that are easy to correct.
Fixing Gaps and Puckers
The fix, while it might feel a bit tedious, is pretty straightforward. You'll need to grab your seam ripper and carefully unpick the stitching on the join itself, plus a few inches of the binding on either side. This just gives you some breathing room to re-evaluate without fighting the quilt's bulk.
With the stitches out, lay the binding flat along the quilt's edge again, making sure nothing is stretched. Re-measure the overlap to match your binding's width, mark it carefully, and sew the join again. Using a high-quality seam ripper from Linda's makes this delicate work much safer for your fabric.
The key is to let the fabric lie naturally. If you have to pull or stretch anything to make the ends meet, it’s a sure sign your initial measurement was slightly off. Take a deep breath and give it another go.
Taming a Twisted or Bulky Seam
Ever finished that last seam only to find a weird twist in your binding? Yep, we've all been there. It usually happens when one of the binding tails gets flipped upside down just before sewing. Before you make that final stitch, always double-check that both tails are lying flat and are oriented correctly.
If the seam itself just feels too bulky and refuses to lie flat, the problem is usually in the pressing.
- Trim the Seam Allowance: First, make sure you've trimmed the seam allowance inside the join to a scant ¼ inch. Any extra fabric in there is going to create bulk.
- Press the Seam Open: This is the magic step. Use a hot iron to press the seam allowances open before you fold the binding back into its final position. This distributes the layers of fabric much more evenly.
- Check Your Machine's Tension: Sometimes, a bulky seam can point to tension issues. If your stitches look unusually tight or loose, it might be time for a quick adjustment.
With these tips in your back pocket, you can confidently fix any little problem that crops up. Every quilter has become intimately familiar with their seam ripper at some point; it’s simply part of mastering the art of a perfect binding join.
Your Top Quilt Binding Questions Answered
Let's dive into some of the questions I hear all the time about finishing a quilt. Getting the binding just right can feel like the final boss battle of quilting, but with a few key pieces of information, you'll be able to nail it every time.
We're talking about the details that can take a project from "homemade" to "handmade," and give your quilt that polished, professional look you’re aiming for.
Bias vs. Straight Grain Binding
One of the biggest questions is whether to use bias or straight-grain binding. Honestly, the shape of your quilt makes the decision for you.
If your quilt has any curves at all—scalloped edges, rounded corners, anything that isn't a perfect 90-degree angle—then bias binding is a must. When you cut fabric on a 45-degree angle, it gets a natural stretch. That little bit of give is exactly what you need to coax the binding around a curve without any puckers or weird folds. It'll lay flat and look fantastic.
Now, for a quilt with all straight sides, straight-grain binding works just fine. It's a bit more economical since you use less fabric, and it's super stable because there's no stretch. It’s a solid, reliable choice for standard quilts.
How Do I Get a Less Bulky Seam?
Nobody wants that one lumpy spot on the edge of their quilt where the binding ends meet. The absolute best way to avoid that bulk and get a perfectly smooth join is the diagonal seam method we talked about earlier.
By sewing the ends together on an angle, you're staggering where the seam allowances fall. Instead of four layers of fabric stacked right on top of each other, they're distributed. To get it even flatter, press that seam open with a hot iron before you fold the binding. It’s a tiny step that makes the seam nearly invisible.
Here's a pro tip: Always press that diagonal seam open before you attach the binding to the quilt. That's the secret sauce for making the join practically disappear. It's a small detail that makes a huge difference.
How to Figure Out How Much Binding Fabric I Need
Don't let the math intimidate you; it's simpler than it looks! Running out of binding halfway through is the worst, so here’s a foolproof way to calculate what you need.
- Measure your quilt's perimeter: First, just measure all four sides of your finished quilt top and add those numbers together.
- Add a little extra: To that total, add an extra 10 to 12 inches. This gives you a tail to work with for joining the ends and turning the corners without stress.
- Figure out your strips: Take your new total and divide it by the width of your fabric (which is usually around 40-42 inches). Always round this number up to the next whole number. That’s how many strips you'll need to cut.
- Calculate the yardage: Finally, multiply the number of strips by the width you're cutting them (I usually use 2.5 inches). This final number tells you how much yardage to get from your bolt.
Finishing a quilt is such a rewarding feeling, and a beautiful binding is the perfect frame for all your hard work. To make sure every project has that flawless finish, you need to start with great materials. At Lindas.com, we have a fantastic selection of high-quality fabrics, threads, and all the tools you need to create bindings you can be proud of.


