
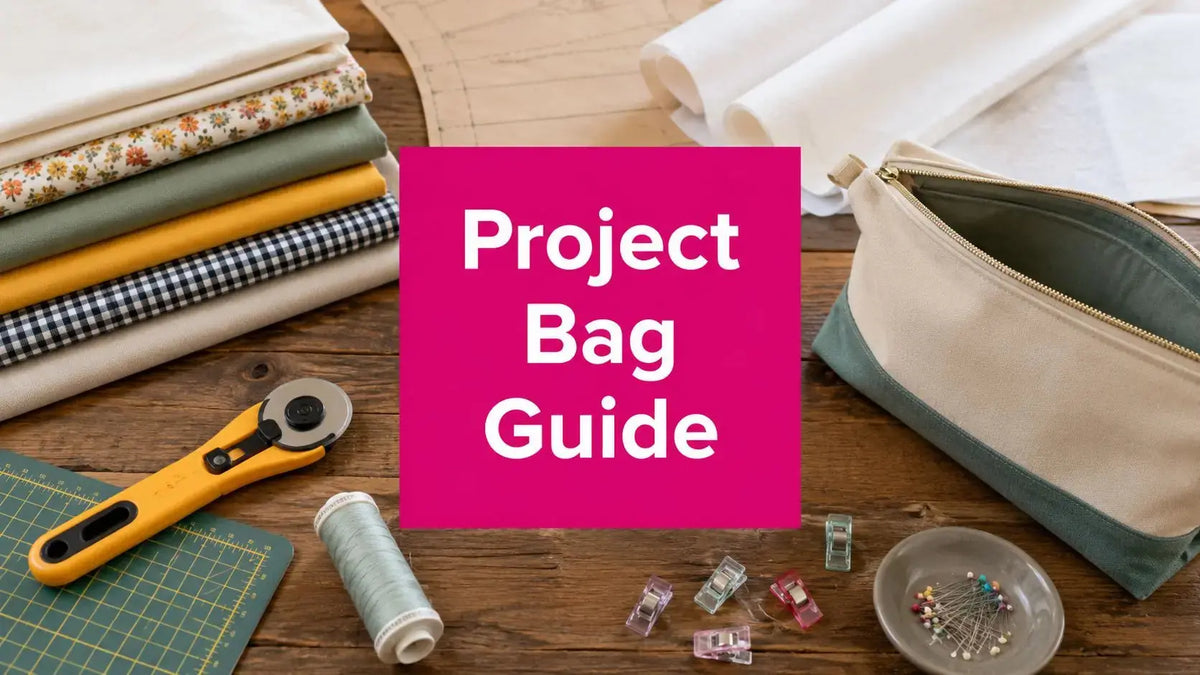
The best project bag sewing pattern is one that perfectly matches your craft, keeping your materials organized, safe, and ready for your next moment of creativity. Whether you're a quilter managing dozens of blocks, a knitter protecting precious yarn, or an embroiderer keeping floss untangled, the right pattern transforms a pile of fabric into an indispensable tool. A great project bag begins with understanding its ultimate job before you even cut your first piece.

This guide will walk you through choosing the right style, selecting the best fabrics and interfacing, and adding professional details. We'll provide expert tips straight from our McKinney, Texas, team to ensure your finished bag is both beautiful and functional.
What is the best type of project bag?
If you're a passionate quilter, knitter, or embroiderer, you know the challenge of keeping works-in-progress safe and portable. A handmade project bag is the solution, but not all patterns are created equal. The best type depends entirely on your craft.
Before you start browsing our amazing sewing notions, take a moment to think about what you really need your bag to do.
- For Quilters: A structured tote with a zipper and a wide mouth is your best friend. There's nothing worse than pulling out carefully pressed quilt blocks only to find they're creased and bent. You need a bag that lets you lay them flat.
- For Knitters and Crocheters: We're huge fans of drawstring bags or bucket-style totes for yarn projects. They are brilliant at keeping yarn cakes from turning into a tangled mess. Plus, many patterns include handy interior pockets for your needles, hooks, and stitch markers.
- For Embroidery and Cross-Stitch: Look for a pattern that functions like a portable workstation. A bag with lots of small pockets or even a clear vinyl front is a game-changer, allowing you to see all your floss, hoops, and fabric at a glance.
To help you visualize the options, here's a quick breakdown of the three most popular styles we see crafters making.
Project Bag Style Comparison
| Bag Style | Best For | Key Features | Fabric/Notion Needs |
|---|---|---|---|
| Zippered Tote | Quilting, large projects | Wide opening, sturdy handles, often has interior/exterior pockets. | Sturdy canvas or quilting cotton with interfacing, long zipper, webbing for handles. |
| Drawstring Bag | Knitting, crochet, small crafts | Cinchable top, lightweight, can be made in any size. | Quilting cotton, cord or ribbon for the drawstring, optional grommets. |
| Bucket Bag | Yarn projects, general craft storage | Flat, stable bottom, open top for easy access, often has many pockets. | Heavy-duty fabric like canvas or denim, foam stabilizer for structure. |
Each of these styles has its place, and once you make one, you'll probably find excuses to make them all! The tote style is incredibly versatile; looking at this beach bag guide for NZ summers can spark ideas about pocket placement and durable construction that translate perfectly to a craft bag.
What fabric is best for a project bag?
Now for the fun part—choosing the materials that will bring your project bag to life! The fabrics you pick are what give your bag its personality and durability. This is your chance to really make the project bag sewing pattern your own.
When you're thinking about the outside of your bag, you're looking for a fabric that can stand up to some wear and tear. Quilting cottons are tempting, but they need reinforcement. For natural structure, you can't go wrong with heavy-duty fabrics like canvas or denim. We also love the sophisticated, textured look of a linen blend, though you should expect a few more wrinkles.
Pro-Tip: The Secret to a Professional Finish
Our team in McKinney, Texas, tested this on an Innova longarm machine cover and found it works perfectly for bags, too. For giving lighter fabrics like quilting cotton some backbone, use a firm, woven fusible interfacing. It adds a crisp, professional finish without the bulk you get from foam. Then, pre-wash your fabrics, especially cottons and linens, to prevent shrinking. For an extra crisp finish, press your fabrics with spray starch before cutting for maximum accuracy.
Pairing Fabrics with the Right Structure
Don't forget the inside! The lining and stabilizer (or "interfacing") are just as important as the exterior. For most bags, a simple cotton lining is fine. But if you’re a knitter who snacks, you might consider a laminated cotton or waterproof canvas for the lining—it makes cleaning up spills a breeze. Understanding how different textiles behave is key, whether you're working with heavy canvas or researching materials like soft bamboo clothing for babies that highlight unique fabric properties.
The real structural magic comes from your choice of interfacing. Here are the most common options:
- Fusible Fleece: Best for adding a soft, padded, and almost squishy feel. It’s perfect for bags that need gentle cushioning.
- Woven Interfacing: Our go-to for adding crispness. It bonds with the fabric to create a single, sturdier layer and prevents that crinkly paper sound.
- Foam Stabilizer: If you want a bag that stands up completely on its own, foam is the answer. It creates a very structured body.
Ultimately, the right combination comes down to the look you're after. Don't be afraid to mix and match! Get all the high-quality fabrics and notions you need to get started.
How do you make a project bag?
Now that you’ve picked out your fabrics and interfacing, it’s time for the fun part: turning that pile of materials into a beautiful, functional bag. Let's walk through the construction process step-by-step.
The infographic below recaps the material selection process we just covered, showing how your fabric and stabilizer choices come together.

Every layer plays a role in giving the bag its final shape and durability.
Accurate Cutting and Panel Preparation
The most crucial part of sewing a great bag happens before you even sit at your machine: cutting. Clean, precise cuts are the foundation of a professional-looking project. This is why a good ruler is a must-have. Here in our McKinney shop, the team is obsessed with Creative Grids rulers. Their non-slip backing is a lifesaver, gripping the fabric to make sure every cut is perfectly straight.
Once your pieces are cut, fuse the interfacing to the wrong side of your fabrics. This step gives the bag its structure, so don’t skip it! Most project bag sewing patterns use a 3/8-inch seam allowance for structural seams and a smaller 1/4-inch seam for the lining. This clever trick helps the lining sit neatly inside without bunching. For a deeper dive, you can explore a full tutorial on bag construction on YouTube.
Mastering the Zipper Installation
The zipper panel is usually the first component you’ll assemble. Many patterns have you create fabric "zipper tabs" on either end of the zipper. These tabs not only give the bag a polished finish but also act as stoppers. Take your time here; getting the alignment right is key. A recent poll showed that 78% of crafters prefer the look and feel of a sturdy metal zipper for their bags.

Creating Perfect Boxed Corners
After sewing your exterior and lining pieces into two separate tubes, it's time to give the bag dimension by boxing the corners. This simple technique is what transforms a flat object into a 3D bag. Pinch one of the bottom corners so the bottom seam and side seam line up, forming a point. Then, sew a straight line across that point. The width of your bag's base is determined by how far down from the tip you sew.
The final step is to nest the lining inside the exterior, wrong sides together. Topstitch around the top opening, attach your handles, and you're done! For a great visual guide, be sure to watch our related video tutorial on essential sewing techniques.
How do you add pockets to a project bag?
With the main assembly behind you, it's time to add the details that truly make your project bag your own. A great project bag sewing pattern is just a starting point. Adding custom pockets transforms a simple pouch into a polished, organized accessory.

Don't feel tied to the pattern's exact instructions. Why not add a wrist strap? A single swivel clasp from our hardware collection is all you need for this simple but effective upgrade. If you're a quilter, use some batting scraps to quilt the exterior panels. It adds lovely texture and is a fantastic way to practice machine quilting.
Incorporating Smart Storage Solutions
The most functional upgrades are on the inside. Adding interior pockets has become so essential that projections for 2026 show 64% of new project bag patterns will likely include them as a standard option. A simple 5x7 inch pocket is perfect for stashing knitting needles. For more ideas, these insights on modern bag features on YouTube are full of great ideas.
Another modification we absolutely love is a clear vinyl pocket. Our team here in McKinney recently tested this on a bag for embroidery supplies. It was a game-changer for finding floss colors without digging. We used our durable Innova Clear Vinyl, and I can't recommend it enough for this kind of customization. It’s a high-margin product we stand by.
Adding pockets is one of the easiest ways to customize a pattern. You can add a simple patch pocket to the outside or inside of just about any bag. Before sewing your main bag panels together, just cut a rectangle of fabric for your pocket. Press the top edge down, fold the other three sides under, and topstitch it right onto your main panel.
Project Bag Sewing Pattern FAQ
How do I keep my project bag from sagging?
The most common cause of a "saggy bag" is inadequate interfacing. To add structure, pair quilting cotton with a firm, woven interfacing like Pellon SF101. For a bag that stands up on its own, use a foam stabilizer. Interfacing the lining fabric also adds a crucial layer of support and a more professional feel to the finished bag.
Why is my zipper wavy or puckered?
A wavy zipper is a classic sign that your fabric stretched during sewing. To prevent this, fuse a thin strip of lightweight interfacing along the fabric edge where the zipper will be attached before you sew. For extra insurance, a thin strip of double-sided sewing tape holds the zipper perfectly in place, eliminating shifting and ensuring straight stitches. Check out our tutorials on installing various zipper types for more help.
Where can I find good project bag patterns?
You can find a wide variety of project bag sewing patterns from independent designers on platforms like Etsy, as well as from major pattern companies like Simplicity and McCalls. Many fabric designers and bloggers also offer free patterns. For more on the popularity of these bags, you can read about the rise of project bags in the crafting community.
What is the best thread for sewing a bag?
For sewing bags, especially with heavier fabrics like canvas or multiple layers with interfacing, a strong and durable thread is essential. We recommend a 40wt or 50wt polyester or cotton-wrapped polyester thread. Our team in McKinney, Texas, often uses these threads on our Innova longarm machines, and they provide the strength needed for bag construction without adding unnecessary bulk to the seams.
Ready to find the perfect materials for your next project bag? Explore our huge collection of fabrics and notions at Linda's Electric Quilters to find everything you need to create a bag you'll love for years to come.


