
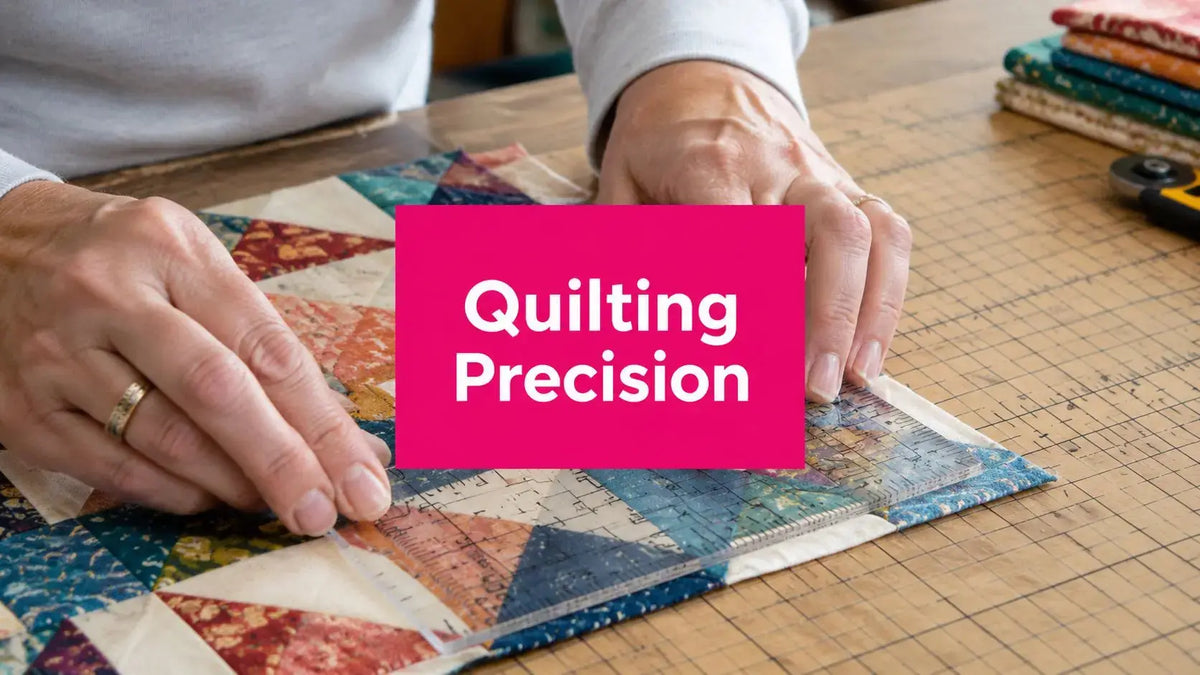
If your quilt blocks keep coming out just a touch off, the problem usually isn't your piecing alone. It's the corner. A block can look fine until you join rows and suddenly the seams won't nest, the points drift, and the top starts to ripple. A good L-shaped ruler fixes that at the source because its built-in right angle removes the guesswork from squaring, trimming, and marking.
That's why this tool earns a permanent place beside the rotary cutter. Once you understand not just how to use an L-shaped ruler, but why each alignment matters, your blocks behave better, your borders lie flatter, and the whole quilt has that clean, deliberate finish everyone notices.
Why an L-Shaped Ruler Is Your Secret Weapon for Precision
Most quilters meet the L-shaped ruler after a frustrating day. The patchwork is pretty. The color story works. Then the rows go together and one corner pushes high while the next one falls short. You press, ease, and pin more carefully, but the top still feels slightly out of true.
That's where the tool earns its keep.
The L-shaped ruler's fixed right angle is the whole magic. It lets you create a true corner without stopping to calculate or fudge a line by eye. That basic shape came out of garment design, where makers used it to keep fabric and pattern pieces properly squared for fit, and it still solves the same problem in quilting today, as described by the National Heritage Board collection note on the L-square.
Practical rule: If your first corner is off, every cut that follows has to compensate for an error you already built in.
In quilting, that matters more than many beginners realize. A block that's only slightly skewed may still measure the right width. But if the corner isn't square, seam allowances start competing with each other. That's when points get chopped, sashing twists, and borders wave.
Why the right angle matters more than the measurement
A regular straight ruler tells you length. An L-shaped ruler tells you relationship. It shows whether one edge is perpendicular to another. That's the difference between “close enough on the mat” and “this quilt top will lie flat.”
A few places where the tool pays off fast:
- Block trimming: It helps you create a clean reference corner before final sizing.
- Template work: It keeps seam allowance additions consistent around corners.
- Top truing: It gives you a stable starting corner when the whole quilt needs squaring.
If you've never used one, keep reading. This is one of those tools that creates an immediate aha moment once it clicks.
Which L-Shaped Ruler Should I Buy for Quilting
Buying an L-shaped ruler for quilting is less about finding a fancy tool and more about matching the ruler to the scale of your work. For small units, a compact ruler feels nimble. For border work or truing a large top, too-small tools force extra repositioning, and that's where accuracy starts slipping.

A larger format has become the common standard for a reason. The 24" x 14" size accounts for 65% of L-square sales, and that same product description notes that its satin-finish aluminum alloy construction provides a 45% higher rigidity index than steel, which is why many makers prefer it when they need reach and stability across full-length pattern work, according to the Lance aluminum L-square product listing.
Size and material trade-offs
Not every quilting station needs the same ruler.
| Ruler Type | Material | Best For | Linda's Pro-Tip |
|---|---|---|---|
| Small L-shaped ruler | Acrylic or plastic | Squaring blocks, trimming HSTs, checking corners at the machine | Keep one beside your pressing station so you can catch distortion before units pile up |
| Mid-size L-shaped ruler | Wood or plastic | General cutting table use, bag panels, smaller quilt sections | Choose one with clear markings you can read without leaning over it |
| Large L-shaped ruler | Aluminum or metal | Truing quilt tops, cutting long borders, large layout work | Use the long arm as your baseline reference first, then trim from the short arm |
What works well and what doesn't
A lightweight ruler is easy to move, but it can shift if your cutting hand gets hurried. A heavier ruler tends to stay planted better, especially when you're working on a large mat or layered fabric. In a busy sewing room, rigidity matters more than people think.
What doesn't work well is buying only for storage convenience. A ruler that's too short for your quilt top forces repeated resets. Every reset is another chance to introduce drift.
A good ruler should feel boring in use. If you're constantly correcting it, re-gripping it, or second-guessing the markings, it's slowing your work.
How to read the markings without overthinking them
Quilters usually care most about quarter-inch logic. You're watching the edge, the seam line, and the unfinished size all at once. Clean, visible increments matter because your eye has to move between the patchwork seam and the ruler line quickly.
Use the ruler this way:
- For block trimming: Align the inside corner of the ruler with the block's trued corner.
- For seam allowance checks: Use the grid to confirm your raw edge sits where it should before cutting.
- For pattern transfers: Mark from a known baseline rather than floating the ruler over fabric.
If you're building a gift project with wool appliqué elements as well as pieced sections, #Charms11 can fit into that mix. It includes 11 Wooly Charms packaged in a clear box with a laser engraved keepsake, and the hand-dyed wool is felted and ready for stitching.
For general tools and notions, it also helps to browse a dedicated quilting notions collection before you commit to a setup. Seeing rulers alongside marking tools, guide rings, and cutting accessories makes it easier to build a workflow instead of buying one item at a time.
How to Square Up Quilt Blocks Perfectly Every Time
A quilt block usually tells on itself before the tape measure does. You'll see a seam pulling slightly to one side, or one edge looks soft instead of crisp. The fix starts with pressing the block flat and choosing one corner to make true first. That first corner becomes the reference for everything else.

When quilters use an L-square's fixed arms directly against the fabric edge to draw or trim from a true corner, pattern squaring success rates rise from 68% to 94%, according to this guide on using an L-square for squaring and right-angle drafting. You can feel that difference in quilting long before you quote the number. Blocks line up with less persuasion.
Start with the cleanup cuts
Don't begin by chasing the final size. Begin by making a perfect corner.
Lay the pressed block on the mat and place the inside corner of the L-shaped ruler against two raw edges or against one straight edge and one stable seam line, depending on the unit. If the block has a trustworthy seam, use it. If the outer edges are wobbly, trust the internal patchwork more than the stretched fabric edge.
Make two initial cleanup cuts on adjacent sides. Those cuts remove the irregular bits and establish a square corner.
Rotate with purpose
Once you've made that clean corner, rotate the block and realign the ruler using the newly trimmed edges. This is the step many people rush. Don't.
Check three things before the final cuts:
- The corner sits snugly: No daylight between ruler corner and block corner.
- The seams look balanced: If you're trimming a pieced unit, make sure important seam intersections aren't being shaved off.
- The unfinished size lands correctly: Read the ruler at the final raw edges, not at the seam line.
In our team's sewing room in McKinney, Texas, we've found that the cleanest results come when the block is fully pressed and cooled before trimming. Warm fabric can relax under the ruler and give you a softer edge than you intended.
Why this prevents growing blocks
A “growing block” usually isn't random. It comes from trimming one side based on a skewed corner, then trimming the opposite side to force the measurement. The block reaches the target size, but the geometry is wrong.
That's why an L-shaped ruler shines. It puts the corner first. Once that corner is square, the size adjustment becomes honest.
If you want inspiration for where crisp geometry really shows off, Ecuadane's artisan quilt collection is a useful visual reference. Strong angular layouts make precision easy to spot, and they're a good reminder that accurate trimming supports the overall design, not just the math.
Precision Marking and Cutting for Flawless Seams
Using an L-shaped ruler only for squaring leaves a lot of value on the table. It's also one of the cleanest tools for marking seam allowances, extending straight lines, and controlling rotary cuts at corners where ordinary rulers feel clumsy.

A common quilting example is adding a quarter-inch seam allowance to a template edge that isn't already printed with one. The L-shape lets you establish a baseline and carry that spacing around the corner cleanly. That's much harder with a straight ruler because you have to lift and reset right where precision matters most.
Mark first, then cut
The safest habit is to separate the thinking step from the cutting step.
Use this sequence:
- Set a baseline: Place one arm of the ruler against the edge or seam you trust most.
- Check the corner: Make sure the ruler corner sits exactly where the two edges should meet.
- Mark the allowance: Use the ruler grid to mark the quarter-inch line clearly.
- Cut after rechecking: Once the line is visible, cut with the rotary cutter in one controlled pass.
For machine piecing, a guide tool can help reinforce that consistency after the fabric leaves the cutting mat. The 1/4in Guide Ring Pink is one option for keeping that quarter-inch seam allowance visible at the machine.
Hand placement makes more difference than people expect
Most ruler slips happen because the stabilizing hand presses down only in the middle. That leaves one arm free to pivot. Spread your hand so it anchors both directions of the L. Think of pinning the corner, not just the ruler.
What works:
- Palm over the inside angle: This keeps the ruler from rocking.
- Fingers spread along both arms: Better control on longer cuts.
- Cutter held upright: A tilted blade can shave under the ruler edge.
What doesn't work:
- Pressing from the far end only
- Cutting too fast on layered fabric
- Reading the mark from an angle that introduces parallax
The cleanest seam allowances come from steady setup, not speed. Fast cutting only helps when the ruler is already perfectly placed.
If you want to see the hand position and cutting rhythm in motion, this video is worth watching before your next trimming session:
A final practical note from longarm prep. When seam allowances are cut consistently, the quilt top behaves better later under tensioning on the frame. You spend less time easing fullness and more time quilting.
How to Square and Trim a Finished Quilt Top
A quilt top can look fine on the floor and still fight you the minute you baste it. One corner pulls off square, the border ripples, and suddenly the binding has to hide problems it should never have been asked to fix. Squaring the top is the quiet step that decides whether the quilt will lie flat, hang straight, and finish clean.

The goal is not to shave every edge until the quilt looks mathematically perfect on the mat. The goal is to correct distortion without sacrificing more fabric than necessary. That matters because every trim changes the relationship between the patchwork, the border, and the final edge. A well-squared top behaves better in basting, longarming, and binding. A poorly squared one asks you to compensate at every stage.
Start by choosing the truest reference line on the quilt. Sometimes that is the outer edge. Often it is not. A long inner border seam or a stable pieced row usually tells the truth better than a stretched outside edge, especially if the quilt has been handled a lot during layout and pressing.
Check for these signs:
- A seam line that stays straight over a long distance
- An area with little waviness or drag
- A corner that has not been tugged out of shape
Use that line to establish one accurate corner with the L-shaped ruler. That corner becomes your anchor. From there, square the two adjoining sides in sections, smoothing the quilt top flat each time you reposition. This slower approach works because large tops can shift under their own weight. Small corrections keep that shift from turning into a crooked cut.
I trim finished tops in stages for a reason. If one side is slightly off, trimming the whole length in a single pass can force the error farther down the edge. Section-by-section trimming lets you check whether the quilt is staying square as you go, which protects the block proportions you worked hard to piece accurately in the first place.
A few habits help here:
- Support the weight of the quilt on the table so it is not pulling against the cut
- Measure across more than one point before removing fabric
- Trim only the amount needed to true the edge
- Recheck the corner after each major adjustment
The why matters as much as the how. Squaring at the quilt-top stage is your last good chance to correct accumulated drift from piecing, pressing, and border attachment. If you skip it, the problems usually show up later as pleats in the backing, fullness on the frame, or binding that looks tighter on one side than the other.
A flat, square quilt top gives every later step less to fight.
If your next step after truing the top is finishing the edge, a binding tutorial belongs right there in your workflow. A clear quilt binding tutorial helps you carry that accuracy forward so the final edge supports, rather than hides, the shape you just corrected.
Pro-Tips for Lifelong Accuracy and Ruler Care
A good L-shaped ruler can serve for years, but only if you protect both the tool and your habits. Most accuracy problems come from storage damage, worn visibility, or reading the marks from the wrong angle.

Small habits that protect precision
Store the ruler flat or fully supported so one arm isn't hanging off a shelf. That matters most for larger rulers. If a tool gets knocked around between mats, cutters, and bobbin cases, eventually the edge or marking clarity suffers.
For cleaning, use a soft cloth and a mild cleaner that won't cloud the surface or strip printed lines. Quilting rulers collect lint, fabric finish, and skin oils faster than people expect, especially in busy cutting sessions.
A few habits worth keeping:
- Read straight down: Looking from the side creates parallax and false confidence.
- Cool the fabric before trimming: Freshly pressed fabric can relax after the cut.
- Check your baseline first: A perfect right angle can't rescue a crooked starting edge.
Pro-Tip callout box
Pro tip: If your ruler seems to “slip” often, don't blame the ruler first. Check whether your mat has fine thread snippets under the fabric. Even tiny debris can lift one area just enough to let the ruler rock during a cut.
That's one of those tiny shop truths that saves a surprising amount of frustration.
What experienced quilters keep in mind
An L-shaped ruler doesn't replace good piecing, pressing, or machine setup. It supports them. If thread tensioning is inconsistent, if your seam allowance wanders, or if the quilt top gets stretched at the ironing board, trimming becomes corrective instead of confirming.
The satisfying part is that once your process tightens up, the ruler starts feeling less like a rescue tool and more like a finishing tool. That's when precision gets fun.
Frequently Asked Questions About Using L-Shaped Rulers
Is an L-shaped ruler different from a regular quilting ruler
Yes. A regular quilting ruler is usually best for measuring widths, cutting strips, and following grid lines. An L-shaped ruler adds a fixed right angle, which makes it better for truing corners, checking perpendicular edges, and squaring blocks or tops.
Can I use a hardware store square for quilting
You can, but quilting tools usually have markings and surfaces better suited to fabric work. Visibility, handling, and compatibility with rotary cutting matter. A workshop square may confirm a corner, but it often isn't as convenient on fabric and batting.
Do I need a large L-shaped ruler if I mostly make blocks
Not necessarily. If most of your work is block trimming, a smaller ruler can be more comfortable. A larger ruler becomes more useful when you start squaring borders, trimming larger units, or checking a full quilt top.
Why does my block still measure correctly if it isn't square
Because size and geometry aren't the same thing. A block can hit the unfinished measurement while still having skewed corners. That usually shows up later when seams don't align cleanly.
Should I trim every block with an L-shaped ruler
Not every block needs aggressive trimming. But checking critical units, especially those with bias edges or strong points, helps maintain consistency across the quilt.
<script type="application/ld+json">
{
  "@context":"https://schema.org",
  "@type":"FAQPage",
  "mainEntity":[
    {
      "@type":"Question",
      "name":"Is an L-shaped ruler different from a regular quilting ruler",
      "acceptedAnswer":{
        "@type":"Answer",
        "text":"Yes. A regular quilting ruler is usually best for measuring widths, cutting strips, and following grid lines. An L-shaped ruler adds a fixed right angle, which makes it better for truing corners, checking perpendicular edges, and squaring blocks or tops."
      }
    },
    {
      "@type":"Question",
      "name":"Can I use a hardware store square for quilting",
      "acceptedAnswer":{
        "@type":"Answer",
        "text":"You can, but quilting tools usually have markings and surfaces better suited to fabric work. Visibility, handling, and compatibility with rotary cutting matter. A workshop square may confirm a corner, but it often isn’t as convenient on fabric and batting."
      }
    },
    {
      "@type":"Question",
      "name":"Do I need a large L-shaped ruler if I mostly make blocks",
      "acceptedAnswer":{
        "@type":"Answer",
        "text":"Not necessarily. If most of your work is block trimming, a smaller ruler can be more comfortable. A larger ruler becomes more useful when you start squaring borders, trimming larger units, or checking a full quilt top."
      }
    },
    {
      "@type":"Question",
      "name":"Why does my block still measure correctly if it isn’t square",
      "acceptedAnswer":{
        "@type":"Answer",
        "text":"Because size and geometry aren’t the same thing. A block can hit the unfinished measurement while still having skewed corners. That usually shows up later when seams don’t align cleanly."
      }
    },
    {
      "@type":"Question",
      "name":"Should I trim every block with an L-shaped ruler",
      "acceptedAnswer":{
        "@type":"Answer",
        "text":"Not every block needs aggressive trimming. But checking critical units, especially those with bias edges or strong points, helps maintain consistency across the quilt."
      }
    }
  ]
}
</script>
If you're ready to finish your project with cleaner corners, steadier seam allowances, and better-behaved quilt tops, explore the tools, tutorials, and supplies at Linda's Electric Quilters. You'll find notions, project materials, and educational resources that support accurate quilting from first cut to final binding.


