
You’ve probably had this moment. You see a hexagon quilt that looks full of motion and color, perhaps a classic flower garden or a crisp modern layout, and you think, “I love that. I also have no idea where to start.”
That reaction is common.
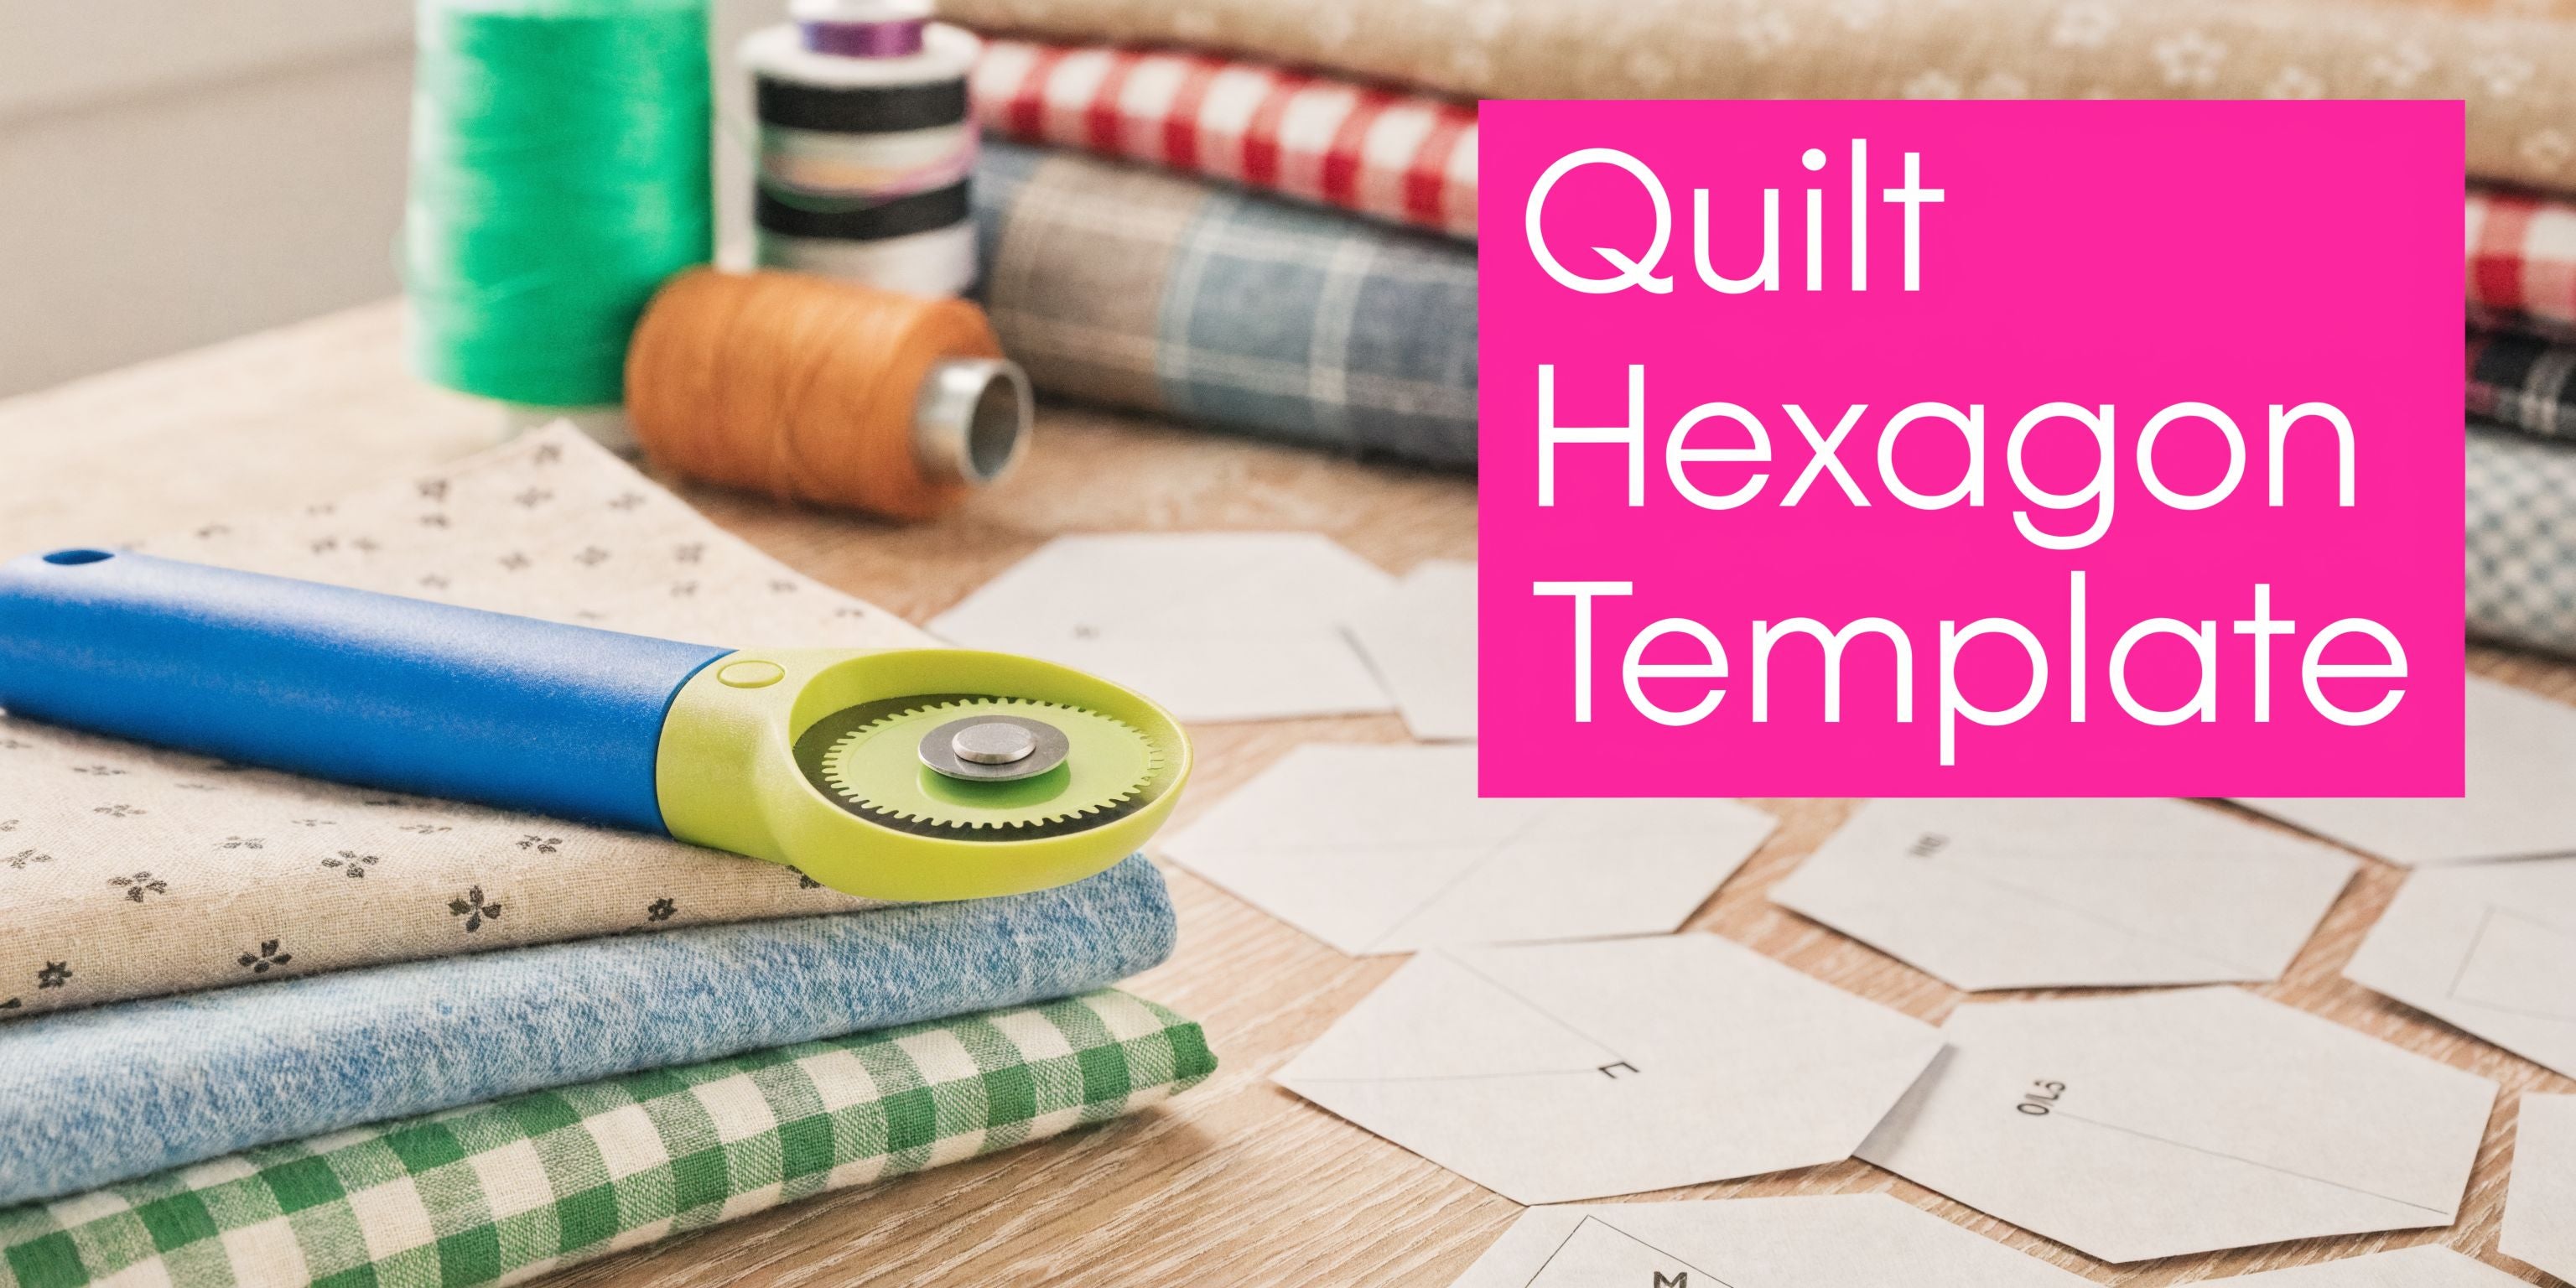
A quilt hexagon template looks simple on paper, but the shape brings up questions fast. Which template do you use. How do you make sure a printable is the right size. Do you have to hand sew every piece. What do you do with those zigzag edges when you want a straight border?
Hexagons are one of those quilt shapes that can feel fussy until a few key ideas click. After that, they’re fun. You start seeing possibilities everywhere, from tiny scrap-friendly hand piecing to quick machine-sewn throws and polished pillows with clean edges.
I’ve helped many quilters work through hexagon projects, and the same two sticking points come up again and again. First, printable templates that don’t print accurately. Second, confusion about combining full and half hexagons without awkward gaps. Both problems are fixable with a good setup and a few practical habits.
The Timeless Allure of the Hexagon Quilt
A hexagon quilt has a way of pulling you in. You notice the repeated shape first, then the color play, then the way dozens of tiny pieces somehow become one flowing surface.
That’s part of the magic. A single hexagon is easy to understand. A whole field of them feels intricate and rich.

Why quilters keep coming back to hexagons
Some patterns never disappear. Hexagons are one of them.
They work beautifully for scrappy quilting because each piece can feature a different print. They also suit more controlled projects, where you repeat a small palette and let the geometry do the talking. A traditional Grandmother’s Flower Garden has a totally different feel from a modern white-background hexagon quilt, but both begin with the same basic template.
There’s also satisfaction in the shape itself. Hexagons fit together cleanly, and once you learn how they behave, you can build everything from soft vintage layouts to bold graphic designs.
Hexagons look complicated before you make them. After a few units, they start to feel rhythmic.
A shape with real quilting history
Hexagons aren’t a trend that popped up recently. The earliest documented hexagon quilt template dates to approximately 1770 in England, and by 1835, Godey’s Lady’s Book in America published the first printed hexagon pattern with full English paper piecing instructions, which helped spread the method further among U.S. quilters, as noted by the Illinois State Museum’s history of hexagon patchwork.
That history matters because it explains why the shape feels natural in quilting. Quilters have been solving design problems with hexagons for generations. They used them for precision, for portability, and for turning small fabric scraps into something lasting.
Why the template matters so much
Most hexagon headaches don’t come from the shape. They come from the setup.
If your template is off, your seam allowances drift. If your cutting isn’t consistent, your points won’t line up. If you don’t understand when to use a full hexagon versus a half hexagon, finishing the edges gets frustrating fast.
The good news is that those aren’t talent problems. They’re tool and process problems. Once you choose the right quilt hexagon template and pair it with the right method, the project becomes more manageable.
Choosing Your Perfect Hexagon Template
The first big choice is the template itself. That one decision affects how you cut, how you sew, and how smooth the project feels from the beginning.
Not every hexagon template does the same job. Some are meant for English Paper Piecing, where the paper stays inside the fabric while you hand stitch. Others are meant for rotary cutting and machine sewing. A few can bridge both methods, but it helps to know what each type is designed to do.
Four common template types
Here’s the comparison I give quilters when they’re deciding where to begin.
| Material | Best For | Pros | Cons | Linda's Pick |
|---|---|---|---|---|
| Printable paper or cardstock | Testing sizes, trying a pattern cheaply | Easy to access, low commitment, useful for practice | Can print inaccurately, wears out fast, less durable for repeated use | Use only after checking print scale carefully |
| Pre-cut paper pieces | Traditional EPP | Consistent shape, convenient, ready to baste | Single-purpose, not for rotary cutting, ongoing refill need | Good if you want a dedicated hand-piecing workflow |
| Reusable plastic templates | Tracing and repeated hand prep | More durable than paper, easy to trace around | Usually slower than acrylic for fabric cutting | Useful for quilters who prefer scissors and tracing |
| Acrylic templates or rulers | Rotary cutting, machine piecing, repeat accuracy | Clear, durable, easy to align, good for precision | Higher upfront cost | Acrylic hexagon and half-hexagon templates for repeat use |
Match the template to your method
If you want a portable hand project, paper pieces make sense. You baste fabric around each piece, then stitch the folded edges together by hand. The paper gives the shape its crisp structure while you sew.
If you want speed, acrylic is usually the easier route. A rigid acrylic template is easier to align on fabric, especially when you’re rotary cutting multiple pieces for machine sewing.
That’s where product choice starts to matter. A 2-1/2 inch hexagon template with a quarter inch seam allowance is useful when you want to rotary-cut fabric pieces for EPP with consistency. A 2 inch half hexagon acrylic template is useful when you want to cut half hexagons from 2½ inch strips and piece straight rows. Linda’s carries both kinds of templates in practical project sizes, including acrylic hexagon options from 1 inch to 4 inches, which gives you a straightforward way to match the tool to the project you have in mind.
How hexagon sizing confuses people
Hexagon sizing trips up beginners because different patterns describe size differently.
Some refer to the length of one side. Others describe the width across flat sides. Some templates include seam allowance, and others show only the finished shape. If you skip that detail, your project can go off course before you cut the first piece.
A simple habit helps. Before cutting fabric, confirm these three things:
- Finished or unfinished size. Are you measuring the sewn shape or the cut shape?
- Seam allowance included or not. Some acrylic templates already include it. Some don’t.
- Full hexagon or half hexagon. That changes how the shape fits into rows and edges.
Practical rule: If the package or pattern doesn’t clearly say how the hexagon is measured, don’t assume. Check before cutting.
What size should you start with
The best starting size depends on your goal, not on what looks cutest online.
Smaller hexagons create intricate detail, but they also mean more pieces and more seams. Larger hexagons show off fabric prints and move a project along faster. If you’re making a pillow, pouch, or table topper, smaller pieces can be enjoyable. If you’re making a throw and want momentum, a larger template is easier to live with.
I suggest that beginners think about handling, not just appearance. Ask yourself:
- Do you like hand sewing in short sessions. Paper piecing with moderate-size hexagons is pleasant and portable.
- Do you want a weekend-friendly project. Machine piecing with larger units is simpler.
- Are you using treasured prints. Pick a size that lets the motif show.
- Are you using scraps. A smaller quilt hexagon template gives you more flexibility.
The right template isn’t the fanciest one. It’s the one that matches how you want to quilt.
Preparing Your Templates and Fabric for Success
You print a hexagon page, cut a handful of pretty fabrics, stitch a few pieces together, and then the points refuse to meet. That usually traces back to prep. A hexagon quilt asks for accuracy early so the sewing feels easy later.

Hexagons are a little like floor tiles. If the first few are off size, every row after that has to fight the mistake. That is why I tell quilters at Linda's Electric Quilters to treat template prep and fabric prep as part of the piecing, not as chores before the fun starts.
Check your printable before you trust it
Printable templates are a smart way to test sizes, especially if you are deciding between a larger hexagon for quick progress and a smaller one for detailed work. The catch is printer scaling. Even a tiny size shift changes how points align, and that problem multiplies once you mix full hexagons with half hexagons along an edge.
Gathered recommends checking a printable against its test square and printing at full scale in its guide to free printable hexagon templates and printing accuracy. That simple habit saves fabric and frustration.
Use this quick routine:
- Open the file in a PDF reader Browser previews hide the setting you need.
- Find the test square A good printable should include one. If it does not, measure the hexagon itself before you cut anything.
- Choose “Actual Size” or “100%” Skip settings like “Fit” or “Shrink.”
- Measure with a quilting ruler A regular office ruler can be slightly harder to read accurately.
- Print again if needed One extra sheet of paper is cheaper than recutting fabric.
A printable that is slightly off creates repeated mismatch at every seam. That is one of the most common hexagon frustrations, and it is preventable.
Match your fabric prep to your piecing method
Fabric prep changes depending on how you plan to sew. For English Paper Piecing, you need enough fabric to wrap neatly around the paper shape. For machine piecing, you need crisp, accurate cut edges because the seam allowance does the work.
The Quilters Guild notes in its guide to English Paper Piecing that fabric for EPP is cut larger than the paper template so it can fold over the edges for basting. If you are new to this, picture gift wrap around a box. Too little fabric and the corners fight you. Too much and the folds get bulky.
For machine piecing, I recommend a clear acrylic template, a fresh rotary blade, and a self-healing mat. At Linda's, those are the tools that make the biggest difference fastest. A slipping template or dull blade can nick an angle just enough to throw off your join.
If you are sewing on a machine with precise stitch control, this review of the Pfaff Quilt Ambition 630 Sewing Machine is a useful reference for features quilters appreciate in shape-heavy projects.
Cut with the tool that gives you the cleanest result
Scissors and rotary cutters both have a place.
- Use scissors for a small EPP batch, especially if you are trimming around individual paper pieces.
- Use a rotary cutter for repeated units, stacked fabrics, or half hexagons that need matching edges.
- Press fabric first so the template sits flat.
- Add a template grip if your ruler or acrylic shape likes to slide.
That last tip matters more than many beginners expect. Slippage changes one angle, then one angle changes the whole join.
Fussy cut with a plan
Hexagons are wonderful for fussy cutting because the shape frames a motif neatly. A centered flower, a tiny bird, or a repeated medallion can turn a simple quilt into something that looks carefully composed.
The easiest way to stay in control is to make a window template. Cut out the center of a paper or template copy and slide it over the fabric until the motif sits where you want it. Then check direction before cutting. A print that looks upright in one hexagon can look sideways once it joins the row.
A few habits help keep fussy cutting calm:
- Audition before cutting so you can see what will land in the center
- Watch print direction on stripes, text, and novelty fabrics
- Sort by value so neighboring hexagons do not blur together
- Cut extra repeats if you want the same motif to appear across full and half hexagons at the quilt edge
That last point solves a problem many modern hexagon patterns do not explain clearly. Half hexagons are not just edge fillers. They are design tools. If you want the edge of the quilt to look intentional instead of chopped off, plan your motif placement in the full and half units together before you start cutting.
For a visual walkthrough on handling hexagon prep and piecing, this short demo is useful:
Materials that make prep smoother
A small set of reliable tools removes a lot of the usual friction:
- Paper pieces or cardstock templates for stable EPP prep
- Clear acrylic hexagon and half-hexagon templates for repeatable rotary cuts
- Rotary cutter and self-healing mat for clean edges
- Fine-tip marking tool if you trace before cutting
- Fabric glue pen for quick, tidy basting
- Small clips or pins to keep stacks organized
- A square quilting ruler for checking printed test boxes accurately
If hexagons have ever felt fussy, prep is usually the reason. Get the printable to the correct size, choose the cutting method that fits your piecing style, and plan full and half hexagons together before the first cut. The sewing gets much more enjoyable after that.
Two Paths to Piecing Hexagons EPP vs Machine Sewing
You have a stack of neatly cut hexagons on the table, and now the main choice appears. Do you want a handwork project you can carry in a pouch, or do you want a quilt top that grows under the presser foot this week?
Both methods can produce beautiful hexagon quilts. The better choice depends on your pace, your patience, and the kind of finish you want.

English Paper Piecing gives you control
EPP works like hand-turning tiny puzzle pieces into place one edge at a time. You wrap fabric around a paper template, baste it, then stitch folded edges together by hand. The shape stays stable because the paper holds the angles for you.
That makes EPP forgiving for beginners who want accuracy without managing a lot of fabric at once. It also travels well. A few basted hexagons, a needle, and thread fit into a small project bag.
A simple rhythm helps:
- Cut your fabric with enough allowance for clean folds
- Baste the fabric smoothly around the paper
- Stitch folded sides together with small, even whip stitches
- Leave the papers in place until neighboring seams support the shape
If quilters get frustrated with EPP, it is usually not the stitching. It is bulk, shifting fabric, or papers removed too soon. A fabric glue pen from Linda's Electric Quilters makes prep much easier than thread basting for many projects, if you are working with small hexagons. I also like fine milliner's needles and a thin polyester or cotton applique thread, because they slip through folded edges without leaving a heavy seam line.
Machine piecing is the practical route for larger quilts
Machine sewing gives you the hexagon look with faster assembly. The catch is that full hexagons create Y-seams, and Y-seams are where many quilters lose confidence.
Half hexagons solve that problem.
Instead of joining six full sides around a point, you cut half-hex units and sew them into offset rows with straight seams. It is the same visual language, but the construction feels more like standard patchwork. For many modern hexagon quilts, this is the method that makes the project feel achievable.
Here is the basic logic:
- Cut half hexagons accurately.
- Sew them into rows with a consistent quarter-inch seam.
- Offset the next row so the points nest into the row above.
- Press with care so the rows stay straight and the joins stay crisp.
- Add edge units, including half hexagons, where the design needs a clean finish.
That last part matters more than many tutorials admit. Full and half hexagons are not separate design decisions. They work together. If your quilt has a modern layout, strong stripes, or directional prints, machine piecing with planned half-hex edges gives a cleaner result than trying to trim a field of full hexagons later.
Which path fits your project
Choose EPP if you want quiet stitching time, small-scale precision, or a project you can pick up for twenty minutes at a time. Rosettes, heirloom accents, and fussy-cut motifs are especially well suited to hand piecing.
Choose machine sewing if you want to finish a throw or bed quilt more efficiently, or if you prefer pressing and chain piecing to hand stitching. This method is also a great answer for quilters who love the look of hexagons but do not want to wrestle with Y-seams.
If you are comparing machines for this kind of work, this review of the Pfaff Quilt Ambition 630 Sewing Machine is worth a look. A steady feed system and clear seam guidance help a lot when you are sewing long offset rows and trying to keep points aligned.
Tools that make each method easier
The right tools remove a surprising amount of friction.
For EPP, I recommend:
- pre-cut paper pieces or sturdy cardstock templates
- a fabric glue pen for light, tidy basting
- milliner's needles
- fine thread that disappears into the fold
For machine sewing, I recommend:
- a clear acrylic half-hexagon template
- a rotary cutter with a fresh blade
- a quarter-inch foot
- a small seam guide or accurate throat-plate markings
One useful option at Linda's Electric Quilters is the acrylic half-hex template sized for cutting from 2 1/2-inch strips. If you are making a row-based quilt, that template removes a lot of guesswork. You get repeatable cuts, cleaner rows, and far fewer mismatched points.
If you are still undecided, start small. Make one EPP flower and one machine-pieced sample row. After that, the better method usually becomes obvious in your hands.
Designing and Assembling Your Hexagon Quilt Top
A pile of hexagons is exciting. It’s also a little deceptive. The next challenge is turning those pieces into a layout that looks intentional instead of accidental.
This is the part where color, repetition, and edge treatment start working together.
Start with the layout before you sew too far
Hexagons can drift visually if you don’t pause and arrange them.
Spread your units on a design wall, a bed, or even a clean floor. Step back. Rotate pieces. Swap values around. Look for clumps of the same color that weren’t obvious up close.
Three layouts show up often:
- Flower-based arrangements with a center hexagon and surrounding ring
- All-over scrappy fields where no unit repeats in a formal way
- Modern grouped layouts that use negative space and controlled palettes
Flower layouts feel traditional and warm. Scrappy layouts feel lively. Modern layouts lean on fewer fabrics and stronger contrast.
Join units in stages
Don’t try to solve the whole quilt top in one leap.
If you made hexagon flowers, join the flowers into larger sections first. If you machine pieced rows, keep them in order and label them before assembling the full top. Smaller joins are easier to control than one giant spread of shifting pieces.
Pressing choices matter here. Press consistently so seams behave the same way across the quilt. When points meet, reduce bulk where you can and keep the intersections from twisting.
Lay out more hexagons than you think you need before finalizing placement. A little extra room helps you make better color decisions.
Making straight edges with half hexagons
This is a common place quilters stall. Full hexagons create a jagged perimeter. That can be lovely, but many projects need a straight edge for borders, pillows, and binding.
A frequently unanswered question is how to integrate half-hexagon templates with full hexagons for modern layouts. Tutorials often focus on one or the other, but combining them to create straight edges is a key skill for professional-looking borders and pillows, as highlighted in this video about half-hexagon use in quilting.
The trick is to treat the half hexagon as an edge-finishing unit, not as an afterthought.
A clean way to combine full and half hexagons
- Match the finished size first. Your half hexagon must correspond exactly to the full hexagon it’s joining.
- Confirm seam allowance style. Don’t mix raw-cut and finished-size assumptions.
- Test one join before cutting a whole edge run. This catches sizing problems quickly.
- Use half hexagons anywhere you want a flat perimeter. That includes side edges, top borders, and pillow fronts.
A practical example helps. If you’ve made a cluster of full hexagons for a pillow center, add half hexagons along the outer edge where you need the shape to square off. That creates a cleaner frame and makes backing, trimming, and binding much simpler.
Finishing choices that support the design
When the top is assembled, think about the finish as part of the design.
A busy scrappy top benefits from a calmer backing. A modern hexagon layout can handle a graphic backing or a solid. Batting choice changes the look too. Loftier batting gives the quilt more texture. A flatter batting keeps the geometry crisp.
For pillows and wall pieces, I like keeping the quilting simple so the hexagon patchwork stays front and center. For larger quilts, diagonal lines or gentle overall quilting support the shape nicely without fighting it.
Troubleshooting Common Hexagon Hiccups
Even well-planned hexagon quilts hit a snag now and then. The good news is that most problems have a clear cause.
If your points won’t match
Start by checking your cut accuracy and seam allowance. When prints look off, the problem is tiny inconsistencies repeated many times.
For machine piecing, the no-Y-seam method has reported 98% success rates for throw-sized quilts, and a common beginner problem is misaligned prints or insufficient seam allowance. Using templates with a pre-added 3/8-inch allowance helps prevent that, according to the simple hexagon quilt tutorial at Gluesticks.
Try these fixes:
- Pin key intersections before sewing long seams
- Sew one seam, then check alignment before chain piecing the rest
- Trim dog-ears carefully only if the pattern expects it
If the center feels bulky
Multiple seams meeting in one spot can create thickness.
Press gently and consistently. Don’t force the center flat with heat alone. Sometimes easing the seam allowances in a circular direction helps them settle more neatly.
If your EPP papers are hard to remove
Too much glue is the culprit.
Use only small glue dots when basting. If papers resist, remove them after the surrounding seams support the shape and work from the center out instead of tugging from one corner.
If the shape stretches while you sew
Hexagons have bias edges, so handling matters.
- Avoid over-pressing during assembly
- Don’t pull the fabric through the machine
- Support larger sections on the table so they don’t drag
- Store basted pieces flat when possible
Most hexagon problems aren’t disasters. They’re signals telling you what to adjust on the next seam.
Frequently Asked Questions about Hexagon Quilts
What thread should I use for hexagon quilts
For EPP, use a fine thread that blends into the fabric and glides smoothly through folded edges. You want strength without bulk.
For machine piecing, a reliable piecing-weight thread works well. Keep your thread choice consistent across the top so the quilt handles evenly.
How do I estimate fabric for a hexagon project
The easiest way is to make a small sample first.
Cut and sew a test group of hexagons, then count how many pieces fit across and down the size you want. That sample tells you more than guessing from a flat measurement because seam allowances, layout spacing, and whether you use half hexagons all affect the final count.
If you’re using large prints for fussy cutting, buy more than you think you need. Repeat placement uses more fabric than random cutting.
Can I quilt hexagons as you go
Yes, for smaller projects or section-based layouts.
Quilt-as-you-go can work well if your hexagons are arranged in manageable units, but it takes planning. You need to think through how sections will join and how the quilting lines will meet. For a first hexagon quilt, quilters find it easier to piece the top first and quilt it after assembly.
Do I need full and half hexagon templates
Not always, but having both opens up more options.
A full hexagon template is enough for classic hand-pieced units. A half-hexagon template becomes useful when you want straight edges, pillow fronts, border transitions, or machine-sewn row construction.
If you’re ready to turn your hexagon ideas into a finished project, browse the templates, fabric, batting, thread, and notions at Linda’s Electric Quilters. It’s a practical place to pick up the tools that match your method, whether you’re trying EPP for the first time or cutting half hexagons for a machine-sewn quilt top.


