
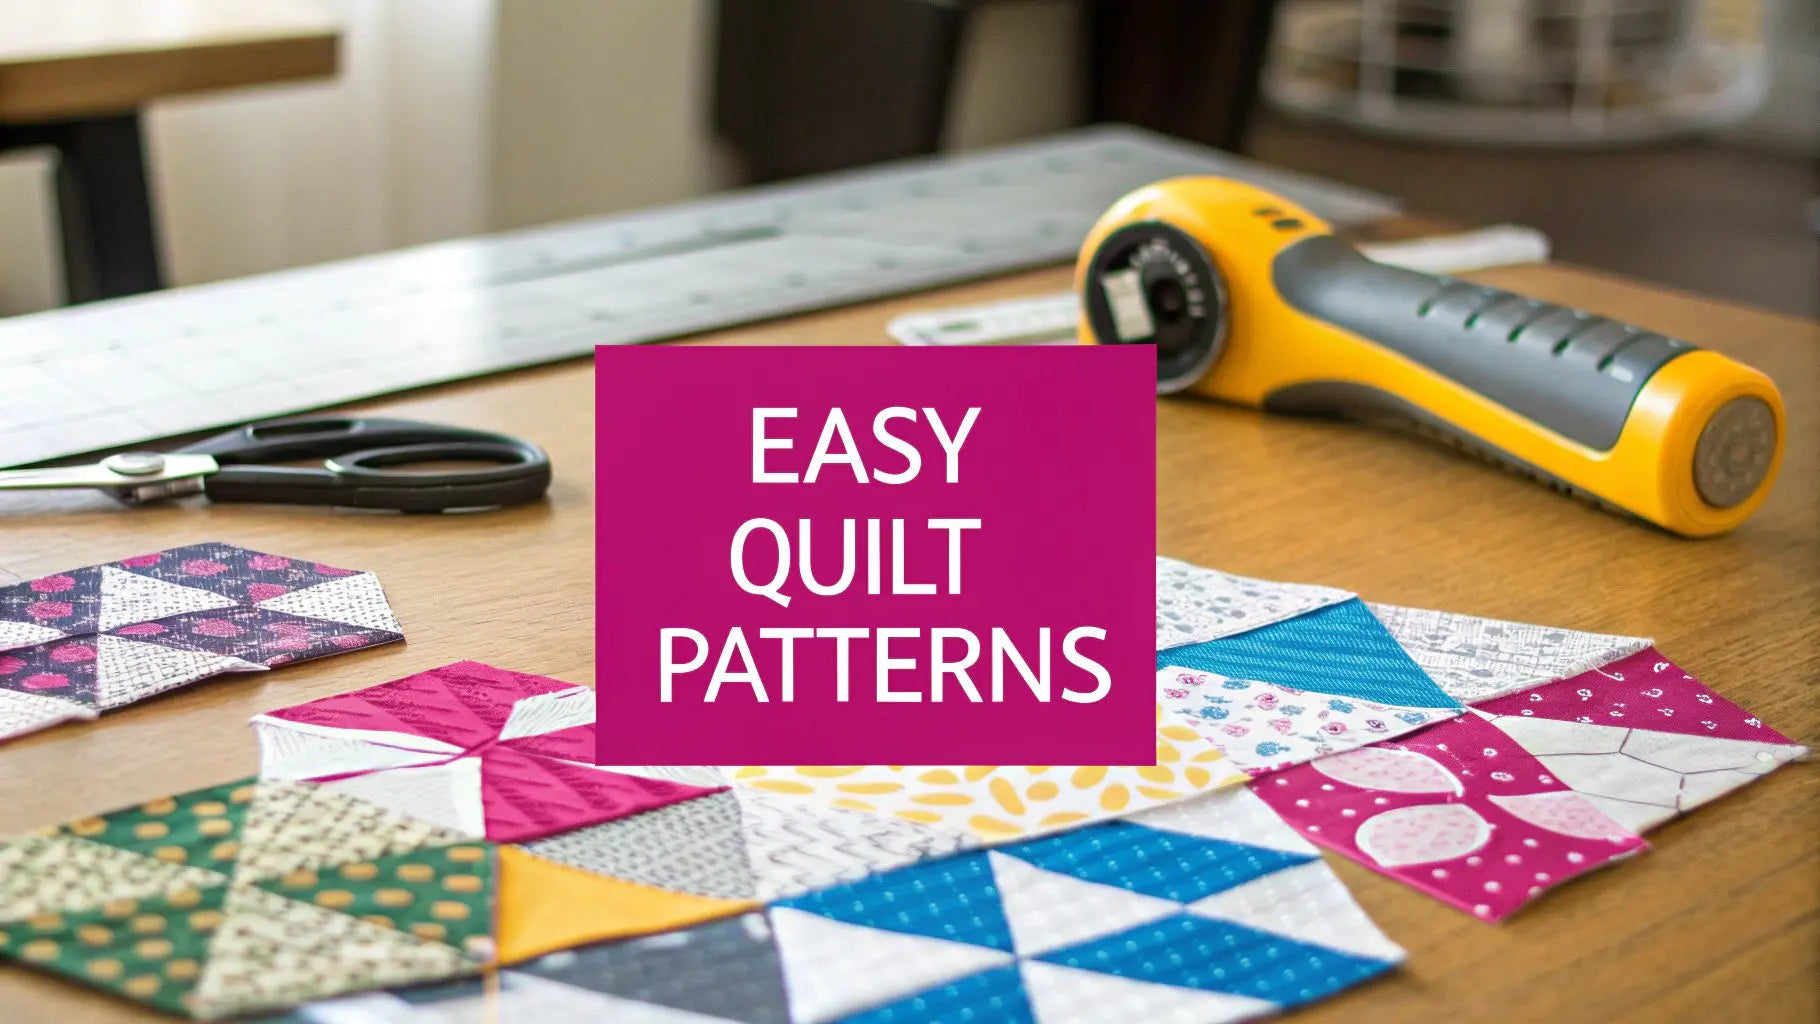
If you're just starting out, the best quilt patterns for beginners stick to simple shapes like squares and rectangles. These patterns let you build a beautiful design without getting tangled up in complex techniques. This way, you can focus on mastering the basics—like sewing a straight line and keeping your seams consistent—to create a project you'll be proud to display.
One of the best shortcuts to a gorgeous first quilt is starting with a pattern designed for pre-cut fabrics, which lets you jump right into the creative process.
Starting Your Quilting Journey with Confidence
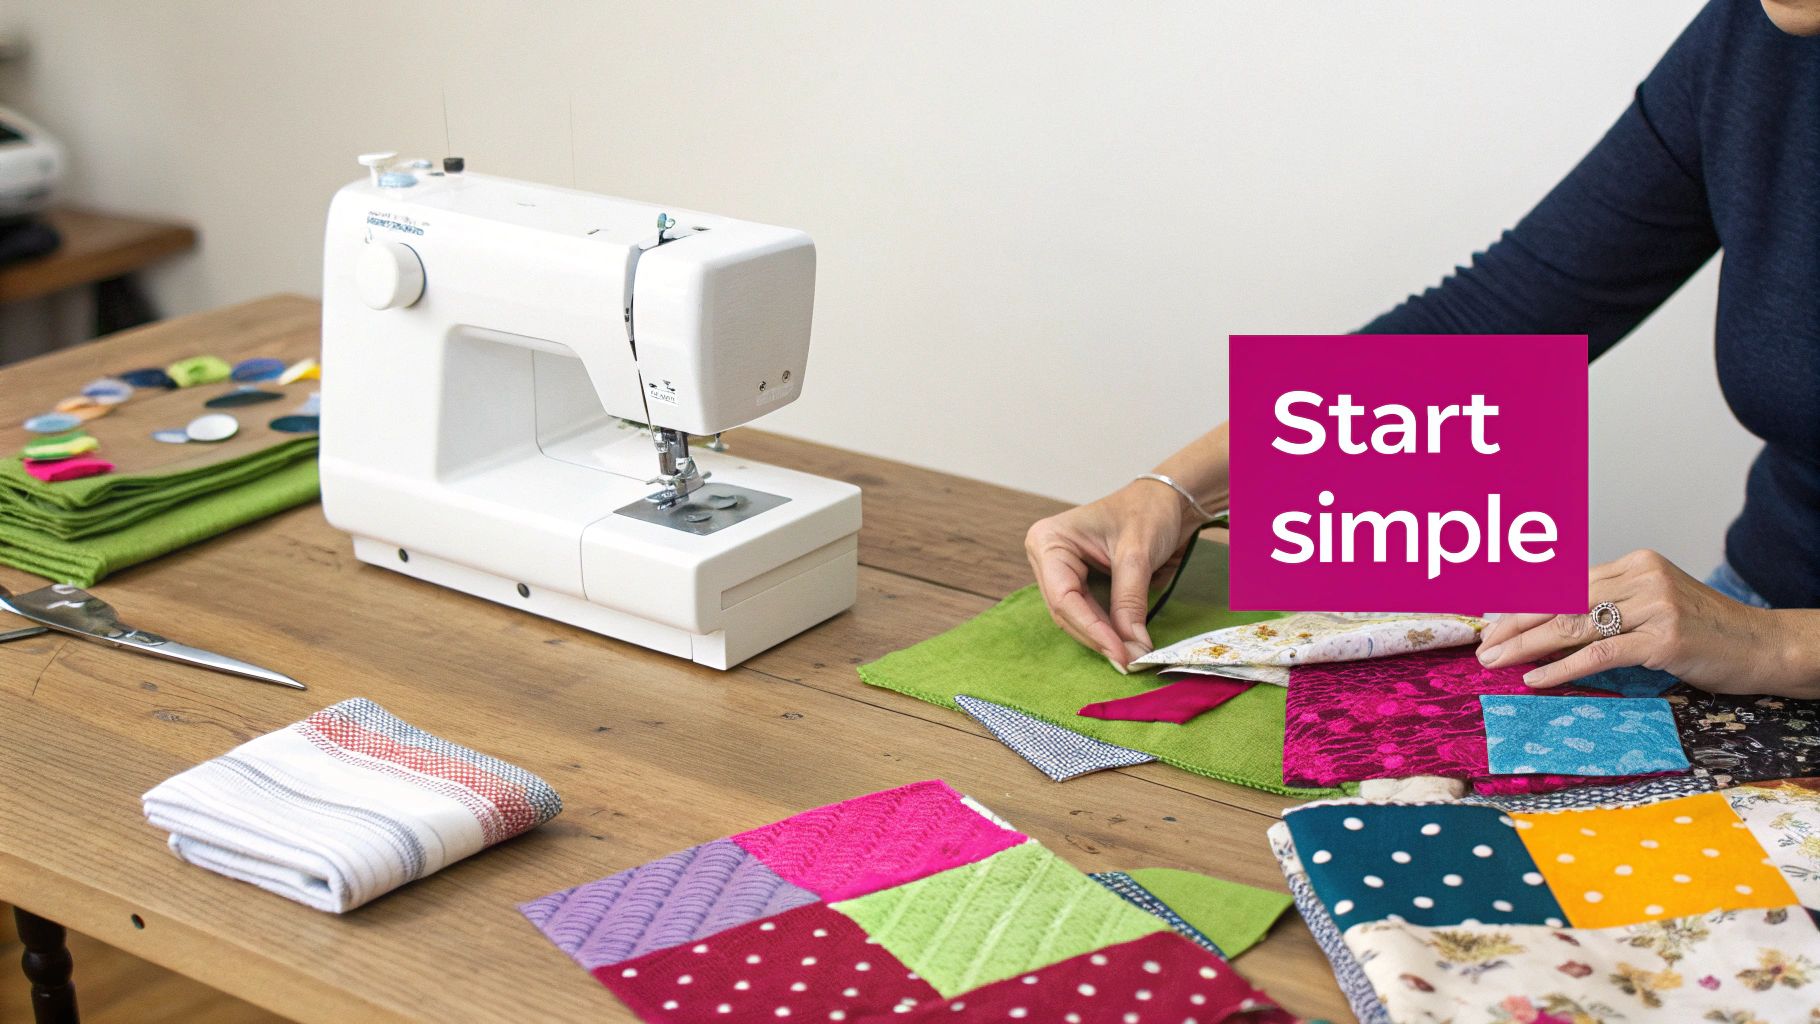
Welcome to the wonderfully creative (and slightly addictive) world of quilting! Diving into a new hobby should be fun, not frustrating. The real secret to a great start is picking a project that sets you up for success and makes you feel amazing from the very first stitch.
For now, let's forget about tricky techniques. The goal here is the simple joy of creating something beautiful with your own hands.
One of the biggest hurdles that trips up new quilters is cutting the fabric. It can feel like a huge challenge to get every single piece measured perfectly and cut straight. That's exactly why pre-cut fabrics are a beginner's absolute best friend and a fantastic educational tool for understanding how quilt blocks are constructed.
Why Pre-Cuts are a Game-Changer
Using pre-cut fabric bundles takes the most nerve-wracking step right out of the picture. This lets you jump straight to the fun part: the sewing!
- Charm Packs: These are little bundles of 5" x 5" squares, perfect for simple and classic patchwork.
- Jelly Rolls: These are rolls of 2.5" fabric strips. They're fantastic for making quick and easy quilt tops, like the ever-popular Rail Fence pattern.
- Layer Cakes: These give you larger 10" x 10" squares, which offers a bit more flexibility for bigger quilt blocks.
When you use pre-cuts, you're not just saving time. You're guaranteeing that all your pieces are the right size and will fit together perfectly. This accuracy is what gives you a flat, professional-looking quilt top and saves you a ton of headaches.
By starting with pre-cuts, you can put all your focus on learning to sew a consistent seam allowance. That is, without a doubt, the most important skill for any quilter to master.
Ready to start your first project? Find an amazing selection of colorful and coordinated pre-cut fabric bundles at Linda's. We have everything you need to turn that creative spark into a cozy, beautiful quilt you’ll be proud of for years to come.
Gathering Your Essential Quilting Tools
Before you even think about that first stitch, you’ll need to assemble your quilting toolkit. Having the right tools from the get-go makes all the difference. It transforms what could be a frustrating experience into a truly joyful one, allowing you to learn and create with ease.
While you could easily fill a room with quilting gadgets, you really only need a handful of essentials to start. Let’s focus on the basics that will set you up for success.
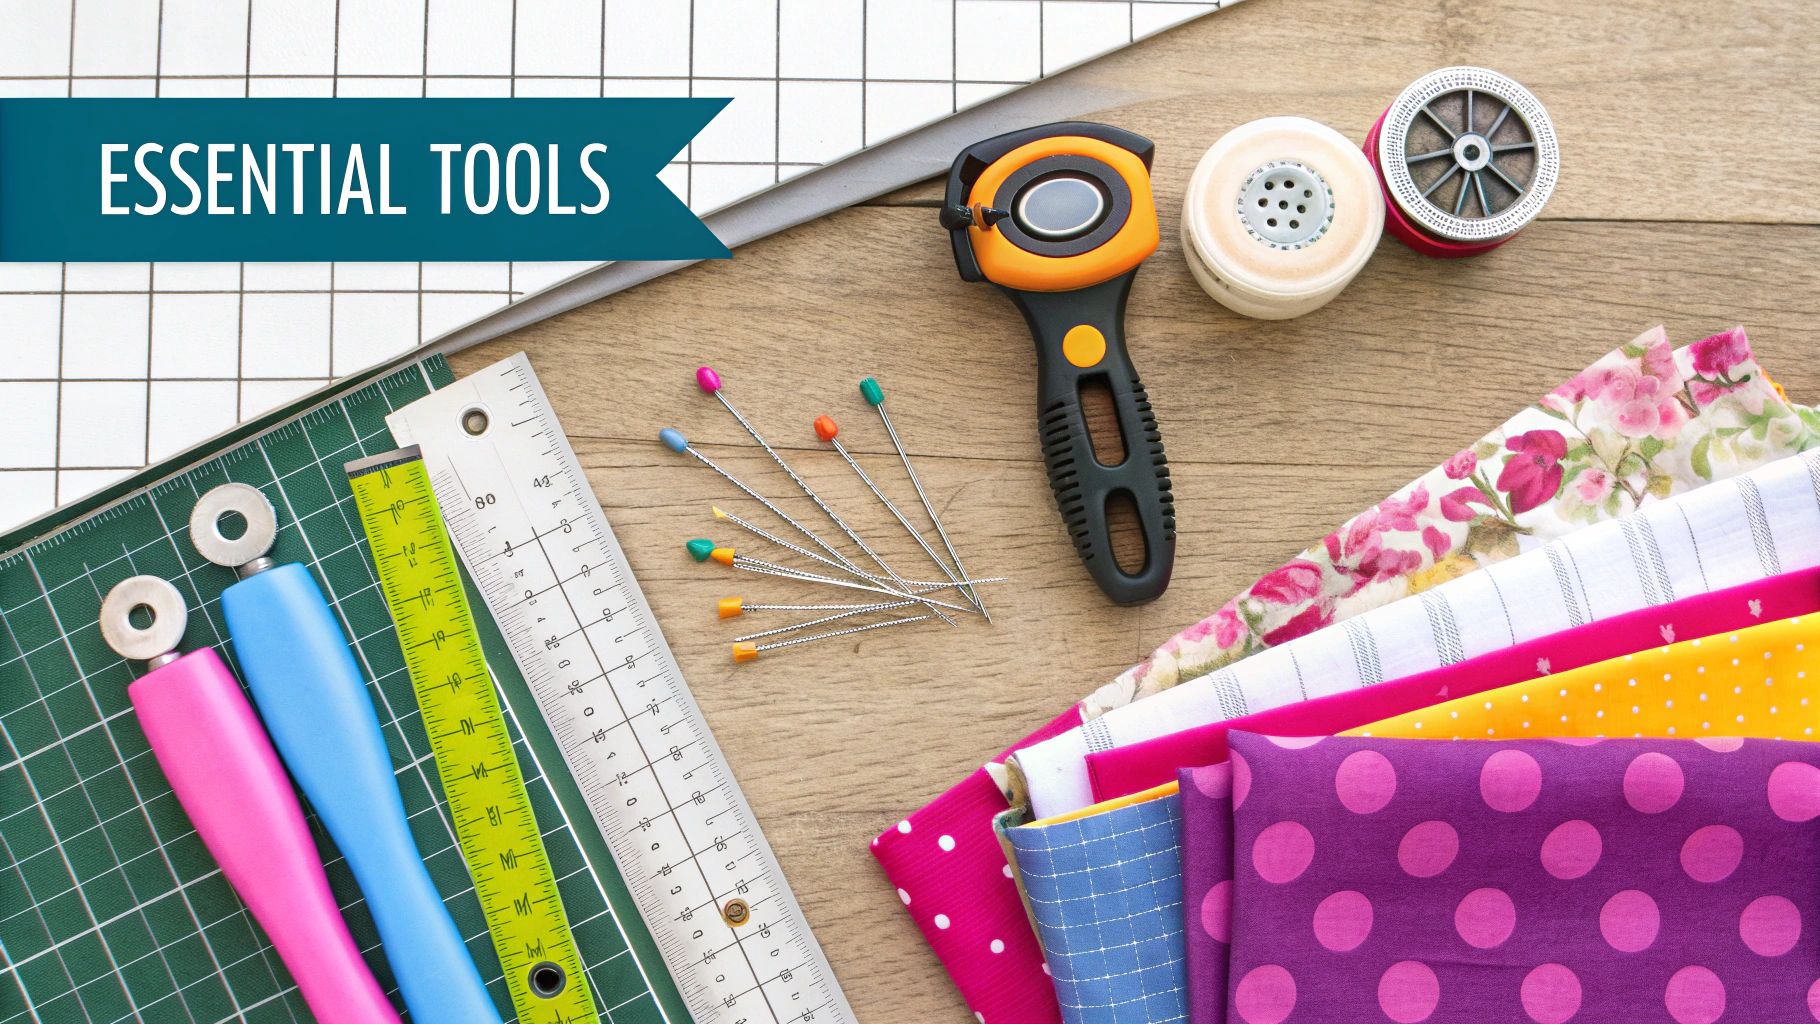
Your Cutting Station Essentials
If there's one place to invest a little, it's in your cutting tools. Precision is everything in quilting, and it all starts with an accurate cut. Get these three things right, and you're halfway there to a beautifully finished project.
- A Rotary Cutter: Think of this as a pizza cutter for fabric. It slices through multiple layers with ease and gives you a much cleaner, straighter edge than scissors ever could.
- A Self-Healing Cutting Mat: This is the rotary cutter’s best friend. It protects your table and keeps your blade sharp. Plus, the grid lines are a lifesaver for making sure everything is perfectly square.
- A Clear Quilting Ruler: You can't just eyeball it! A good 6" x 24" acrylic ruler is the standard for a reason. It lets you see the fabric underneath while guiding your cutter for perfectly straight lines, every single time.
Once you have your gear, keeping it tidy is key. If you need some general tips, this is a great guide on organizing your craft supplies.
To help you get started, we've put together a handy shopping list of the essential tools and materials.
Beginner's Essential Quilting Shopping List
| Tool/Material | Why You Need It | Pro Tip for Beginners |
|---|---|---|
| Rotary Cutter (45mm) | For fast, accurate, and straight cuts through fabric layers. | Get a cutter with an ergonomic handle. Your hands will thank you later! |
| Self-Healing Mat (18"x24") | Protects your work surface and blade while providing a cutting grid. | Rotate your mat occasionally to prevent wearing out one spot too quickly. |
| Acrylic Ruler (6"x24") | Your guide for precise measurements and straight rotary cuts. | Look for one with clear, easy-to-read markings, including 1/8" and 1/4" lines. |
| 100% Quilting Cotton Fabric | Stable, easy to work with, and comes in endless colors and prints. | Start with pre-cuts like "fat quarter bundles" to get a variety of coordinated fabrics. |
| 50-wt 100% Cotton Thread | A strong, versatile thread perfect for piecing your quilt top. | Stick with a neutral color like gray, cream, or beige. It will blend with almost anything. |
This checklist covers the absolute must-haves that will form the foundation of your quilting toolkit for years to come.
Let’s Talk Fabric and Thread
Of course, a quilt isn't a quilt without the fabric and thread that bring it to life! For your first few projects, stick with 100% quilting cotton. It’s wonderfully behaved—it doesn't stretch or fray much, and it holds a press beautifully, making it the perfect material to learn on.
It’s no wonder the global quilt market, valued at USD 5.3 billion in 2024, is built on the love for quality cotton. For thread, you can't go wrong with a good 50-weight, 100% cotton thread. A neutral color is your most versatile option.
A spool of gray, white, or cream-colored thread will see you through most of your early projects, blending in perfectly without you having to buy a new color for every fabric.
Feeling ready to build your kit? Here at Linda's, we’ve got all the high-quality tools and gorgeous fabrics you need. Stop by and let us help you find the perfect supplies to start your quilting journey with confidence.
Three Perfect First Quilt Patterns
Alright, this is the fun part—picking out your first design! The best patterns for beginners are the ones that use simple shapes to create something truly stunning. We've selected three classic patterns that are perfect for developing your skills while ensuring you end up with a beautiful quilt you can be proud of.
These aren't just random choices. Each one is designed to give you tons of practice with the two most important skills in quilting: cutting accurately and sewing a consistent quarter-inch seam. Mastering these fundamentals is the key to creating professional-looking quilts.
And you're in good company! The quilting community is huge, with 9 to 11 million active quilters in North America alone. About 11% of those are newcomers just like you, eager to learn the craft. You can dive deeper into the latest trends in this 2024 market analysis from the Craft Industry Alliance.
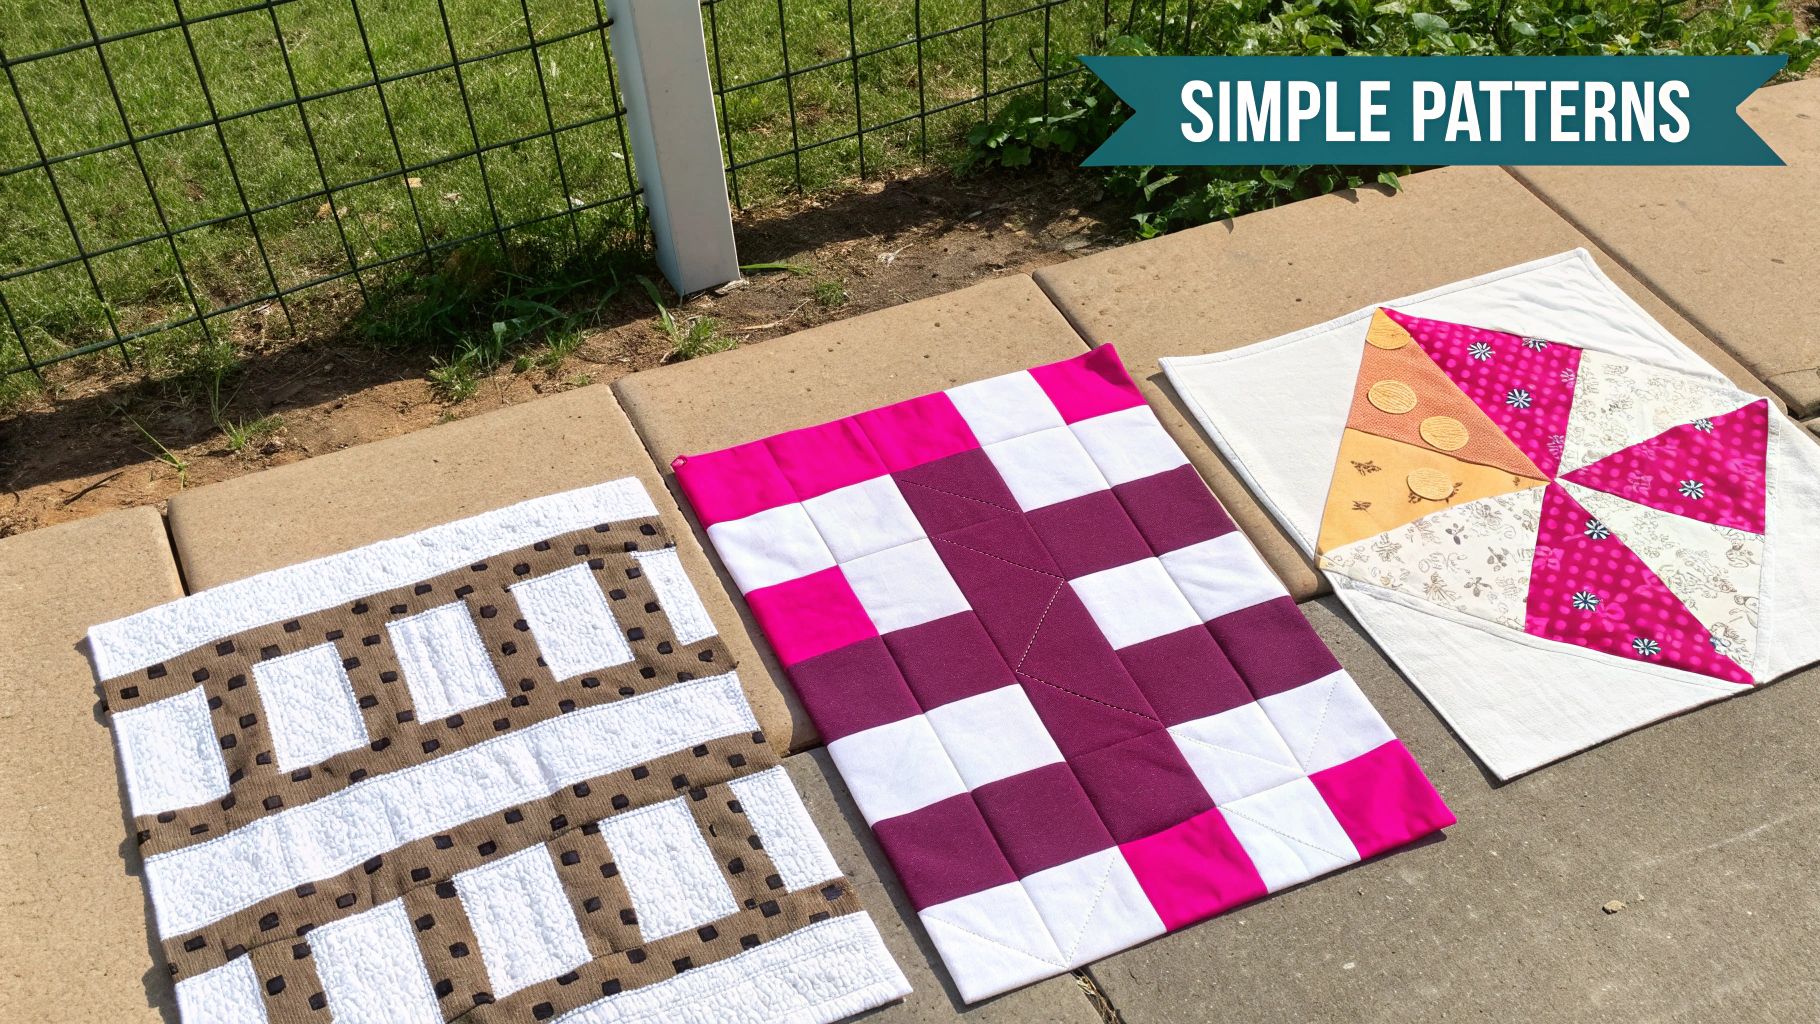
The Classic Patchwork Square Quilt
There’s a reason this is the go-to first quilt for almost everyone. It’s made entirely of squares of the same size, which makes it the ideal project to get a feel for your fabric, nail that seam allowance, and watch how different colors and prints interact.
A simple patchwork quilt is both forgiving and incredibly effective. You can grab a pre-cut charm pack for a perfectly coordinated look or just dive into your scrap bin for a one-of-a-kind creation. The beauty is its simplicity—the grid does all the heavy lifting, design-wise.
The Versatile Rail Fence Quilt
The Rail Fence pattern uses rectangular strips sewn together into blocks. The real magic happens when you start arranging those blocks. You can turn them horizontally, vertically, or on a diagonal to create amazing secondary patterns like zig-zags or stair-steps.
This is a fantastic way to practice sewing long, straight seams. It's also the perfect excuse to use a jelly roll (a bundle of pre-cut 2.5-inch strips), which saves you a ton of time on cutting and lets you get straight to the sewing machine.
The secret of the Rail Fence is that it looks so much more complex than it is. Just by rotating your blocks, you create this incredible sense of movement that looks super advanced. It's a huge confidence booster for any new quilter!
The Impressive Four-Patch Quilt
Ready to take it up just a tiny notch? The Four-Patch block is made by sewing four smaller squares together. This pattern introduces a crucial skill: "nesting" your seams. This means pressing the seams in opposite directions so the corners lock together perfectly when you join them. It's a game-changer for achieving sharp, precise points.
Even though it’s simple to construct, the design possibilities are endless. You can alternate your Four-Patch blocks with solid squares for a traditional vibe or play with different color combinations for a lively, checkerboard effect. It's all about learning precision on a small scale.
Feeling that itch to start stitching? Check out the gorgeous, easy-to-use pattern kits and fabric bundles at Linda's to bring one of these beginner-friendly designs to life and finish your first beautiful quilt project.
Mastering Core Quilting Techniques
Let's get one thing straight: a jaw-dropping quilt doesn't come from a mind-bendingly complex pattern. The real secret is in mastering the fundamentals. Any beginner-friendly pattern boils down to how well you can do three things: cut your fabric accurately, sew a consistent seam, and press everything properly. When you master these core skills, your quilts will have that sharp, professional look we all crave.
It all starts at the cutting mat. For those perfectly straight, accurate cuts, nothing beats a rotary cutter and a good, clear quilting ruler. When you're ready to cut, get on your feet! Standing up gives you the best leverage and allows you to apply firm, even pressure. Get a good grip on your ruler with your non-dominant hand, spreading your fingers out wide to stop it from wiggling around.
Pro Tip: Don't eyeball it. Your ruler and mat are your best friends here. Instead of trying to cut a straight line into the void, always line up the edge of your fabric with a line on your cutting mat. Then, align your ruler with another line on the mat. This simple trick creates a perfect 90-degree corner to work from, making sure every single cut is spot-on.
From Cutting to Sewing
With your pieces all perfectly cut, it's time to head to the sewing machine. We live and die by the quarter-inch seam allowance in quilting. It’s not just a casual suggestion—it's the absolute key to making sure your blocks line up and your points match. The easiest way to nail this every time is with a dedicated quarter-inch presser foot, which has a little metal guide for your fabric to snuggle up against.
Don't have one? No worries. You can easily rig up a guide yourself. Just stack a few sticky notes or lay down a strip of painter's tape on your machine's throat plate, exactly a quarter-inch away from the needle. As you stitch, keep your eye on the guide, not the needle. That’s the trick to a perfectly straight seam.
The Art of Pressing
Last but not least, let's talk about pressing. This is a big one. You need to know that pressing is not the same as ironing. When you iron, you're sliding that hot plate back and forth, which can easily stretch and distort the seams you just worked so hard to sew.
Quilters press. We lift the iron, place it down firmly on the seam, hold it for a few seconds to let the heat and steam do their magic, and then lift it straight up before moving to the next spot. This simple up-and-down motion sets your stitches beautifully and gives you those crisp, flat seams without any wonkiness.
To put the finishing touches on your quilt, you'll need the perfect batting and thread. You can find a fantastic selection of high-quality quilting notions at Linda's to give your project that flawless final touch.
How to Assemble and Finish Your Quilt
You’ve done the hard part and pieced a gorgeous quilt top. Now for the magic that brings it all together and turns those pieces into a real, cozy quilt. This is where we assemble the "quilt sandwich" and stitch all those layers into one.
Making the Quilt Sandwich
Every quilt is made of three layers, which we call the quilt sandwich. You’ve got your backing fabric on the bottom (pretty side down!), the fluffy batting in the middle, and your finished quilt top sitting right on top (pretty side up!).
The golden rule here is to cut your batting and backing a few inches larger than your quilt top on all sides. Trust me, this little bit of extra fabric saves a lot of headaches, as it gives you room to work with when things inevitably shift during quilting.
Once everything is stacked and smooth, it's time to baste. Basting is just a temporary way to hold the sandwich together so you can do the final quilting without everything sliding around. For beginners, a handful of curved safety pins is the way to go. It's a fantastic, no-fuss method—just pop a pin in every four to six inches across the entire quilt.
Quilting isn't just a hobby; it's a huge and growing industry. In fact, quilting revenue in North America is expected to hit $4.5 billion by 2025. It's amazing to see how much this craft is loved and cherished. You can dive deeper into the size of the quilting market and its trends.
Finishing Touches
With your quilt all basted, you can finally start the quilting process. A really simple and clean-looking technique is called "stitching in the ditch." This just means you follow the existing seam lines of your patchwork with your stitches. It’s a wonderfully discreet method that really lets your pieced design stand out.
This whole workflow—from cutting to sewing to pressing—is something every quilter gets down to a science.
You can see how each step sets you up for the next, which is key to getting that professional look. The very last step is adding the binding, a strip of fabric that neatly covers up all the raw edges and gives your quilt a clean frame.
To get that perfect finish, having the right tools makes all the difference. Make sure you're set up for success with quality batting, thread, and binding clips, all of which you can find over at Linda's to complete your project.
Common Quilting Questions from Beginners
When you're just starting your quilting journey, you’re bound to have a few questions. Trust me, we all did! Getting those little things sorted out early helps build confidence and keeps the fun in quilting, making each project a valuable learning experience.
Let's dive into some of the most common things new quilters ask.
Fabric Prep and Seam Accuracy
The great debate: to pre-wash or not to pre-wash? For beginners, I always say yes, absolutely. Giving your cotton a quick wash and dry cycle does two crucial things. It pre-shrinks the fabric so your finished quilt doesn't get all wonky later, and it rinses out any extra dye that could bleed onto your lighter fabrics.
Next up is the ever-important quarter-inch seam. Nailing this consistently is what makes all your points match and your blocks come out the right size. The easiest way to get it right every single time is with a dedicated 1/4" sewing machine foot.
Don't have one? No problem. A little strip of painter's tape on your machine's throat plate works like a charm. The trick is to watch the edge of your fabric against the tape, not your needle. This keeps your seams perfectly straight.
Getting a handle on these details right from the start makes a massive difference. You'll find that all your quilt patterns for beginners come together so much more smoothly.
Ready to grab the right tools for the job? Find everything from specialty presser feet to high-quality thread at Linda's Electric Quilters. We've got all the essential quilting notions to help you finish your project with a smile. Check out our collection of amazing products at https://lindas.com and get everything you need to bring your creative vision to life.


