
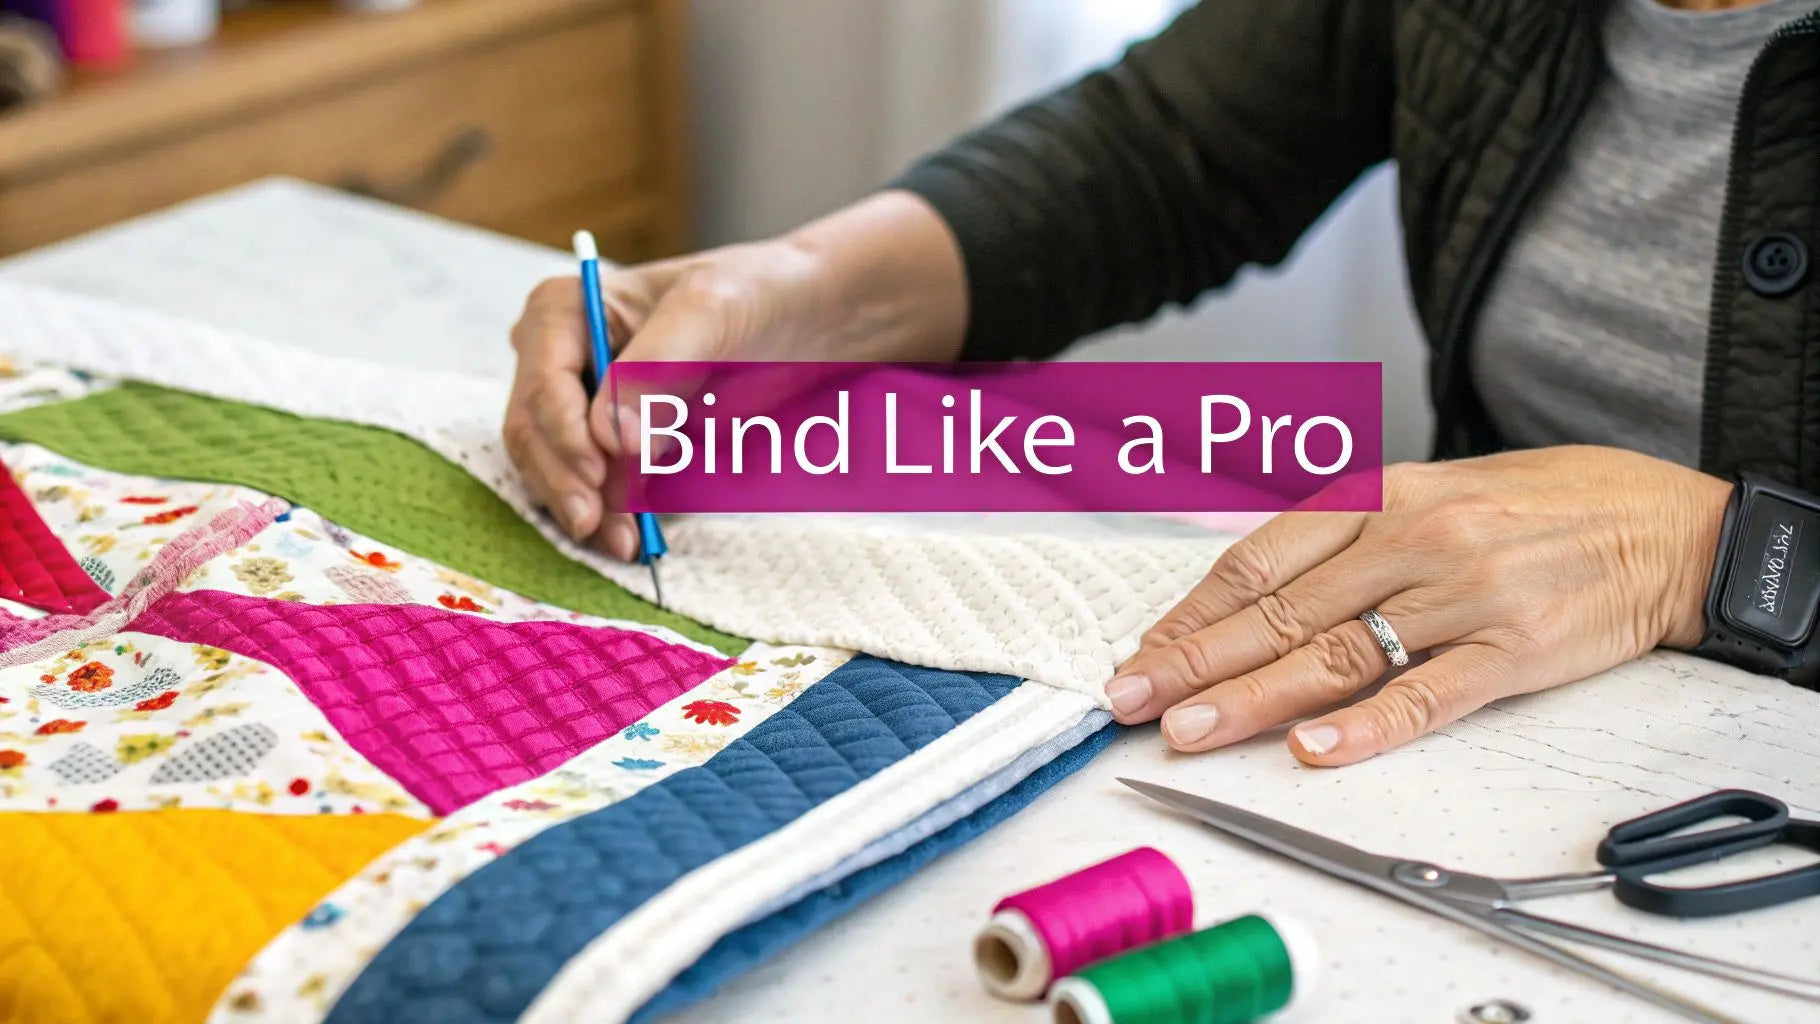
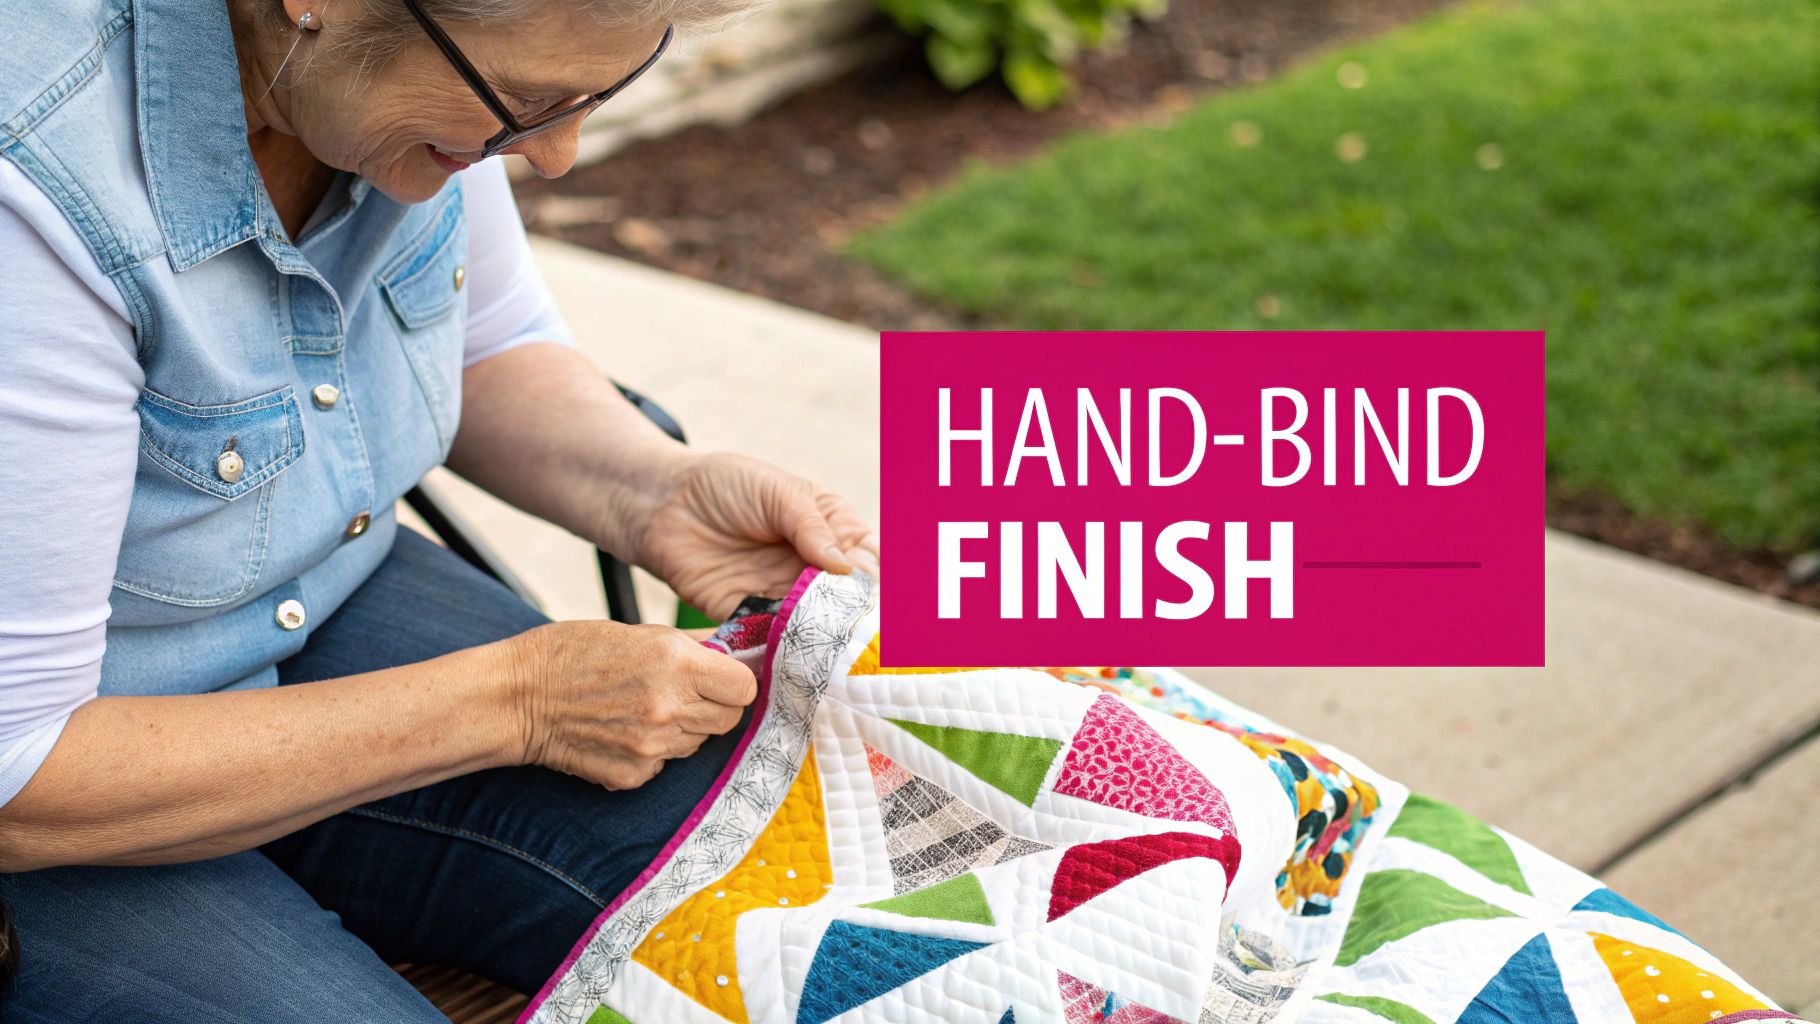
Finishing a quilt is a special moment, and binding it by hand is the perfect final touch. At its core, it's a simple technique: you take your prepared fabric strips, fold them over the quilt's raw edges, and sew them down with a nearly invisible stitch. The common method is to attach the binding to the front with your machine, then settle in for the meditative process of hand-stitching it to the back. The result is a durable, beautiful finish that feels like it was made to last a lifetime. This educational guide will walk you through every step, ensuring your project has a stunning, professional edge.
Why Hand Binding Is Worth the Effort
Before we even thread a needle, let's talk about why so many quilters swear by this traditional method. Sure, machine binding is quicker, but hand binding offers a kind of precision and polish that a machine just can't replicate. It’s that final act of love for your project, the step that truly turns it into a finished masterpiece.
There's something wonderfully rhythmic and slow about the process. It gives you a chance to connect with your quilt one last time. This careful approach is what makes the binding lay perfectly flat, gives you those impossibly crisp corners, and leaves the back of your quilt free of any machine stitching. It's what gives a quilt that professional, gallery-worthy look we all admire.
The Mark of True Craftsmanship
When you choose to bind by hand, you're doing more than just finishing the edges—you're elevating the entire quilt. This is especially true for heirloom pieces, the ones you dream of passing down through your family. The tiny stitches, tucked securely into the backing, create an incredibly strong edge ready to stand up to years of cuddles and use.
It’s a real testament to your dedication as a quilter. In fact, a huge number of hand quilters—somewhere around 60-70%—prefer this method because of the control and durability it offers. This final touch is often what separates a nice quilt from an unforgettable one.
There is nothing quite like the satisfaction of sinking that final stitch by hand. It’s your quiet, personal signature on a piece that will bring warmth and comfort for years.
This commitment to quality is precisely why quilts are such treasured gifts. If you're starting a project for someone special, you might enjoy our guide on why quilts make the best gifts for a little inspiration.
Ready to get started on this rewarding journey? You’ll just need a few key supplies. Here's a quick look at what to gather:
- Quality Fabric: This is for creating your binding strips.
- Sharp Needles: Look for ones specifically designed for hand sewing or "betweens."
- Durable Thread: You want something strong that will stand the test of time.
- Helpful Notions: Things like binding clips and a good thimble will be your best friends.
Feeling ready? Linda's has all the amazing, high-quality products you need to finish your project with confidence.
Gathering Your Essential Binding Tools
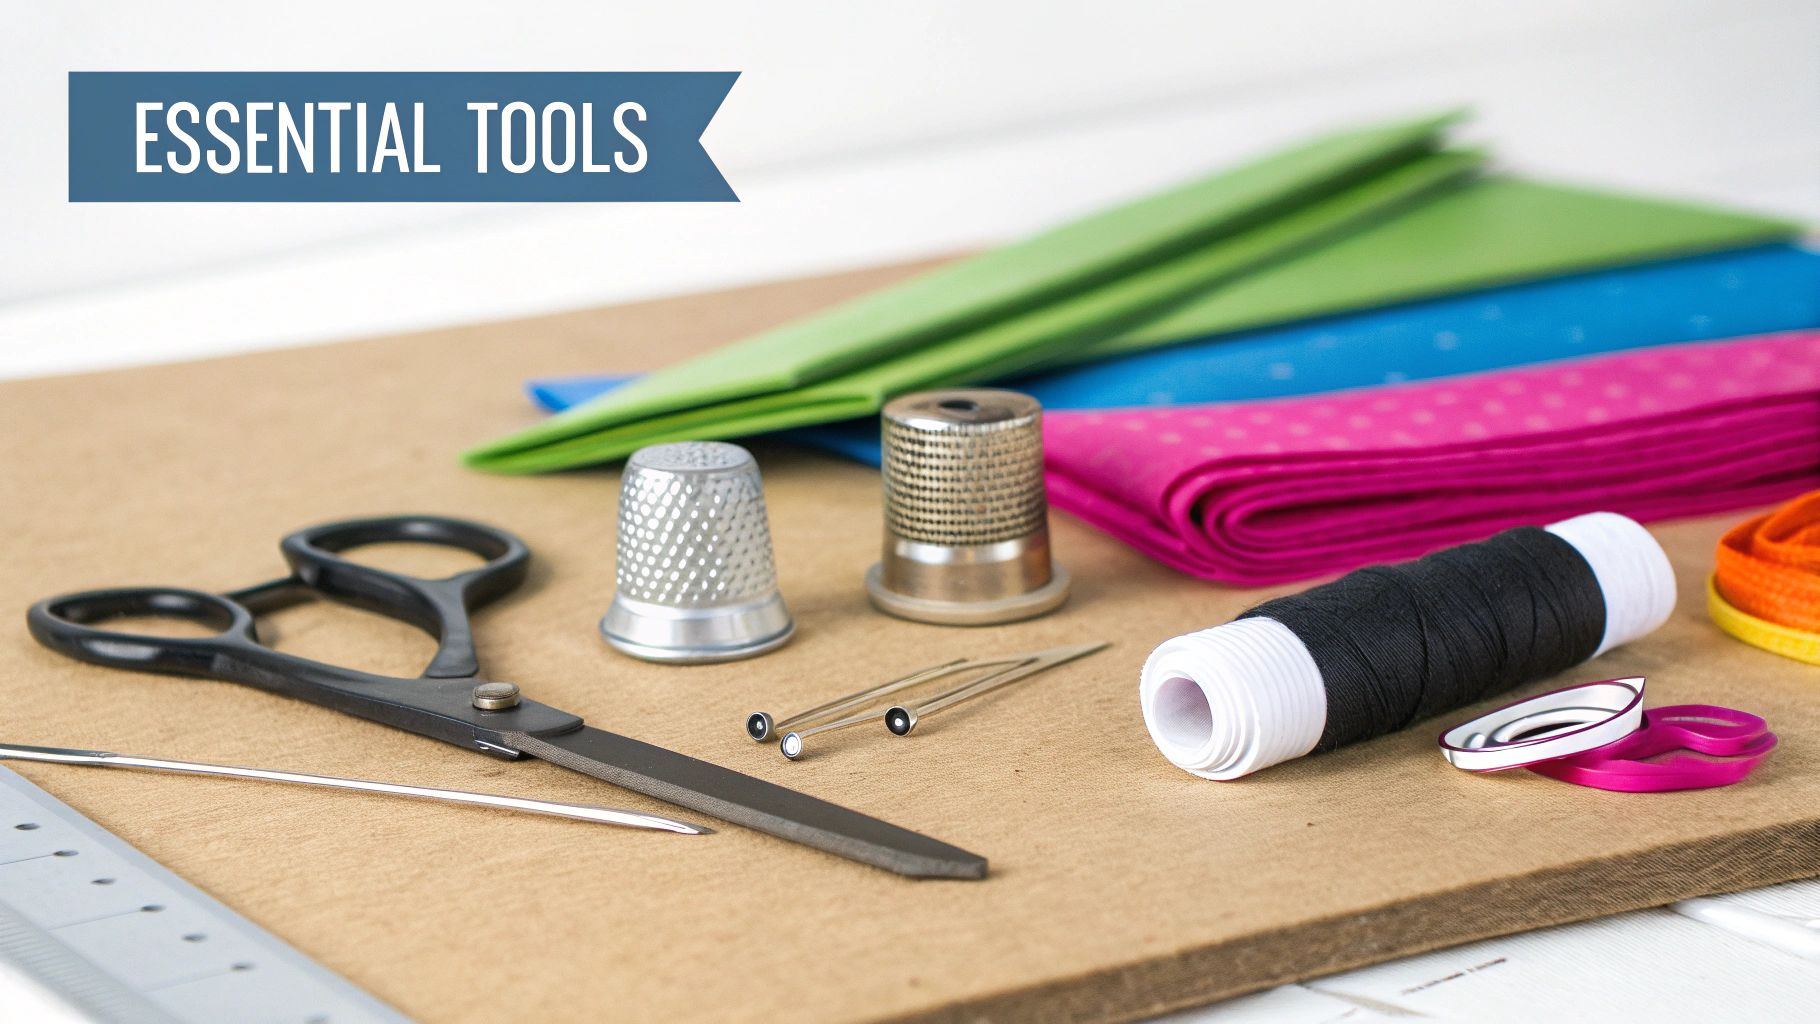
Before you can sink that first perfect stitch, you need to get your toolkit in order. Let me tell you, having the right supplies on hand is the difference between a frustrating chore and a truly relaxing afternoon of finishing your quilt.
This isn't about just grabbing any old needle and thread from the drawer. The real secret to that beautiful, heirloom-quality finish is choosing materials that play nicely together. We're aiming for durability and beauty, and the right tools are what will get you there. At Linda's, we carry only the best products to help you succeed.
Fabric and Cutting Implements
The absolute foundation of your binding is, of course, your fabric. Most of us in the quilting world swear by standard 2.5-inch strips. This width gives you the perfect amount of fabric to fold over for a nice, substantial edge that feels as good as it looks.
To get those strips just right, nothing beats a rotary cutter paired with a self-healing mat. This combo is your ticket to perfectly straight, consistent strips—and that's the key to a flat, pucker-free finish. If you really want to master your cutting game, we've got a great guide on quilting ruler templates that dives deep into getting those cuts just right.
Needles, Thread, and Notions
With your fabric cut and ready, it's time to focus on the tools that do the real work. A good needle and thread pairing is what makes those nearly invisible, super-strong stitches that are the hallmark of a beautifully hand-bound quilt.
- Needles: I always reach for quilting "betweens" or a fine embroidery needle. Their shorter shafts give you incredible control for making tiny, even stitches.
- Thread: You just can't go wrong with a quality cotton thread, like Aurifil. Pick a color that blends with your binding or backing fabric, and your stitches will practically disappear.
- Thimble: Please, don't skip the thimble! Pushing a needle through a quilt sandwich for hours will wreak havoc on your fingers. A comfy thimble—I like leather ones—will save you from soreness.
- Binding Clips: These are a total game-changer. While pins will do in a pinch, clips hold your binding snugly in place without poking holes or warping the fabric. They make life so much easier, especially when you get to the corners.
The right needle and thread can make a world of difference in your final product. Here's a quick rundown of my go-to choices to help you get that professional, almost-invisible stitch you're looking for.
Choosing Your Needle and Thread for Hand Binding
| Item | Recommended Type | Why It Works Best | Find it at Linda's |
|---|---|---|---|
| Needles | Quilting "Betweens" (Size 9-12) | Short and sharp, they give you maximum control for small, precise stitches that glide through layers. | Shop Needles |
| Thread | 50wt Cotton Thread (e.g., Aurifil) | Strong yet fine, this thread sinks into the fabric, making stitches less visible. It's the quilter's standard for a reason! | Shop Aurifil Thread |
| Thimble | Leather or Metal | Protects your finger, allowing you to push the needle through thick layers comfortably and stitch for longer. | Shop Thimbles |
| Holding | Binding Clips | Secures the binding firmly without distorting the fabric, unlike pins. Essential for neat corners. | Shop Binding Clips |
These are the tools I've relied on for countless quilts, and they've never let me down. They give you the control and quality needed for a finish you'll be proud of for years.
Pro Tip: Cut your thread to about 18 inches long—that’s roughly the distance from your fingertips to your elbow. Any longer, and you're just asking for a tangled, knotty mess. Trust me on this one.
Once you have these essentials gathered, you're not just ready—you're set up for success. You can find all the high-quality needles, threads, clips, and cutters you need right here at Linda's. Now, let’s get those beautiful fabric strips prepared and attached.
Preparing and Attaching Your Binding Strips
A beautiful hand-bound finish doesn't just happen with that final needle stitch. The real magic begins much earlier, with careful prep and a little quality time at your sewing machine. Getting this foundation right is what makes your binding lay flat, your corners look sharp, and the whole process feel less like a chore and more like the rewarding final step it should be.
Let's start by turning that gorgeous piece of fabric into a perfect binding strip.
Calculating and Cutting Your Fabric
First, we need to figure out just how much fabric you'll need. Grab a measuring tape and find the perimeter of your quilt by adding up the lengths of all four sides. For a 60" x 70" quilt, that's 260 inches (60 + 70 + 60 + 70).
Now for a crucial tip: always add an extra 10-15 inches to your total. This little bit of insurance gives you plenty of room to join your strips and handle the corners without the stress of running short. So for that example quilt, you'll want at least 270 inches of binding.
When it comes to cutting, the gold standard for a reason is 2.5 inches wide. It’s my go-to width because it gives you enough fabric to create a really durable edge that's still easy to manage. For the cleanest, most precise cuts, you can't beat a good rotary cutter and mat.
The fabric you choose makes all the difference. A high-quality, 100% cotton is your best friend here—it presses beautifully and stands up to years of love and washing. If you want to dive deeper, we have a whole guide on picking out the best quilting fabric for your projects.
Joining the Strips for a Seamless Finish
With all your strips cut, it's time to create one long, continuous piece. The trick to avoiding those bulky, lumpy seams along the edge of your quilt is to join your strips with a diagonal seam, often called a bias join. It’s a game-changer.
Here's how I do it:
- Lay two strips right-sides-together, forming a 90-degree angle.
- With a fabric marker, draw a straight line from the top-left corner to the bottom-right corner across the overlapping area.
- Stitch right on that line.
- Trim the extra fabric about a quarter-inch away from your seam.
- Press the seam open. This is key to getting it to lie as flat as possible.
Just keep repeating this until all your strips are one long, lovely piece of binding. The last prep step? Press the whole thing in half lengthwise with the wrong sides together. You’ll have a nice, crisp fold to work with.
Attaching the Binding to Your Quilt Top
Okay, back to the sewing machine. You're going to attach the raw-edge side of your folded binding to the front of your quilt. Just line up the raw edges of the binding with the raw edge of your quilt top.
Start sewing somewhere in the middle of a side, never right at a corner. Leave a tail of about 8-10 inches of binding loose before you start stitching. I strongly recommend using a walking foot for this; it makes a world of difference in feeding all those layers through evenly without any weird stretching. Stick to a consistent quarter-inch seam allowance.
As you get close to a corner, slow down. Stop stitching exactly a quarter-inch from the edge, do a little backstitch, and take the quilt out of your machine. This little pause sets you up perfectly for creating those clean, professional mitered corners we're about to tackle next.
Ready to make those corners pop? Let's get to it.
Mastering Flawless Mitered Corners
Perfectly mitered corners are what really give a hand-bound quilt that professional, polished look. This is the part that often feels a little intimidating, but I promise it's just a simple series of folds. Once you get the hang of the geometry, you’ll be making those crisp, clean 45-degree angles without even thinking about it.
Remember how you stopped stitching a quarter-inch from the quilt's edge earlier? That single move is what sets you up for success here. It creates a tiny fabric hinge that lets you pivot perfectly.
The Perfect 45-Degree Fold
As you get to the corner, pull your quilt away from the machine. Fold the binding strip straight up and away from the quilt—this is what creates that perfect 45-degree angle. The edge of your binding strip should now form a straight, continuous line with the next side of the quilt you're about to sew.
Press this fold firmly with your finger to make a sharp crease. Now, fold the binding strip back down so its raw edge lines up with the raw edge of the next side of the quilt. That first fold gets neatly tucked underneath, creating the foundation for your miter. I always use a binding clip right at the corner to hold everything in place.
Starting the Next Side
With your corner all folded and clipped, you can slide the quilt back under your machine's needle. Start sewing right at the very edge of the fabric, sticking with that crucial quarter-inch seam allowance. You'll just sew straight down this side until you reach the next corner, where you’ll do the exact same thing.
It might feel a bit awkward the first time you try it, but trust me, after a corner or two, it becomes pure muscle memory. The real key is just being precise when you stop stitching and when you make your folds.
A common hiccup is a quilt top that isn't perfectly square, which can make corners tricky. If you find your edges aren't lining up perfectly, don't panic. For tips on how to handle this, you might be interested in our guide on what to do if your quilt top is not square.
Securing the Miter by Hand
Once you’ve attached the binding all the way around your quilt, it’s time to switch to hand-stitching. When you get to a corner, the machine-stitched fold you already created acts as a perfect guide.
- First, fold the binding over to the back of the quilt.
- You'll see the fabric naturally wants to form that mitered corner on the back.
- Neatly tuck the top fold over the side fold to create a sharp diagonal line.
- Clip it to hold it securely while you work.
- Then, use your ladder stitch to sew the miter closed with a few tiny, invisible stitches.
This infographic breaks down the essential prep work that leads to flawless binding.
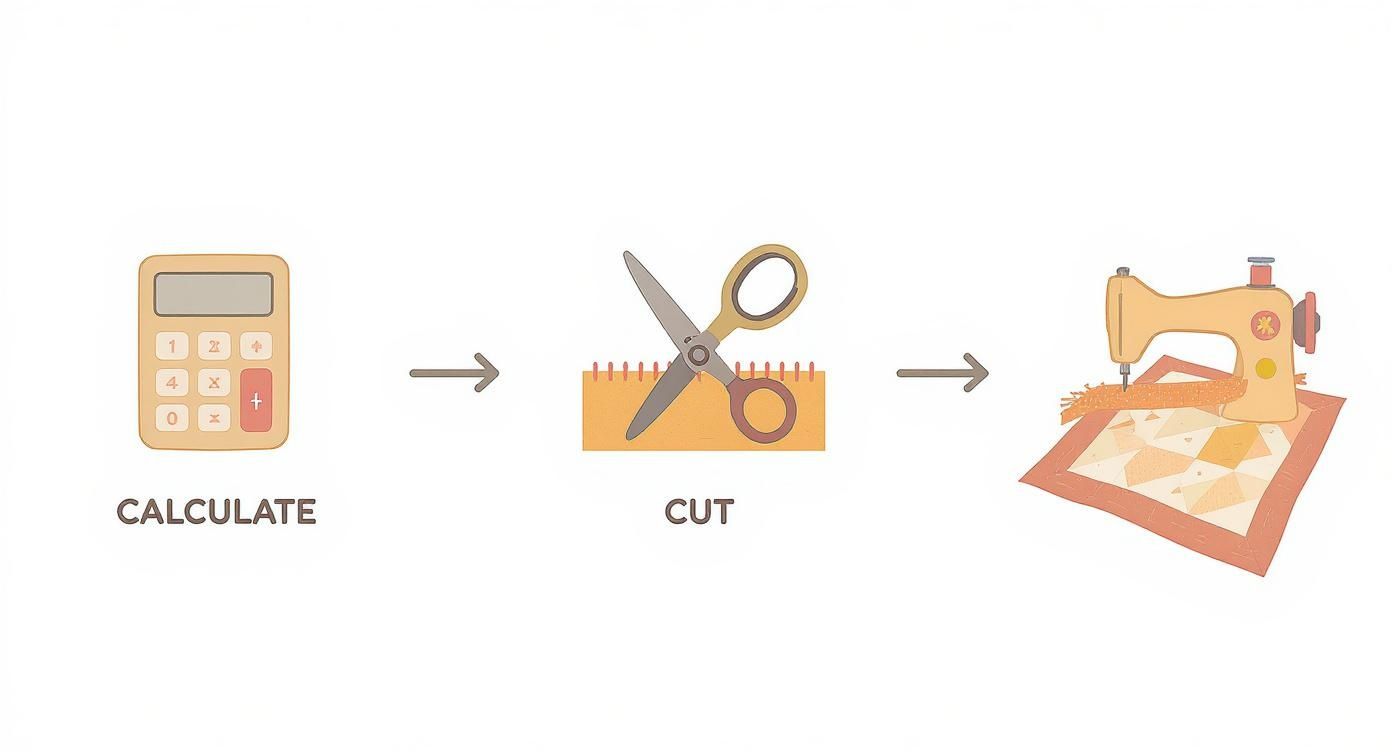
This simple flow—calculate, cut, and attach—is the foundation that makes mastering techniques like mitered corners possible.
Honestly, the trickiest part is usually dealing with the fabric bulk inside the corner. Don't be shy about using the tip of your needle to gently poke and adjust the fabric before stitching it down. A little patience here pays off with a perfectly flat, professional finish that makes the whole quilt shine. At Linda's, we have all the premium notions, from sharp needles to sturdy binding clips, to help you nail this technique every single time.
Executing the Perfect Invisible Stitch
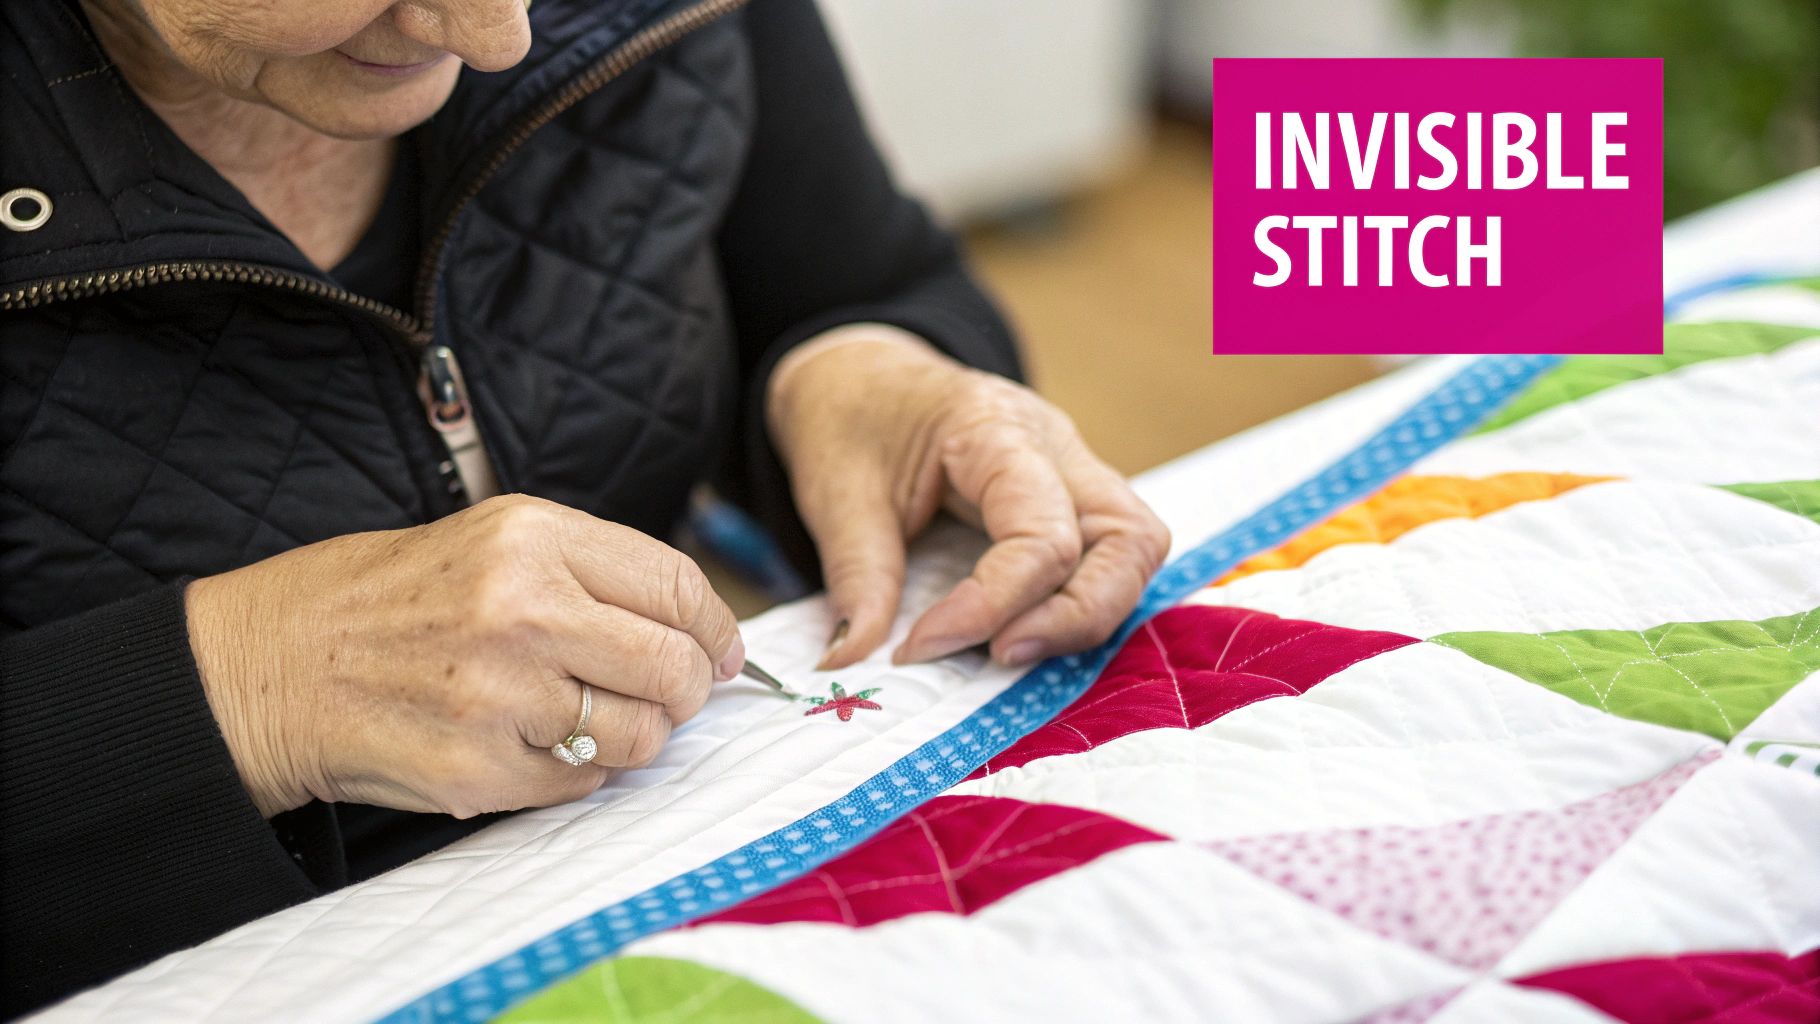
This is it. This is the moment where all your hard work comes together. The magic of a hand-bound quilt truly lives in the stitch, transforming your careful prep into a flawless, professional finish.
We’re going to use what’s called a blind stitch or ladder stitch. The name says it all—it’s designed to be almost completely invisible from the back. It’s that final, artisanal touch that takes a quilt from just "done" to something truly special.
Hiding Your First Knot
Every great seam starts with a perfectly hidden knot. After threading your needle, tie a small knot at the end. Don't start right on the edge; instead, slide your needle under the folded binding, about an inch from where you want your first stitch to be.
Bring the needle up right through the crease of the binding fold. Now, give the thread a gentle but firm tug. You should feel a tiny "pop" as the knot pulls through the fabric layers and nests itself securely inside the binding. Just like that, your starting point is completely hidden from view.
The secret to a perfect invisible stitch is consistency. Aim for stitches about a quarter-inch apart and keep your tension even and light. They need to be snug enough to vanish but not so tight that they pucker the fabric.
The Rhythm of the Ladder Stitch
With your knot tucked away, you can start stitching. The ladder stitch is all about creating tiny, straight "rungs" of thread between the binding and the quilt backing that disappear when you pull the thread taut.
Here's the motion:
- Go directly across from where your thread came out of the binding and pick up just a few threads from the quilt’s backing fabric. Be careful not to go all the way through to the batting.
- Now, travel with your needle straight back to the binding. Insert it directly into the folded edge and slide it forward about a quarter of an inch before bringing it out again.
- Give the thread a gentle pull, and watch the stitch disappear as it snugs the binding right up against the backing.
That’s all there is to it. A tiny bite of the backing, then a short journey through the binding fold. It’s a simple, meditative motion that you'll get the hang of in no time. Of course, having the right thread makes a huge difference in how smoothly it glides; you can check out our guide on choosing the best thread for quilting to find your perfect match.
This level of detail is exactly why hand-finished quilts are so cherished. The global quilt market, valued at around USD 5.32 billion, has a huge demand for artisanal products where touches like hand binding are a mark of true quality. As more people look to personalize their homes, the desire for these beautiful, handcrafted items just keeps growing.
Finishing a quilt with this lovely, invisible stitch is one of the most rewarding parts of the process. It’s a peaceful way to wrap up a project, and with premium needles and thread from Linda's, you can make this final step a truly satisfying experience.
Answering Your Hand Binding Questions
Even with the best instructions, you're bound to hit a snag every now and then. Don't sweat it—this happens to literally every quilter! I've put together this little troubleshooting guide to tackle those common "what-if" moments and get you back to stitching.
Let's walk through some of the most frequent binding headaches, from wavy edges to those tricky final seams.
"Why Does My Binding Look Wavy or Puckered?"
This is, without a doubt, one of the most common frustrations I hear about. The good news? It's usually a pretty simple fix.
If you spot a wavy, stretched-out look after you've machine-sewn the binding on, it's almost always because the strip was pulled too taut. It's so tempting to pull the binding tight as you feed it through, but you have to resist! Your only job is to guide the fabric gently and let the machine's feed dogs do all the work. No extra tension needed.
On the flip side, if you see puckering while you're hand stitching, your thread tension is probably the culprit. You want your stitches to be just snug enough to disappear into the fabric, but not so tight that they start to gather and bunch it up.
A little pro tip: Switch from pins to binding clips. They're amazing for holding everything securely without causing that subtle stretching that leads to waves. Linda's has a fantastic selection of clips that are perfect for this.
"How Can I Join the Binding Ends So They're Invisible?"
Getting that seamless, "how'd-they-do-that?" finish where your binding starts and ends is the ultimate goal. A clean diagonal seam is the secret sauce here, and it’s easier than it looks.
Here’s the method that I (and most other quilters) swear by:
- Leave Some Tails: First, stop machine-sewing your binding about 12 inches away from where you started. You'll have two long tails to work with.
- Overlap and Trim: Lay one tail over the other. Now, trim them so they overlap by the exact width of your binding strip. So, if your strip is 2.5 inches wide, the overlap should be 2.5 inches.
- Sew the Diagonal Seam: Unfold the ends of both tails. Place them right-sides-together, forming a perfect right angle. Then, just sew a 45-degree diagonal line from corner to corner.
- Finish It Up: Trim the extra fabric about a quarter-inch away from your new seam, press it open, and refold the binding. You'll be left with a continuous loop that you can stitch down perfectly.
"What's the Best Way to Bind Scallops and Curves?"
Binding curves might seem intimidating, but it all comes down to using the right tool for the job. For any edge that isn't a straight line, you absolutely, positively need to use a bias binding.
Why? Because a bias binding is cut at a 45-degree angle to the fabric's grain, which gives it a natural, built-in stretch. This flexibility is what lets it hug those curves beautifully without any weird bunching or pulling. When you go to attach it, use plenty of clips to gently ease the binding around the curve. Making this one change is a total game-changer for getting a flat, elegant finish on scalloped or modern quilts.
Finishing a quilt by hand is such a rewarding process, and having the right tools makes all the difference. For everything from the perfect needles to high-quality binding clips, Linda's Electric Quilters has the amazing products you need to bring your beautiful projects to life. Explore our collection at https://lindas.com and find your new favorite quilting essentials.


