
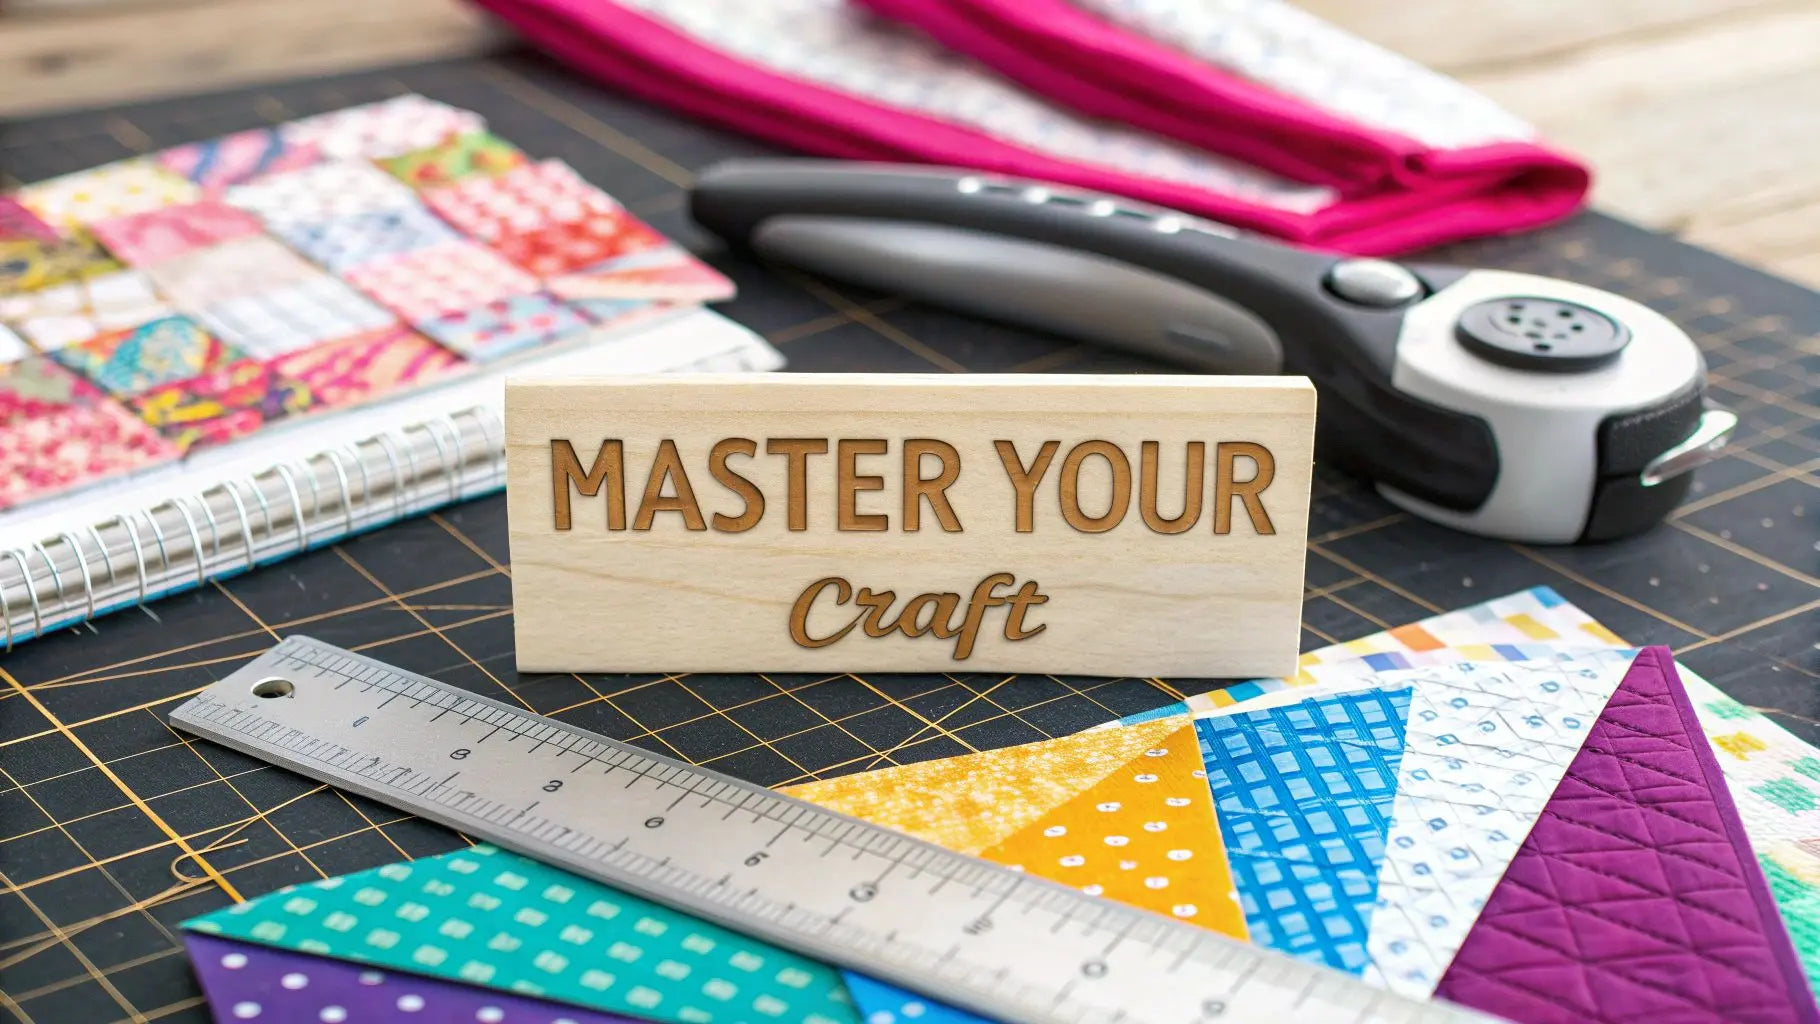
If you've ever admired a quilt with razor-sharp points and perfectly matched seams, you've seen the magic of precision cutting. That magic doesn't come from guesswork; it comes from having the right tools for the job. Two of the most essential tools in any quilter's studio are templates and rulers.
Getting a handle on how these two tools work—both separately and together—is the first step toward taking your quilting from "homemade" to "handmade professional." This guide will not only teach you the difference but show you how to use these tools to create a beautiful project you can be proud of.
Your Foundation for Perfect Quilting
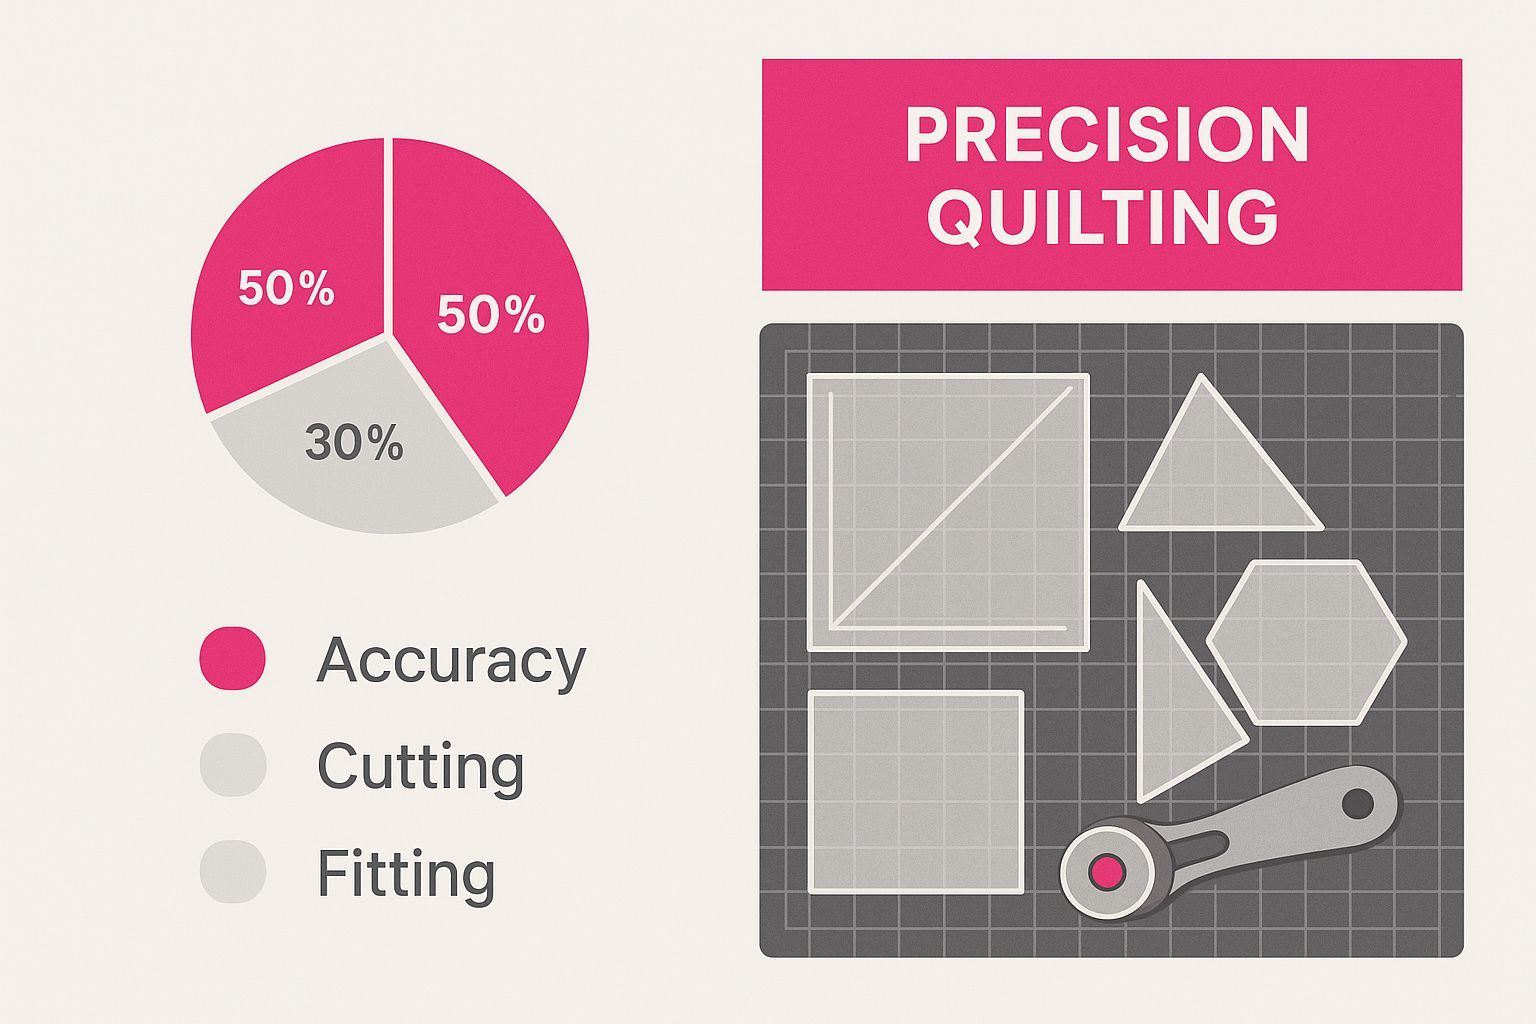
Let's start at the beginning. In quilting, every beautiful design starts with a single, perfect cut. The secret behind those clean lines and intricate shapes isn't some hidden talent—it's using quilting rulers and templates correctly to complete your project.
Think of it this way: your ruler is the architect's scale. It’s what you’ll grab for measuring and cutting the straight, precise lines that form the backbone of your quilt project. On the other hand, a template is more like an artist's stencil. It lets you perfectly replicate any shape you need, from a classic hexagon to a delicate curved petal, over and over again.
The Core Difference Explained
So, what really sets a ruler apart from a template? It’s a simple distinction, but it fundamentally changes how you approach cutting the fabric for your next quilt.
A quilting ruler is almost always transparent and covered in measurement markings and angle guides. You use it with a rotary cutter to slice straight lines with incredible accuracy. A template, however, is a solid shape used as a guide for tracing and cutting. It usually doesn't have measurement lines but will often have a handy quarter-inch seam allowance built right in to keep your pieces consistent. If you're a visual learner, you can see the difference in action in this quick video demo.
Here's the simple truth: rulers give you structure, while templates give you artistic freedom. Mastering both is what separates a good quilter from a great one.
Understanding this core difference is what will give you the confidence to tackle any pattern that comes your way, knowing you can cut every piece perfectly.
- Rulers for Structure: These are your go-to tools for cutting strips, squaring up blocks, and trimming half-square triangles. They are the workhorses of your quilting projects.
- Templates for Creativity: Reach for these when you're doing appliqué, curved piecing, or creating unique blocks like a Dresden Plate or Grandmother’s Flower Garden. They make complex shapes feel easy.
By the time we're done here, you'll know exactly which tool to grab for any task. Just remember that starting with quality supplies makes every step of the process more accurate and, frankly, more enjoyable. Get your next project started on the right foot by exploring the amazing quilting templates and rulers we have at Linda's to help you finish your project.
Navigating the World of Quilting Rulers
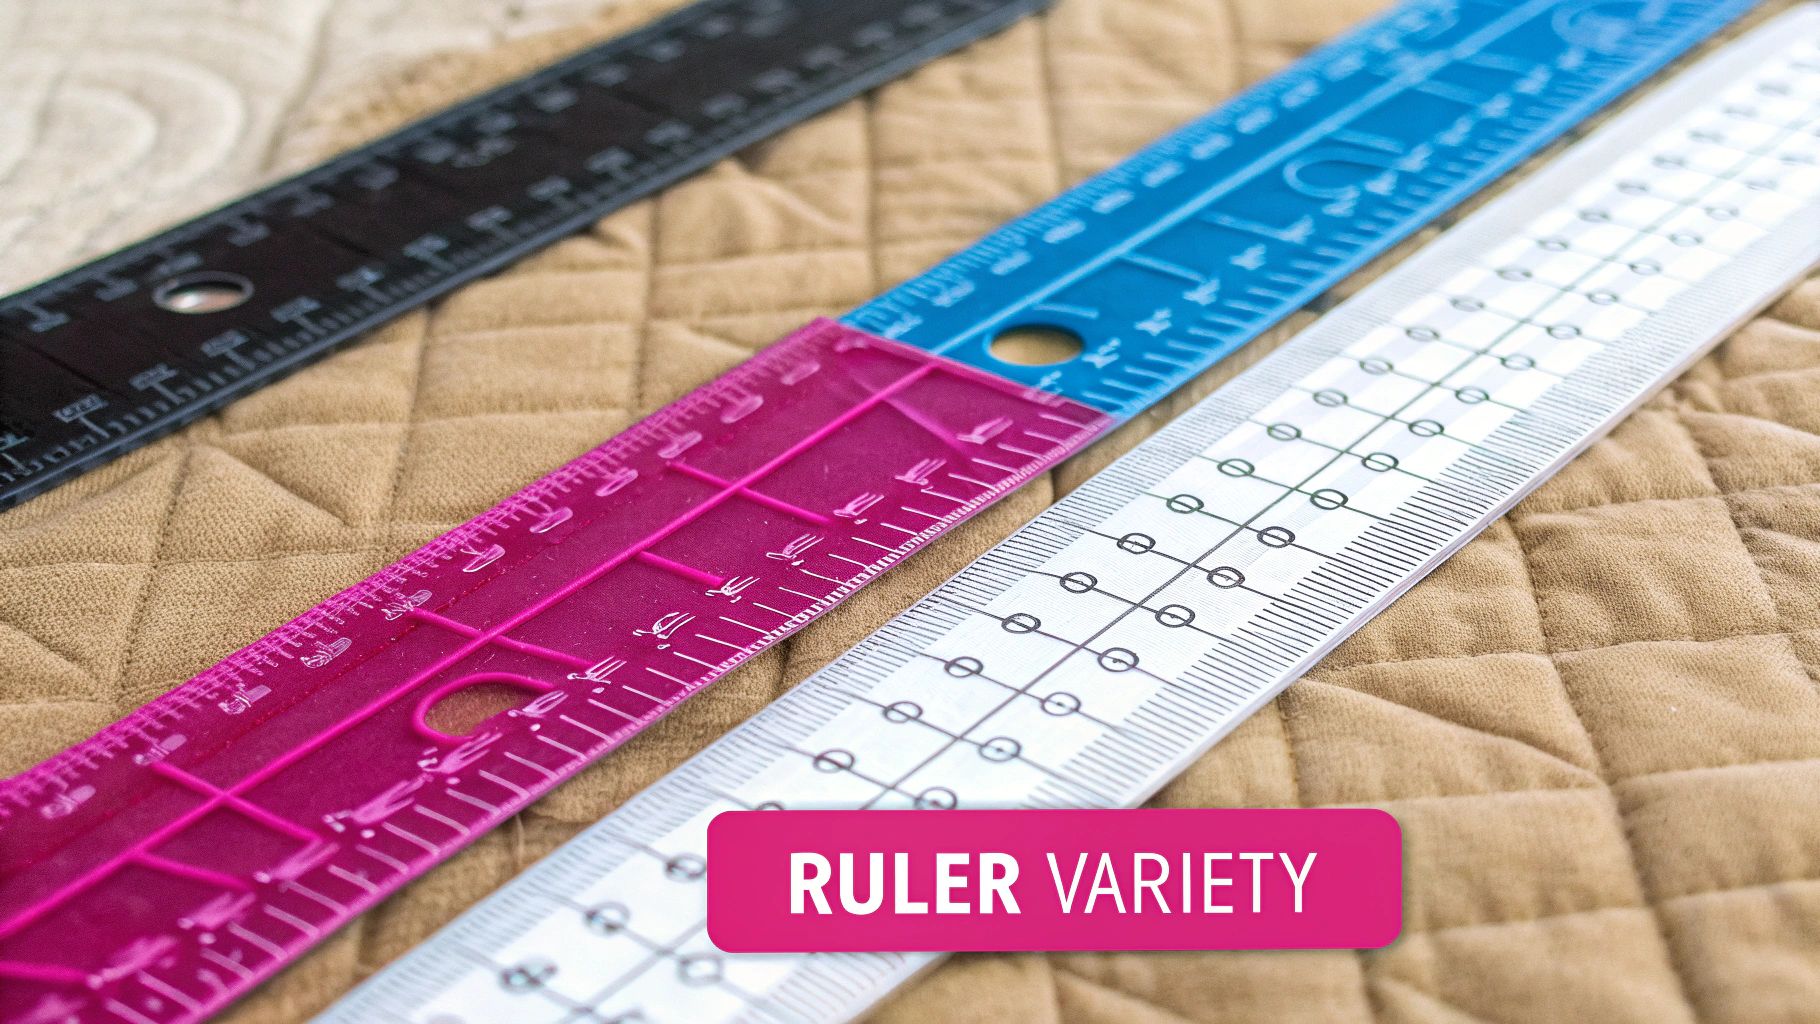
In the quilting world, not all rulers are created equal. Far from it. Choosing the right one can be the difference between a joyful afternoon of creating and hours of frustration staring at a pile of wasted fabric.
Think of your rulers as a specialized toolkit for your project. A carpenter doesn't just own one saw; they have different saws for different cuts. It's the same for us quilters—we need a few key quilting templates and rulers to tackle various tasks with the precision they demand. Let’s take a practical tour through the essentials you'll find in almost every quilter's studio.
We'll start with the undisputed workhorse before moving on to the tools that make sure your quilt blocks come together like a dream.
This setup shows how having the right tools organized and ready to go is the real foundation for accurate, beautiful quilts.
The Rectangular Ruler: Your Foundation for Cutting
If you could only have one quilting ruler, it would have to be the 6" x 24" rectangular ruler. This is the cornerstone of any quilting toolkit, and for good reason. Its generous length is perfect for slicing long, clean strips of fabric right off the bolt for any project.
No more awkward refolding or repositioning your fabric mid-cut. You can get a perfect, straight edge along the entire width of the fabric in one smooth motion. This became the standard for a reason—it just works. As quilting evolved, particularly from the mid-20th century, this clear plastic ruler became the go-to for its efficiency in cutting long strips and trimming large blocks. You'll also see its smaller cousin, the 6" x 12" ruler, for smaller pieces, and the wider 8½" x 24" for extra stability on big cuts. You can dive deeper into the history of these essential quilting tools on SuzyQuilts.com.
From cutting sashing and borders to making the initial strips for a strip-piecing project, this ruler’s versatility makes it completely indispensable.
Square Rulers: For Blocks That Are Actually Square
Once you have your strips, you need to turn them into squares, half-square triangles, and other block components. This is where square rulers step in and save the day. While you could technically use a rectangular ruler, a dedicated square ruler makes the job faster, easier, and a whole lot more accurate.
Their most critical job? Squaring up finished quilt blocks. No matter how carefully you piece, seams can pull and fabric can stretch, leaving your blocks slightly wonky. A square ruler lets you trim each block down to its exact intended size, which is the secret to getting all your blocks to fit together perfectly.
A square ruler doesn't just cut squares; it creates perfection. Squaring up is the single most important step for ensuring your quilt top lies flat and your seam points match flawlessly.
These are some of the most common sizes you'll reach for again and again:
- 6.5" x 6.5" Square: Absolutely perfect for squaring up smaller, common blocks like four-patches and nine-patches.
- 12.5" x 12.5" Square: A fantastic all-around size for larger blocks and for trimming down batches of half-square triangles (HSTs) with ease.
- Specialty Squares: You can find square rulers in just about any size imaginable, from tiny 2.5" ones for miniature quilts to massive 15.5" versions for medallion centerpieces.
The trick is to choose a square ruler that's the same size as your finished block (or just a smidge larger). It takes all the guesswork out of trimming.
Common Quilting Ruler Types and Their Primary Uses
To make it even clearer, here's a quick reference table comparing the most common ruler types and what they do best. Think of it as a cheat sheet for building your tool collection for your next project!
| Ruler Type | Common Sizes | Best Used For | Project Example |
|---|---|---|---|
| Rectangular | 6" x 24", 8.5" x 24" | Cutting long strips from yardage, trimming quilt edges. | Jelly Roll Race quilt, sashing, and borders. |
| Square | 6.5" x 6.5", 12.5" x 12.5" | Squaring up finished blocks, trimming HSTs. | Classic Nine-Patch or Friendship Star blocks. |
| Triangle | Varies by type | Cutting half-square or quarter-square triangles accurately. | Pinwheel quilt, Flying Geese units. |
| Circle/Curve | Varies by type | Cutting appliqué circles, creating curved seams. | Drunkard's Path block, scalloped borders. |
Having this basic set of rulers will equip you for the vast majority of quilting projects you'll want to tackle.
Specialty Rulers: Unlocking Creative Designs
Once you move beyond basic squares and rectangles, a whole world of specialty rulers opens up, designed to make complex shapes incredibly simple. These tools are your ticket to creative freedom, letting you achieve designs that would be a nightmare to cut with standard rulers.
Triangle Rulers are a perfect example. Whether you're making half-square triangles (HSTs), quarter-square triangles (QSTs), or flying geese, a dedicated ruler handles all the tricky math and cutting for you. Many even have the corner tips pre-trimmed, which is a huge help for reducing bulk where seams meet.
Circle and Curve Rulers are another game-changer. They give you the power to cut perfect circles for appliqué or create those beautiful, flowing seams you see in patterns like the Drunkard's Path. These rulers ensure every curve is smooth, consistent, and repeatable.
Building your collection of quilting templates and rulers should happen over time, driven by the kinds of projects you get excited about. Start with the essentials, and as you explore new patterns, add the specialty tools that will make your work more precise and, most importantly, more fun. Explore the amazing selection of rulers at Linda's to get started on your next project with confidence.
Unlocking Designs with Quilting Templates
If rulers are the architects of your quilt—laying down the foundation with perfect structure and straight lines—then quilting templates are the artists. They’re the secret weapon for moving beyond a simple grid. With templates, you unlock a whole universe of intricate, creative, and perfectly repeatable designs for your projects.
Rulers give you precise measurements, but templates give you pure artistic freedom. They let you reproduce complex shapes with absolute precision, time after time. While rulers own the world of straight lines and angles, templates are for everything else: curves, circles, hexagons, and all sorts of beautiful, organic shapes. They don't just make these designs possible; they make them easy.
This section is all about inspiration. It's about showing you just how powerful a simple template can be and how it can elevate your quilting from basic patchwork to a true family heirloom.
From Simple Shapes to Complex Masterpieces
The real magic of quilting templates is how they simplify the seemingly impossible. They take shapes that would be a nightmare to measure and cut with a standard ruler and turn them into simple, traceable patterns. It's this consistency that allows beautifully intricate designs to come together without a hitch.
Think about some of the most cherished quilt patterns out there. You’ll find that many of them absolutely depend on templates to get that signature look.
- Hexagons: That iconic Grandmother's Flower Garden quilt? It's built entirely on the humble hexagon. A good hexagon template lets you churn out hundreds of identical pieces, ensuring they all nestle together perfectly to create that stunning honeycomb pattern.
- Clamshells: This classic pattern creates a gorgeous, scalloped texture that seems to ripple across the quilt. Trying to cut those curves freehand would be an exercise in frustration, but a clamshell template guarantees every single piece is perfectly uniform.
- Dresden Plates: These jaw-dropping circular blocks are pieced together from individual "petal" or "wedge" shapes. A Dresden Plate template set gives you the exact wedge you need, often with handy markings to make sure your points line up perfectly every time.
These tools make historically tough designs totally achievable for every quilter, no matter how long you've been behind a sewing machine.
Simplifying Traditional Blocks with Template Sets
Some of the most satisfying quilting projects involve piecing together complex, multi-part blocks. In the old days, this meant hours of painstaking measuring and cutting, with a high chance of things going wrong. Not anymore. Today, you can get dedicated template sets that take all the guesswork out of the equation.
Take the Log Cabin block. Sure, you can cut all the strips with a ruler, but a dedicated Log Cabin template set makes sure every single "log" is the exact width and length required. The result? A perfectly square, perfectly flat block, every single time.
Quilting templates are the great equalizers. They put advanced techniques and complex patterns within reach, allowing your creativity—not your cutting ability—to be the only limit.
Another fantastic example is the Drunkard's Path block, which is famous for its tricky curved seam. A template set for this block provides both the concave and convex pieces, and they usually have registration marks to help you line them up for sewing. This turns a block that many quilters shy away from into a fun and rewarding project.
Exploring Creative Freedom Beyond Patterns
While templates are amazing for recreating classic patterns, their real power is in unleashing your own creativity. Armed with a basic set of shapes—circles, ovals, leaves, and petals—you can start designing your own appliqué scenes or quilting motifs from scratch.
Many modern quilting templates and rulers are actually made for free-motion quilting, either on a longarm or your home machine. These templates are thicker to guide the machine's hopping foot, letting you stitch flawless circles, swooping arcs, and detailed patterns right onto your quilt top. This is where piecing tools and quilting tools start to beautifully blur together, showing just how versatile these simple pieces of acrylic can be.
The best way to see the potential is to check them out for yourself. Ready to start exploring all the creative doors they can open? Browse the fantastic collection of quilting templates at Linda's and find the perfect set to get you started on your next masterpiece.
Why the Right Material Makes a Difference
When you're picking out new quilting templates and rulers, it's easy to think the material is just a minor detail. But trust me, that single factor is a game-changer. It directly impacts your accuracy, your safety, and how long your tools will last. It’s what separates a tool you use once from a trusted friend you’ll have for a lifetime of quilting.
It’s a bit like buying knives for your kitchen. Sure, a cheap, flimsy knife might slice a tomato, but it’s going to be dull, wobbly, and honestly, a little scary to use. A quality chef’s knife, on the other hand, feels right in your hand, stays sharp, and gives you a perfect cut every single time. The same logic holds true for your quilting tools.
The Clear Choice Is Acrylic
There's a good reason why pretty much every high-quality ruler you see is made from durable acrylic. It's the gold standard. You get the perfect mix of visibility, strength, and safety that other materials just can't touch. Cheaper plastics tend to be brittle, chip easily, and often have a cloudy look that makes it hard to see your fabric.
Premium acrylic, however, is crystal-clear. And that's not just for looks; it's a critical feature.
A crystal-clear ruler gives you a perfect window to your fabric, allowing for precise “fussy cutting” so you can center a specific motif or pattern with absolute confidence.
You simply can't get that kind of visibility with cloudy or opaque materials, which turns every cut into a bit of a guessing game. Investing in clear acrylic tools means you're investing in precision from day one. In fact, the demand for better, more accurate cutting tools is a big deal—the quilting ruler market was valued at around $450 million in 2023. You can read more about the growth of the quilting tool market on Dataintelo.com.
Safety Features Are Not Optional
Beyond just being able to see your fabric, the most important job of a quilting ruler is to keep your fingers safe. You’re working with a rotary cutter that's sharper than you can imagine, and the last thing you want is for your ruler to slip while you're cutting. This is where good materials and smart design really matter.
The best quilting templates and rulers have safety features baked right in:
- Non-Slip Grips: Many quality rulers have either a non-skid coating on the back or little grippy dots that hold the tool tight to your fabric. This stops the ruler from sliding around when you press down with your rotary cutter.
- Sufficient Thickness: A good ruler has some heft to it, usually around 3mm to 6mm thick. That thickness creates a sturdy wall for your rotary cutter to glide against, making it almost impossible for the blade to jump over the top and cut you.
These aren't just nice-to-haves; they are absolutely essential for preventing nasty accidents. A thin, cheap ruler with no grip is just asking for trouble.
A Worthwhile Investment in Your Craft
At the end of the day, spending a little more on tools made from high-quality materials is an investment in yourself and your craft. A premium acrylic ruler might cost more upfront than a flimsy plastic one, but it’s going to last for years—decades, even—without warping, cracking, or losing its markings.
You'll get cleaner cuts, feel more confident, and just enjoy the quilting process more when you aren't fighting with your tools. Your quilting journey deserves tools that are as committed to getting it right as you are. To get that perfect finish on your project with total peace of mind, check out the amazing, high-quality quilting templates and rulers at Linda's.
Putting Your Tools into Practice
Alright, enough theory. It's time to get our hands on some fabric and actually make something. We’ve talked about all the different rulers and templates and why good materials are worth it. Now, the best way to really let that sink in is to put those tools to work on a real project.
We're going to walk through a simple but beautiful four-patch table runner together. This isn't just about finishing a project; it’s about experiencing that "aha!" moment when you see how the right quilting templates and rulers make everything click into place. Suddenly, the process is smoother, your cuts are cleaner, and quilting becomes way more fun.
When we're done, you'll have a gorgeous table runner and a major confidence boost to carry you into your next quilting adventure.
Step 1: Cutting Your Fabric Strips
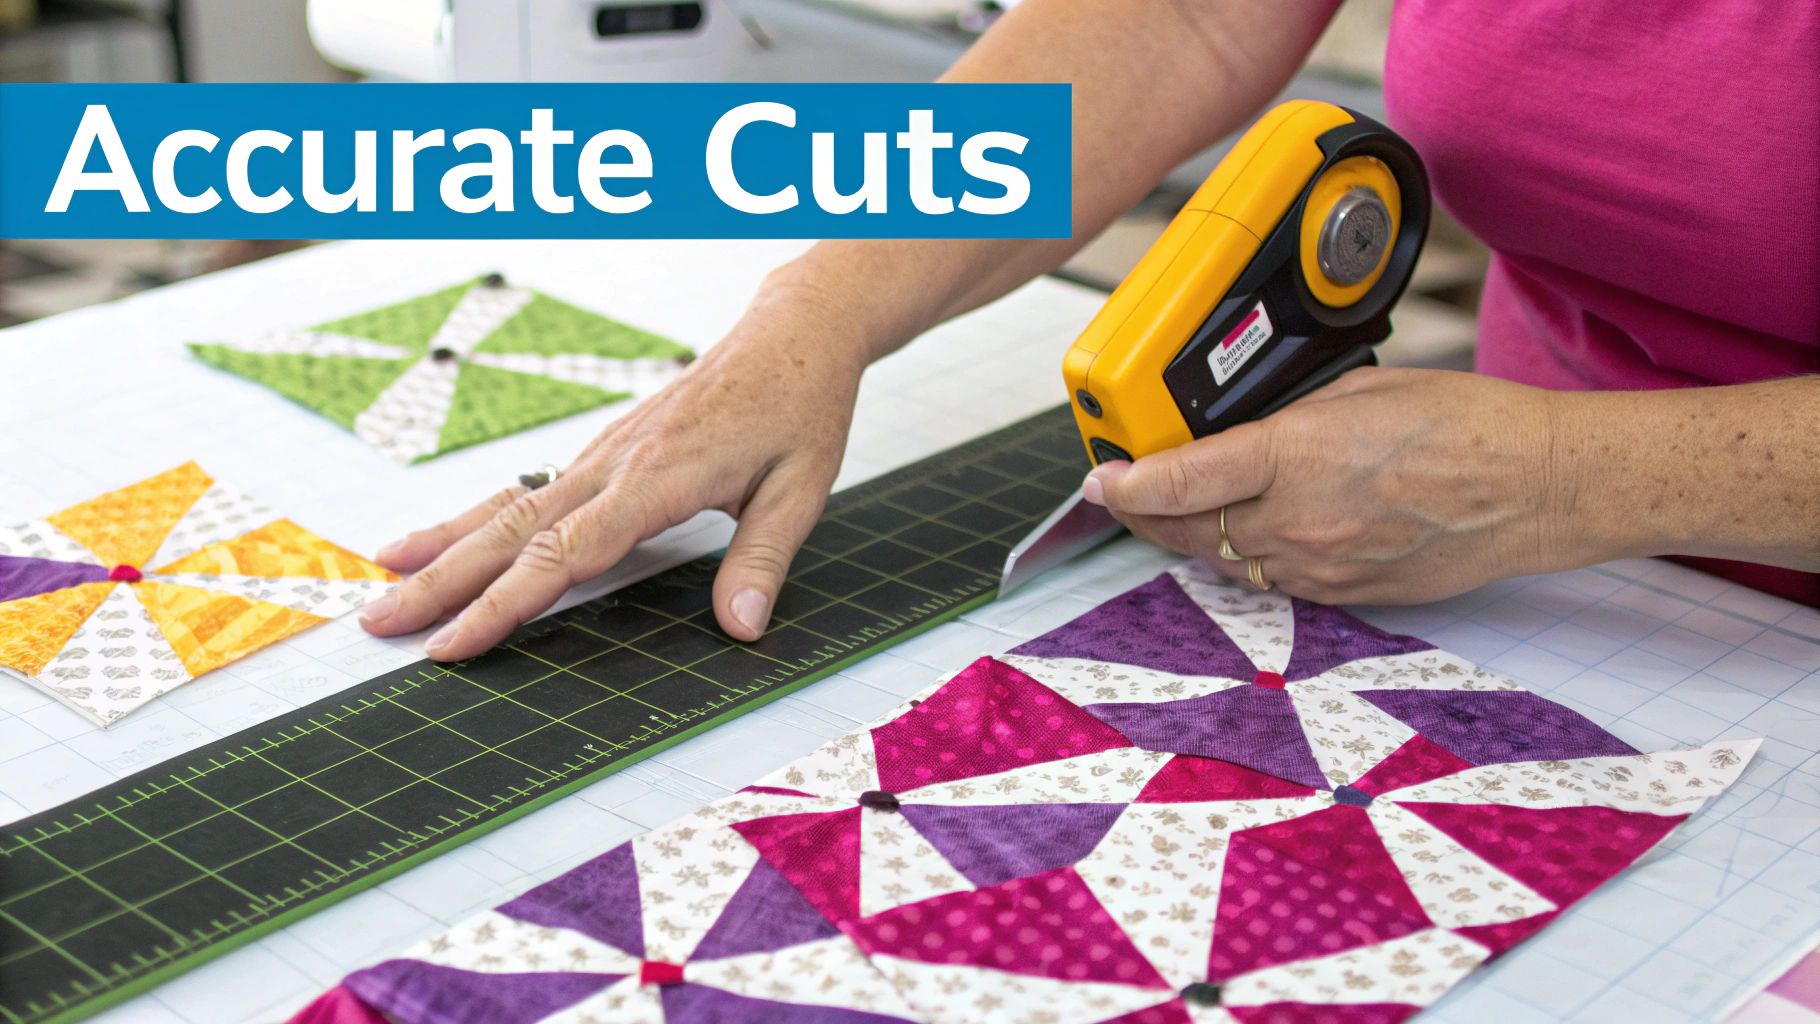
Perfectly cut strips are the backbone of almost any quilt block. For our four-patch runner, we'll start by cutting strips from two fabrics that have a nice contrast—one light, one dark. This is where your trusty 6" x 24" ruler gets its moment to shine.
Lay your fabric out on the cutting mat with the selvedge edges lined up. Use your long ruler to square up one edge of the fabric, trimming off that uneven factory edge with your rotary cutter. This gives you a clean, straight line to measure from.
- Line It Up: Place the ruler on your fabric, aligning one of its vertical lines with the fresh edge you just cut. We’re making a classic four-patch, so we'll be cutting 2.5-inch strips.
- Hold It Steady: Plant your non-cutting hand firmly on the ruler. Spreading your fingers out helps distribute the pressure and keeps it from slipping. If your ruler has non-slip grips, even better!
- Make the Cut: With firm, even pressure, glide your rotary cutter right along the ruler’s edge. The thickness of a good ruler acts as a perfect safety guide, ensuring a straight cut all the way through.
Keep going until you have all the strips you need from both your light and dark fabrics. See how that long ruler lets you slice across the whole width of the fabric in one go? That’s the key to working quickly and accurately.
Step 2: Crosscutting Strips into Squares
With a neat pile of strips ready, it's time to chop them down into the squares that will build our blocks. For this job, a square ruler is your best friend. Something like a 6.5" x 6.5" square gives you fantastic control for these smaller cuts.
Take one of your 2.5-inch strips and lay it flat on the mat. Just like before, the first thing you'll do is trim one end to create a perfectly square starting point.
Now, place your square ruler over the strip. The markings are everything here. Align the bottom of the ruler with the bottom edge of your strip, and line up the 2.5-inch vertical mark on the ruler with the clean-cut end of the fabric. This little maneuver guarantees you’ll end up with a perfect 2.5" x 2.5" square. Go ahead and make your cut.
The real secret to perfect quilt blocks happens right here, at the cutting mat. Using the right ruler for the job—a long one for strips, a square one for sub-cuts—takes all the guesswork out of it and ensures every piece is exactly the same size.
Repeat this process, happily chopping up your strips into a pile of perfect little squares. This one-two punch of using a long ruler and then a square one is a workflow you'll see seasoned quilters use for a reason—it just works.
Step 3: Assembling Your Four-Patch Blocks
This is the fun part, where your precise little squares start looking like an actual quilt block! A four-patch is just a simple checkerboard made from two light and two dark squares.
- Pair Up: Take one light and one dark square. Place them with their right sides facing each other and stitch along one side with a quarter-inch seam allowance.
- Press Your Seams: Open the pair and press the seam allowance toward the darker fabric. This little trick helps your seams "nest" together in the next step, which reduces bulk and helps you get those perfect points where the corners meet.
- Join the Pairs: Take two of your stitched pairs and place them right sides together. Wiggle them until the middle seams lock into each other. Make sure a light square is sitting on top of a dark one.
- Sew and Press Again: Stitch along the long edge, again with a quarter-inch seam. For this final seam, I like to press it open to help the whole block lay nice and flat.
Voila! You’ve made a four-patch block. Keep repeating this until you have enough blocks for your table runner. Seeing them all lined up is so satisfying. This simple project really shows why quilting templates and rulers are so foundational. If your initial cuts weren't spot-on, trying to get these blocks to line up would be a frustrating mess.
Ready to get started on this project and countless others? You can find all the high-quality rulers and beautiful fabrics you need right here at Linda's. It's the perfect place to find amazing products to help you finish your next project with confidence.
Your Next Masterpiece Awaits
We've covered a lot of ground together, from figuring out the difference between templates and rulers to seeing just how they work in real life. We talked about picking the right tool for the job, why quality matters for both safety and perfect cuts, and even walked through a project. If there's one thing to take away, it's this: investing in good tools is the first real step to getting those professional-looking results you're after. And honestly, it just makes quilting more fun.
Now you can walk into your next project feeling confident. You know what you need to cut with absolute precision, giving you the freedom to design whatever you can dream up. It’s funny how the difference between a pretty good quilt and a truly stunning one often comes down to the quality of those very first cuts.
Remember, every beautiful quilt begins with a single, perfect cut. The right tools don't just make quilting easier; they make it better.
Your creative journey is really just getting started, and we're here to help you every step of the way. When you're ready to add to your toolkit or hunt down that one special template for your next masterpiece, we hope you'll come see us.
Feel free to explore our handpicked collection of high-quality quilting templates and rulers right here at Linda's Electric Quilters. We think of ourselves as your partner in creativity, and we have the tools you need to bring all your amazing ideas to life. Find your perfect tools today and feel the difference they make in your hands.
Your Quilting Tool Questions, Answered
Even with the basics down, there are always a few questions that pop up as you start building your tool collection. I get these all the time! Think of this as a little cheat sheet to clear up those last few nagging doubts. Getting these small details right can make a world of difference in how much you enjoy the quilting process.
Let's dive into some of the most common head-scratchers, from picking out that very first ruler to making sure your tools last a lifetime.
What Is the Most Essential Ruler for a Beginner Quilter?
If you're just starting and can only spring for one ruler, make it a 6" x 24" acrylic ruler. No question about it. It’s long enough to cut full-width strips of fabric right off the bolt and wide enough to handle most of the blocks you'll make early on.
This ruler is the true workhorse of any quilter's studio. You'll use it for cutting long strips, squaring up blocks, and trimming borders. It’s the single most versatile tool you can own and will help you build solid, accurate cutting habits from day one.
Can I Use a Regular Sewing Ruler for Rotary Cutting?
Absolutely not. While a sewing ruler is fine for marking a line with a pencil, you should never use it for rotary cutting. This comes down to two simple things: safety and accuracy. Quilting rulers are made from a thick, sturdy acrylic that's specifically designed to act as a safe barrier for that razor-sharp rotary blade.
A standard sewing ruler is just too thin and flimsy. It’s shockingly easy for a rotary blade to skip right over the edge, which is a serious injury waiting to happen.
Plus, all those grid lines, angle markings, and precise measurements on a quilting ruler are what give you the accuracy you need for your projects. A regular ruler just can't compete. When a sharp blade is in your hand, using the right tool for the job isn't just a suggestion—it's a must.
How Do I Care for My Acrylic Rulers and Templates?
When you invest in good quilting templates and rulers, you want them to last. With a little care, they absolutely will! The best way to store them is either flat or hanging from a ruler rack. This prevents them from bowing or warping over time.
Try to keep them out of direct sunlight, which can make the acrylic brittle over the years. When it's time to clean off fingerprints and fabric lint, a soft, damp cloth with a tiny bit of mild soap is all you need. Steer clear of harsh chemical cleaners or anything abrasive—they can scratch the surface and wear away those all-important measurement lines.
Now that we've cleared that up, you can get back to creating with total confidence. From your first simple four-patch to a complex heirloom quilt, the right tools really do make all the difference. Here at Linda's Electric Quilters, we've brought together a fantastic collection of high-quality quilting templates and rulers to help you nail every single project.
Find the ideal tools to bring your next quilting masterpiece to life at lindas.com!


