
Thinking about quilting with your embroidery machine? The answer is a resounding yes! This incredible technique brings together the best of both worlds—the timeless art of quilting and the amazing precision of modern embroidery. You can stitch incredibly detailed and perfectly even patterns across your quilt top, and you'll be amazed at how quickly and easily it all comes together. This guide will show you how to turn your vision into a beautifully finished project, from tiny block motifs to gorgeous, flowing edge-to-edge designs.
Your Guide to Machine Embroidery Quilting
Welcome to the sweet spot where technology meets tradition! Using your embroidery machine for quilting can turn your beautiful projects into absolute works of art, and this guide is here to walk you through it. We're going to demystify the entire process and show you just how powerful your embroidery machine can be. Just imagine creating perfectly spaced stitches and complex patterns that look like they came right off a longarm, all from the comfort of your own sewing room.

The biggest win here is the incredible precision. Your machine follows the digital pattern flawlessly every single time, getting rid of those little inconsistencies that can happen with free-motion quilting. This gives you so much creative freedom and the confidence to take on those ambitious projects you've been dreaming about.
The Rise of Automated Quilting
It’s not just us—quilters everywhere are catching on. You can see this shift in the market trends, too. The global market for computerized sewing and embroidery machines hit a value of USD 2.3 billion in 2024, and it's only expected to keep growing. This trend really shows how we're all embracing technology to make our craft more accessible and exciting. You can dive deeper into these market trends and see for yourself how tech is shaping the quilting world.
This isn't just a shortcut; it’s a whole new way to finish your quilts that has its own unique perks. Here’s why so many quilters are falling in love with this method:
- Perfectly Repeatable Designs: Once you’ve set a design, the machine stitches it out exactly the same way, every time. This guarantees a beautiful, consistent look across your entire quilt.
- Access to Intricate Patterns: You can download and use stunning digital designs that would be a real challenge (or just take forever) to replicate by hand.
- Reduced Physical Strain: Let's be honest, wrangling a big quilt can be a workout! This method takes a lot of the physical effort out of the equation, making the whole process more relaxing and enjoyable.
Quilting with an embroidery machine is like having a digital assistant for your most creative ideas. It handles the technical precision, so you can focus on the artistry of your design, color, and fabric choices.
Setting Yourself Up for Success
Getting started on the right foot is all about having the right supplies. The proper tools and materials are the foundation for a beautiful, pucker-free finish. You don't need a whole studio full of new gadgets, but a few key items will make all the difference.
To make sure your first quilting-by-embroidery project is a huge success, we've put together a list of the must-have supplies you can find right here at Linda's. Having the right batting, stabilizer, and thread isn't just a suggestion—it's essential for getting that professional look you’re after.
Essential Supplies for Your First Project
Here's a checklist of non-negotiable items from Linda's that you'll need before you begin quilting with your embroidery machine.
| Item Category | Specific Product Type | Why It's Crucial |
|---|---|---|
| Stabilizer | Adhesive Tear-Away or Cut-Away Stabilizer | Provides a stable foundation for the fabric in the hoop, preventing shifting and puckering for crisp stitches. |
| Thread | High-Quality Embroidery Thread (e.g., Glide, Isacord) | Strong, low-lint thread ensures smooth stitching and vibrant colors that won't break or fray in the machine. |
| Needles | Embroidery Machine Needles (Size 75/11 or 90/14) | Specifically designed to handle the speed and density of embroidery stitches, reducing thread shredding. |
| Batting | Low-Loft Cotton or Cotton-Blend Batting | A thinner batting is easier to hoop and provides stitch definition without adding excessive bulk. |
| Adhesive | Temporary Fabric Spray Adhesive (e.g., 505 Spray) | Keeps the quilt sandwich layers (top, batting, backing) securely together without pinning. |
| Hoop | Large Embroidery Hoop (magnetic or standard) | A larger hoop allows you to quilt bigger sections at once, reducing the need for re-hooping. |
With these key supplies in hand, you’ll be ready to prepare your materials for a flawless quilting outcome. Let’s get stitching!
Preparing Your Quilt for Flawless Stitches
The real secret to a stunning embroidered quilt isn't just the design you choose—it's all in the prep work you do before the machine even makes a single stitch. Rushing this stage is the number one reason quilters get frustrated with puckering, shifting fabric, and patterns that don't line up.
Think of it like building a house. You need a perfect foundation. This section is all about creating that solid base—the "quilt sandwich"—so your embroidery machine can work its magic without a hitch.
Creating the Perfect Quilt Sandwich
First, let's get your layers together without a single wrinkle or bit of tension. Grab your backing fabric and lay it wrong side up on a big, flat surface (a clean floor works great!). Smooth it out completely, using a little painter's tape on the corners to keep it perfectly taut.
Next, lay your batting down on top of the backing, smoothing it out just as carefully. For this step, we recommend a low-loft batting, like a high-quality cotton blend. It’s less bulky, which makes hooping a breeze, but it still gives your stitches that beautiful definition. Finally, place your quilt top, right side up, over the batting. Take your time with this, smoothing everything out from the center to the edges.
I've seen it happen a thousand times: someone tries to save a minute by not smoothing each layer individually. Taking that extra two minutes to get each piece perfectly flat before adding the next is the best thing you can do to prevent puckers later.
This quick graphic breaks down the whole process beautifully.
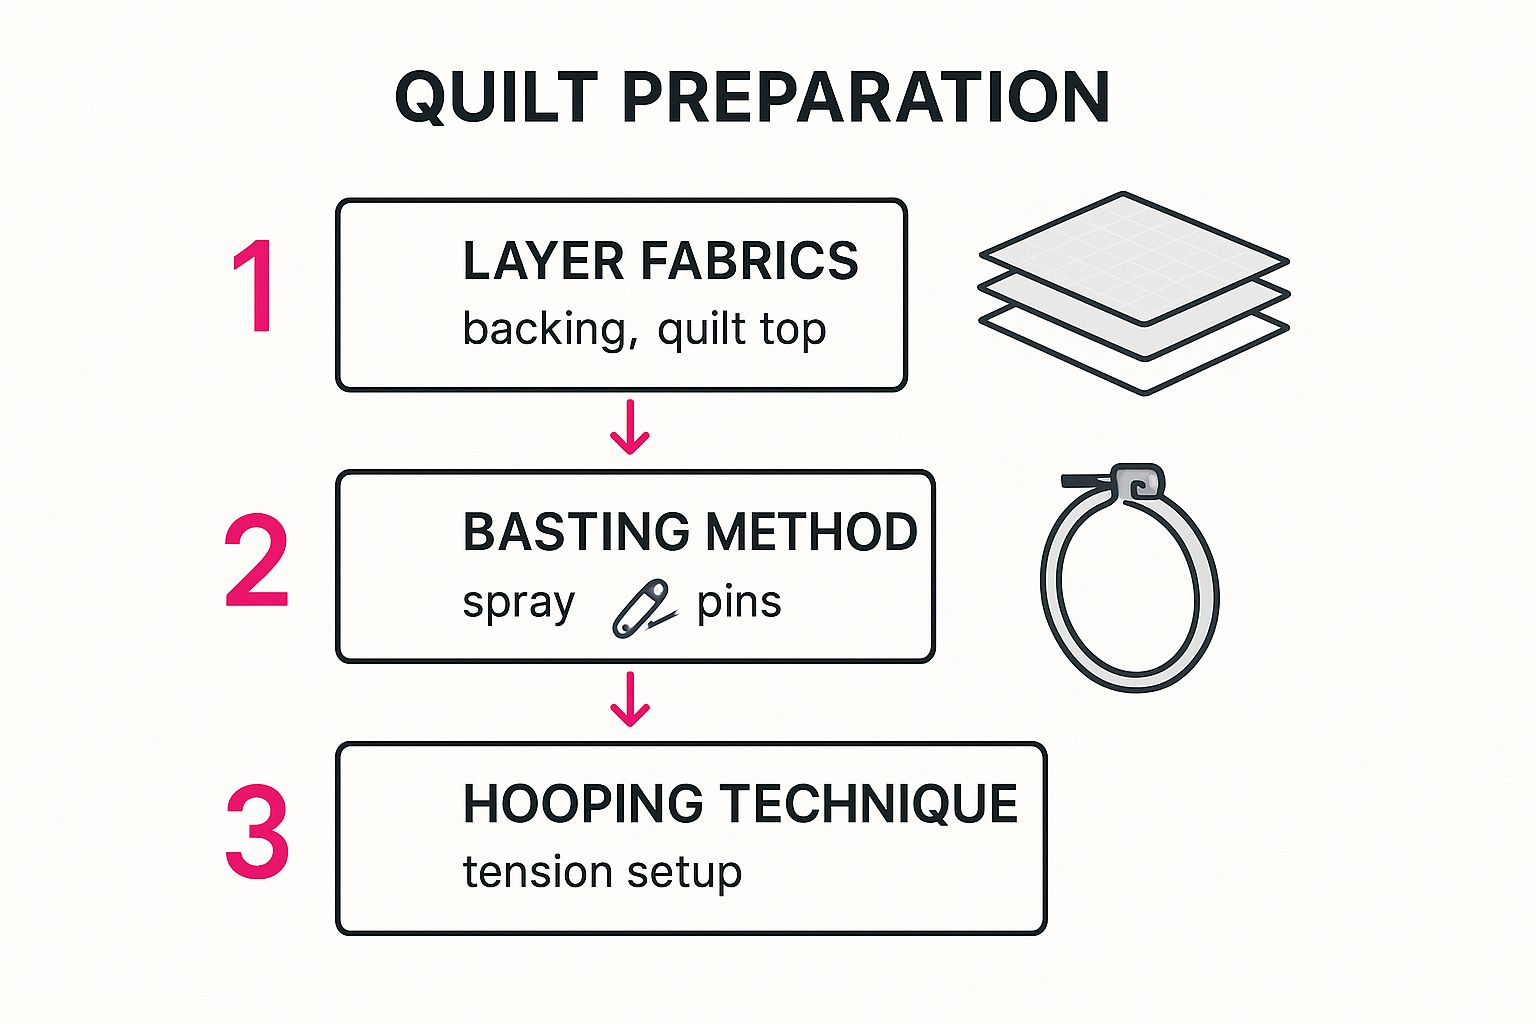
Nailing this simple sequence—layer, baste, hoop—gives you the stability you absolutely need for machine embroidery quilting.
Securing Your Layers: Basting Methods
Once your sandwich is layered, you have to "baste" it, which is just a fancy word for temporarily sticking the layers together. This is what stops them from wiggling around in the hoop. You've got a couple of great options here.
Basting Spray:
- A temporary fabric adhesive like 505 Spray is my go-to method. It creates a light, even bond across the whole quilt sandwich.
- It's easy to use: peel back half of your quilt top, give the batting a light, even spray, and carefully smooth the top back down. Do the same for the other half, then flip the entire thing over and repeat for the backing.
Pins:
- You can absolutely go the traditional route with safety pins. It works, but it takes a bit more time.
- If you're using pins, make sure you use curved basting pins—they're so much easier to get in and out. You'll want to place one every 4-5 inches, but be sure to check that none will end up in the middle of your embroidery design!
For machine embroidery, I really lean toward basting spray. It just gives you a more uniform hold and seriously reduces the risk of those tiny fabric shifts that can throw off a detailed design.
Mastering the Art of Hooping
Alright, this is the big one. Hooping is probably the most critical step of this whole process. The goal is simple: you want the quilt sandwich to be taut, but not stretched. Think of a drum—the surface is firm and flat, not saggy, but you haven't pulled it so tight that it's distorted.
Here’s how I get that perfect tension every time:
- Loosen the Hoop Screw: First, loosen the outer ring of your hoop so you have plenty of room to work.
- Add a Stabilizer: Always put a piece of tear-away stabilizer in the bottom of the hoop first. This gives your stitches extra support and it's simple to remove when you're done. Linda's has some fantastic tear-away options that make your stitches look incredibly crisp.
- Position the Quilt: Lay your basted quilt section over the inner ring, getting the area you want to quilt right in the center.
- Secure the Outer Ring: Gently press the outer ring down over the inner ring, capturing all the layers inside.
- Adjust Tension: Now, start tightening the screw. As you do, use your fingers to gently smooth the fabric from the center outwards. You're looking for a snug, flat surface with no weird diagonal lines or pulling at the edges.
Don't forget to manage the rest of the quilt! The bulk of the fabric can drag on your machine and pull the hoop out of alignment. Use quilt clips or just roll up the extra fabric and pin it out of the way. A little bit of careful wrangling here saves a world of trouble later.
Alright, with your quilt sandwich all prepped and ready to go, we get to dive into the really fun part—bringing your vision to life on the fabric. Choosing the right design and getting your machine dialed in is where the magic really starts to happen.
Choosing Designs and Setting Up Your Machine
When you're quilting with an embroidery machine, you have a whole universe of designs at your fingertips. We're talking everything from elegant, flowing patterns that give you that longarm look, all the way to intricate motifs for individual quilt blocks. You can even find gorgeous border and sashing designs that will frame your work like a piece of art.
The trick is to find a design that not only speaks to you but is also designed for quilting. This is a crucial detail that makes all the difference.
Selecting the Perfect Quilting Design
As you start browsing, you'll want to keep an eye out for files specifically made for quilting. These designs are digitized with a lower stitch density, which is key. A standard embroidery design is just too heavy; it will pack the stitches in so tightly that your quilt becomes stiff and puckered. No one wants that!
Here’s what to look for when picking a design:
- Stitch Density: Look for descriptions like "low density," "quilting design," or even "redwork style." These terms signal that the design will keep your quilt soft and drapey.
- Design Size: Make sure the pattern fits inside your largest hoop. While you can split designs, it's so much easier, especially when you're starting out, to work with a design that fits your hoop perfectly.
- File Type: This one’s a quick check but so important! Make sure the file format is one your machine can read (like .PES, .JEF, .DST, etc.).
My go-to advice for anyone just starting is to begin with a simple, open design. Think stippling or a gentle meander. These patterns are incredibly forgiving and give you a great feel for the process of re-hooping and lining everything up before you jump into more complex patterns.
Essential Machine Setup for Success
With your design loaded, it's time to give your machine a little TLC. A proper setup is non-negotiable if you want beautiful, professional-looking stitches. This isn't a time to "wing it"—every little setting has a big impact on your final quilt.
Taking a few minutes to get everything right will save you from a world of headaches like snapped threads, tangled messes on the back (we call those bird's nests!), and wonky tension. Trust me on this one.
Needles and Threads: The Dynamic Duo
Your needle and thread are the true workhorses here. They have to punch through three layers—your quilt top, the batting, and the backing fabric—over and over again. You need the right tools for the job.
I almost always recommend an 80/12 or 90/14 embroidery or quilting needle. An embroidery needle has a larger eye, which is great for preventing thread shredding at high speeds. A quilting needle, on the other hand, has a tapered point designed to slip through those layers cleanly without causing damage. And please, do yourself a favor: start every new quilting project with a fresh needle!
For your thread, you're looking for that perfect balance of strength and beauty. A 40 wt. polyester or rayon embroidery thread for the top is a fantastic choice. It gives a beautiful sheen that really makes the quilting pop. Here at Linda's, we swear by high-quality threads like Glide and Isacord. They’re quilter favorites for a reason—they're tough and the colors are stunning. For the bobbin, I suggest a lighter 60 wt. or 90 wt. thread to keep the back from getting bulky and to help you nail that perfect tension.
Critical Machine Settings to Master
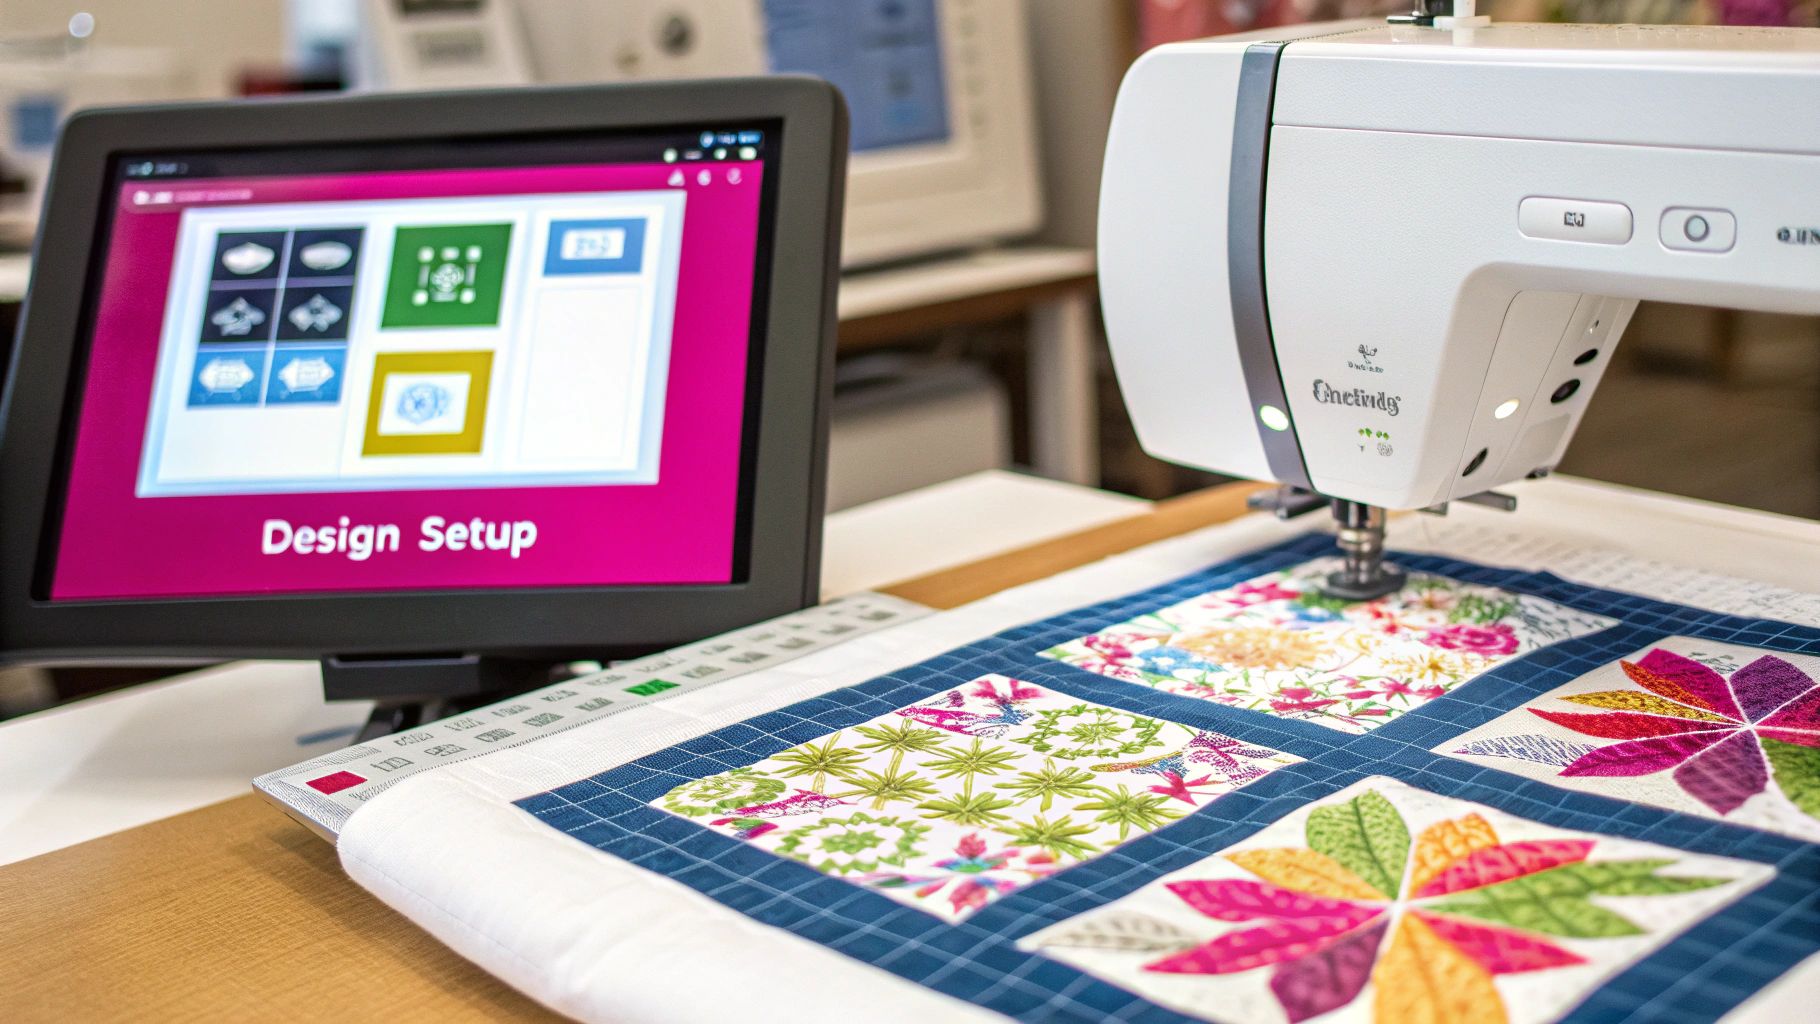
Once you’ve got your needle and thread sorted, there are just a couple more machine settings to check. First, take your time positioning the design. Use your machine's built-in placement tools, whether it’s a camera or a grid function, to get the pattern exactly where you want it.
Next, let's talk speed. I know it's tempting to floor it, but you'll get much better results if you slow things down to about 50-70% of the maximum speed. This gives you more control, reduces the stress on your thread, and makes it easier to manage the bulk of the quilt as it moves.
Finally, always, always check your tension. Before you touch your actual quilt, stitch out a small test on a practice sandwich. You’re aiming for perfect, balanced stitches—no top thread peeking through the back, and no bobbin thread pulling up to the top. This little step is what separates the good results from the great ones.
The technology in this space is moving so fast! The quilting machine market was valued at around USD 850 million in 2023, and it's only getting bigger. We're seeing amazing new features on machines like Brother's Aveneer EV1, with things like AI stitch regulation and even voice guidance. It's an exciting time to be a quilter, and you can read more about these exciting quilting machine market developments to see what the future holds.
Time to Stitch! Letting Your Machine Work Its Magic
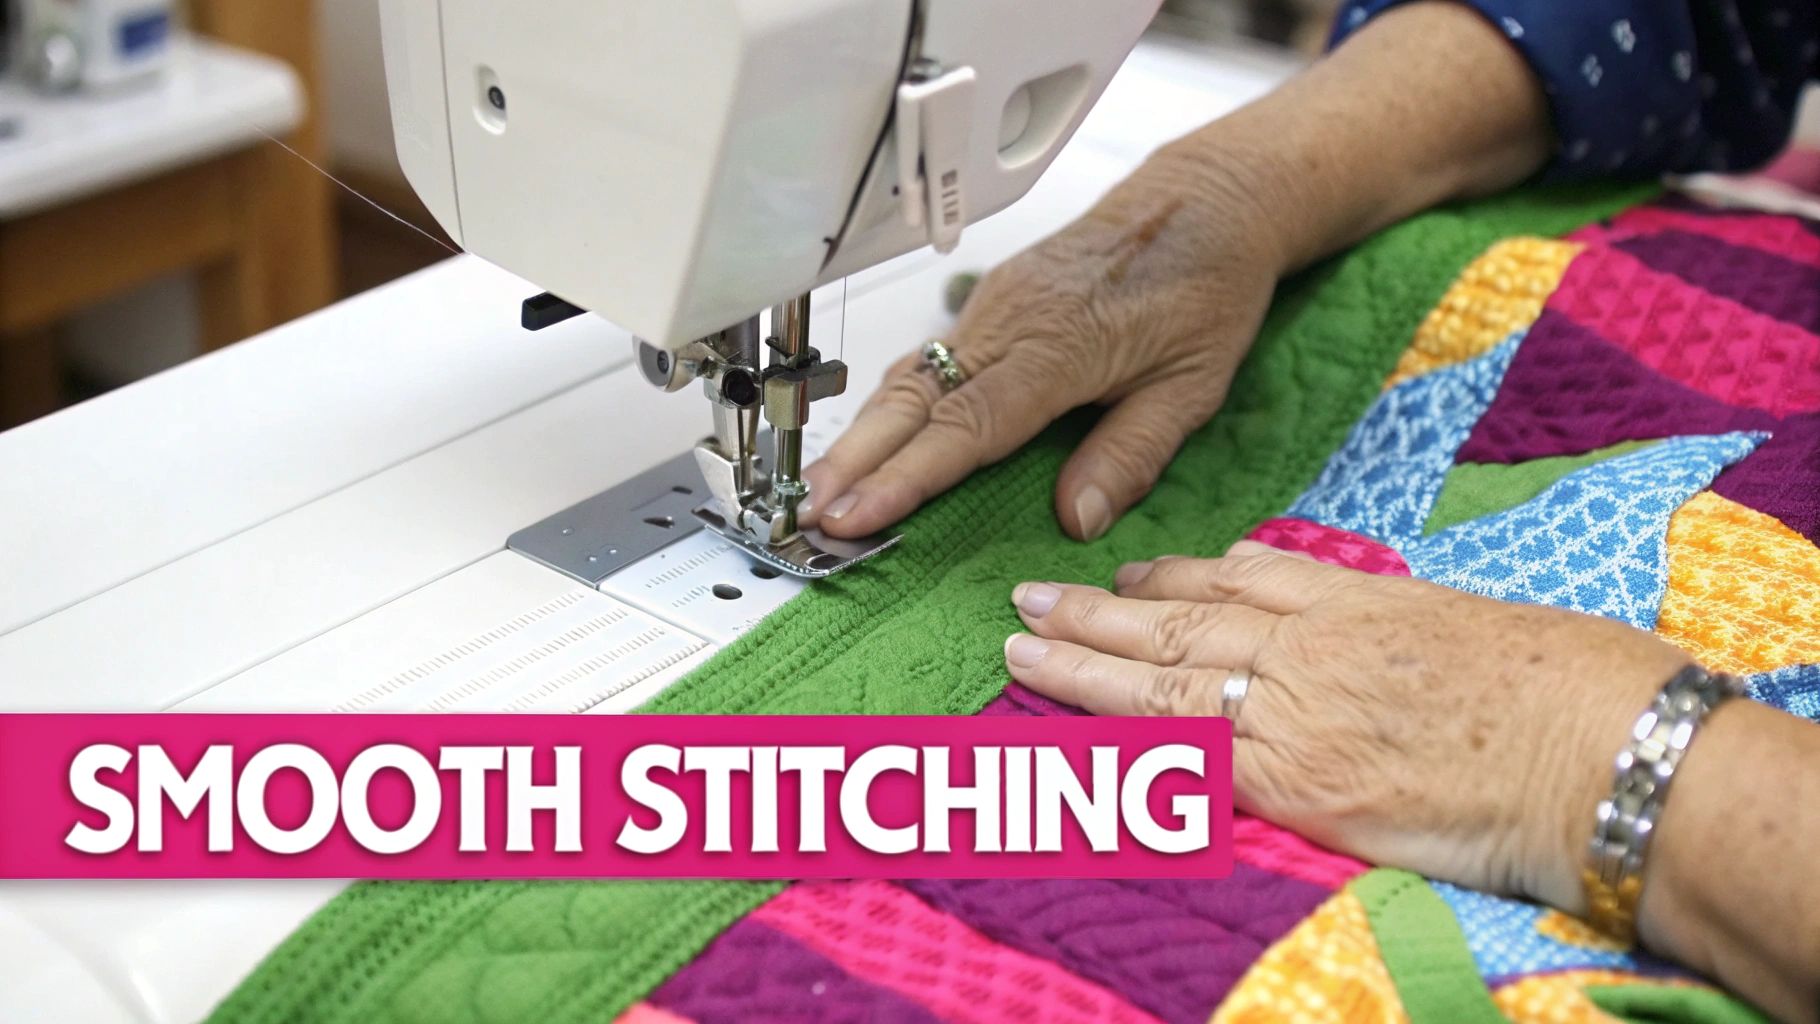
All your prep work is done, your machine is ready, and your quilt sandwich is perfectly hooped. This is the moment to watch your digital design come to life in beautiful, textured stitches. Think of this step as a partnership: the machine handles the pattern, and your job is to be the perfect partner, managing the environment and ensuring the process goes smoothly.
Once you hit that "start" button, your main task is to be an active observer. Don't wander off! The machine has the pattern memorized, but it’s counting on you to manage the environment. I always pull up a chair, listen to the rhythm of the needle, and watch how the thread is behaving and how the quilt is moving.
Taming the Quilt Bulk
Let’s be real: one of the trickiest parts of quilting on a stationary machine is simply dealing with the sheer weight and bulk of the fabric. If you let the quilt hang off your table, it's going to pull and create drag on the hoop. That drag is the enemy of good quilting—it leads to wonky stitches, broken needles, and a distorted pattern.
Your goal is to keep the quilt fully supported and level with the machine bed. You want it to feel weightless to the hoop. Here are a couple of my tried-and-true methods:
- The Roll and Clip Method: I gently roll the extra fabric into neat little "quilt sausages" on the sides of the hoop. Then, I use quilting clips or even big binder clips from my office drawer to keep those rolls tight and out of the way. This stops them from unrolling and getting snagged.
- Give It Some Support: Your machine's extension table is your best friend here, so make sure it's attached. For a really big quilt—like a king-size—I’ll even pull up a small folding table right next to my sewing station to help hold up the weight.
By keeping that weight off the hoop, you’re letting the machine's embroidery arm glide freely. That's the secret to getting those crisp, perfect stitches every single time. If you're looking for tools to make this even easier, check out the specialized quilting clips and hoops available at Linda's; they’re a game-changer for managing larger projects.
Moving From One Section to the Next
When you're doing an edge-to-edge design, you'll have to re-hoop the quilt multiple times. The key to making it look like one continuous pattern is getting the alignment just right between each section. Thankfully, modern machines and designers have made this so much easier than it used to be.
Most quilting embroidery files come with built-in alignment stitches—think of them as little crosshairs. When you finish quilting one area, you leave those little guide stitches behind. As you hoop the next section, you'll use your machine's camera or needle-positioning function to line the needle up exactly with the previous alignment stitch. This creates a flawless connection that’s virtually invisible.
Take your time with the alignment. Seriously. Rushing this step is the number one cause of a gappy or disjointed quilting pattern. If your machine has a camera or laser guide, use it. It feels like having a quilting superpower and gives you that pinpoint accuracy you need.
What to Do When Things Go Wrong Mid-Stitch
Even the most seasoned quilter runs into a hiccup now and then. Don't panic! Most of these little mid-stitch surprises are easy to fix if you know what to look for. Catching them early is key.
If the machine stops suddenly, your first instinct should be to check for a thread break. Look at your top thread and your bobbin. If it's a clean snap, you might have just had a snag. But if the thread looks shredded or frayed, it’s a big clue that you might need a new needle or your tension is off.
The other classic culprit is the dreaded "bird's nest"—that horrible tangle of thread on the underside of your quilt. This is almost always a top-threading issue, usually because the thread slipped out of the tension discs. If you see one starting, stop the machine immediately! Carefully trim it away, take a deep breath, and re-thread your machine from the very beginning.
Things happen, but knowing how to react quickly can save you a lot of headaches. Here’s a little cheat sheet I keep in my head for when my machine gets cranky.
Common Mid-Stitch Issues and Solutions
| Problem | Potential Cause | Quick Fix |
|---|---|---|
| Thread Breaks | Dull needle, wrong tension, low-quality thread, or machine speed is too high. | Pop in a fresh needle, re-thread the machine, double-check tension, and slow the stitch speed down. |
| Bird's Nests | Improperly threaded machine (top thread missed a guide), or bobbin case issues. | Stop! Remove the hoop, clear the mess, and completely re-thread both the top and bobbin. |
| Skipped Stitches | Wrong needle type for your fabric, a dull or bent needle, or the fabric is too loose in the hoop. | Switch to the correct needle type/size. Make sure your quilt sandwich is taut like a drumhead. |
| Pattern Misalignment | Quilt weight is dragging on the hoop, the hoop isn't locked in, or you rushed the alignment. | Support the quilt's weight. Ensure the hoop is securely attached and use your alignment stitches carefully. |
With these tips ready to go, you can tackle the stitch-out process with confidence. Once that last stitch is in place, you’re on the home stretch to a beautifully finished quilt!
Adding the Finishing Touches to Your Quilt
The machine goes quiet, the last stitch is set, and that's it—the moment we all work for! But hold on, your masterpiece isn't quite ready for its grand reveal. The finishing work is what separates a pretty project from a professional, heirloom-quality quilt.
Let's get started. First things first, gently release the quilt from that final hooping. I always take a deep breath here! You want to be careful not to pull or tug on those fresh stitches. Once it's free, it’s time to tackle any leftover stabilizer.
Removing Stabilizer and Hiding Threads
If you used a tear-away stabilizer, this part is incredibly satisfying. Just gently peel it away from the quilting lines, using your fingers to support the stitches as you go. For those tiny bits that get stuck in dense quilting, a good pair of tweezers is your best friend.
On the other hand, if you went with a wash-away, just follow the package directions for a good soak. The stabilizer will dissolve, leaving your quilt beautifully soft and supple.
Next up: those pesky thread tails. Please, don't just snip them at the surface! To get that truly polished look, we need to bury them. Grab a self-threading needle, pull each tail to the back of the quilt, and run it through the batting for about an inch before snipping it flush. It's a small detail, but it makes a world of difference—no unraveled threads, ever.
Squaring Up and Binding Your Quilt
Before we even think about binding, we have to square up the quilt. Lay it out on your biggest cutting mat. Using a long quilting ruler and a sharp rotary cutter, trim the extra batting and backing. I line my ruler up with the seams or block edges of the quilt top itself to get those perfectly clean, 90-degree corners.
Binding is the frame for your artwork. It secures the raw edges and adds one last pop of color and style.
Here are a few tips I've picked up over the years for a perfect binding:
- Fabric Choice Matters: Pick a binding that complements your quilt top and embroidery thread. You can go subtle by matching the background or create a bold frame with a contrasting color.
- Use a Walking Foot: When you attach the binding, a walking foot is non-negotiable. It feeds all the layers through your machine evenly, which is the secret to avoiding puckers and getting a consistent width all the way around.
- Master the Miter: Take your time on the corners. A beautifully folded mitered corner is a true sign of quality craftsmanship and gives your quilt those sharp, clean edges.
It's no surprise that so many of us are diving into projects like this. The global sewing and embroidery machine market was valued at around USD 6.15 billion in 2024 and is expected to hit USD 8.59 billion by 2033. That tells you just how much people love creating personalized, beautiful textiles. If you're curious, you can read more about these sewing and embroidery machine market insights.
Finishing a quilt is just as much an art as starting one. These final steps are your signature—the proof of your care and attention to detail that will make your quilt treasured for years to come.
Feeling that creative spark? Now that you've got the process down, it's the perfect time to try something a bit more ambitious. Linda's has an amazing selection of advanced quilting designs and specialty threads just waiting to bring your next vision to life.
Tackling Your Top Questions About Machine Embroidery Quilting
When you start blending the worlds of quilting and embroidery, it’s totally normal to have a few questions. You’re bringing two amazing crafts together, and that means a few new things to think about. We get these questions all the time, so we’ve put together some quick, clear answers to help you feel confident as you get started.
Think of this as your go-to guide for those little details that make a huge difference. Getting these basics right is your first step toward a gorgeous, pro-level finish.
Can I Use Any Embroidery Machine for Quilting?
The short answer is yes, but some machines will make your life a whole lot easier. While most modern embroidery machines can handle quilting, a couple of features are real game-changers.
The biggest one is the machine's throat space—that's the real estate to the right of your needle. A machine with a generous 8-11 inches (or more!) of throat space lets you wrangle the bulk of a quilt without a constant fight. It just gives you room to breathe and keeps the weight of the quilt from dragging on your hoop.
Hoop size is another huge factor. A bigger hoop, like an 8x8 inch or larger, lets you stitch out bigger chunks of your design at once. That means less re-hooping and less time spent trying to perfectly align everything. You can definitely get by with a smaller machine for things like quilt-as-you-go blocks, but for a big bed quilt, a larger combo machine will make the entire process far more enjoyable.
A little insider tip: Sometimes the best investment isn't the machine itself, but a key accessory. A magnetic hoop, for instance, can completely change the game. It makes securing that thick quilt sandwich so much faster and easier.
What’s the Best Thread and Needle Combo?
This is a big one. Your thread and needle are doing some serious work, punching through three layers of fabric and batting again and again. You need a team that's both strong and good-looking to get those perfect, crisp stitches.
For your top thread, a 40 wt. polyester or rayon embroidery thread is fantastic. It has a beautiful sheen that really makes your quilting designs pop, and it’s strong enough to prevent those annoying thread breaks.
For the bobbin, think lighter. A 60 wt. or 90 wt. bobbin thread is perfect. It cuts down on bulk on the back of your quilt, which is key for getting your tension just right.
And please, please start every new quilting project with a fresh needle! An 80/12 or 90/14 embroidery or quilting needle is what you'll want to reach for.
- Embroidery Needles: These have a larger eye, which is great for protecting the thread from shredding when your machine is stitching at high speed.
- Quilting Needles: These are designed with a slightly tapered point that’s made to pierce multiple layers cleanly without snagging.
Do I Really Need a Stabilizer for Quilting?
Yes! I can't stress this enough. Using a stabilizer is non-negotiable for getting clean, pucker-free results. It gives your quilt sandwich a solid foundation, keeping the layers from shifting around in the hoop and ensuring every stitch is perfectly defined.
The trick is to use a temporary one. Never, ever use a permanent cut-away stabilizer, or your quilt will feel stiff as a board.
Instead, go with one of these two options:
- Tear-Away Stabilizer: A light- to medium-weight tear-away is a go-to for many quilters. It gives great support while you're stitching, and then you can just gently tear it away from your design when you're done.
- Wash-Away Stabilizer: This stuff is magic. It gives you all the support you need and then dissolves completely in water, leaving zero trace behind. Your finished quilt will be as soft and cuddly as you imagined.
The right stabilizer is all about providing that temporary support your fabric needs to handle the density of embroidery, resulting in a quilt that’s both beautifully stitched and wonderfully soft.
Feeling ready to start your next machine quilting adventure? From the perfect needles and threads to specialty stabilizers and hoops, Linda's Electric Quilters has everything you need to bring your vision to life. Dive into our collection of over 30,000 craft products and find exactly what you need for a flawless finish. Visit us online to get started


