
Every sewist knows the feeling: a growing pile of fabric scraps too beautiful to toss but too small for most patterns. Instead of letting them gather dust, what if you could transform them into beautiful, functional creations? This guide unveils eight inspiring sewing projects with fabric scraps, designed to help you reduce waste, practice your skills, and create something truly unique. We will move beyond generic ideas to give you actionable steps for each project, ensuring you can start sewing right away.
This curated list provides practical ideas ranging from intricate patchwork quilts to quick and satisfying gifts like keychains and coasters. Each entry is structured to give you a clear overview of the required materials, estimated completion time, and specific techniques to help you succeed. You will learn how to organize your scraps by size and color, how to piece them together effectively, and how to finish your items with a professional touch.
Get your sewing machine ready, your scrap bin is about to become your favorite source of inspiration. For any essential threads, batting, or notions you might need to bring these projects to life, Linda's has an amazing selection to complete your vision. Let's start sewing.
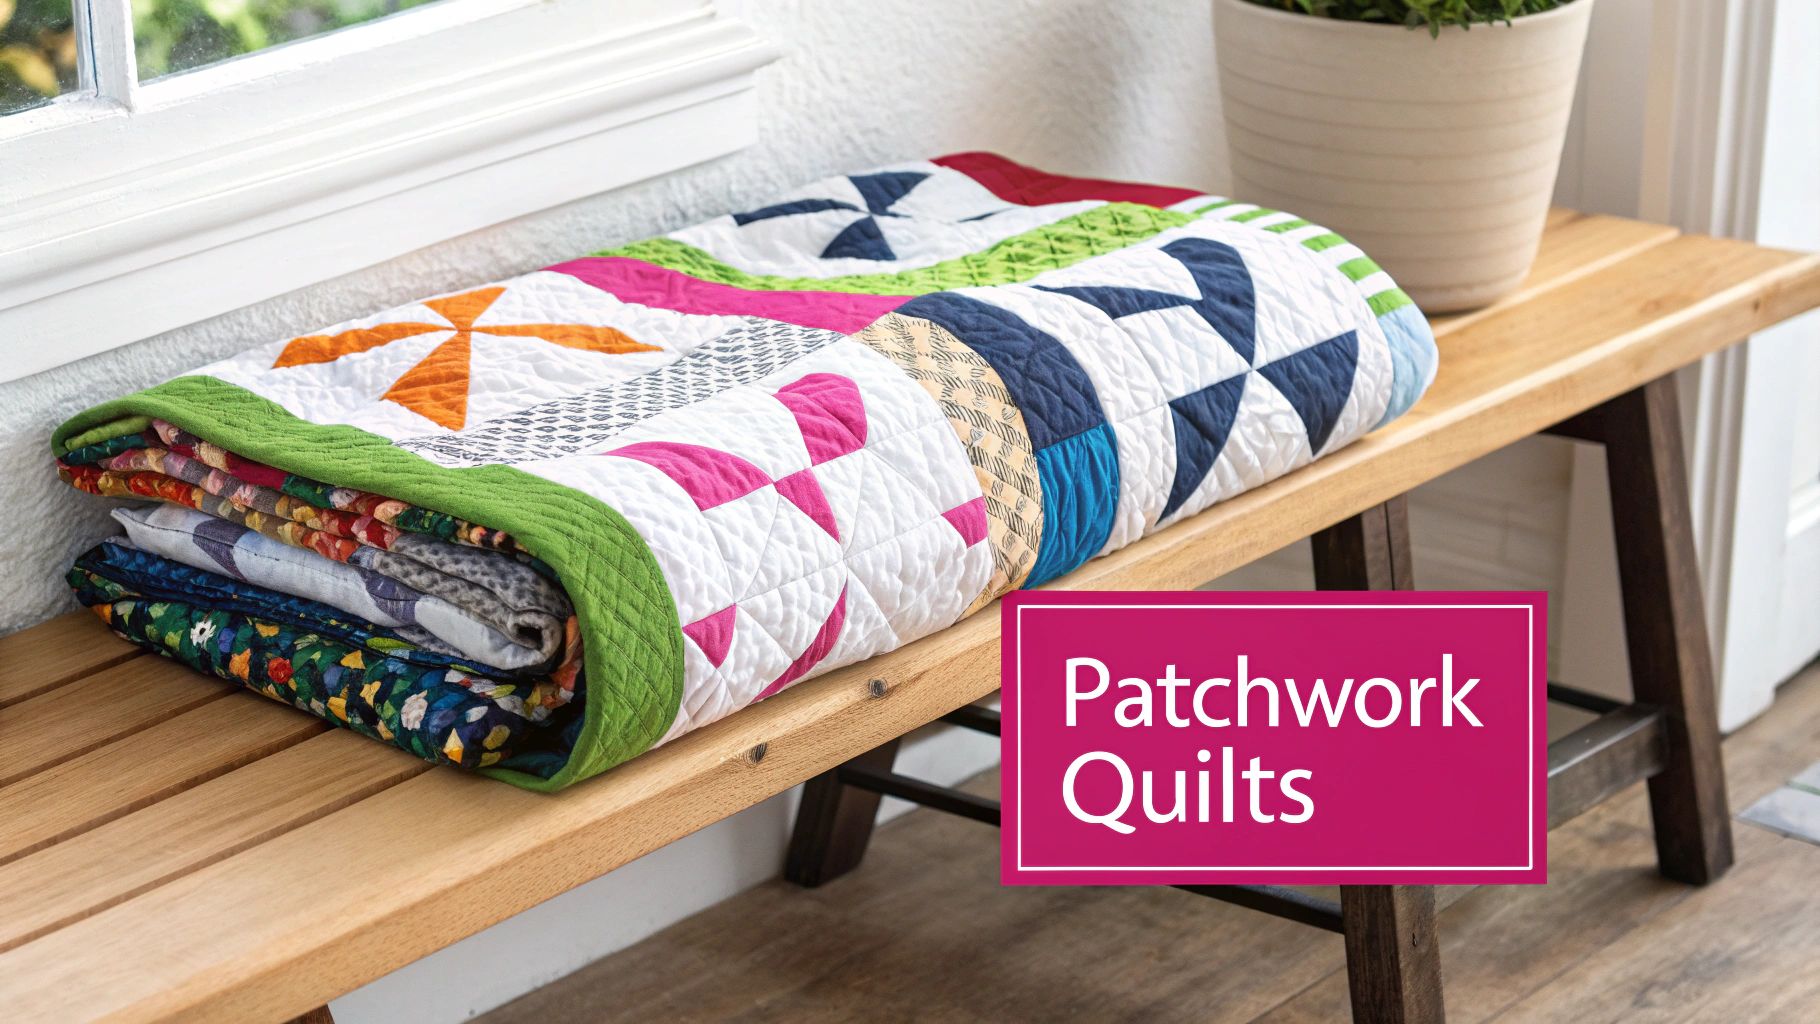
1. Patchwork Quilts
Patchwork quilting is the quintessential sewing project for fabric scraps, transforming a pile of mismatched leftovers into a cohesive and functional work of art. This timeless technique involves sewing small pieces of fabric together to form larger blocks, which are then assembled into a quilt top. It’s an ideal way to give new life to remnants from past projects, sentimental garments, or a curated collection of fabric swatches.
From the improvisational masterpieces of the Gee's Bend quilters to modern scrap-busting challenges on social media, patchwork offers endless creative possibilities. It can be used to make bed coverings, wall hangings, lap quilts, and even memory quilts preserving the clothing of a loved one. The beauty of patchwork lies in its ability to blend diverse colors, textures, and patterns into a stunning, unified whole.
Why It's a Great Scrap Project
This method is perfect for using even the smallest fabric pieces that might otherwise be discarded. It allows for complete creative control over the final design, whether you prefer a meticulously planned geometric pattern or a more spontaneous, free-form layout. Quilting is a deeply satisfying process that results in a beautiful, durable, and often meaningful heirloom.
Actionable Tips for Success
- Start Simple: If you're new to quilting, begin with a straightforward pattern like a nine-patch or a rail fence block. These designs are forgiving and build foundational skills.
- Sort Scraps: Organize your fabric pieces by color, value (light, medium, dark), or print scale before you start. This makes it easier to create a balanced and visually appealing composition.
- Use a Design Wall: Lay out your cut pieces on a design wall or a large floor space. This allows you to visualize the final quilt and rearrange blocks until you are happy with the arrangement.
- Maintain a ¼-Inch Seam: Consistency is crucial in quilting. A precise ¼-inch seam allowance ensures your blocks will fit together perfectly. A high-quality ¼-inch presser foot can make all the difference.
Key Insight: To ensure your quilt top lays flat, consistently press your seams. Pressing seams open can reduce bulk, while pressing to one side (typically toward the darker fabric) can make "nesting" seams easier for perfect point alignment.
Achieve professional results with the right tools. Explore Linda's selection of rotary cutters, self-healing mats, and specialty quilting rulers to make your scrap quilting project a joy from start to finish.
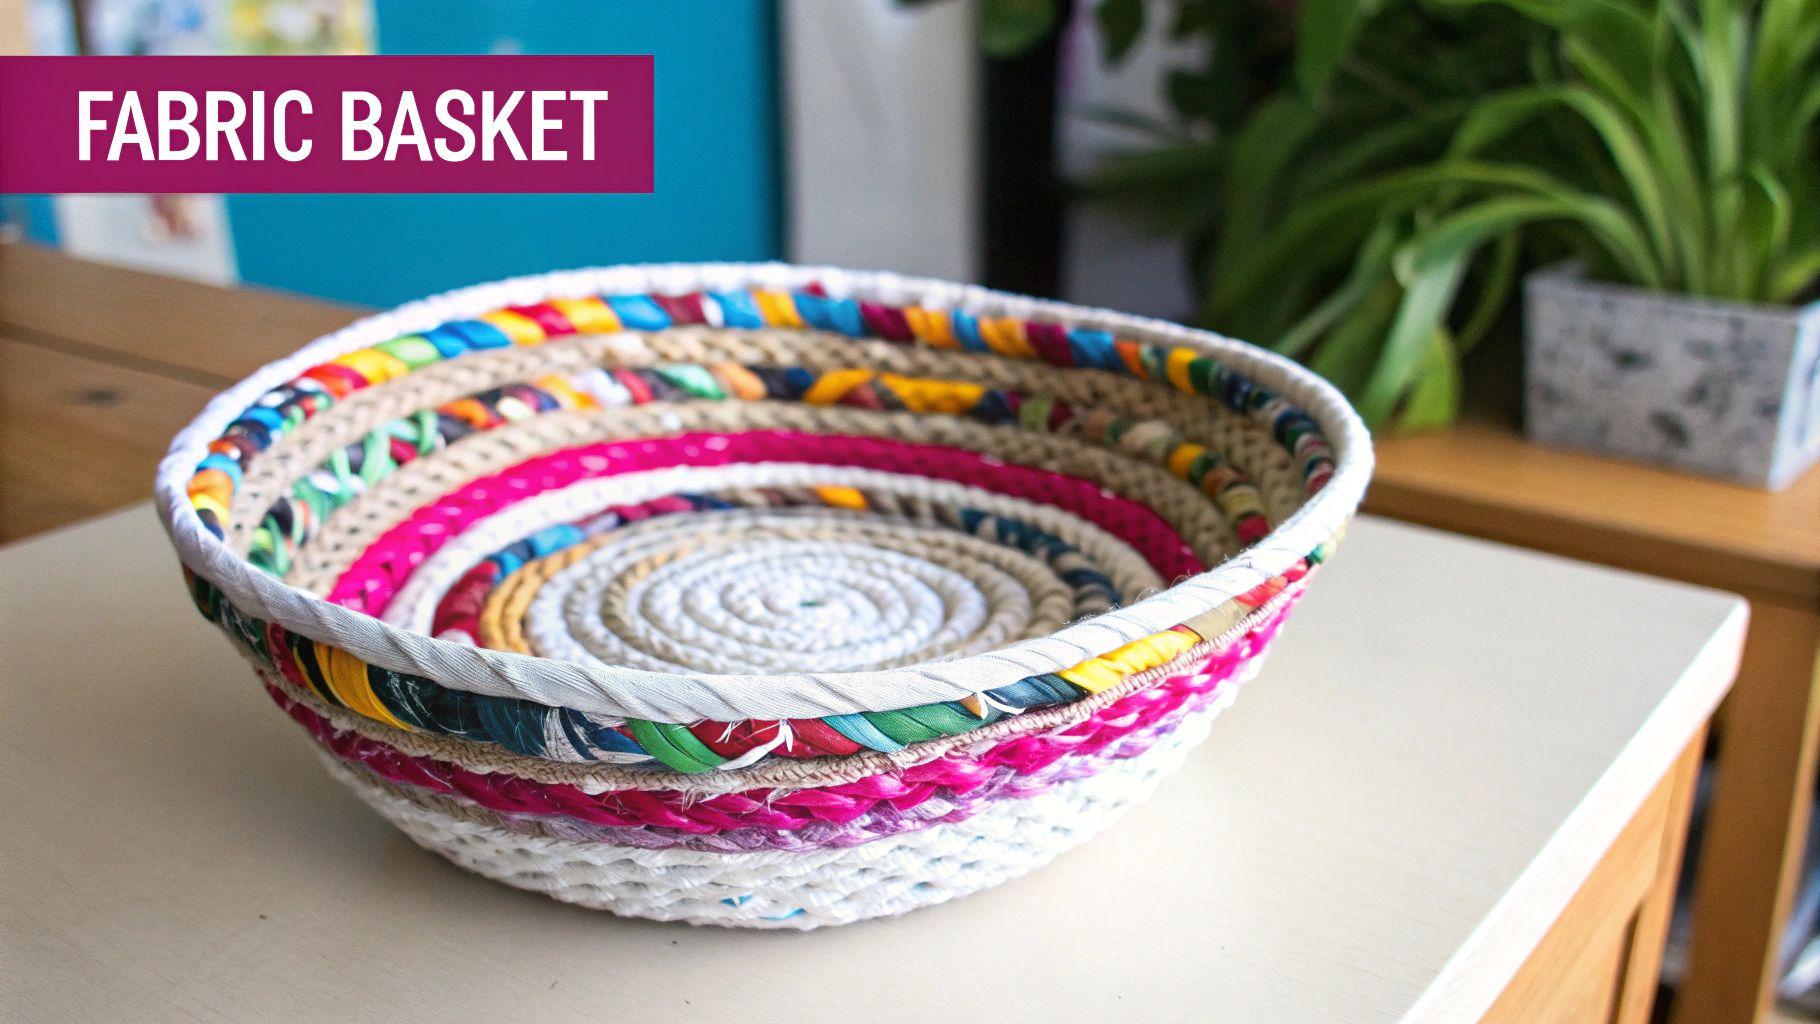
2. Fabric Scrap Bowl or Basket
Fabric scrap bowls are functional, decorative containers created by wrapping thin strips of fabric around a rope or clothesline core and coiling it into shape. This technique uses a simple zigzag stitch on a sewing machine to join the coils together, transforming even the smallest fabric scraps into sturdy, attractive storage solutions. It's a fantastic zero-waste project that blends utility with personalized style.
Popularized by makers on Etsy and YouTube, these coiled rope bowls are versatile and can be used for organizing sewing notions, holding keys, or serving as a colorful centerpiece. The process involves continuously wrapping the core material with fabric strips and spiraling it from the base upward, allowing for endless customization in size, shape, and color combinations. From boho-chic catchalls to coordinated farmhouse-style sets, the possibilities are limitless.
Why It's a Great Scrap Project
This project excels at using long, narrow fabric scraps that are often difficult to incorporate into other sewing projects with fabric scraps. It is a forgiving and repetitive process, making it a meditative and satisfying craft. The result is a professional-looking, three-dimensional object that is both beautiful and practical, turning textile waste into a treasured home accessory.
Actionable Tips for Success
- Set Your Stitch: Use a wide zigzag stitch (5-6mm width) and a slightly longer stitch length to ensure you securely catch both the incoming coil and the one beside it.
- Prepare Your Strips: Pre-cut or tear your fabric into 1-inch wide strips. Joining strips on the bias (at a 45-degree angle) creates a smoother, less bulky wrap around the rope core.
- Use the Right Needle: A heavy-duty or denim needle (size 90/14 or 100/16) is essential. It has the strength to penetrate the dense layers of rope and fabric without breaking or skipping stitches.
- Shape with Control: Start with a flat, tightly coiled base. To create the sides, simply lift the coil up at a slight angle as you sew, guiding it to build the walls of your bowl.
Key Insight: To create a clean, professional finish, carefully tuck the end of the rope into the final coil and secure it with several passes of your zigzag stitch. Tapering the fabric wrap at the very end also helps it blend seamlessly into the bowl's rim.
Create sturdy and stunning bowls with the right tools. Find the perfect heavy-duty needles and colorful thread selections at Linda's to ensure your scrap bowl project is a success.
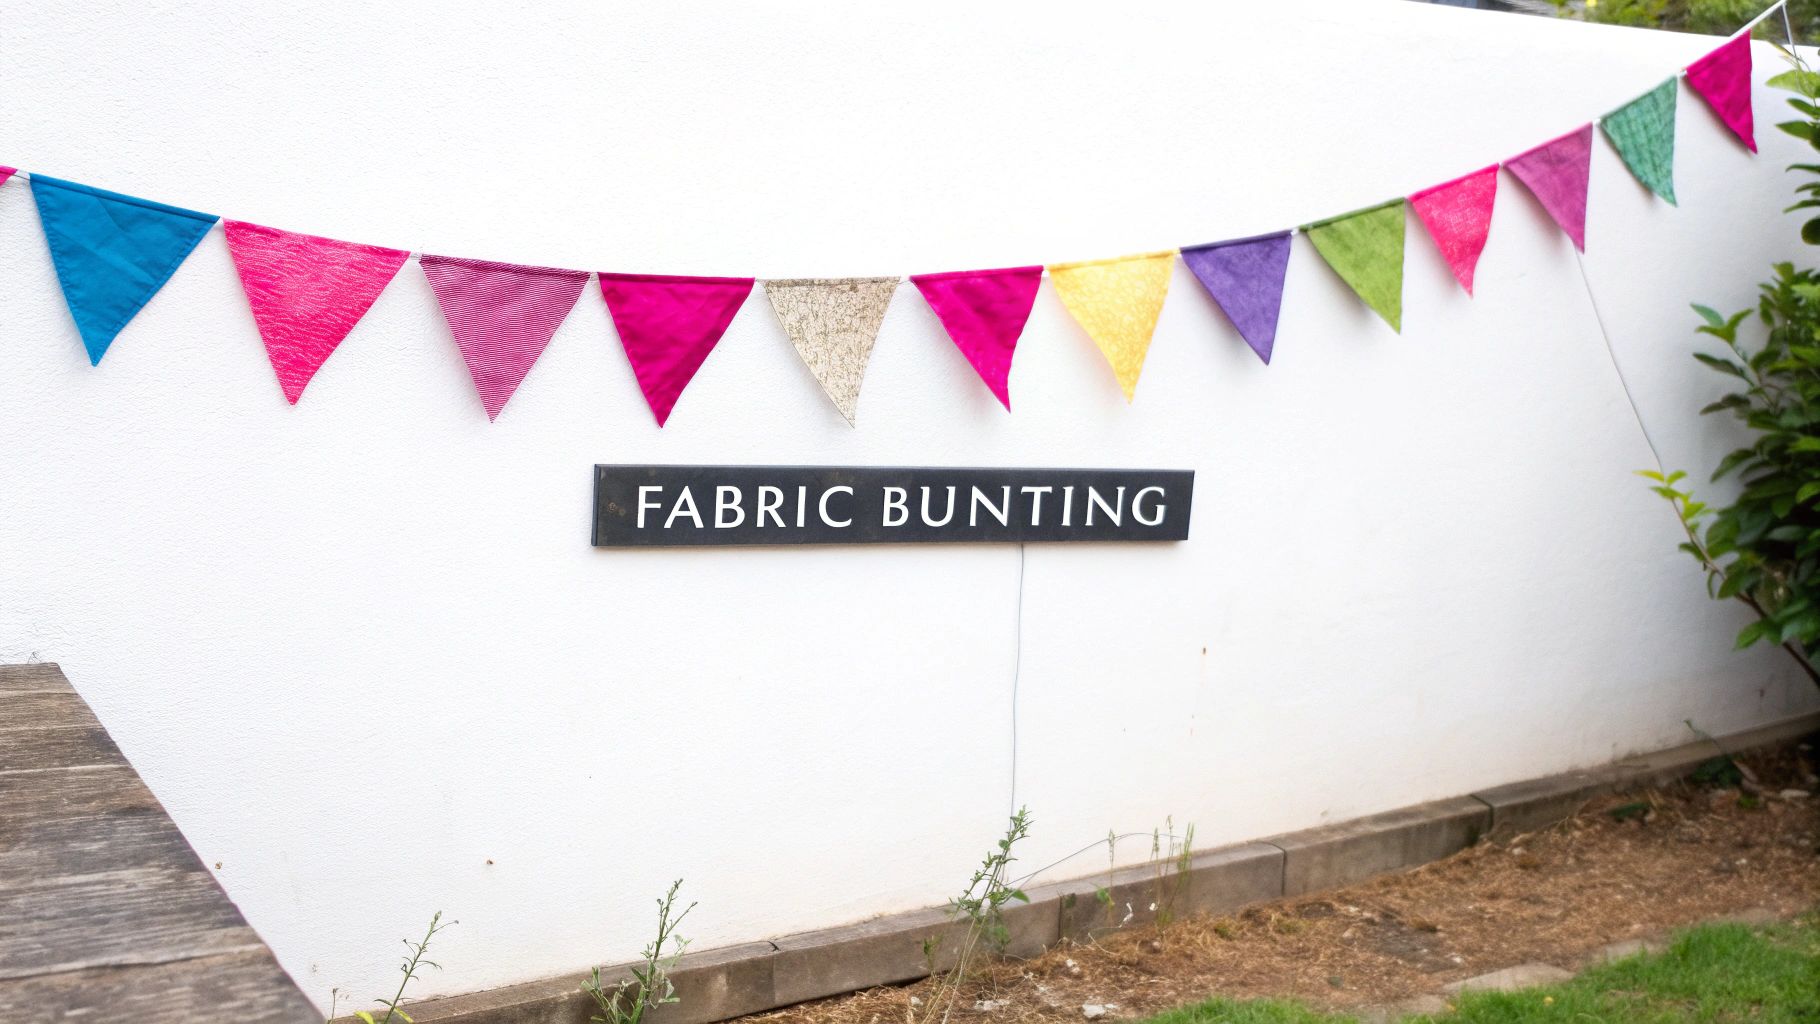
3. Reusable Fabric Bunting and Garland
Fabric bunting is a charming and festive way to turn a collection of fabric scraps into reusable decorations. This project involves cutting small pieces of fabric into flag or pennant shapes and sewing them onto a long strip of bias tape, ribbon, or twill tape. It’s a wonderfully sustainable alternative to disposable party décor and a perfect way to add a personalized touch to any space or celebration.
Popularized by shabby chic décor trends, DIY weddings, and eco-conscious party planning, fabric bunting has become a staple in creative households. It can be adapted for any occasion, from holiday-specific garlands for Halloween or Christmas to permanent nursery decorations or personalized classroom décor. The beauty of this project lies in its simplicity and versatility, allowing you to match any theme, color scheme, or aesthetic.
Why It's a Great Scrap Project
This project is exceptionally well-suited for a variety of scrap sizes, particularly long, narrow strips or medium-sized remnants that are perfect for cutting into triangles. It’s a fast and satisfying sew that requires minimal fabric but delivers a high-impact visual result. Creating your own bunting is far more personal and durable than store-bought paper or plastic alternatives, giving you a custom decoration to use year after year.
Actionable Tips for Success
- Create a Template: For uniform flags, cut a pennant shape from sturdy cardboard or template plastic. This ensures all your pieces are identical, giving the finished garland a professional look.
- Finish Your Edges: For a clean finish on quilting cottons, either sew two triangles right-sides together and turn them out, or back the fabric with a solid color. For non-fraying fabrics like felt or fleece, using pinking shears is a quick, no-sew alternative.
- Space Flags Evenly: Arrange your flags along the bias tape before sewing, leaving a 1 to 2-inch gap between each one. This creates a full, balanced appearance.
- Secure Attachment: Fold your bias tape over the raw top edge of the flags and topstitch it closed. This neatly encases the edge and secures the flag firmly in place. Remember to leave long tails at each end for easy hanging.
Key Insight: To add visual interest and balance to your design, alternate between patterned and solid-colored fabrics. This technique prevents busy prints from overwhelming the overall look and helps each unique scrap stand out.
Make your bunting construction a breeze with the right tools. Find the perfect bias tape makers, vibrant threads, and sharp pinking shears at Linda's to create beautiful, long-lasting garlands for any occasion.
4. Fabric Scrappy Coasters
Fabric scrap coasters are small, practical sewing projects that protect surfaces from heat and condensation while adding a handmade touch to your home. This project involves layering small fabric scraps with batting or an insulating material to create a mini quilt, typically measuring 4 to 5 inches square or round. It’s an ideal project for beginners, using minimal materials and offering a quick, functional result.
Popularized by quilting bloggers and craft fair vendors, these coasters are perfect for trying techniques like patchwork, raw-edge appliqué, or simple quilting on a small scale. You can create matching sets for your kitchen, seasonal designs to rotate throughout the year, or charming hostess gifts bundled with a favorite tea or coffee. Their low cost and high appeal make them fantastic items for charity craft sales.
Why It's a Great Scrap Project
This is one of the best sewing projects with fabric scraps for using up those awkward, small pieces left over from larger endeavors. Coasters provide a low-stakes opportunity to experiment with color combinations, decorative stitching, and finishing techniques without committing a large amount of time or fabric. The result is a useful household item that can be easily customized to any decor.
Actionable Tips for Success
- Choose the Right Batting: Use cotton batting for absorbency or an insulated batting like Insul-Bright if the coasters will be used for hot mugs. This adds a crucial layer of heat resistance.
- Finish the Edges: For a professional look, bind the edges with bias tape. Alternatively, use an "envelope" or "turn-through" method to create a clean, self-finished edge before topstitching.
- Prevent Slipping: Consider adding a layer of cork or non-slip gripper fabric to the back of the coaster to keep it securely in place on smooth surfaces.
- Quilt for Durability: Simple straight-line or free-motion quilting not only adds decorative interest but also holds the layers together, increasing the coaster's durability through repeated use and washing.
Key Insight: Pre-wash all your fabric scraps before starting. Because coasters are likely to be washed frequently, pre-washing prevents uneven shrinkage and distortion, ensuring your finished coasters maintain their shape and professional appearance.
Create beautiful, long-lasting coasters with precision. Find the perfect coordinating threads, insulated batting, and durable needles at Linda's to give your scrappy coasters a flawless finish.
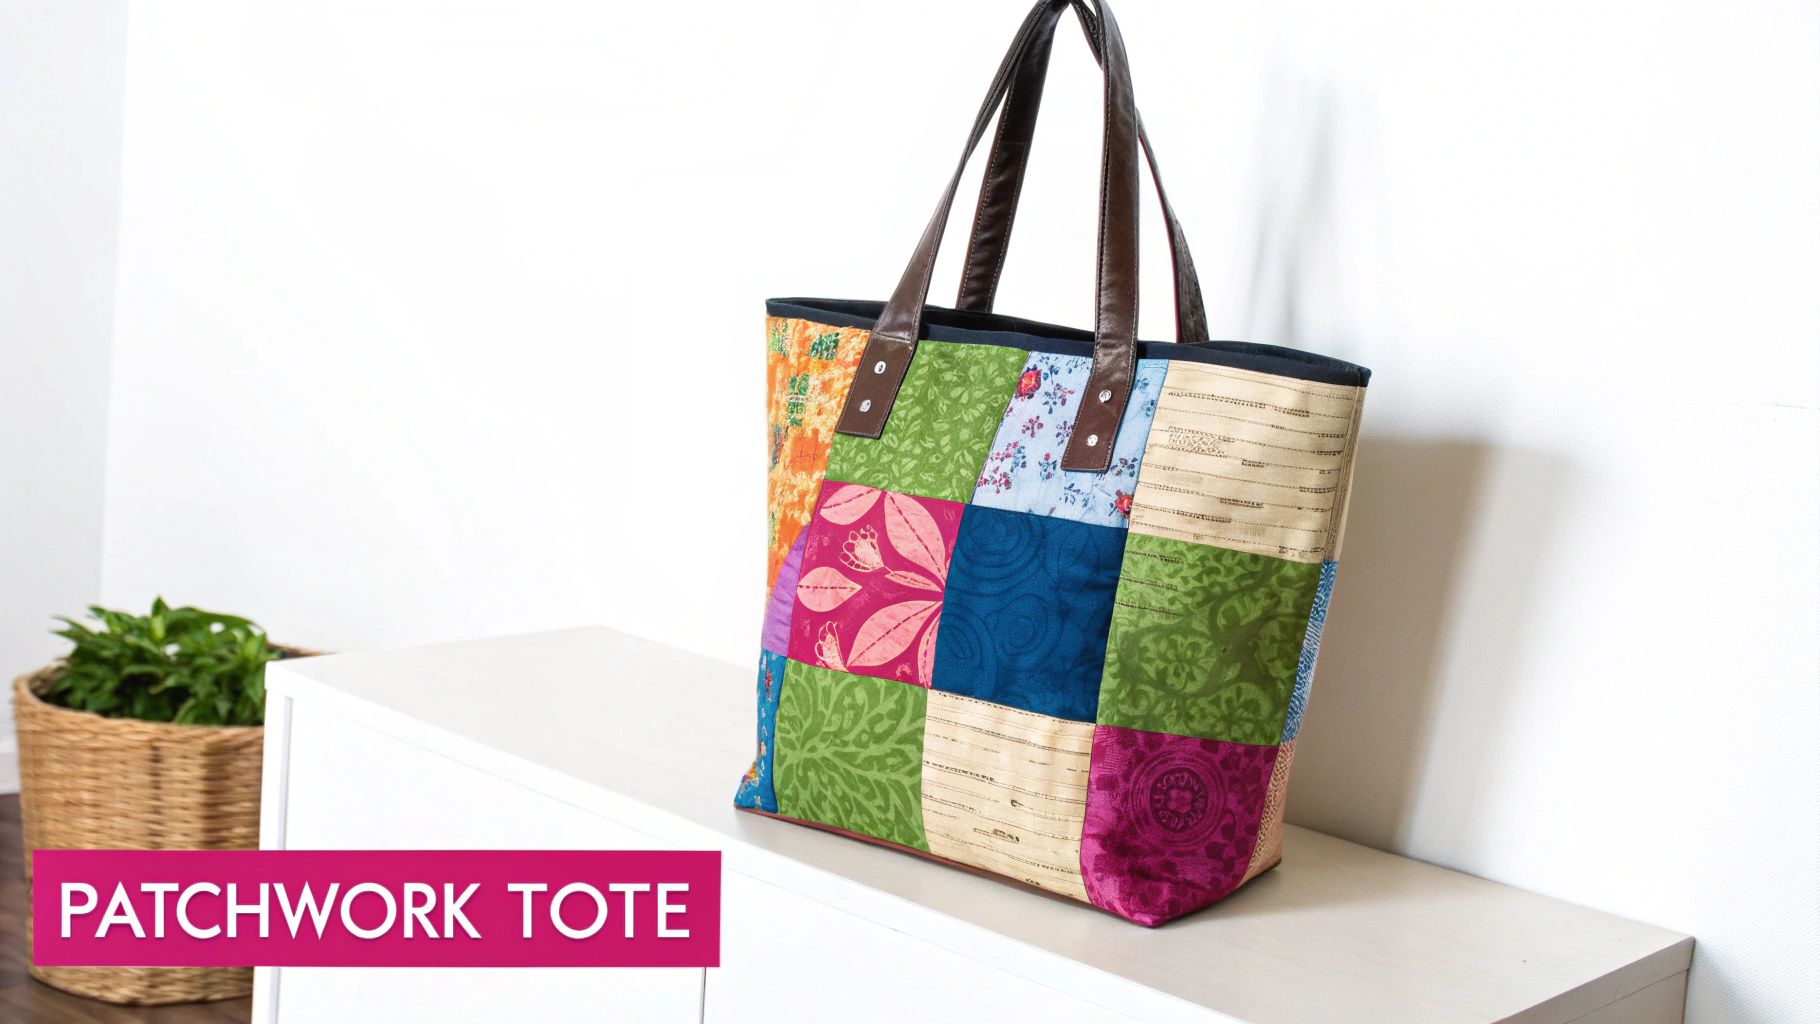
5. Patchwork Tote Bags and Pouches
Patchwork tote bags and pouches transform small fabric scraps into stylish and highly functional accessories. This technique involves piecing together various fabric remnants to create a larger, unique piece of "made" fabric, which is then used to construct the exterior panels of a bag or pouch. It is a fantastic way to showcase favorite prints and combine different textures into a one-of-a-kind, practical item.
From structured, quilted handbags to simple zippered pouches popularized by designers like Anna Graham of Noodlehead, this method bridges the gap between quilting and bag-making. The approach is celebrated in Japanese zakka craft and by the zero-waste community, turning potential waste into beautiful, usable items like market totes, project bags, or makeup organizers. The charm of a patchwork bag lies in its personal story, told through the collection of fabrics used.
Why It's a Great Scrap Project
This is an excellent project for using up those awkwardly shaped or medium-sized scraps that are too big to toss but too small for larger projects. Bag-making allows for endless creativity in combining colors and prints while resulting in a finished product you can use every day. Unlike a large quilt, a pouch or tote is a quick, satisfying project that can often be completed in a single afternoon.
Actionable Tips for Success
- Create Panels First: Sew your scraps into a larger piece of fabric that is bigger than your pattern piece. This allows you to cut the final shape precisely without worrying about matching seams at the edges.
- Add Structure: Use a fusible fleece or a firm stabilizer to back your patchwork panel. This not only adds body and durability to the bag but also helps stabilize all the small seams.
- Press Seams Open: To minimize bulk where multiple seams meet, press your seam allowances open. This will help your bag lay flatter and look more professional, especially at corners and intersections.
- Start with Simple Shapes: If you are new to bag-making, begin with a basic tote or a simple boxy pouch pattern. This will help you master the fundamentals before moving on to more complex designs with gussets and hardware.
Key Insight: For faster assembly, try strip piecing. Sew long strips of fabric together first, then cross-cut them into segmented rows. This is much quicker than sewing individual tiny squares together one by one and creates a clean, linear look.
Give your handmade bags a professional finish with the right hardware. Browse Linda's selection of quality zippers, magnetic snaps, and durable bag handles to elevate your patchwork creations from homemade to high-end.
6. Fabric Scrap Keychains and Lanyards
Fabric scrap keychains and lanyards are small but mighty sewing projects with fabric scraps, transforming narrow offcuts into highly practical, everyday accessories. These projects involve sewing fabric strips into tubes, often reinforced with interfacing, and attaching hardware to create durable key fobs, wristlets, or badge holders. They are quick to make, require minimal fabric, and produce sturdy items built for daily use.
Popularized by Etsy sellers and craft fair vendors, these accessories are perfect for gifts, fundraising, or personal organization. Examples range from wristlet key fobs sold at markets to custom lanyards for corporate events or teacher appreciation gifts made from school-themed fabrics. Their small size and high utility make them an excellent way to use cherished fabric remnants.
Why It's a Great Scrap Project
This is the ultimate project for using up long, thin fabric strips that might otherwise be unusable. Keychains and lanyards are incredibly fast to sew, making them ideal for batch-making and instant-gratification crafting. The finished products are not only useful but also highly giftable and marketable, turning your scrap bin into a source of potential profit or thoughtful presents.
Actionable Tips for Success
- Reinforce for Durability: Use a heavyweight fusible interfacing inside your fabric strips. This gives the keychain or lanyard structure and helps it withstand the rigors of daily use.
- Topstitch for a Pro Finish: After turning the fabric tube right-side-out and pressing, topstitch along both long edges. This not only looks professional but also adds a crucial layer of strength.
- Secure Hardware Correctly: When attaching hardware like D-rings or swivel clips, use a box stitch (a square with an "X" inside) for maximum security. This ensures the hardware won't pull loose over time.
- Use a Tube-Turning Tool: A simple tube-turner or even a safety pin can make the process of turning a narrow fabric tube right-side-out significantly faster and less frustrating.
Key Insight: For wristlet key fobs, consider inserting a piece of elastic or using a stretchy knit fabric for part of the loop. This adds a functional, comfortable element that allows the user to easily slip the fob over their wrist while carrying other items.
Create professional-grade accessories with the right supplies. Find high-quality interfacing, durable threads, and keychain hardware at Linda's to ensure your keychains are both beautiful and built to last.
7. Scrappy Pin Cushions
A scrappy pin cushion is an essential and charming sewing room accessory created from your smallest fabric remnants. This classic project transforms tiny, otherwise unusable pieces into a functional tool designed to safely store pins and needles. It’s a perfect beginner-friendly endeavor that requires minimal fabric but offers maximum utility and a chance to add a personal touch to your workspace.
From the iconic tomato pin cushion with its strawberry emery sharpener to modern wrist-worn versions and novelty shapes like cacti or cupcakes, the possibilities are endless. These small but mighty items are not just practical; they are a delightful way to practice techniques like patchwork or hand-stitching. Making a pin cushion is one of the quickest and most rewarding sewing projects with fabric scraps you can undertake.
Why It's a Great Scrap Project
This project is the ultimate scrap-buster, perfect for using the tiniest leftover bits of your favorite fabrics. It's a low-commitment sew that can be completed in under an hour, providing instant gratification. Every sewist needs at least one (and often more!) pin cushion, making it a functional item you will use every single day. They also make wonderful, thoughtful gifts for fellow crafters.
Actionable Tips for Success
- Choose the Right Filling: For a premium pin cushion that helps maintain your pins, use crushed walnut shells as a filler. The shells are abrasive and gently clean and sharpen pin tips with every use.
- Stuff It Firmly: A densely packed pin cushion is more stable and holds pins more securely. Push small amounts of stuffing into the corners first before filling the center to achieve a smooth, firm shape.
- Add Weight for Stability: Prevent your pin cushion from tipping over by adding a weighted element at the base. A small pouch of rice, poly pellets, or even a large metal washer placed inside before the final stuffing works perfectly.
- Use Small Stitches: When sewing the seams, use a short stitch length to create a strong, tight seam. This prevents fine fillings like sand or crushed shells from leaking out over time.
Key Insight: To get a professional, invisible closure, use a ladder stitch to sew the final opening shut. This hand-sewing technique pulls the folded seam allowances together so that the thread is completely hidden, leaving no visible stitches.
Complete your charming pin cushion with the best tools. Linda’s offers a beautiful selection of hand-sewing needles and premium crushed walnut shell filler that will make your new sewing accessory a breeze to create.
8. Fabric Scrap Bookmarks
Fabric scrap bookmarks are delightful, functional accessories that turn narrow strips and odd-shaped fabric pieces into treasured items for readers. This project involves creating page markers from fabric, often enhanced with ribbons, interfacing, or elastic. It’s a wonderfully quick and satisfying way to use up long, thin scraps left over from cutting out larger pattern pieces, transforming them into practical and personalized gifts.
From the simple ribbon-tailed strips popular at craft fairs to the clever corner bookmarks trending on BookTok, these small projects offer a surprising amount of creative freedom. They can be made as classic flat bookmarks, elastic bands that wrap around journals, or even whimsical corner pockets that slip over a page. They are perfect for teacher appreciation gifts, library fundraisers, or as a thoughtful addition to a gifted book.
Why It's a Great Scrap Project
This is one of the best sewing projects with fabric scraps for beginners and experts alike because it is fast, requires minimal material, and uses up those awkwardly shaped leftovers. Bookmarks are excellent for practicing precision topstitching and experimenting with small-scale embellishments like embroidery or appliqué. They offer a high-value return, turning potential textile waste into charming and useful items.
Actionable Tips for Success
- Add Body: Fuse a layer of medium-weight interfacing to your fabric pieces before sewing. This gives the bookmark structure and durability, preventing it from becoming flimsy.
- Embellish Creatively: Use a decorative ribbon or a strand of embroidery floss as a tail. This not only adds a beautiful touch but also makes the bookmark easier to find between pages.
- Perfect the Edges: Topstitch around the entire perimeter of the bookmark after turning it right-side out. This gives it a crisp, professional finish and ensures the seams lay flat.
- Try Different Styles: Experiment with corner bookmarks by sewing two squares of fabric together on two sides, creating a pocket that slips over the corner of a page. For planners, an elastic band bookmark is incredibly useful.
Key Insight: For a truly durable and unique bookmark, try quilting a few thin strips of fabric together to create your base piece. This adds texture and visual interest, making your bookmark a mini work of art.
Create bookmarks that last with high-quality supplies. Find the perfect threads, interfacing, and decorative ribbons at Linda's to make your scrap-busting project a success.
Comparison of 8 Sewing Projects Using Fabric Scraps
| Item | Implementation Complexity 🔄 | Resource Requirements ⚡ | Expected Outcomes 📊 | Ideal Use Cases 💡 | Key Advantages ⭐ |
|---|---|---|---|---|---|
| Patchwork Quilts | Moderate to High (20-100+ hrs) | Moderate (various scraps, batting) | Functional, heirloom-quality quilts | Decorative & functional bedding, memory quilts | Highly customizable, emotional value |
| Fabric Scrap Bowl or Basket | Low to Moderate (2-6 hrs) | Low (rope/clothesline, small scraps) | Sturdy, washable storage bowls | Home organization, gifts, zero-waste projects | Uses tiny scraps, quick, therapeutic |
| Reusable Fabric Bunting | Low (2-4 hrs for 10 ft strand) | Low (medium scraps, bias tape/ribbons) | Decorative, reusable party décor | Events, seasonal decorations, eco-friendly | Fast, minimal skills, versatile decoration |
| Fabric Scrappy Coasters | Low (15-30 min per coaster) | Low (small scraps, batting) | Functional household coasters | Beginners projects, gifts, scrap-busting | Quick, practical, washable |
| Patchwork Tote Bags & Pouches | Moderate (3-8 hrs) | Moderate (scraps, interfacing, hardware) | Functional accessories, reusable bags | Everyday bags, gift items, sustainable fashion | Functional, multi-skill development |
| Fabric Scrap Keychains & Lanyards | Low (15-30 min each) | Low (small scraps, hardware) | Practical key holders and lanyards | Fundraising, gifts, craft fairs | Very quick, minimal fabric, high perceived value |
| Scrappy Pin Cushions | Low (30 min to 2 hrs) | Very Low (tiny scraps, stuffing) | Useful sewing room accessory | Sewing tool, beginner projects | Uses smallest scraps, creative, quick |
| Fabric Scrap Bookmarks | Very Low (15-45 min each) | Very Low (narrow strips, optional trims) | Functional reading accessory | Gifts, fundraisers, book lovers | Extremely quick, minimal materials, giftable |
Turn Your Scraps into Your Next Masterpiece
Your fabric scrap bin is no longer just a collection of leftovers; it’s a vibrant palette waiting for your creative touch. As we've explored through these diverse projects, from intricate patchwork quilts to charming fabric scrap bookmarks, the potential locked within those small pieces is immense. What was once seen as textile waste is now the raw material for your next masterpiece, proving that sustainable sewing is not only responsible but also incredibly rewarding.
This journey through various sewing projects with fabric scraps has illuminated a core principle of craftsmanship: resourcefulness breeds creativity. By embracing these smaller, often overlooked remnants, you push the boundaries of conventional sewing and develop a more intimate relationship with your materials. You learn to see value in every inch of fabric, transforming the act of sewing into a practice of mindful creation.
Key Takeaways for Your Scrappy Sewing Journey
The true value of scrap-busting lies in its accessibility and versatility. These projects offer a low-risk, high-reward entry point for beginners and a satisfying stash-clearing challenge for seasoned sewists.
- Embrace Imperfection: Scrappy projects, especially those involving patchwork, are forgiving. The varied textures and prints create a "planned scrappy" look where perfect alignment isn't the primary goal. This freedom makes them excellent for practicing skills like chain piecing and accurate seam allowances without pressure.
- Think in Batches: Many of these projects, such as coasters, keychains, and bunting triangles, are ideal for batch sewing. Dedicate an afternoon to cutting scraps into uniform sizes, then another to assembly-line sewing. This efficient approach quickly turns a chaotic pile of scraps into a stack of finished goods.
- Combine and Conquer: Don't be afraid to mix substrates. Combine quilting cotton with linen scraps for a textured tote bag or incorporate a small piece of velvet into a pin cushion for a touch of luxury. The beauty of these projects is in the eclectic, curated mix.
Your Actionable Next Steps
Feeling inspired? It's time to take action. Start by sorting your scrap bin. Create separate containers for different sizes, colors, or fabric types. This simple organizational step makes it significantly easier to find the perfect piece when inspiration strikes.
Next, choose one project from this list that excites you the most. Perhaps it’s the practical coasters or the whimsical fabric bunting. Commit to starting it this week. Remember, progress over perfection is the goal. Your first scrappy creation doesn't have to be a museum-quality quilt; it just needs to be a finished project that brings you joy and uses up materials that might have otherwise been discarded. The skills and confidence you build with each small success will pave the way for more ambitious sewing projects with fabric scraps in the future.
Ready to elevate your scrappy creations from homemade to professional-grade? Find all the high-quality thread, specialty batting, sharp rotary cutters, and unique notions you need at Linda's Electric Quilters. Let us provide the perfect finishing touches that will make your next scrap project truly shine. Explore our collection and get equipped today!


