
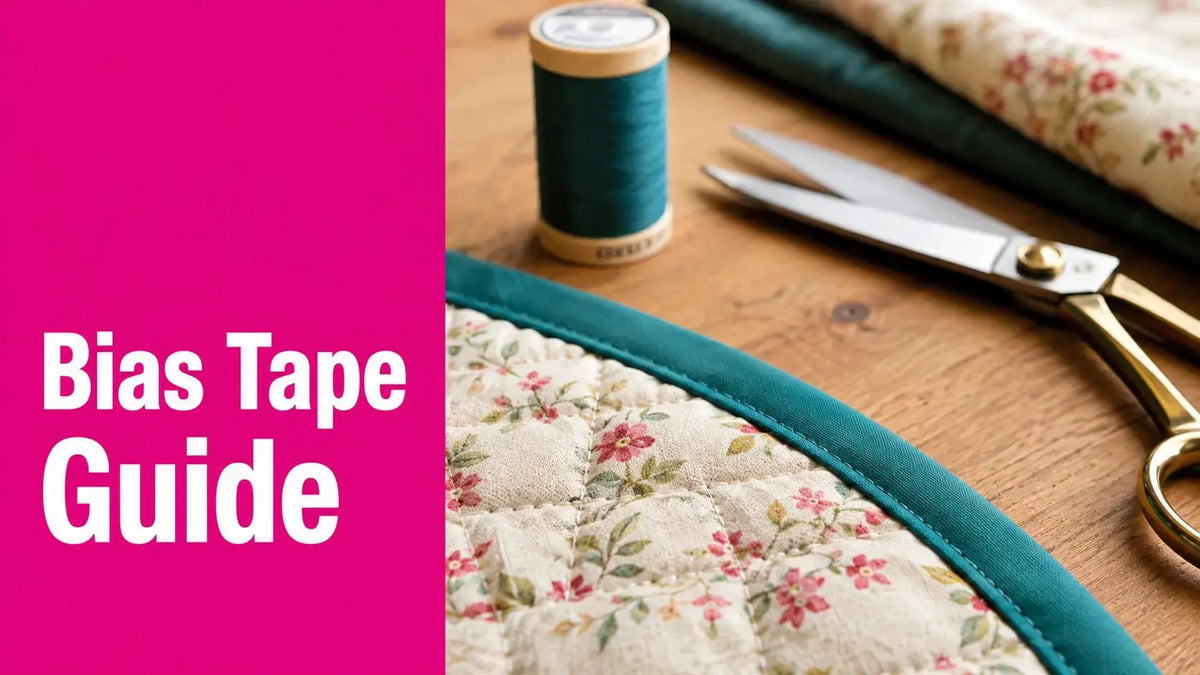
You're halfway through a curved quilted wall hanging, and the binding starts fighting you. The edge wants to sit flat, but the finish you've chosen adds more stiffness than the design can handle. That's usually the moment single fold bias tape earns its place in the sewing room, because it gives you a cleaner, lower-bulk finish that moves with the curve instead of overpowering it.
Why Single Fold Bias Tape Deserves a Spot in Your Sewing Kit
A lot of sewists reach for the same binding every time, then wonder why a neckline ripples or a petite quilted edge looks bulky. Single fold bias tape solves a different problem than double fold. It's made for finishes that need to sit close, stay neat, and follow shape without adding unnecessary layers.
On quilts, especially wall hangings, applique borders, and decorative trims, that matters fast. On garments, the same logic applies to necklines and armholes, where a slimmer finish looks cleaner and behaves better around curves. Sewing references also describe it as a strip that's stitched in place once, then turned over an edge, which makes it a smart choice when you want a controlled, technical finish rather than a heavy wrap.
If you're working with longarm quilting or machine embroidery, the advantage is practical, not just aesthetic. A lower-profile finish reduces the fight between the tape, the fabric, and the machine's foot. That can save time, especially when the edge has already been stitched, quilted, or stabilized and you don't want extra bulk pushing the work out of alignment.
Practical rule: choose single fold bias tape when the tape needs to lie close, bend smoothly, and keep the finish light.
For thread selection, a cotton option like 008 Sand Dollar Signature Cotton Thread fits naturally with this kind of edge work because the catalog snapshot describes it as a 3-ply, long-staple cotton thread with low lint and good sewability on both longarm and home machines.
Understanding Single Fold Bias Tape and How It Works
The fold structure matters
Single fold bias tape is defined by the way its long edges are pressed inward so they meet at the center. That's the part many beginners miss. It is not folded again at the center the way double fold tape is, so it stays flatter and easier to shape along a curve.
The other critical piece is the bias itself. When fabric is cut on the 45-degree bias, it behaves differently from straight grain. The source brief notes that one technical reference reports about 3–7% stretch and a relatively flat profile of around 2–3 mm thickness with 0.20–0.30 mm tolerance ranges, which helps explain why the tape wraps curves with less puckering than a straight strip. That's the mechanical reason sewists trust it on shaped edges, not just a stylistic preference. See the technical note on single fold bias tape performance.

The cutting ratio is the part people forget
The sizing rule is simple, but it has to be exact. A 1/2-inch finished single fold bias tape begins as a 1-inch strip, because the strip is cut at double the finished width. A finished 1-inch tape begins as a 2-inch strip. That rule is repeated across sewing instruction because the folds eat up the extra width as the tape is pressed into shape, as shown in the tutorial on single fold and double fold bias tape sizing and the sizing chart at Sew4Home.
Studio note: the confusing part isn't the math, it's the naming. Some tutorials use “single fold binding” loosely, while others mean true single fold bias tape with both edges folded inward. Reading the directions before you cut saves yardage and avoids a mismatch at the machine.
Historically, bias tape was already a standardized sewing notion by the early 20th century, and Wright's published bias fold tape sewing books from 1931 show that the product had become established by then. That long history is why you'll still see inconsistent names in modern sewing education, even though the technique itself is solid and repeatable.
Single Fold vs Double Fold Bias Tape Comparison
The most useful way to choose between these two is to ask one question, what does the edge need to do? If it needs to stay sleek and follow a curved path, single fold usually wins. If it needs to fully wrap and protect a raw edge, double fold is the stronger candidate.
Because it's cut on the 45-degree bias, single fold bias tape has the give needed for curves. The brief notes that this performance is one reason it's often preferred for necklines, armholes, appliqué edges, and thin quilted projects where bulk becomes the enemy. Double fold still has its place, especially when you want a more enclosed finish.
| Feature | Single Fold Bias Tape | Double Fold Bias Tape |
|---|---|---|
| Finished look | Flatter, lighter, less bulky | More enclosed, more substantial |
| Best use | Curves, trims, applique edges, low-bulk finishes | Fully wrapped raw edges, durable bindings |
| Handling on curves | Easier to manipulate | Can feel stiffer on tight curves |
| Visual presence | Often subtle | More visible and defined |
| Common project fit | Necklines, armholes, quilting accents | Quilt bindings, heavier wear areas |
For a curved quilted wall hanging or an embroidered pillow edge, that difference changes the whole job. Single fold gives you room to steer the tape without forcing the fabric into a fight. Double fold adds protection and presence, which is useful, just not always the smartest choice for delicate shaping.
If you like to test thread on your machine before binding a finished piece, the catalog snapshot for 009 Baguette Signature Cotton Thread describes a similar 3-ply, long-staple cotton construction with low lint and sewability on longarm and home machines. I'm not endorsing one over the other here, just pointing out that cotton threads like these pair naturally with careful edge finishing.
How to Apply Single Fold Bias Tape Like a Professional
Start by deciding whether the tape is decorative or structural. If it's a trim, you'll stitch it flat and let it show. If it's finishing a raw edge, you'll attach one side first, turn it, then secure the fold in place. That choice affects your pressing, pinning, and tensioning before you ever touch the pedal.

Curve control starts before stitching
Press the tape first, then let it cool flat before you sew. Hot bias that's been stretched during pressing is much easier to distort later. On a curve, anchor the tape with pins or clips in shorter intervals than you'd use on a straight edge, and ease the tape into position instead of pulling it around the shape.
Use a matching thread when you want the stitching to disappear, or a contrast thread when the edge is part of the design. On an Innova longarm, our team in McKinney, Texas, would test the stitch path on a scrap first, because the same tape can behave differently depending on loft, fabric weight, and how much quilting is already in the edge. The goal is a stable hand, not brute force.
Pro move: stitch with the bias tape on top when you need to watch the fold line closely. That gives you better control over drift on curves and makes stitch-in-the-ditch finishing easier to judge.
After the first line of stitching, turn the tape over the edge and secure it with a second seam if needed. On thick quilted work, reduce the temptation to tug the tape tight. Let the bias do the work. If you pull, you erase the very flexibility that makes the tape useful.
For a visual demo, the embedded video below is a useful companion while you sew.
If you want a related on-site walkthrough after this, the tutorial library at Linda's also pairs well with hands-on binding practice, especially for readers who need a second pass on edge finishing before they commit to a final quilt.
Making Your Own Custom Single Fold Bias Tape
Cut it from the right angle
Custom tape starts with a 45-degree cut, not a straight one. That's what gives the strip its curve-friendly behavior. Mark your strip width from the bias line, not from the selvage, then cut carefully so the strip stays consistent all the way down. The cutting rule is the one you want burned into muscle memory, cut the strip at double the finished width. The tutorial on what is bias tape lays out the same ratio, with double fold requiring more width.

If you're making a lot of it, folding tools help. A bias tape maker or a folding aid like a 1 3/4-inch Sasher or 1/8-inch Sasher can save your fingers from constant repositioning at the iron. Those tools are especially handy when you're preparing narrow trim for embroidery accents or petite quilted edging.
Build it in a way that saves fabric
Join strips diagonally so the seams don't create a ridge right where the tape needs to bend. Press those seams open, then fold and press the strip into its final shape. That keeps the tape manageable when you're feeding it through the machine or laying it across a curved applique edge.
A few practical choices make a real difference:
- Choose stable cottons: They press cleanly and hold shape without fighting you.
- Avoid over-stretching while pressing: The bias already has give, so you don't need to force it.
- Store it flat or loosely rolled: Creases in finished tape can make edge placement awkward later.
- Match the width to the job: Narrow tape looks elegant on small details, while slightly wider versions give you more handling room.
For readers who like beginner-friendly practice projects after learning a new technique, beginner friendly sewing ideas is a useful outside resource to browse alongside your own test strips.
Troubleshooting Common Single Fold Bias Tape Problems
A curved neckline or quilted edge will show every small handling mistake, so the fixes usually start with your hands, not with the tape. If single fold bias tape puckers, it was probably pulled too firmly while you were easing it around the curve. If the folds drift out of line, the iron likely moved unevenly from one section to the next. If the strip looks stretched and rippled, it was handled too much before the final seam was secured.

Fix the problem at the point it starts
A neckline with puckers usually needs a pause before it needs a seam ripper. Re-pin with shorter spaces between anchors, then ease the tape along the curve instead of tugging it flat. On longarm quilting work or machine embroidery trims, that gentler feed matters even more because the edge often has more layers underneath it. If the tape width wanders, press the whole strip again before you stitch any farther. A clear fold line is much easier to follow than one that has gone soft or uneven.
Stitch quality depends on how the tape moves under the presser foot and over the feed dogs. A bulky quilt edge can make the tape ride up slightly as it feeds, and that changes the stitch line even when your seam allowance looks right at the start. Slow your pace and guide the work without forcing it forward. That small adjustment often saves more time than removing stitches and starting over.
For projects that call for low bulk and a clean edge, machine-embroidery-friendly sewing projects can be a helpful reference point. If you want beginner friendly sewing ideas to test on scraps first, the same source is useful for seeing how a tidy finish behaves on smaller items. The goal is to match the finish to the job, especially on curved edges where single fold bias tape has an advantage over a heavier wrap.
Creative Project Ideas Using Single Fold Bias Tape

A quilted wall hanging with a curved border is one of the cleanest places to use single fold bias tape, because the tape can follow the edge without crowding the design. A narrow strip also works well as a stained-glass style leading on quilt blocks, where you want crisp lines and a controlled finish. For machine-embroidered pillows, the tape can become a decorative accent that frames the stitching without adding stiffness.
Celtic knot applique is another smart use, especially when the design has lots of turns and crossings. The tape stays nimble enough to follow the shape while keeping the surface flatter than a more enclosed binding would. On small gift projects, that lower profile can make the difference between a piece that feels refined and one that looks overbuilt.
If you need more inspiration for fabric behavior outside quilting, a fabric curtain ties guide can spark ideas for how bias-cut strips drape and hold shape in home decor work. The same principle applies here, a bias strip can be both functional and decorative when you let the grain work for you instead of against you.
Linda's Electric Quilters in McKinney, Texas, carries the thread, notions, and sewing supplies that make edge finishing easier to control on real projects, not just in theory. If you're ready to try single fold bias tape on your next quilt, wall hanging, or embroidery piece, visit Linda's Electric Quilters and gather the materials that fit your machine, your fabric, and your finish.


