
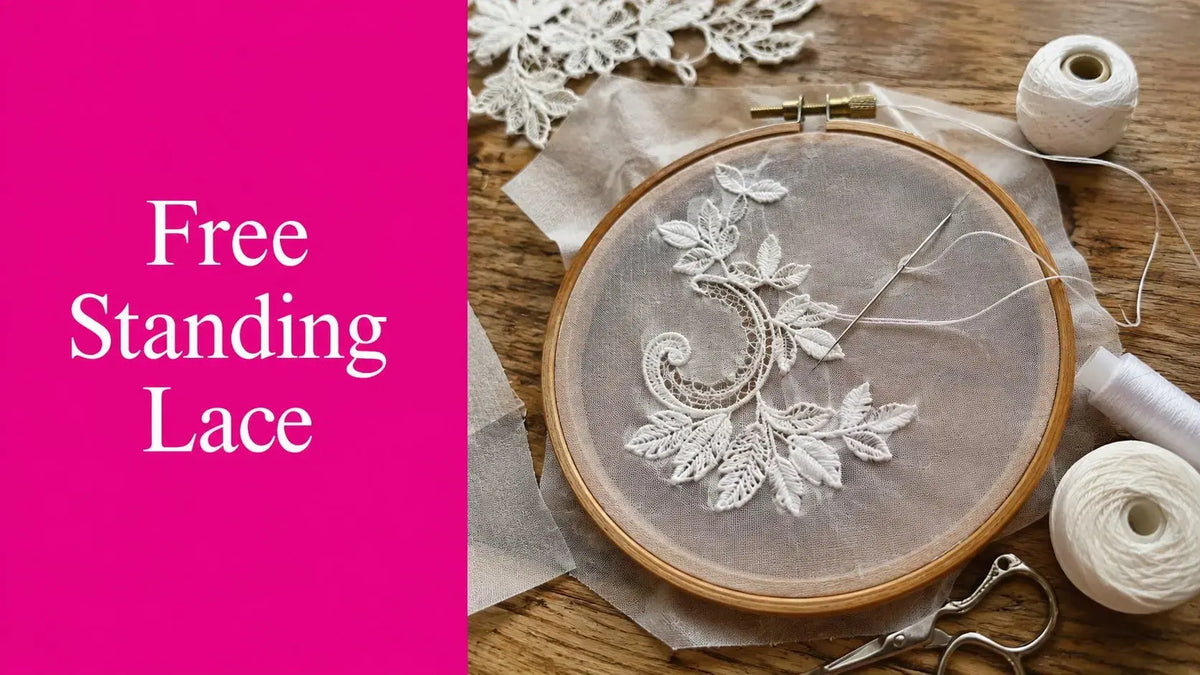
If your first free standing lace embroidery design shredded in the rinse, the machine wasn't the only thing on the hook. The file, stabilizer, thread, hoop tension, and finishing all have to work together, or the lace skeleton falls apart the moment the water-soluble support disappears. That's why the projects that look like crisp threadwork in the hoop and the ones that come out soft, sticky, or torn usually start with the same difference, a proper FSL-specific design and a support system built for it.

What Free Standing Lace Actually Is and Why It Works
Free Standing Lace, or FSL, is stitched on water-soluble stabilizer, not fabric, and then the stabilizer is dissolved away so only the thread remains. That's why an ordinary embroidery file can fail here. It might look fine on fabric, but once the backing disappears, the piece can fall apart because it was never built to stand on its own as described by Hatch Embroidery.
That logic isn't new. Free-standing lace embroidery grows out of the same openwork tradition that gave lace its structure centuries ago. By the sixteenth century, lace had already developed from cutwork into cloth made without a woven foundation, and early pattern books appeared in sixteenth-century Italy. The point matters because modern FSL is really the same idea translated into digitized machine embroidery, thread forming the fabric, stabilizer acting like the temporary scaffold, and the wash turning the scaffold loose as noted by the Met Museum.
A good way to think about free standing lace embroidery designs is as thread architecture. You're not filling fabric, you're building a mesh that has to survive stitching, trimming, and rinsing. That means the key decision points are stabilizer, thread, digitizing structure, and stitch speed, not just the ornament pattern sitting on the screen.
The market tells the same story. A large embroidery retailer carries more than 575 free-standing lace designs, which says this isn't a niche novelty. It's a mature category with enough range for ornaments, jewelry, appliqué-style lace motifs, and 3D pieces that need a stable skeleton as listed by Embroidery Legacy.
If you're shopping supplies at Linda's, the useful categories to keep in mind are water-soluble stabilizer, embroidery thread, and machine needles. I also keep a cone of 009 Baguette Signature Cotton Thread on hand for cotton-based lace work because it's a Tex 40, three-ply cotton thread that sews smoothly when the design wants a natural-fiber look.
The Structural Anatomy of an FSL Design
Free standing lace embroidery designs are built like little bridges, not outlines. A lace motif has to carry its own weight after the wash-away support is gone, so the structure starts with a dense foundation that holds the shape together. Digitizing guidance points to tatami or cross-stitch structure first, then a second layer set at a different angle so the mesh locks in before any satin or decorative edging goes on as explained by Hatch Embroidery.
Why the skeleton has to be layered
If the design only has pretty borders, it is weak. A lace leaf, snowflake, or ornament needs the inside structure first, because the outer stitching cannot do the job alone once the stabilizer is gone. I see this most often when someone buys a file meant for fabric embroidery and tries to wash it free. It may look finished in the hoop, then split open at the first rinse.
Practical rule: if the design cannot describe its own shape without fabric behind it, it is not ready for FSL.
That is also why needle and bobbin thread should match when you want the piece to look the same on both sides. Lace does not have a real wrong side, so a mismatched bobbin thread can leave the underside looking unfinished or visibly different. For stitchers who prefer cotton, 009 Baguette Signature Cotton Thread fits the same structural conversation. It is a Tex 40 cotton thread made for smooth sewability on embroidery-capable machines, and that matters when the design depends on consistent buildup instead of decorative fluff.
Why resizing is risky
Resizing is where good designs get ruined. Once you change the scale, you change stitch density and structural integrity, and the mesh can end up too open or too crowded to survive the rinse as noted by Sylvia's Stitches. That is why I treat purchased FSL files as exact-use files first and “tweak later” files never. If a motif needs a different size, it is safer to start with a design meant for that hoop size rather than stretch one and hope the stitching stays balanced.
Choosing the Right Water-Soluble Stabilizer
Stabilizer choice decides whether the lace holds together or turns fragile at the rinse stage. A strong digitized design can still fail if the support is too light, too loose, or too thin for the stitch density. I keep the workflow simple in the shop. Hoop 1 to 2 layers tightly, stitch the piece, trim the excess, then rinse or soak until the residue is gone as outlined by Sylvia's Stitches.
Matching stabilizer to the project
Thin water-soluble film suits delicate ornaments, earrings, and airy motifs where the edge needs to stay clean and the build needs to stay light. Fibrous wash-away mesh gives the stitches more to grab, so it fits medium-density lace appliqués and ornament panels better. Heavier sheets, or doubled layers, make more sense when the piece has real structure to hold, like 3D ornaments, bowls, or freestanding figures.
| Stabilizer Type | Best For | Layer Count | Rinse Notes |
|---|---|---|---|
| Thin film | Delicate doilies, earrings, fine lace | 1 to 2 layers | Dissolves cleanly, watch for fragility |
| Mesh wash-away | Ornaments, appliqué-style motifs | 1 to 2 layers | Better bite for denser stitching |
| Heavy sheet or doubled support | 3D ornaments, bowls, structural lace | 2 layers or more | May need longer rinse and careful drying |
Use a hard line between fabric-backed work and true free standing lace. If the motif is meant to sit on a fabric base, let the fabric carry the design and use stabilizer only to support the embroidery. If the goal is a piece that becomes pure thread after washing, the stabilizer is the temporary base and nothing else. For a contrast point, Linda's 100% Cotton Precut Fabric Smoky Blue belongs in fabric-backed projects, not in a piece that has to survive only on its own stitching.
Soft shopping note: if you build holiday ornaments or fair inventory, keep more than one stabilizer weight on hand. That lets you match support to design density instead of forcing one product to carry every file.
Threads, Needles, and Machine Settings for FSL
Thread choice changes how the lace looks, how it holds together, and how much cleanup you face at the machine. Many free standing lace embroidery designs are digitized for 40-weight rayon or polyester thread, while 30-weight cotton and metallic threads show up in special projects where the finish matters as much as the structure as noted by Needle Pointers. Rayon gives a softer sheen, polyester usually feels tougher in pieces that will be handled often, and cotton produces a more matte, classic lace look.
Needle and bobbin choices that keep the lace balanced
A 75/11 needle is a solid everyday starting point. For finer lace, a 65/9 can be kinder to delicate motifs, and an 80/12 makes more sense when you're running metallic thread or a denser design that needs a little more needle presence. Keep the same thread in the needle and bobbin when you want both sides to match. That choice saves time later, especially on ornaments and jewelry pieces that get turned and handled a lot.
Thread quality matters here too. If the thread fuzzes or sheds heavily, the stitches can lose definition before the design is even rinsed free. A cleaner thread path helps the satin edges stay crisp and keeps the small bridges from looking fuzzy after trimming.
Speed matters more than people think
Many expert tutorials recommend stitching at about 500 to 800 stitches per minute to protect the stabilizer and preserve registration as noted by Hatch Embroidery. I stay on the lower end when the lace is dense, because the hoop and support do not forgive a hard shove from the machine. Faster settings can work on simpler motifs, but they leave less room for a design that needs the machine to place each stitch cleanly on a narrow foundation.
A test swatch tells you more than a guess at the screen. If the swatch shows thread nests, bobbin tension problems, or an edge that starts breaking apart, the final piece will only make the flaw more obvious. The thread, needle, and digitizing must agree with each other. A stable swatch means the design is ready. A messy one means the setup still needs work.
Soft shopping note: if you want an all-cotton thread path for lace, the 009 Baguette Signature Cotton Thread is a practical option to consider because it's a three-ply, Tex 40 cotton cone with low-lint handling and strong sewability.
A lace motif can't outrun bad setup. The cleanest stitch-out usually starts with the least dramatic machine settings, not the fastest ones.
Hooping, Stitching, Trimming, and Dissolving Step by Step
The hoop has to be taut as a drum before the needle ever moves. Loose hooping is the fastest route to puckering, shifted registration, and shapes that sag after rinsing. For a lot of designs, I prefer to hoop the stabilizer tightly rather than float it loosely, because the whole point is to keep the stitch field from flexing while the machine builds the mesh.
The stitch-out stage
Watch the first few rows. If the foundation doesn't lay down cleanly, stop and fix it before the motif gets dense. Free standing lace embroidery designs need that early structure to stay exact, and if the underlay starts drifting, the rest of the lace will follow it off course.
The cut, rinse, and finish stage
Trim close to the outer run line, but don't nick the threads. Then rinse or soak until the stabilizer residue is gone. Some pieces can be left a little stiffer if you don't wash every trace away, and that can help a 3D ornament keep its shape. Other pieces need a cleaner wash so they hang softly, especially when they're going to be layered onto garments or mixed-media projects.
The workflow below is the one I keep coming back to at the machine.

Pro-Tip: stitch one small test motif in the same thread, stabilizer, and speed before you run the final lace. That one swatch catches tension issues, thread color surprises, and stabilizer weakness before they waste a full hoop.
Soft shopping note: if your supply drawer is thin, this is the moment to restock stabilizer, needles, and thread together so the next hoop doesn't stall because one part of the setup is missing.
Troubleshooting the FSL Failures Everyone Hits
When free standing lace embroidery designs fail, the clues are usually plain to see. The mistake is fixing the wrong part first. A motif that falls apart in the rinse usually points to stabilizer that was too thin or to a design that was resized until the structure no longer held together. The practical fix is simple, use proper support and keep the file at its original size unless you have tested the change.
A failed lace piece is not mysterious. It is usually a sign that one part of the setup was out of balance, and the machine showed it right on the thread path or during the washout.
Four common failures and the corrections that help
- Motif shreds in the rinse. The stitch structure was too light for the wash-away step. Use a denser FSL file and more stabilizer support next time.
- Lace sags and loses shape. The hoop likely was not tight enough, or the piece needed a different support level. Re-hoop tighter and protect the stitch field during the run.
- Design comes out stiff and sticky. The rinse was too short or the water was too cool. Keep rinsing until the piece no longer feels tacky after blotting.
- Thread breaks during stitching. The speed may be too aggressive, or the motif may be too dense for the setup. Slow down and test the thread path before restarting.
Color shift between front and back usually means the needle and bobbin thread do not match, which is easy to miss until the piece is out of the water. Puckering around the densest areas almost always comes back to loose hooping, not bad luck. Once you have seen those failures a few times, you stop treating them like mysterious lace problems and start reading them like machine feedback.
That is why I keep a test motif stitched with the same thread, stabilizer, and speed I plan to use on the final run. For heavier thread, slick poly, or metallic, the problem often shows up before the main design even starts to form. When I need to compare a stabilizer choice against a thread choice, I want the test piece to fail on purpose, not the ornament for the craft fair. For crafters who want to turn lace pieces into a sellable line, sell crafts online in South Africa is the kind of next step that makes sense after the machine side is under control.
Resizing, Finishing Touches, and Where to Shop Next
Resizing free standing lace embroidery designs is possible, but it asks for restraint. Keep the change modest, roughly within 20 percent of the digitized size, and stitch a test first if you scale up, because stitch density and the frame of the design can shift fast. When a file needs a larger jump, I would pick a design digitized for that size instead of forcing a stretch that weakens the mesh and leaves the lace brittle.
Finishing ideas that make the lace useful
A 3D ornament can take on a firmer shape with a light starch soak if you want it to hold a rounder profile. Lace angels usually need careful wiring or support before they go on display, especially if the wings or halo have fine open areas that can sag. Mixed-media pieces sit well over fabric, including the 100% Cotton Precut Fabric Smoky Blue, when you want the rigid thread structure to stand against a softer textile behind it.
| Question | Short Answer |
|---|---|
| How long does FSL take to dry? | Dry it flat until the piece loses all dampness and keeps its shape. |
| Can I stitch FSL on regular stabilizer? | No, the design needs water-soluble support that can be dissolved away. |
| Does metallic thread change the rinse routine? | The rinse stays the same, but finishing needs a gentler touch. |
| Should I wash out every trace of stabilizer? | Not always, a little stiffness can help some ornaments hold their shape. |
For crafters who want to turn lace pieces into a sellable line, sell crafts online in South Africa is a useful reminder that finished work only matters if the presentation and listing match the effort behind it.
Soft shopping note: Linda's keeps the parts of this workflow in one place, from stabilizer and thread to embroidery needles and the rest of the small consumables that make FSL behave on the machine. I would rather shop once and start stitching than stop halfway through a hoop because I ran out of the one thing the lace depends on.
If you are ready to stitch cleaner lace with fewer shredded edges, Linda's Electric Quilters has the stabilizer, thread, and embroidery essentials that keep FSL honest from the first stitch to the final rinse. Visit Linda's Electric Quilters to stock up for your next ornament run, then come back for more practical embroidery help and live shopping demos from the McKinney team.


