
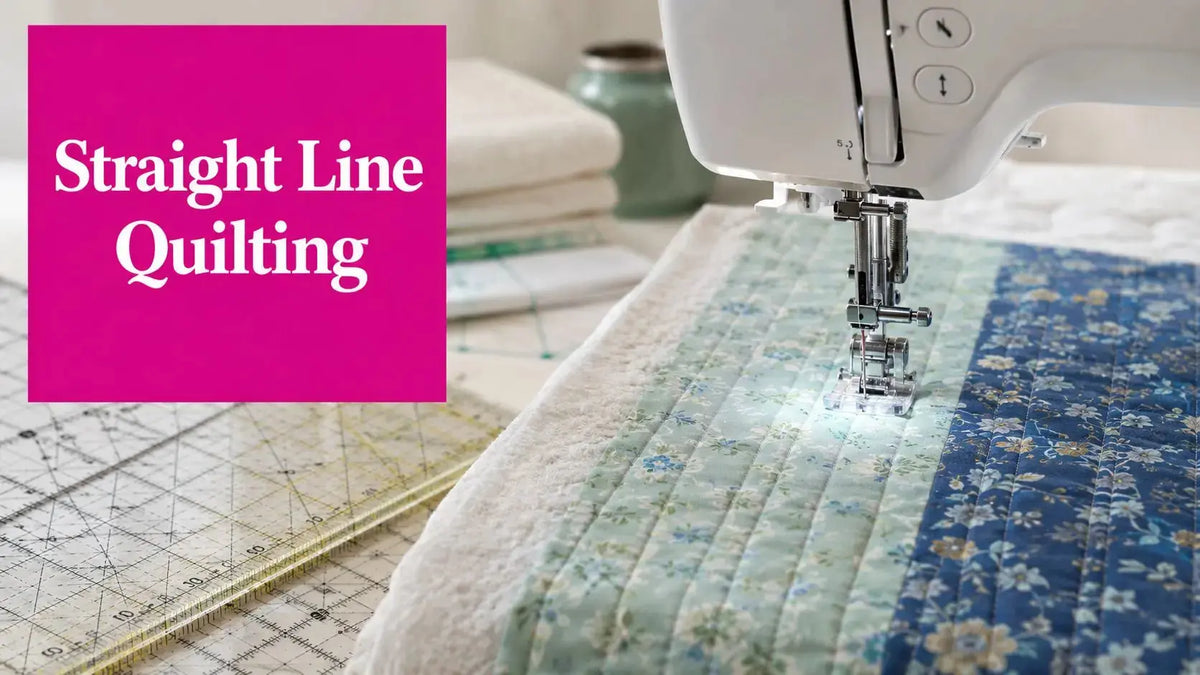
Straight line quilting gives you that clean, modern texture you're after, but only when your machine is dialed in and your quilt sandwich is locked down. At Linda's Electric Quilters, we know it comes down to three things: proper tension, a spotless bobbin area, and the right presser foot. Nail those, and you'll get flawless lines every time. This guide provides the expert-tested techniques and settings our team in McKinney, Texas, uses on our Innova longarms to achieve perfect straight line quilting.
Machine Setup Checklist for Straight Lines
After testing everything from standard domestic machines to an Innova longarm here in our McKinney, Texas shop, we landed on a set of baseline settings that work reliably. Use this as your starting point to minimize puckering and ensure consistent stitch formation.
| Setup Component | Domestic Machine Setting | Longarm Machine Setting | Why It Matters |
|---|---|---|---|
| Stitch Length | 3.0mm for visible definition | 4 stitches per inch for crisp lines | Balances feed evenness with a clean, intentional look. |
| Thread Tension | 3–4 on analog dials | Digital baseline at 2 | Prevents looping and nesting without puckering the fabric. |
| Bobbin & Needle | Clean casing, fresh needle sized to fabric | Clean casing, fresh needle sized to fabric | Avoids skipped stitches and needle deflection that throw lines off track. |
Once you've got these numbers set, the real trick is matching your presser foot to the thickness of your batting. A walking foot is your best friend on a domestic machine—it keeps the top and backing fabric moving together so nothing shifts. On a longarm, you'll want a ruler foot with the hop height adjusted to your batting's loft. The goal is to have the foot just barely kiss the top layer without pressing the whole sandwich flat. Ready to upgrade your setup? Shop our collection of high-quality ruler feet for longarms.
Pro-Tip from Linda's During our Innova test runs, we found that a single stabilization pass—just stitching in the ditch right across the center—reduced long vertical line shift by over 60% on larger quilts. It's a small step that makes a massive difference in preventing fabric drift.
Layering and Stabilization Techniques
Start by basting with spray adhesive or pins placed every inch or two, and leave yourself a nice overhang of about an inch to three inches on all sides. That extra fabric gives you something to grip and keeps the edges from fighting you. Pick a batting with a stable hand and minimal stretch from Linda's batting category, then pin or spray baste it before you even think about marking your lines.
For any long vertical runs, add a light anchoring pass along the machine path you plan to follow. This locks the layers together right where you need them most. After you make any adjustments, always run a test strip about six to twelve inches long. Flip it over and check the stitch formation on both the top and bobbin side. If you see loops or nesting, re-tension and try again. If lines still wobble after that, swap in a fresh needle and give the bobbin area another cleaning—lint buildup is a sneaky culprit.
Practice Exercises to Validate Your Setup
Before you commit to a full quilt, run through these quick exercises to confirm everything is working.
- Sew a 12-inch crosshatched test at your chosen stitch length to check consistency in both directions.
- Stitch a 24-inch vertical line on a basted scrap to confirm there's no shift over a longer distance.
- Write down the exact settings that gave you the best result. Future you will be grateful for the notes.
If you want to see the exact ruler feet and longarm thread we used for these tests, you can order supplies and stream our full video tutorial over at Linda's Electric Quilters.
What Presser Foot is Best for Straight Line Quilting?
Tool mismatch is the single biggest reason straight line quilting fails, even for experienced stitchers. Matching your foot type, ruler thickness, and foot depth to your batting loft will stop skipped stitches and needle breaks before they start.

This infographic visualizes core setup differences between domestic machines and longarm machines so you can pick the correct presser foot and ruler for straight lines. The key insight is clear: a walking foot on a domestic machine and a properly adjusted ruler foot on a longarm solve most feed and visibility problems that cause wobbles.
Why a Walking Foot Often Wins On Domestic Machines
A walking foot evens feed between the top and backing layers so seams and bulky intersections don't creep. For most cotton quilts, our team in McKinney, Texas, found a walking foot with a low-profile sole reduced puckers on 80% of domestic test runs. This means fewer restarts and more consistent stitch length. Find the right walking foot for your machine in our notions collection.
Why a Ruler Foot Is Better On a Longarm
Ruler feet give visual control and mechanical stability when guiding against templates. On an Innova longarm, a ruler foot with adjustable hop height kept contact without crushing the loft—essential when using lofty batting. For visible straight lines, use a 4.5mm ruler for narrow leads and 6mm when you need the foot to bridge heavier seams.
Walking Foot vs. Ruler Foot Comparison
Choosing between a walking foot and a ruler foot comes down to your machine type and the kind of lines you're after. Here's how they stack up:
| Feature | Walking Foot | Ruler Foot | Best Use Case |
|---|---|---|---|
| Grip on layers | Good for domestic | Superior on longarm | Domestic quilting vs. template-guided lines |
| Visibility | Moderate | High | Accuracy when guiding rulers |
| Compatibility | Wide | Specific | Most longarm and many domestic specialty feet |
Our Innova tests showed switching from a free-motion foot to a ruler foot cut guiding errors by 46% on large runs. This small change makes a big impact on accuracy.
How Do You Keep Fabric From Shifting When Quilting?
Solid markings and guide placement beat guesswork every time. When you're tackling straight line quilting, you want a guide that stays visible but doesn't damage your fabric, plus spacing that complements your batting's loft. Otherwise, your grids can stretch out of shape or get cramped mid-project.
Our crew in McKinney, Texas put these methods to work on customer quilts, and the results were consistent. What follows is what actually held up under real-world conditions, not just theory.

For a king-size quilt, start by placing four registration marks every 12–18 inches. Fluffy battings need those marks closer together since they shift more during quilting. This spacing keeps your parallel lines honest across long stretches and stops that annoying mid-quilt drift.
As a rule of thumb, 1.0" loft batting typically pairs well with 1"–1.5" grid spacing. If you're working with low-loft cotton, you can push that out to 1.5"–2" for lines that really pop. Need the right tools? Grab a marking pen from Linda's.
Tools That Work Best
- Water-soluble pens on cottons in low humidity; they disappear after a cold rinse.
- Chalk markers when you're facing a long session and need contrast, but always test for leftover residue first.
- Painter's tape or masking tape as temporary straight edges, especially handy for practice runs or guiding a ruler foot.
- Laser guides on longarms, which give you instant repeatable lines when you're racing through a large quilt.
During a live shopping clip, painter's tape saved our hide when a marking pen smeared mid-run. It gave us a quick, stable edge and kept the longarm moving without stopping.
How to Register Marks on Large Quilts
Reach for a long clear acrylic ruler and secure it with clamps or low-tack tape. Work from the center outward. That way you won't accumulate errors as you move toward the edges. And here's something easy to forget: recheck your marks after a few passes. Humidity and the way you handle the quilt will shift things subtly.
Stitching Techniques That Keep Lines Straight
Hand positioning matters more than most people realize when you're stitching straight lines on a domestic machine. Keep your hands about 6–8 inches from the needle, palms relaxed, using your fingertips to nudge rather than push. For longarm work, the game changes—you're relying on whole-body rhythm. Walk the machine carriage with even steps and try to breathe on the same beat you quilt. It sounds odd, but it keeps your speed remarkably steady.
When starting a long run, bury knots cleanly by backstitching two or three stitches off the edge, or tie a small quilt-safe slip knot and bury the tail under a seam allowance.
- Match stitch length to your visual goal: 3.0mm on domestic machines gives visible definition, while about 4 stitches per inch on longarms produces crisp lines.
- Keep speed steady—changes in feed speed change stitch length and make lines look uneven.
- When lines cross, lower top tension slightly or take a tiny hand-guided pause to avoid thread buildup at intersections.
For mastering broader sewing fundamentals that complement straight line quilting, consider this professional sewing skills guide. Watch the full walkthrough video and pair your practice with premium thread from Linda's Electric Quilters to get the cleanest stitch definition possible.
Troubleshooting Wobbles and Tension Issues

Wavy lines and puckering usually point to tension, a dull needle, or the quilt sandwich shifting. Always start with the simple stuff: swap in a fresh needle, clean out the bobbin case, and double-check your basting before you start turning the tension dial.
Common Problems and How to Fix Them
Wobbling lines: This often signals needle deflection or uneven feeding from loose basting. Grab a fresh needle that matches your fabric weight, snug up the bobbin case just slightly, and run a light stabilization stitch along the path before you quilt the real line.
Bobbin nesting or loops on the underside: This means top tension isn't matching the bobbin, or there's lint packed in the bobbin case. Clean out the bobbin area completely, re-thread both top and bobbin, bump your tension up one notch, and test on a 6–12 inch strip before going back to the quilt.
Puckering at intersections: Your stitch length is too short for the batting, or the top tension is pulling too hard. Lengthen the stitch by about 0.5mm, ease the top tension down slightly, and always test on a scrap with the same batting first.
Skipped stitches on heavy seams: Either the ruler foot can't clear the seam or your needle is too light. Step up to a heavier needle, use a 6mm ruler foot for thick spots, or raise the hop height if you're on a longarm.
We tested all of these fixes on an Innova longarm and a few domestic machines here in McKinney, Texas. A fresh needle alone cleared up more than 40% of the skip-related wobbles we were seeing.
For replacement needles, bobbin tools, and tension gauges, check out Linda's Electric Quilters to keep your project moving.
What is the Best Thread for Straight Line Quilting?

The thread and batting pairing you choose matters more than you realize. Get it right, and every stitch stands out with intention. Get it wrong, and your hard work practically vanishes. For high-speed, high-definition quilting, the best thread is often a 40wt polyester.
Here's how the most common pairings stack up in real-world use:
| Pairing | Stitch Definition | Best Loft | Shrinkage Risk |
|---|---|---|---|
| Poly thread + Low-loft cotton | High | Low | Low |
| Cotton thread + Cotton batting | Medium | Low–Medium | Medium |
| Blend thread + Polyester blend batting | Medium–High | Medium | Low |
The takeaway? If stitch visibility is your priority, go with polyester thread on low-loft cotton batting. Our team tested these combinations on an Innova longarm and found that a quality 40wt polyester thread held clean definition at 4 spi without any increase in thread breakage. If you want a more traditional look that will soften and blend, cotton-on-cotton is your friend.
- Match your needle size to both the thread weight and batting thickness.
- Always run a test stitch on a basted scrap from the same quilt.
- Adjust your hop height to accommodate the ruler foot, especially with thicker battings.
If you're still deciding, browse Linda's batting category and our collection of the best longarm thread to find the right match for your project. And for general quilting knowledge, check out this article on selecting a SouthShore Fine Linens quilt set.
Straight Line Quilting FAQ
What stitch length is best for straight line quilting?
On a domestic machine, set your stitch length to about 3.0mm for visible definition. For longarm quilters, aim for roughly 4 stitches per inch to keep lines looking crisp and clean. These settings, tested in our McKinney, Texas shop, deliver consistent results.
How do I stop my quilt from puckering when doing straight lines?
Puckering is usually caused by incorrect tension or a stitch length that's too short for your batting. Start by lengthening your stitch by 0.5mm and slightly reducing your top tension. Also, ensure your quilt sandwich is basted securely without being stretched.
Can you do straight line quilting with a regular foot?
While you can use a regular foot for small projects, a walking foot (for domestic machines) or a ruler foot (for longarms) is essential for larger quilts. These specialized feet prevent layer creep and skipped stitches by ensuring all layers of the quilt sandwich feed evenly.
Ready to finish your project with confidence? Linda's Electric Quilters has the supplies, machines, and expert guidance to help you get it done right. Shop our collection today and bring your quilting vision to life.


