
An embroidery stabilizer is a special backing material that supports fabric during machine embroidery, preventing puckering, stretching, and stitch distortion. The main choices are cut-away, tear-away, wash-away, and specialty stabilizers, and the right one depends on fabric stretch, design density, and the finished garment's comfort.
You've probably seen the problem firsthand. The design looked crisp on the machine, but once the hoop came off, the fabric rippled around the lettering, the edges pulled inward, or the stitches no longer lined up. At Linda's shop, we treat stabilizer as the foundation beneath the embroidery, much like a building foundation supports every floor above it. Choose the wrong foundation, and even beautiful thread and careful tensioning can't fully rescue the project.
Why Stabilizer Is Your Most Important Embroidery Tool
Embroidery stabilizer supports fabric against the pulling force of stitches. Every needle penetration and thread path adds tension to the material. Without enough support, lightweight, stretchy, loosely woven, or textured fabric can shift while the design forms.
That movement creates familiar symptoms:
- Puckering: The fabric gathers around dense satin stitches or filled areas.
- Poor registration: Design elements stop meeting cleanly because the fabric moved.
- Distortion: Circles become uneven, lettering loses shape, or borders pull inward.
- Show-through: Backing remains visible from the front or makes the garment feel unnecessarily stiff.
The important question isn't, “What stabilizer do I have?” It's, “What does this fabric need while the design is being stitched?” A stable denim jacket and a flexible polo may carry the same logo, but they don't need the same mechanical support.
Why the backing stays hidden in the finished result
Stabilizer is engineered in distinct removal classes, including cut-away, tear-away, wash-away, and specialty or heat-away options. The backing's behavior must match the fabric's stretch and the design's stitch density. Non-stretch woven fabrics can usually use tear-away, which provides temporary support and is removed after stitching. Knits and other unstable textiles generally need cut-away because it remains behind the stitches and continues resisting distortion after the garment leaves the hoop. AllStitch's embroidery stabilizer guide explains this relationship between fabric behavior and stabilizer choice.
The distinction matters most on clothing. A T-shirt needs support that continues working after embroidery, while a firm woven napkin may only need temporary help during stitching. The finished hand, meaning how the fabric feels, also matters. A stabilizer that produces a perfect stitch-out but leaves a scratchy or rigid back may still be the wrong choice for something worn next to the skin.
Practical rule: If the fabric stretches in your hands, plan for support that stays with the design instead of relying only on a temporary backing.
Stabilizer is now treated as a technical input, not a disposable scrap of material. For a broader business-oriented look at backing selection, review this guide for businesses on embroidery backing before planning production work.
The Main Types of Embroidery Stabilizer Explained
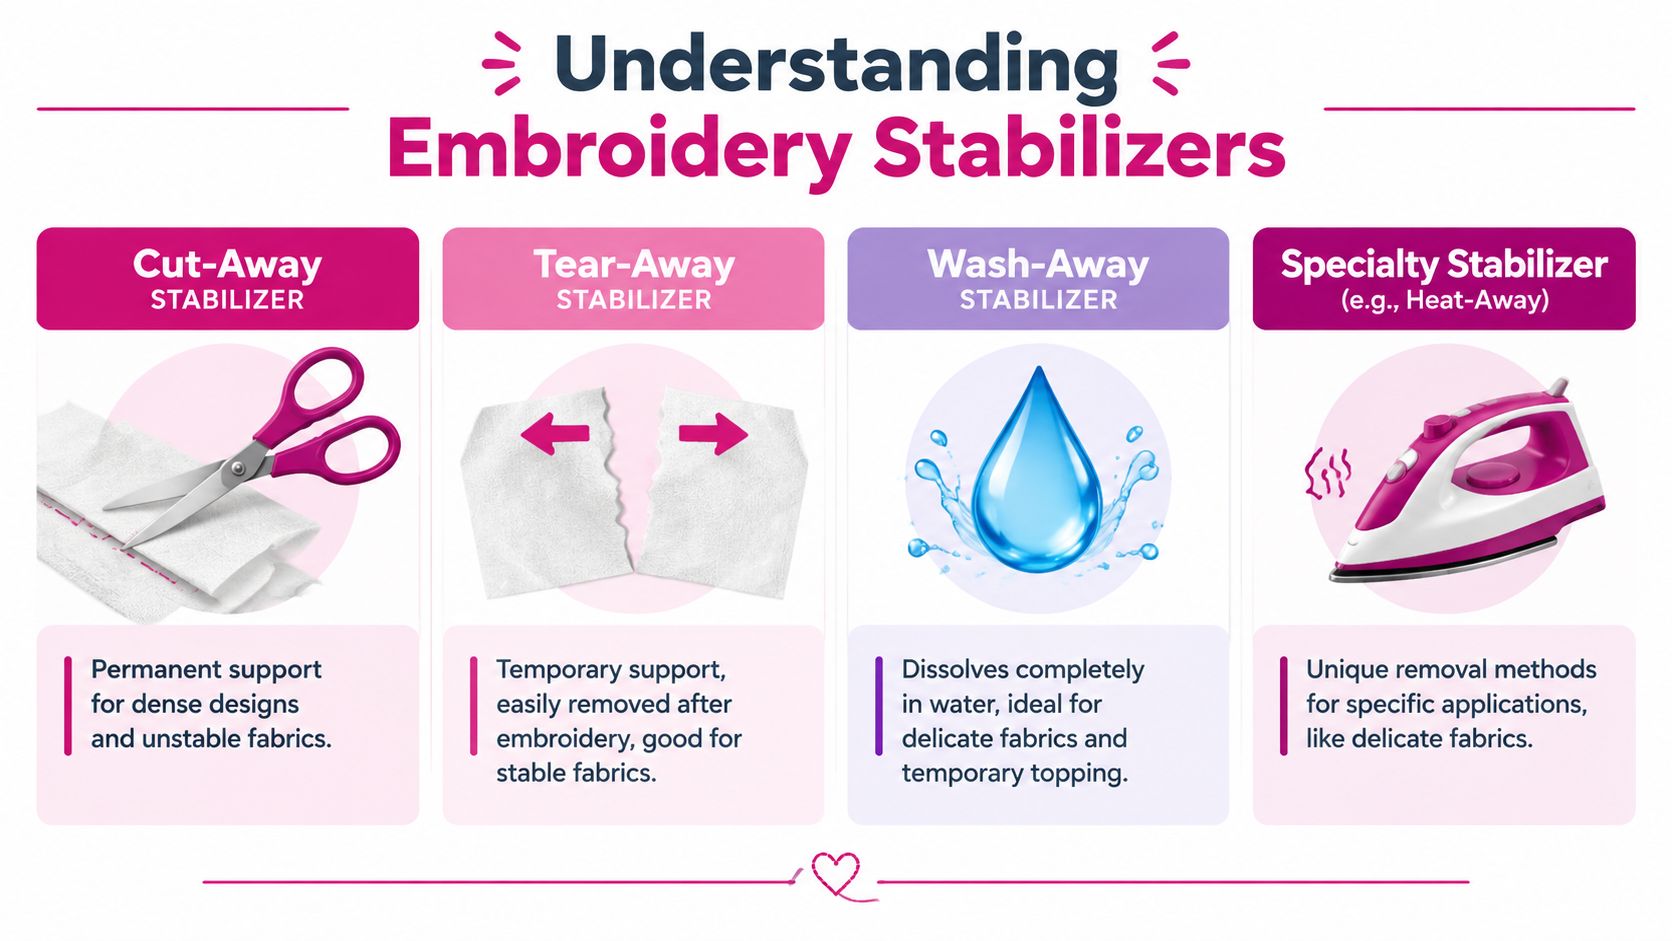
The easiest way to understand stabilizer is to focus on the removal method. Each family solves a different support problem.
Cut-away stabilizer
Cut-away stabilizer remains behind the embroidery permanently. It's the dependable choice for stretchy or knit fabrics, including T-shirts and polos, because it keeps resisting stitch-driven distortion after the project is finished. Dense logos, large filled designs, and garments that will be worn and laundered often benefit from this lasting support.
After stitching, trim the excess close to the design without cutting the garment or the stabilizing foundation beneath the embroidery. Some cut-away products are made in lighter weights or mesh constructions when you need support with a softer final hand.
Tear-away stabilizer
Tear-away stabilizer provides temporary support and is removed after stitching. It generally suits stable woven fabrics, such as firm cottons, canvas, and denim, where the fabric itself already resists stretching.
Removal must match the stitch direction and design structure. Pulling too aggressively can tug on stitches or distort a fine edge, so tear the excess gradually and support the embroidered area with your other hand.
Wash-away stabilizer
Wash-away stabilizer dissolves completely in water. It's useful when no visible backing should remain, especially for sheer fabrics, freestanding lace, badges, and finished-edge embroidery projects. It can also serve as a topper on pile fabrics, such as towels, where the surface texture could swallow stitches and reduce legibility. The University of Illinois tutorial on choosing embroidery stabilizer covers these applications.
Specialty stabilizers
Specialty products include heat-away, fusible, tacky, adhesive, and self-adhesive versions. They help when ordinary hooping could distort the project or when the fabric is difficult to secure.
Fusible stabilizer bonds to the fabric with controlled heat. Tacky and adhesive versions hold small or awkward items in place, while heat-away products suit applications where water isn't practical. Test specialty products on a scrap first, especially with delicate fibers or heat-sensitive materials.
| Stabilizer Type | Best For (Fabric) | Design Density | Removal | Final Feel (Hand) |
|---|---|---|---|---|
| Cut-away | Knits, polos, T-shirts, unstable textiles | Medium to dense designs | Trim with scissors | Persistent support, with hand depending on weight |
| Tear-away | Stable woven fabrics, denim, firm cotton | Light to medium designs, with heavier options for denser work | Tear away carefully | Cleaner edge after removal |
| Wash-away | Sheers, freestanding lace, towels as a topper | Designs needing clean visibility or no backing | Dissolves in water | No backing remains after removal |
| Specialty or heat-away | Delicate, small, awkward, or hard-to-hoop items | Depends on product and application | Heat, adhesive release, or product-specific method | Varies by construction |
You can browse Linda's stabilizer selection when you know whether your project needs permanent support, temporary support, dissolving support, or improved hooping control.
How to Select the Perfect Stabilizer
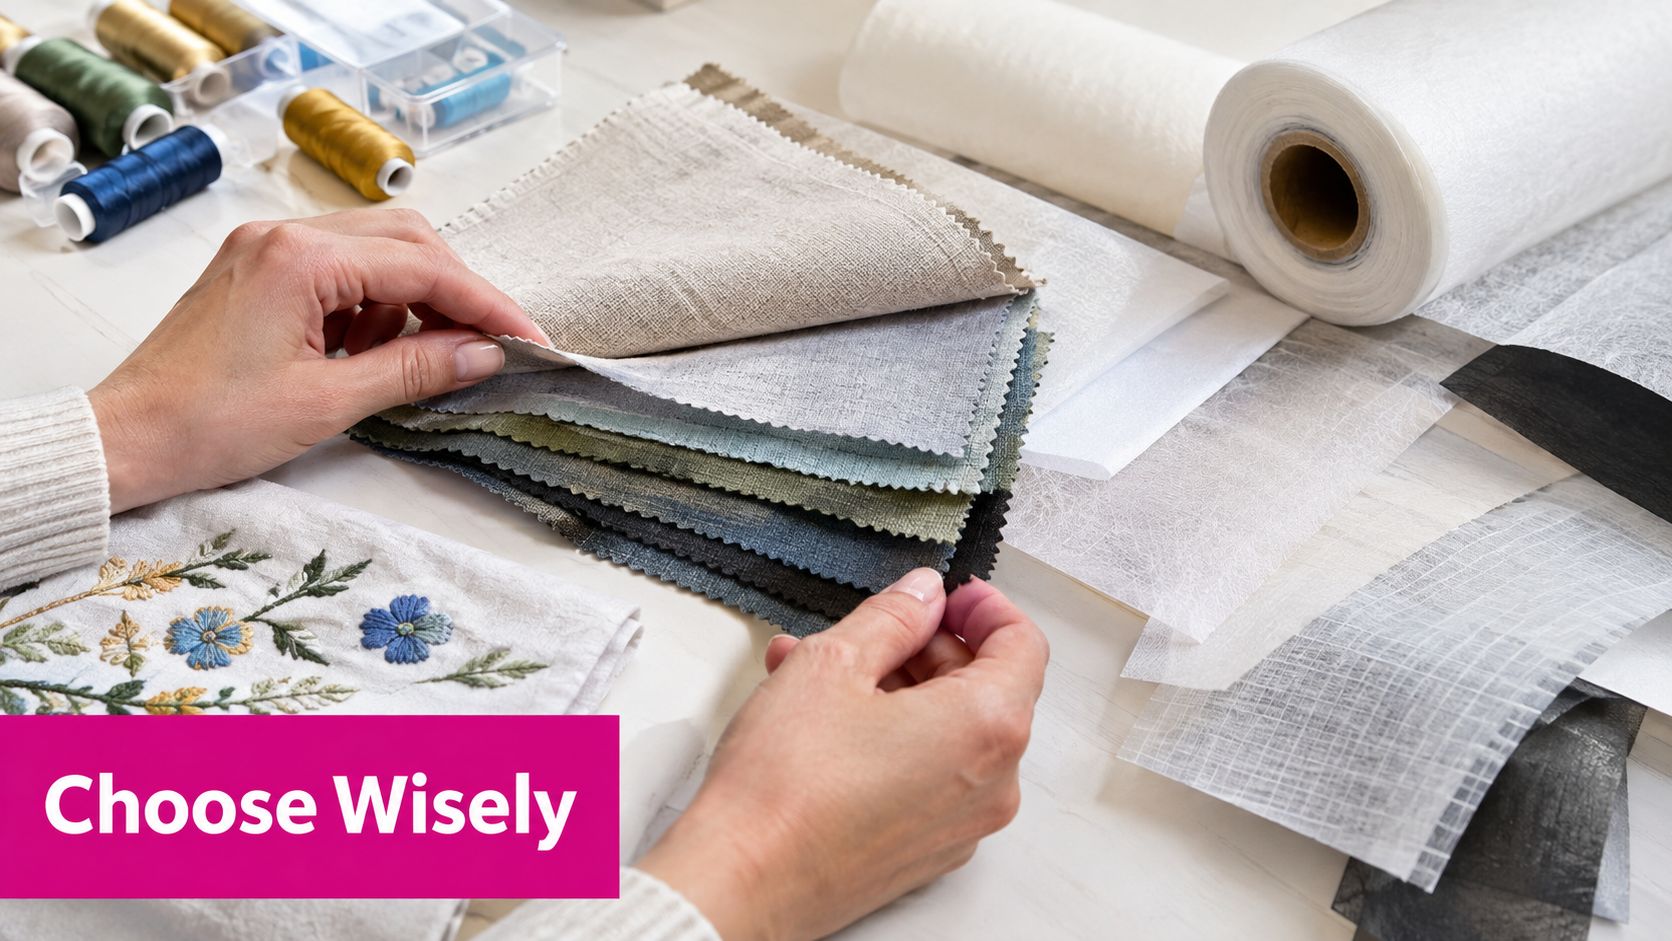
Start with two questions: How much does the fabric stretch, and how much force will the design create? Those answers usually narrow the choice before brand or color enters the conversation.
Test the fabric before you hoop
Hold the fabric in both hands and gently pull it across the intended embroidery area. You don't need a measuring device. You're checking whether the material springs back easily, shifts on the grain, or feels firm and stable.
A stretchy polo with a dense chest logo needs persistent support. A sturdy denim jacket carrying a small name can usually work with a temporary tear-away. Terry cloth adds another challenge because its loops can allow stitches to sink, so a water-soluble topper may improve surface clarity.
Design density matters just as much. A small outline places less demand on the fabric than a broad filled shape or tightly packed satin lettering. Dense designs generally need more stabilization to reduce puckering and gapping, and stabilizers are commonly available in light, medium, and heavy weights. OESD's machine embroidery stabilizer basics describes weight as an important part of the selection process.
Use the finished hand as a deciding factor
The right backing must support the stitches without making the finished item unpleasant. A baby garment, sleepwear, or lightweight performance shirt may need a softer mesh cut-away or a backing designed to reduce irritation. A decorative wall hanging can tolerate a firmer result because drape and skin comfort aren't central concerns.
Think through the project's end use:
- Wearable garments: Prioritize lasting support and a comfortable hand.
- Stable home textiles: Consider whether temporary removal gives the cleanest reverse.
- Pile fabrics: Add surface control so stitches remain legible.
- Sheer or freestanding work: Choose a product that disappears or rinses away.
- Small hoopless items: Look for tacky or adhesive support that prevents shifting.
Linda's team in McKinney, Texas, approaches the choice by testing the fabric, design, and stabilizer together rather than treating the product label as a complete answer. A small test stitch-out can reveal more than a confident guess, especially when tensioning, hoop pressure, and bobbin casing settings also affect the result.
Applying and Removing Stabilizer Like a Pro
Good stabilizer can still fail if the layers aren't prepared correctly. Cut the backing large enough to support the full hoop area, smooth the fabric without stretching it, and make sure the grain and surface lie naturally before tightening the hoop.
Build a stable hooping setup
For a standard project, place the stabilizer beneath the fabric and hoop both layers together. Tighten the hoop until the fabric is secure, but don't pull the material drum-tight. Overstretching can create distortion that appears only after the fabric relaxes.
For delicate or hard-to-hoop items, float the fabric over a hooped stabilizer. Tacky or adhesive backing can help hold the project in position, while fusible versions can bond layers when the fabric allows safe pressing. These products improve hooping control and help prevent shifting, registration errors, and puckering. In commercial embroidery, stabilizer is also commonly called backing, as noted in Embroidery Legacy's stabilizer guidance.
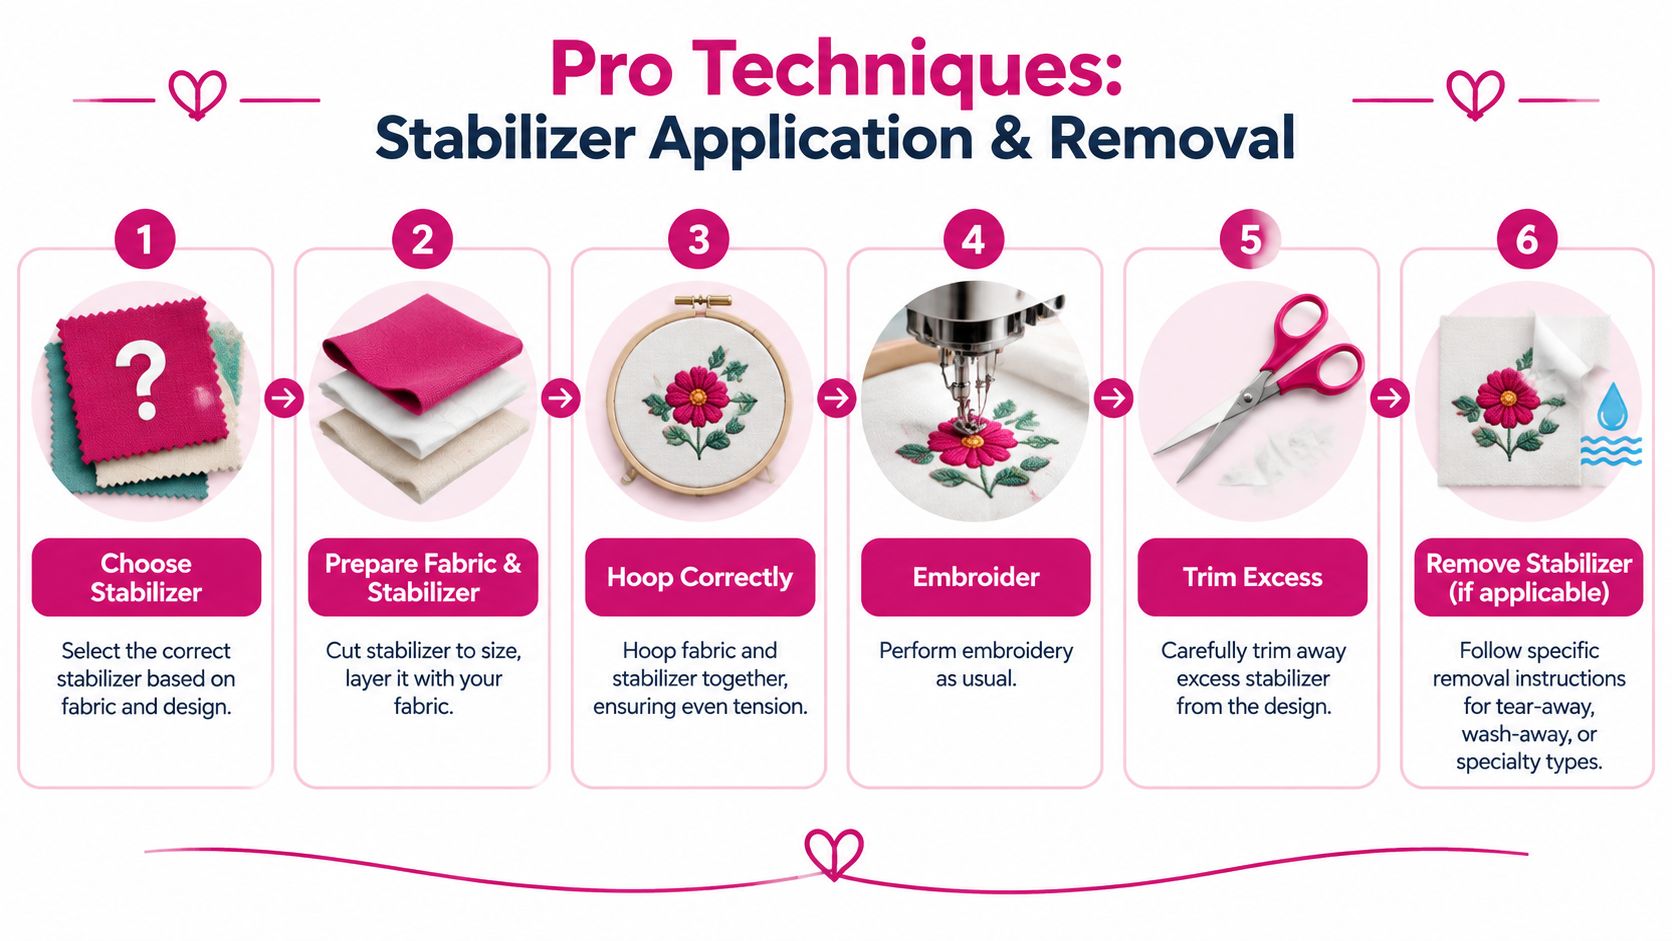
- Choose the backing according to stretch, density, texture, and end use.
- Cut and layer the materials so the backing supports the entire stitching field.
- Hoop with even tension and confirm that the fabric hasn't been pulled off grain.
- Check the edges before starting, particularly with garments that can catch beneath the hoop.
- Run the design while watching for shifting, looping, thread breaks, or unusual resistance.
- Remove the backing using the method intended for that stabilizer family.
Remove each type with restraint
Trim cut-away from the reverse with sharp embroidery or applique scissors. Keep the blades parallel to the garment and leave the stitched foundation intact. Tear-away should come away in controlled pieces, with the design supported so the stitches aren't pulled sideways.
Wash-away products need enough water to dissolve fully, but don't scrub the embroidery while it's vulnerable. Follow the manufacturer's care directions and let the item dry in its intended shape.
A light application of temporary spray adhesive can help a floating piece stay aligned. Spray the stabilizer rather than saturating the garment, allow the adhesive to become tacky, and test first because residue and overspray can affect some fabrics.
Watch the machine embroidery stabilizer tutorial while preparing your next hooping setup.
Troubleshooting Common Embroidery Stabilizer Issues
Most embroidery failures leave clues. Read the fabric and the design's reverse before changing machine settings, then connect the symptom to the support problem.
Puckering around the design
Puckering means the fabric shifted more than the stabilizer could control. A dense design may need stronger backing, stretchy fabric may need permanent support, or hooping may have pulled the material out of shape. Stabilizer works like a building foundation: if the base moves, the finished structure shows the movement.
For a knit garment, choose cut-away support so it remains behind the stitches. On stable woven fabric, a firmer temporary backing can control a dense design. Tightening the hoop further is not a reliable fix, because excess tension can create additional distortion.
Registration shifts and gapping
If outlines no longer meet or filled areas show gaps, inspect every layer for movement. Tacky or fusible stabilizer can improve control on slippery items, while persistent backing helps unstable fabric keep its shape.
Thread choice can also affect detailed work. Linda's 10000 White Glide 60 Polyester Thread has a finer profile that allows easier needle penetration and less bulk in dense fills. That can keep small details cleaner, but fine thread cannot provide fabric support. Match the stabilizer to both the material and the design.
Stabilizer showing through
Visible backing may come from the wrong removal class, trimming too far beyond the design, or a stabilizer color that contrasts with the garment. Use wash-away support when the finished edge must show no backing. For permanent support, trim carefully from the reverse without cutting into the stitched foundation.
Choose the product by asking two questions: how much can the fabric stretch, and how dense is the design? Stretchy fabric or dense stitching needs support that remains in place. Stable fabric with lighter stitching can often use temporary backing. For uncertain combinations, a small test sample is the safest way to prevent puckering and exposed support.
Madeira's stabilizer selector can help compare stabilizer choices by fabric and embroidery needs.
Frequently Asked Questions About Stabilizer
Can I reuse embroidery stabilizer?
Usually, no. Once a stabilizer has been hooped, stitched, torn, cut, or exposed to adhesive, its support may be uneven. Clean scraps can sometimes help with small tests, but they shouldn't replace fresh backing for a finished project.
Is stabilizer the same as interfacing?
No. Interfacing is generally used to add body or structure to sewn fabric, while embroidery stabilizer controls movement during stitching. Some products may look similar, but their purpose, removal method, and performance under dense needlework differ.
How do I choose between light, medium, and heavy stabilizer?
Match the weight to the fabric and design. Stable material and a light design may need lighter support, while stretchy fabric, dense fills, or porous surfaces call for more persistent stabilization. Test a small sample if you're unsure.
Should I use cut-away on every garment?
Not every garment needs the same product, but stretchy or knit clothing generally benefits from cut-away because the backing remains in place and continues resisting distortion. Stable woven garments may use tear-away when a cleaner temporary backing is appropriate.
Do towels need a topper?
Often, yes. A towel's pile can allow stitches to sink into the surface. A water-soluble topper keeps the design visible while the embroidery forms, then dissolves after the project is complete.
Linda's Electric Quilters offers embroidery stabilizers, threads, fabrics, and sewing notions for projects ranging from wearable logos to decorative embroidery. Visit Linda's Electric Quilters to choose backing based on your fabric's stretch, design density, and desired finished hand before you start stitching.


