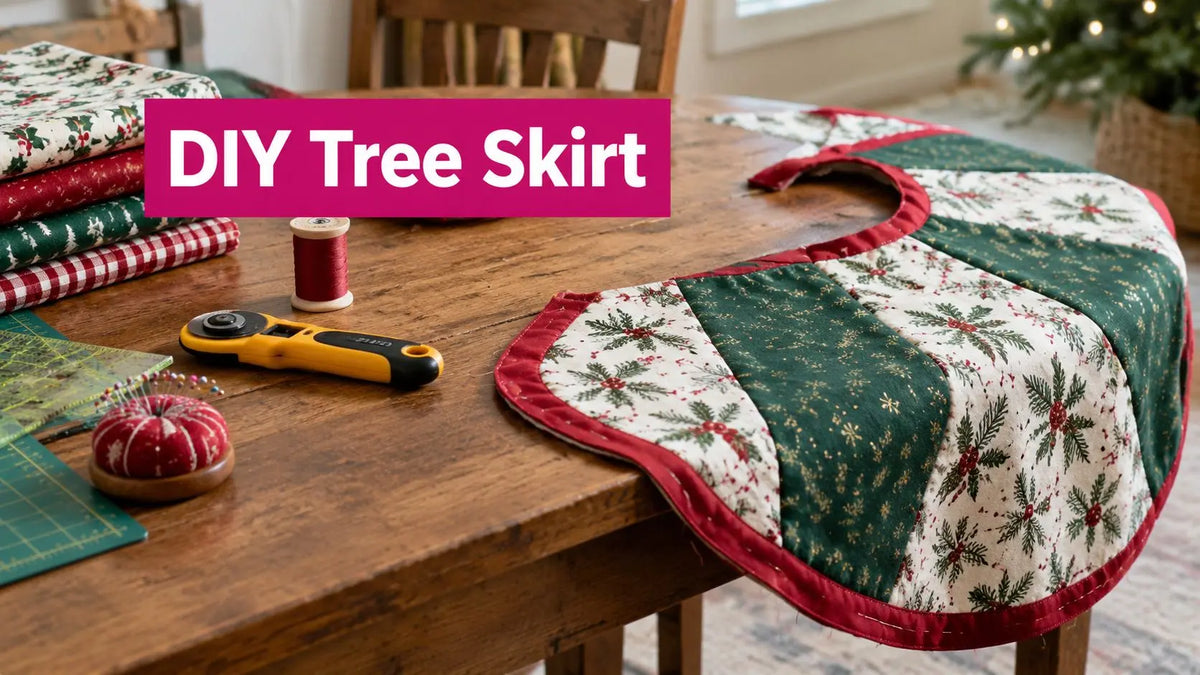
The tree is up, the ornaments are glowing, and the stand is still sitting in plain sight on the floor. A DIY Xmas tree skirt solves that unfinished look while catching fallen needles and giving gifts a defined landing place. For the fastest result, use a simple round fabric base or a no-sew wrap. For a durable holiday heirloom, build a quilt sandwich with batting, backing, binding, and a carefully sized center opening.
The right project depends on three decisions: diameter, construction method, and edge finish. A slim tree needs a different proportion from a full one, and a bulky pre-lit stand may need a larger opening than the tree itself suggests. The guidance below uses quilting methods that work well on a domestic machine or longarm setup, with practical checkpoints for drape, loft, tensioning, and seasonal storage.
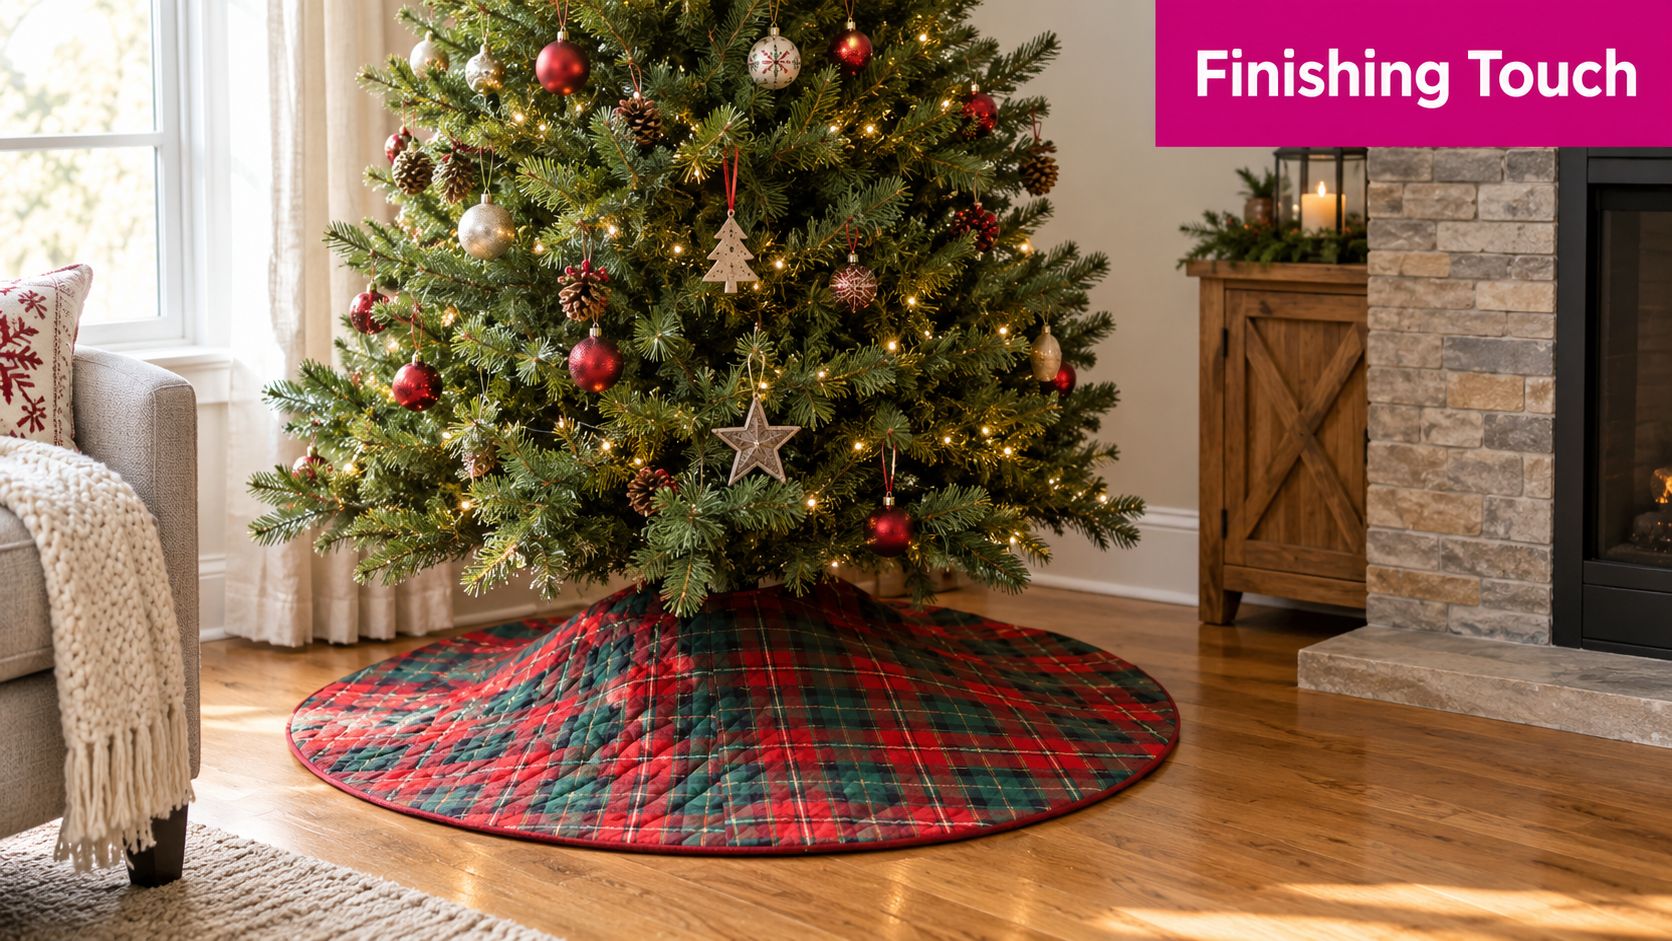
The skirt has a surprisingly practical history. In 19th-century Germany, families placed cloths or simple mats beneath live trees to catch hot candle wax and falling pine needles. By the early 20th century, the idea had reached the United States, where the skirt became a decorative way to conceal the tree stand and create a finished base. Historical accounts place German Christmas tree decorating as far back as the 16th century, with one source citing an early recorded tree in 1419, so the skirt is a relatively recent addition to an older custom. Read the background on Christmas tree skirt history.
Electric lights and artificial trees later reduced the need to catch candle wax and debris, helping the tree skirt become a standard seasonal craft project. That shift also explains why quilting techniques remain so useful. Circular piecing, layered batting, binding, and topstitching turn a basic floor covering into a structured decorative piece. If you're planning a dramatic display around a particularly tall tree, this guide to buying a 15 foot Christmas tree can help you think about scale before choosing fabric.
Pro-Tip: Decide the skirt diameter before choosing the print. A small repeat can support piecing, while a large directional motif may look better on a full, unbroken circle.
Sizing Your Skirt and Calculating Yardage Without Guesswork
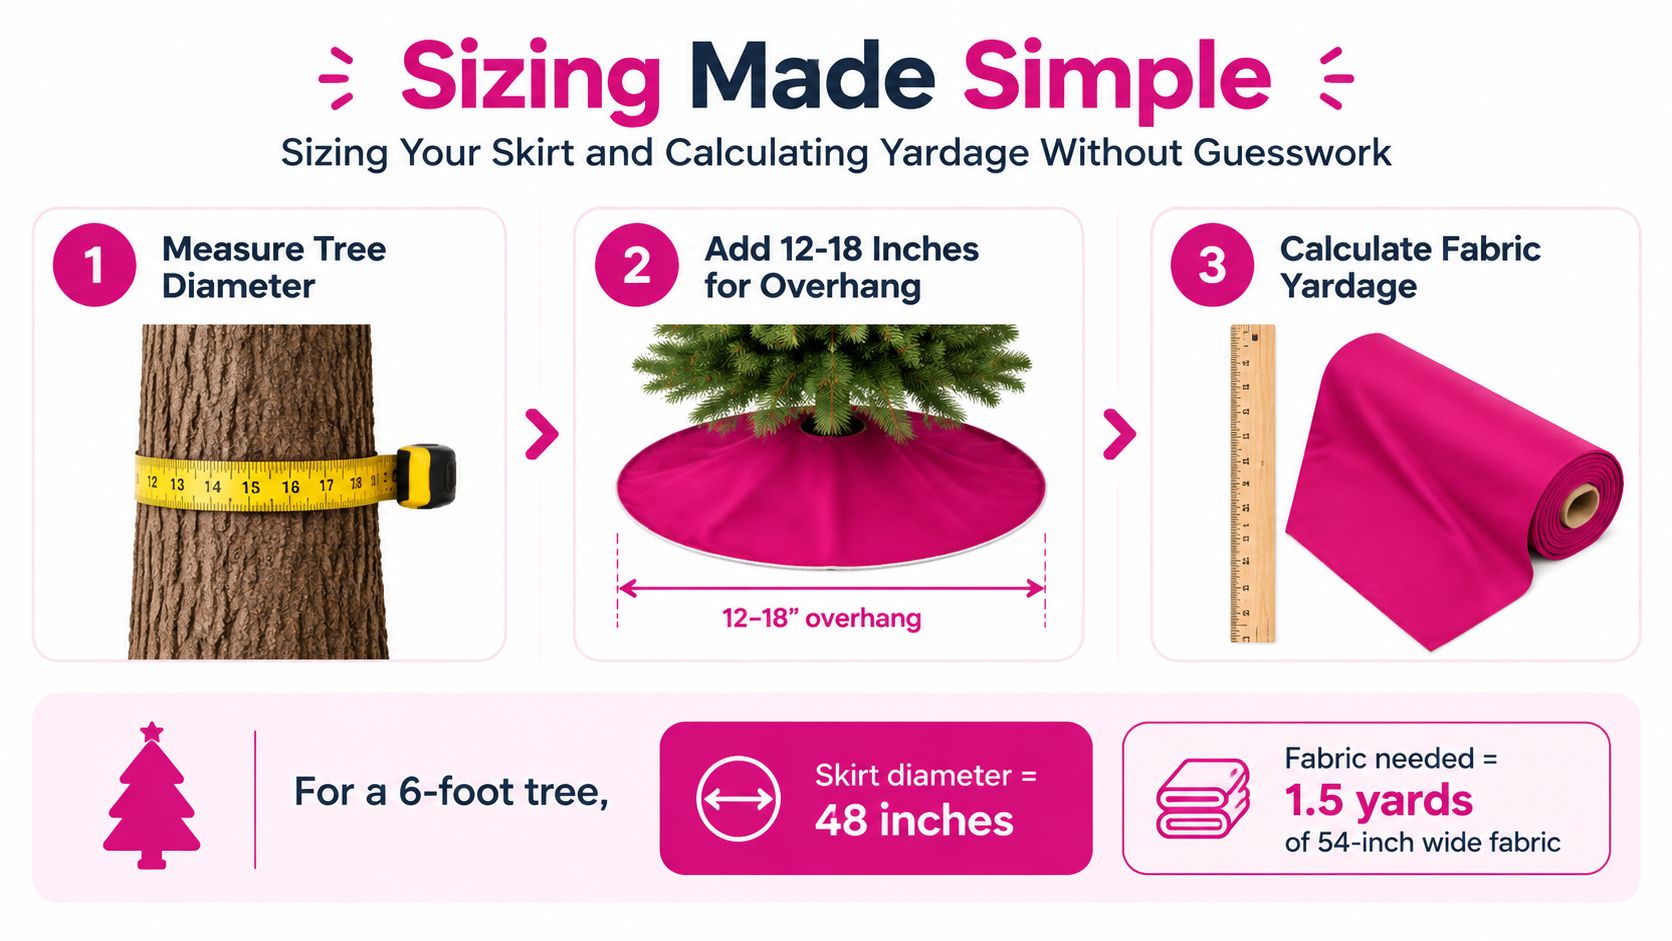
A good DIY Xmas tree skirt begins with the stand, not the fabric. Measure the widest part of the tree near the floor, measure the stand or stand tube, and note how much fabric you want visible beyond that footprint. The finished skirt should cover the stand without bunching, while leaving enough overhang to create intentional drape.
For a standard reference, one tutorial recommends a 44-inch minimum diameter for a 6-foot tree, with 2½ yards of fabric for a two-circle skirt when the fabric is at least 44 inches wide. With two contrasting fabrics, that guide recommends 1¼ yards of each. Review the 6-foot tree yardage example.
Another sizing guide uses a 48-inch diameter for trees under 7 feet and a 56-inch diameter for trees over 7 feet. For unusual proportions, it recommends making the skirt 4 to 6 inches larger than the tree's widest part. See the diameter thresholds and custom margin.
Measure the opening separately
The center opening should fit around the stand tube or trunk area, not just match a guessed tree diameter. One practical tutorial measures a 10-inch stand tube, doubles that measurement to 20 inches, and cuts a 20-by-20-inch square before shaping the opening. See the stand-first measuring method.
For a wraparound skirt, cut a slit from the outer edge to the center opening and finish both slit edges. For a skirt that must be installed before the tree is fully assembled, a closed center circle can work better. Leave enough room for the stand's widest hardware, especially on pre-lit trees with bulky bases.
| Tree Height and Stand Type | Recommended Diameter | Yardage at 44-inch Wide Fabric |
|---|---|---|
| Slim tree with compact stand | Measure the tree base, then add a modest overhang | Confirm by pattern layout before cutting |
| 6-foot tree, standard stand | At least 44 inches, with 48 inches as a common standard | 2½ yards for a two-circle skirt |
| Tree under 7 feet, ordinary stand | 48 inches | Calculate from the chosen circle layout |
| Tree over 7 feet | 56 inches | Calculate from the chosen circle layout |
| Tall or bulky-stand tree | Tree width plus 4 to 6 inches, with a larger center opening if needed | Add fabric after checking the full pattern placement |
The table's 44-inch and 48-inch reference points come from the cited sewing and quilting guides above. For a 6-foot tree, an infographic reference shows a 48-inch diameter and 1.5 yards of 54-inch-wide fabric, but treat that as a layout-specific example rather than a universal yardage rule. See the sizing infographic
Before cutting, account for expected shrinkage if you're using quilting cotton and plan to wash the finished piece. Test the fabric's drape with the batting you selected. A stiff layer can make a slim tree skirt stand away from the floor, while a soft layer may settle beautifully but need more quilting to hold its shape.
Cutting and Layout for Circular and Wedge Tree Skirts
Once the measurements are settled, transfer them to a full-size paper template or a marked fabric square. For a full circle, fold the fabric in quarters and mark the outer radius from the folded center. Cut the center opening from the same point, then mark the slit if the skirt will wrap around an assembled tree.
A wedge design offers more control over color and print direction. Public tutorial examples use 8 or 18 segments, and an eight-section layout is approachable for a first pieced skirt. Every wedge must share the same dimensions, including the inner and outer curves. If one seam is wider than the others, the circle can fail to close smoothly.
Build the geometry before the quilt sandwich
Cut the front, backing, and batting to the same overall shape when using a layered construction. For pieced wedges, join the fabric sections first, press the seams consistently, and then use the completed top as the template for backing and batting. Directional prints require extra attention. Lay every wedge in order before sewing so trees, stripes, or lettering don't rotate unexpectedly around the circle.
The seam allowance matters more than it appears. Tutorials for wedge-based skirts call ¼-inch accuracy critical for closing the circle correctly, and they recommend basting or managing the batting as part of the quilt sandwich. Review the segmented construction guidance.
Pin or clip around the curves, matching quarter points first. A walking foot helps feed the layers evenly and reduces shifting and puckering. On a longarm, keep the backing tensioned without stretching it, and use a light hand when advancing the quilt sandwich. Excess tension can distort the outer circle, especially with lofty batting.
Cut one wedge from paper first. If it folds cleanly around the center and reaches the intended outer radius, use it as the master template for every fabric section.
Curves also need preparation before inversion. A reliable construction pattern leaves a turning gap and recommends clipping or notching curved seams before turning so the seam allowance can spread without creating bulky ridges. See the layered construction and curved-edge method.
Sewing Your DIY Xmas Tree Skirt From Sandwich to Finished Edge
A quilted skirt feels substantial because the layers work together. Place the backing right side down, position the batting, and smooth the pieced or whole-cloth top over it. Baste from the center outward, keeping the layers flat rather than pulling them tight.
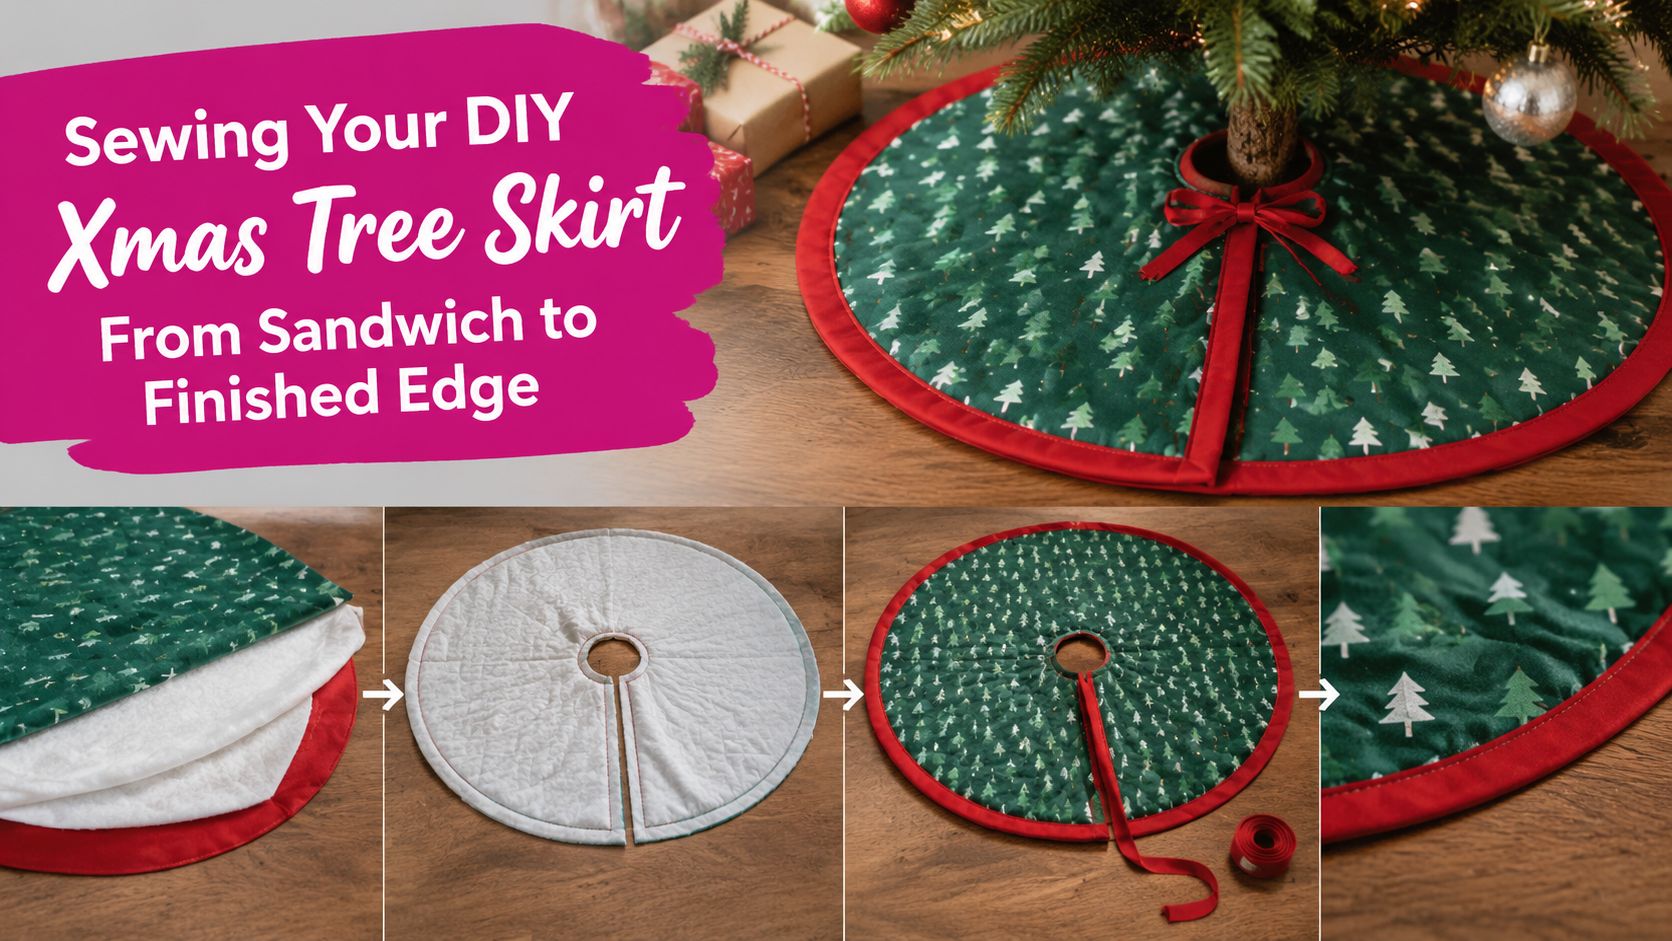
If you're making a reversible pillowcase-style skirt, place the front and backing right sides together and sew around the outside and center opening with a ¼-inch seam allowance. Leave a 4- to 9-inch turning gap open. The cited pattern also recommends clipping or notching the curves before turning. Use the full construction reference for the turning-gap method.
For a quilted version, baste the sandwich first, then quilt with straight lines, a gentle curve, or a continuous design. Keep the quilting density appropriate to the batting's loft. Heavy quilting can flatten a lofty layer and change the skirt's hand, while sparse quilting may leave the center and outer edge less stable.
Watch the edge as carefully as the center
After stitching, trim loose threads and clip the inner and outer curves without cutting into the seam. Turn the skirt right side out, work the curves gently with a turning tool, and press with care. A narrow topstitch closes the turning gap and gives the edge a crisp outline. Binding is another dependable choice, particularly for a wraparound slit that will receive repeated handling.
Our team in McKinney, Texas, tested this workflow on an Innova longarm and found a walking foot essential for smooth edges when feeding layered sections through the machine. Pay attention to upper-thread tension and the bobbin casing when topstitching through batting. If the bobbin thread pulls upward, check tensioning before changing stitch length. If the layers drag, re-baste rather than forcing the fabric through.
For a separate sewing project with similar precision concerns, sewing a baseball cap step by step offers useful practice with curved seams, controlled allowances, and careful pressing.
The video below provides a visual reference for the sequence. Watch the construction before cutting so you can compare its opening style and edge treatment with your own measurements.
Pro detail: Reduce bulk at the opening by staggering the batting edge slightly inside the fabric seam allowance. The center will turn more cleanly, and the finished opening won't form a thick ridge beneath the tree trunk.
Choosing Between Quilted Sewn and No Sew Construction
The best construction method depends on how the skirt will be handled. A sewn quilted skirt takes more preparation, but it holds its shape, protects the fabric edges, and handles annual setup and storage better. A no-sew wrap is useful for renters, quick decorating, and fabric that already has a finished edge, but glue and loose wraps can shift on smooth flooring.
| Construction | Durability and stability | Time and skill | Best fit |
|---|---|---|---|
| Quilted sewn | Strong edge control, stable layers, durable seasonal handling | Highest preparation and machine skill | Families, pets, heirloom décor |
| Simple sewn unquilted | Cleaner than glue, less loft and structure | Moderate | Beginners with a sewing machine |
| No-sew wrap | Fastest, but more likely to shift or fray | Lowest | Temporary décor and low-handling displays |
Fabric glue can work for a lightweight wrap when the edges are contained and the skirt won't be pulled. It isn't my first choice for a piece that children, pets, storage bins, or repeated floor sweeping will disturb. Hardwood floors also expose slipping more quickly than carpet, so a sewn slit, finished edge, and suitable underside are safer design choices than relying on adhesive alone.
The no-sew approach remains attractive because it can use a round cloth, felt, faux fur, or another material with a forgiving edge. Decorative trims, pom-poms, sequins, ribbon ties, reversible faces, and layered batting let a simple base look custom. Choose materials from Linda's batting selection when you want more body, warmth, or drape control in a sewn version.
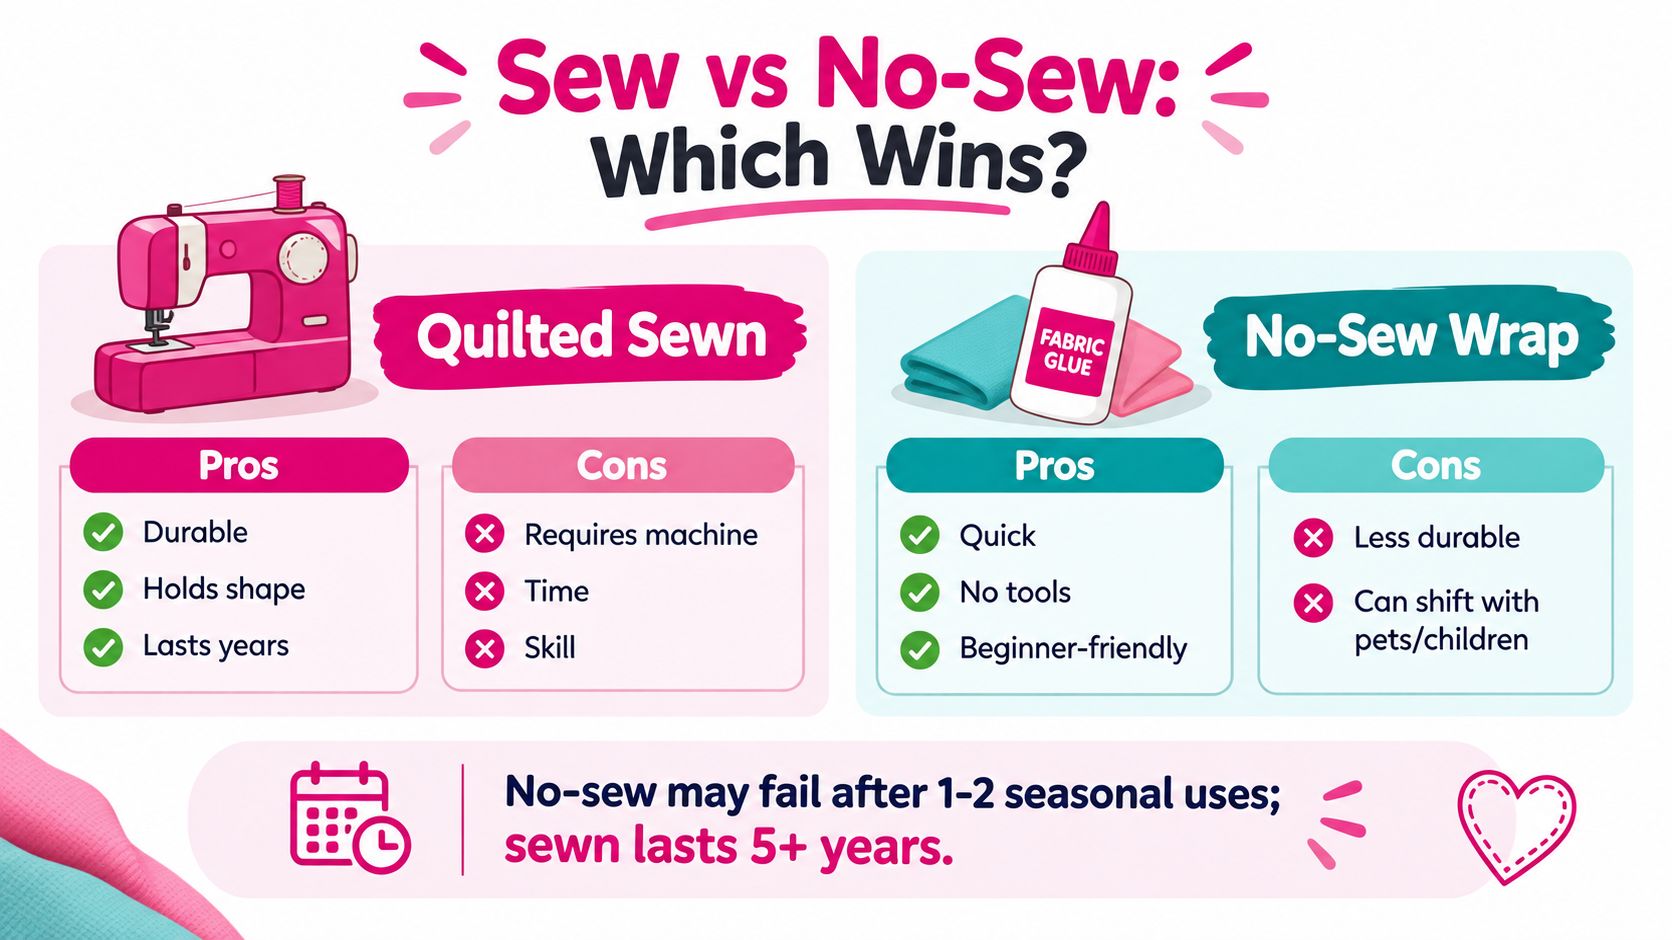
The supplied comparison visual presents no-sew construction as potentially failing after 1 to 2 seasonal uses, while sewn construction is shown lasting 5 or more years. Treat those figures as the visual's stated comparison, not a guarantee, because fabric weight, adhesive, storage, moisture, and household handling all affect service life.
For a quick project, select a no-sew method and finish the visible edge. For a dependable holiday piece, choose simple sewing at minimum. Quilting is worthwhile when you want loft, structure, reversible styling, or a design that will return to the floor season after season.
Finishing Touches Style Variations and Your Next Steps
A plain circle becomes personal through the edge treatment. Cotton binding gives a traditional quilt finish, while a contrasting binding frames a pieced top. For faux fur or plush fabric, keep the pile clear of the seam and use a clean backing so the skirt doesn't look unfinished from the side.
Appliqué works well near the outer ring, where the motifs remain visible after gifts are placed. Keep bulky embellishments away from the center opening and the area directly beneath the stand. Pom-pom trim adds movement, but it can catch on storage bags, so stitch it securely and avoid placing it where the skirt will be dragged.
Ribbon ties offer a practical alternative to a fully closed center. They let you adjust the overlap around a stand and support reversible designs. Use matching pairs on both sides of the slit, then test the closure with the skirt lying flat. Sequins can add sparkle, but press from the wrong side and protect the surface from direct heat.
Store the finished skirt clean and completely dry. Fold it loosely enough to protect the batting's loft, avoid crushing raised trim, and keep it in a breathable container. If the skirt has a strong directional design, roll it around a tube instead of making sharp folds that can set creases in the quilting.
For quilting the finished sandwich, the 003 Treestar Pantograph by Linda V. Taylor offers a continuous-line design with listed pattern sizes and a 121-inch length. The pattern guidance notes that you can find the repeat point, mark it on the pattern shield, and shift the design to extend the quilting path. Use that approach only after confirming the design fits your skirt's shape and the longarm's throat and frame setup.
If you want hands-on guidance while choosing fabric, batting, thread, or notions, watch a Linda's Electric Quilters live shopping event alongside your project planning. You can also browse the Christmas tree skirt tutorial resources for related sewing education. Linda's Electric Quilters, based in McKinney, Texas, offers quilting and sewing supplies including fabric, batting, thread, and notions, along with instructional resources for makers at different skill levels.
Frequently asked questions
How large should a DIY Xmas tree skirt be?
Start with the tree's widest base measurement and add enough overhang for the desired drape. A cited guide recommends at least 44 inches for a 6-foot tree, while another uses 48 inches for trees under 7 feet and 56 inches for trees over 7 feet. Check the cited sizing guidance.
How do I size the center opening?
Measure the stand tube or the widest part that must pass through the opening. One tutorial uses a 10-inch stand tube, doubles it to 20 inches, and shapes the opening from a 20-by-20-inch square. Review that stand-based example.
Is a no-sew tree skirt durable enough?
It can be suitable for light handling, especially with stable fabric and a finished edge. For pets, children, hardwood floors, or repeated seasonal setup, sewn construction offers better control of fraying, shifting, and shape retention.
What batting should I use?
Choose based on the drape and loft you want. A low-loft batting creates a flatter skirt that stores easily, while a loftier layer gives more body and a plush hand. Test a small layered sample before committing to the full circle.
Should I use a walking foot?
A walking foot is especially helpful for layered batting and backing because it feeds the sandwich more evenly. Our McKinney longarm workflow found it essential for keeping the edge smooth during this type of project.
Linda's Electric Quilters offers fabric, batting, thread, notions, and quilting tools for building a polished DIY Xmas tree skirt from the first cut through the final stitch. Visit Linda's Electric Quilters to choose the materials and quilting accessories that fit your tree, then finish your holiday project with confidence.