
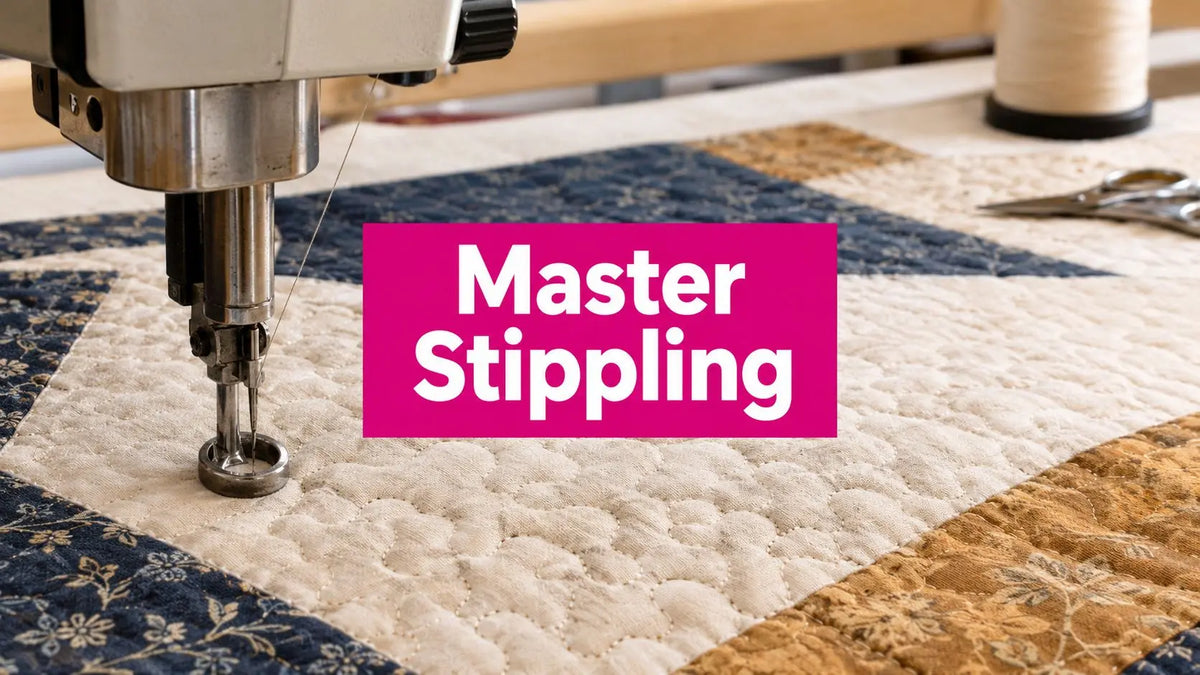
Stippling is a dense, non-crossing free-motion background fill made from random, curving lines that flatten the background so applique, embroidery, feathers, or piecing stand out. Classic stippling used about 1/8-inch spacing, while looser spacing from 1/4 inch to 1/2 inch is often considered meandering instead.
You may be looking at a quilt top with beautiful motifs, open negative space, and one practical question: how can you add texture without drawing attention away from the design? Stippling answers that question with a continuous stitched path that looks spontaneous but depends on careful control. The closer the lines sit, the more texture and flattening you create, but the quilt may also feel firmer in the hand and take longer to finish.
From my quilting workspace in McKinney, Texas, I teach quilters to treat stippling as a density decision, not just a free-motion doodle. The right spacing affects the quilt's surface, loft, drape, stitch balance, and visual hierarchy. The guidance below covers the technique's history, the difference between stippling and meandering, longarm setup, practice drills, and places where this background fill can make a quilt shine.
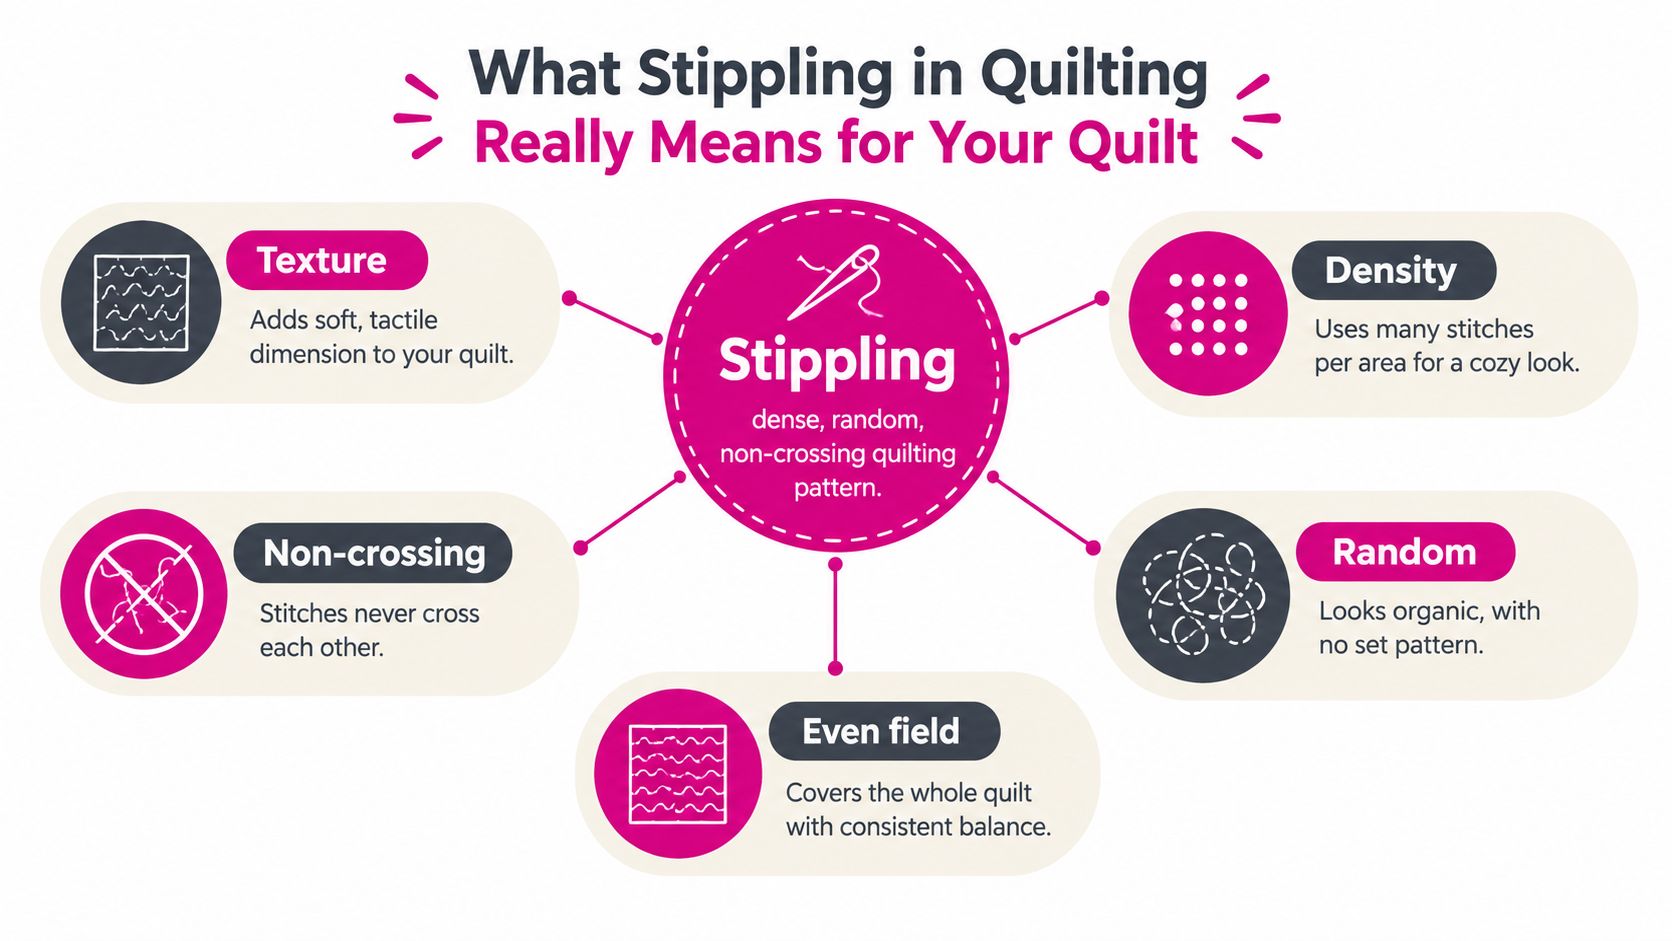
What Stippling in Quilting Really Means for Your Quilt
You have a quilt top with appliqué, embroidery, or piecing that deserves attention, yet the surrounding space looks unfinished. Stippling fills that background with irregular, connected curves that change direction without crossing themselves. The stitching compresses the negative space, helping the main motifs appear more prominent.
The name describes a stitching approach rather than one fixed doodle. A stippled field should read as an even layer of texture, with neighboring shapes kept close in scale. Tiny curls beside broad waves can make the background look like several unrelated patterns. Controlled variation keeps it organic while still giving the eye one continuous surface.
Spacing turns stippling into a density decision. At about 1/8-inch spacing, the quilting creates stronger texture, suppresses more batting loft, and often leaves the quilt firmer in the hand. At about 1/2-inch spacing, the surface keeps more loft and usually feels softer and airier, while the open path takes less time to stitch. The batting's loft, thread, and tensioning all affect the final result, so a sample can feel different from a full quilt.
The longarm perspective
On an Innova longarm, stippling can reduce the need to mark a detailed motif across every background area. You guide a continuous path while watching the distance between the stitched line and the surrounding design. That control helps around complex appliqué, feather quilting, and irregular piecing, where a formal allover pattern might compete with the quilt top.
A practical test uses the same fabric layers, batting loft, thread, and tensioning approach planned for the project. Longarm quilting supplies from Linda's Electric Quilters can support that preparation, including thread, batting, and machine accessories. Stitch one sample with tighter spacing and another with a looser hand, then compare texture, loft, drape, and quilting time before choosing the density for the quilt.
For a visual reference, this infographic explaining stippling in quilting as a dense, random, and non-crossing sewing pattern for quilts.
How Stippling Creates Texture and Why Density Matters
Think of stippling as filling a pond with connected ripples, except the line must remain open and separate from itself. You're not outlining a flower, tracing a feather, or drawing a repeating loop. You're building a field in which the irregular path distributes attention evenly.
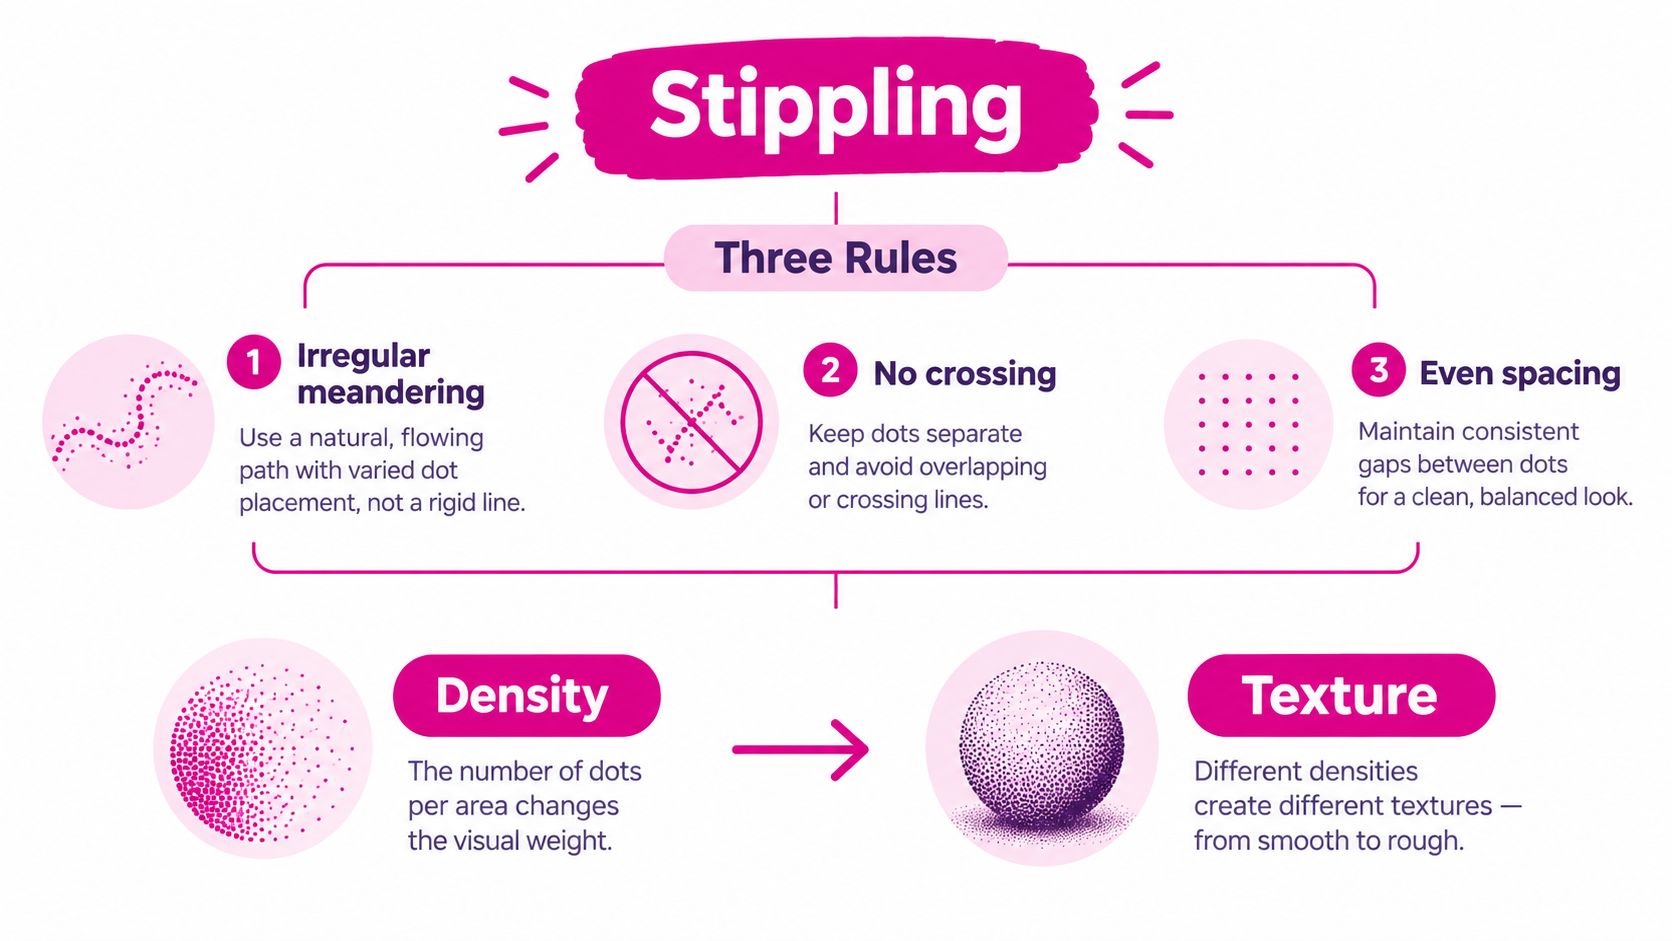
Three rules keep the texture from becoming chaotic:
- Irregular meandering: Let the line turn naturally instead of repeating identical curls.
- No crossing or touching: A crossing line can create a knot of visual weight and interrupt the open background effect.
- Consistent scale: Keep neighboring shapes similar enough in size that the surface reads as one allover fill.
The line should turn in multiple directions and stay close enough to nearby stitching that large gaps don't remain. This matters both visually and structurally. Dense pathing suppresses broad unquilted areas, which helps stabilize the quilt sandwich and can produce a flatter finished surface, as demonstrated in this stippling tutorial.
Practical rule: Random-looking doesn't mean uncontrolled. Keep the scale steady, avoid crossings, and let the spacing determine the texture.
Density changes the quilt's hand
A quilt with tight background quilting often develops a more textured, compact surface. The stitched areas compress the batting, while the unstitched or less-stitched motifs retain comparatively more loft. That contrast can make applique or feathers appear to rise visually from the background.
Looser spacing creates a different result. The quilting lines remain visible, but the background feels less compressed and may retain more loft and softness. The choice isn't decorative. It affects how the finished quilt folds, drapes, and feels in your hands.
Density changes the work involved
Closer lines create more stitches and require more path control. They also leave less room for an inconsistent turn, a gap, or an accidental crossing. A looser meander gives you more visual breathing room and may be a practical choice when the quilt needs a lighter texture or a faster finishing approach.
The goal isn't to make every project as dense as possible. The goal is to select a scale that supports the quilt top. A tiny stipple can beautifully quiet a busy background, while the same density may overpower a simple design with delicate fabric.
Where Stippling Came From and Why It Still Matters
Stippling has roots in a much older tradition of using stitches to shape the surface of stuffed textiles. Historical references describe background quilting that compressed selected areas so raised motifs became more prominent. This was functional surface design, not merely a decorative line added after the fact.
Related techniques appear as far back as 14th-century Sicily, with later popularity in Tudor England from 1485 to 1550 and in 1600s Marseilles, according to the Illinois State Museum's textile technique reference. By the 1700s, small curving stipple-like quilting also appeared in quilted clothing and petticoats. Those examples show how stitched texture moved beyond one specialized textile use and became part of broader clothing and household traditions.
From single stitches to continuous machine paths
Hand quilters could place individual stitches around a motif in a random arrangement. A machine operator works differently. The needle follows a continuous path, so modern free-motion stippling adapts the older visual idea to the movement and limitations of a sewing machine or longarm.
That adaptation explains the pattern's staying power. A longarm can cover broad background sections without requiring a detailed marked design for every inch of the quilt top. The quilter controls the line, scale, and spacing while preserving the older purpose, flattening the background so the main design remains visually important.
Why longarm quilters still reach for it
Stippling works especially well when a quilt contains complex applique, feathers, or multiple piecing styles. Instead of adding another recognizable motif, the quilter creates a quieter texture that supports the existing composition.
That restraint is part of its strength. A successful background fill may not be the first thing someone notices, but it can determine whether the focal design looks crisp, raised, and balanced. Stippling connects historic surface control with modern longarm efficiency.
Stippling Versus Meandering and Other Background Fills
A customer may request “stippling” while picturing broad, open curves. Another may ask for “meandering” but expect tiny background stitches. The names overlap, so compare spacing, texture, and purpose before loading the quilt.
Some quilters use stippling and meandering interchangeably for a continuous, curving free-motion path. Others reserve stippling for the tighter version and meandering for a wider, airier pattern. The distinction becomes clearer when you treat stippling as a density decision, not merely a doodle.
| Technique | Line spacing | Visual effect | Best use case |
|---|---|---|---|
| Stippling | About 1/8 inch traditionally | Dense, compact texture that quiets the background | Flattening negative space around applique, feathers, or embroidery |
| Meandering | Often about 1/2 inch | Larger, airier curves with more open background | Faster allover coverage and a softer visual field |
| Echo quilting | Follows the edge of a motif | Repeats the motif's shape and emphasizes its outline | Framing applique, piecing, or a central design |
| Pebble quilting | Small enclosed circles or ovals | Distinct dotted texture with stronger pattern recognition | Filling small areas or contrasting with linear designs |
A 1/8-inch path creates a compact field. The eye reads overall texture before individual curves, and the dense quilting can push a raised motif forward visually. It also requires careful hand control, consistent spacing, and more stitching time. A 1/2-inch path leaves more air between lines. Curves read clearly, the quilt can retain more batting loft, and the finished piece may have a softer hand.
Spacing also changes the practical workload. Tight stippling covers the background with more closely placed lines, while an open meander reaches across the area sooner. Neither scale is automatically correct. Choose the tighter option when the background needs strong visual quieting and flattening. Choose the wider option when openness, gentler texture, or shorter stitching time matters more.
Echo quilting behaves differently because its path follows a motif's edge. It reinforces shape and outline rather than creating an independent, allover texture. Pebble quilting encloses small circles or ovals, giving the background a recognizable dotted pattern that can contrast with linear designs.
Make the scale visible before quilting the production piece. Mark or stitch a sample using the intended batting, thread, and fabric, then compare how the density affects texture, hand, and time. The sample resolves an ambiguous pattern name more reliably than a verbal request.
For a visual comparison of denser and airier paths, see this tutorial on stippling and meandering and this quilting terminology reference.
Longarm Setup for Beautiful Stippling Results
Stippling exposes machine issues quickly because your line changes direction constantly. A longarm may stitch beautifully in a straight path and reveal tensioning problems as soon as you curve, reverse direction, or move across a bulky section of the quilt sandwich.
Start with a balanced test, not the production quilt. Use the same backing, top fabric, batting loft, thread, needle, and bobbin setup you plan to use for the project.
Build a reliable starting setup
Quilting references commonly recommend around 10 to 11 stitches per inch for average machine quilting, while general guidance places typical stitch lengths around 2.5 to 4.0 mm, as outlined in APQS stitch-length guidance. A practical stippling starting point is a small, consistent stitch. One experienced setup reference recommends approximately 2 to 3 mm, especially when using a thinner thread and a steady machine speed.
Use the test to evaluate:
- Tensioning: Check both sides for balanced thread placement, especially through direction changes.
- Bobbin casing: Confirm the bobbin is seated correctly and the casing is clean before making adjustments.
- Thread weight: A heavier thread may need a longer stitch so it can pass through the batting loft without crowding the surface.
- Needle choice: Match the needle to the thread and fabric, then inspect for skipped stitches, fraying, or enlarged holes.
- Batting loft: Thicker batting changes penetration and may require a longer stitch for a balanced appearance.
Pro-Tip: If the center of your sample looks balanced but the curves show eyelashing or bobbin thread, adjust tension in small increments. Direction changes alter how the thread seats, so a setting that looks perfect on a straight run may need refinement in a stippled path.
Choose the right quilting approach
Custom free-motion stippling gives you direct control around individual motifs and lets you vary density by quilt zone. A pantograph approach can provide efficient allover coverage, but the design scale must suit the quilt top. A pattern that looks airy across a broad field may crowd a small applique block.
Our team in McKinney, Texas, tests stitch behavior on an Innova longarm before committing to a full quilt. We look at the front, back, thread hand, batting compression, and how smoothly the machine tracks through curves. If you're building your setup, browse Linda's batting category alongside your thread choice so the sample matches the finished quilt's loft.
Watch the embedded quilting clip for a visual look at machine movement and setup:
Practice Drills Common Mistakes and Quick Fixes
The fastest way to improve stippling is to practice one control problem at a time. Don't start by trying to fill a whole quilt. Make a sample and give yourself a clear target for scale, direction, and spacing.
Three drills for better control
Scale control: Stitch a field in which every curve stays close to the same size. Don't chase perfect symmetry. Instead, watch for sudden changes from tiny curls to broad loops. This drill teaches your hands to maintain a reliable visual scale.
Direction changes: Move left, right, upward, and downward while keeping the machine speed steady. Stitch quality can change as direction changes, and small tension adjustments may be necessary, as noted in this practical stippling discussion.
Avoiding gaps and crossings: Draw a loose practice path with your finger before stitching. When the line approaches an earlier section, turn away before it touches. If a gap opens, fill the next space deliberately rather than squeezing in a frantic extra loop.
Troubleshoot the sample before the quilt
- Uneven stitch length: Slow your hand movement or adjust machine speed until the relationship feels steady.
- Loops on the back: Review upper tensioning, thread seating, and the bobbin casing before changing several settings at once.
- Puckering: Check basting and reduce abrupt hand movements. Dense quilting can reveal a poorly secured sandwich.
- Thread breaks: Inspect the needle, thread path, and tension. Heavy thread and lofty batting can need a different stitch balance.
- Repeated shapes: Change direction and scale gradually. A repeating pattern can make random stippling look mechanical.
Heat-erasable marking pens can also create a workflow surprise. Some marking inks may reappear in cold conditions, so test the specific marker and fabric combination before relying on it for a visible guide.
If you want to refine your longarm workflow, a specific accessory such as the Innova longarm quilting part may be useful alongside a properly prepared practice sample. Keep the sample for future reference. It becomes a record of thread, batting loft, needle, and tension settings that worked together.
Where to Use Stippling and How to Find Your Next Project
Stippling shines wherever the quilt top needs a quiet, textured background. Place it around applique to compress the surrounding fabric and make the motif stand forward. Use it in open areas around feather designs, behind embroidery, or across pieced sections where a recognizable motif would compete with the patchwork.
Density can vary by zone. A tighter field may suit a small area that needs strong contrast, while a looser meander can preserve openness across a broad background. The transition should feel intentional. Abrupt changes in scale can distract the eye, so use boundaries such as sashing, applique edges, or block seams to help separate quilting treatments.
Pairing stippling with other designs
You don't have to use one fill across the entire quilt. Stippling can support a feather motif, echo quilting can trace an applique edge, and a feather meandering pantograph can provide a related allover movement across larger areas. The strongest combinations usually share a similar rhythm while giving each quilt zone a distinct job.
For practice motifs, the 100 Paper Pieced Quilt Blocks book offers a broad selection of foundation paper piecing designs and step-by-step instructions. Build a small sample around one block, then test how dense stippling changes the relationship between the piecing and the background.
Linda V. Taylor's Feather Meandering Quilting Pantograph is another relevant option when you want flowing movement with feather influence rather than a purely random background. Compare it with your stippling sample before selecting the final design.
For more demonstrations, check the store's quilting education resources and live shopping clips while you compare thread, batting, and longarm accessories. A short visual review can help you judge scale and texture more accurately than a pattern name alone.
Use your sample as the decision point. If the background looks too crowded, open the spacing. If the motif doesn't stand out, tighten the fill in that zone. Once the density supports the quilt top instead of competing with it, you've understood what is stippling in quilting at a professional level.
Frequently asked questions
Is stippling the same as meandering?
Some quilters use the terms interchangeably, but many distinguish stippling as the denser, smaller version and meandering as the larger, airier version. Traditional descriptions place stippling near 1/8-inch spacing, while spacing around 1/4 inch to 1/2 inch is often treated as meandering.
Should stippling lines cross?
No. A core rule of stippling is that the irregular line shouldn't cross or touch itself. Crossings create concentrated visual spots and interrupt the even background field.
What stitch length works for stippling?
A small, consistent stitch is a useful starting point. References discuss approximately 10 to 11 stitches per inch, general machine-quilting ranges around 2.5 to 4.0 mm, and practical stippling guidance around 2 to 3 mm. Test on your actual quilt sandwich because thread weight and batting loft affect the result.
Does dense stippling change the quilt's hand?
Yes. More closely spaced quilting compresses more of the batting and usually creates a firmer, more textured hand. Looser meandering leaves a more open surface and may preserve more loft.
Can beginners learn stippling?
Yes, but it isn't automatically easy on every machine. The continuous direction changes can expose tensioning and stitch-length problems, so practice on scraps and adjust one variable at a time.
Visit Linda's Electric Quilters to shop batting, thread, Innova accessories, pantographs, and quilting books for your next stippling sample. Choose your quilt's density deliberately, test the full sandwich before loading the project, and use Linda's educational resources to finish your quilt with confidence.


