
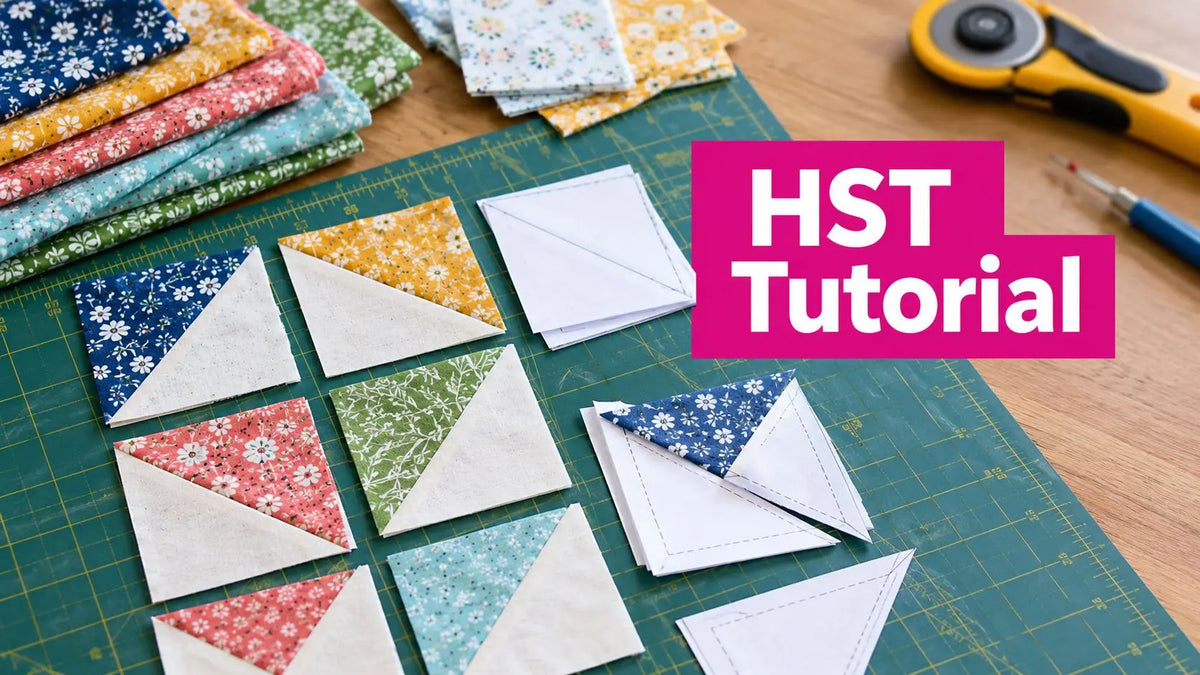
You've got two coordinating fabrics on the cutting mat, a quilt pattern calling for precise diagonal units, and a growing suspicion that every HST is going to come out slightly different. A reliable half square triangle tutorial solves that problem with a repeatable rhythm: mark, stitch, cut, press, and trim. The key decision comes first, though. Choose the starting-square formula and production method that match your finished size, fabric tolerance, and required yield.
This guide compares the 7/8-inch and 1-inch oversize rules, explains two-at-a-time, four-at-a-time, and eight-at-a-time construction, and shows how to control the bias edge before it turns a square into a diamond. You'll also find practical cutting guidance for small samples, scrappy wall hangings, and larger quilts.
What a Half Square Triangle Really Is
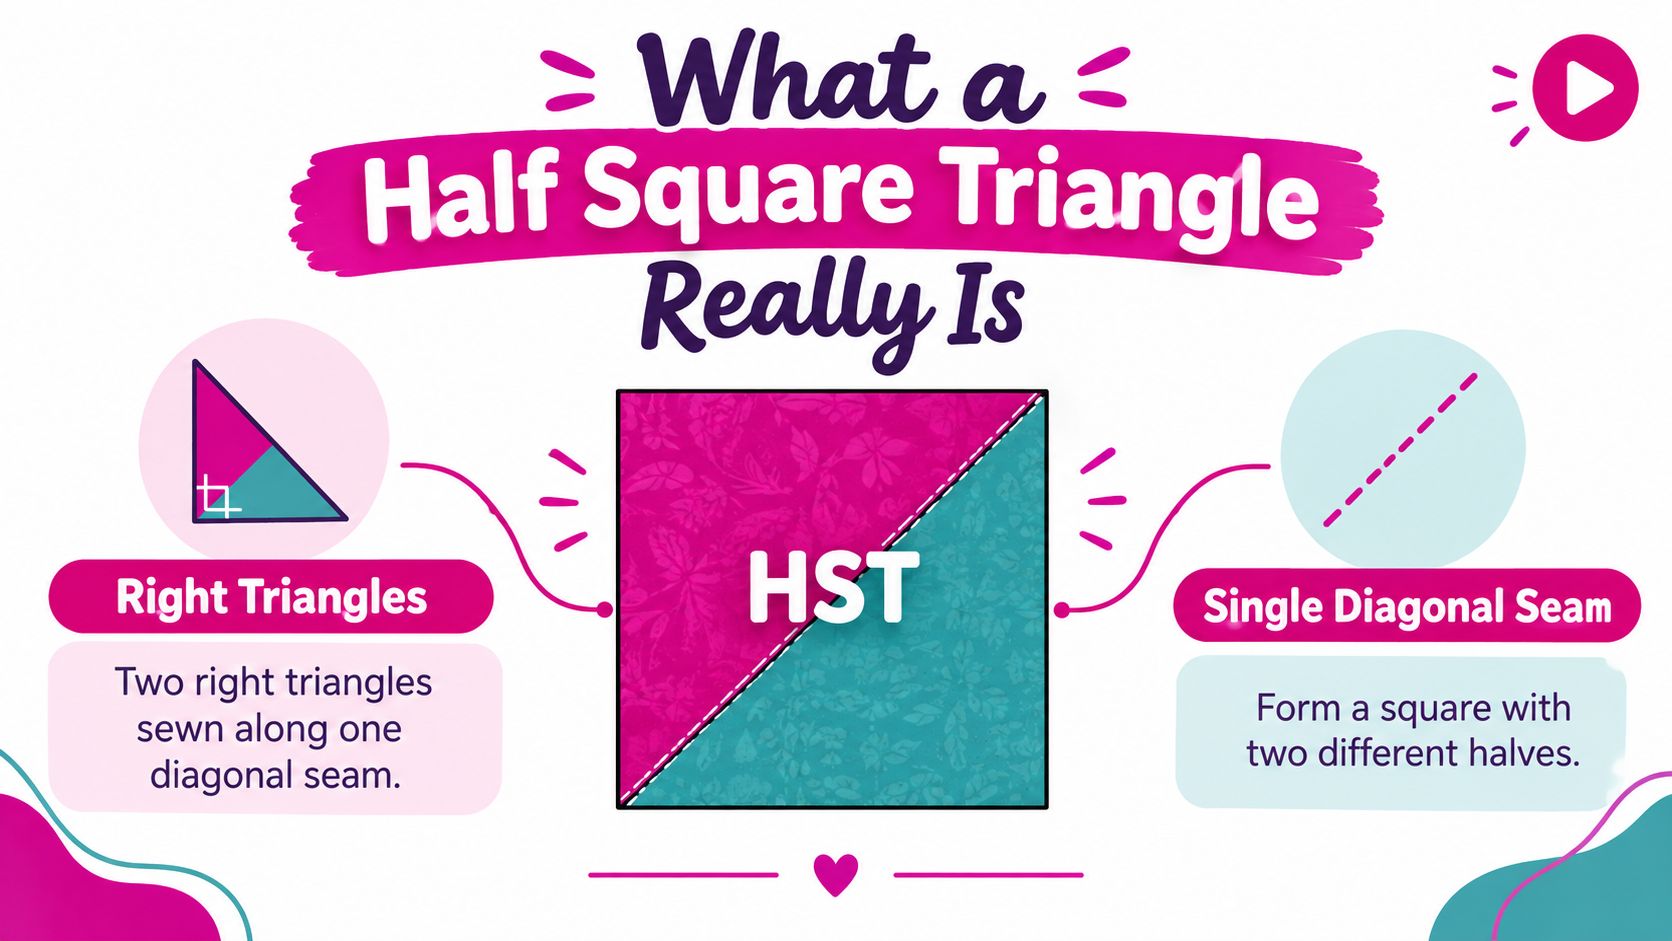
At the cutting mat, an HST begins with two equal fabric squares. Place them right sides together, sew along a diagonal, cut through that seam line, and open the pieces. Each resulting unit is a square made from two right triangles, usually in contrasting fabrics. That simple geometry makes the unit useful in countless traditional and modern quilt blocks.
The construction is old enough to appear in antique quilts more than 100 years old, and quilting historians describe related triangle motifs in early nineteenth-century quilts. Modern rotary cutting and ruler-based sewing made it much easier to produce matching units efficiently, but the underlying idea has been part of quiltmaking for generations. String & Story's HST history and tutorial discusses why this unit remains a foundational building block.
The seam allowance creates the unit
For the standard two-at-a-time method, draw a corner-to-corner diagonal on the wrong side of one square. Sew a scant 1/4-inch seam on both sides of that line, then cut directly on the marked diagonal. The seam allowances are what turn the two sewn triangles into a square unit.
That's why the starting square must be larger than the desired finished HST. A common guide uses 7/8 inch extra before sewing and trimming, while other tutorials recommend 1 inch extra for greater tolerance. National Quilters Circle explains the 7/8-inch rule and two-unit yield.
Finished size and unfinished size aren't the same
A finished HST is the measurement after it has been sewn into the surrounding quilt. An unfinished HST includes the seam allowances and is the size you measure before joining it to another unit. Trim to the pattern's unfinished measurement, not the finished measurement, or the block will become too small.
Practical rule: Mark carefully, sew consistently, cut on the line, press gently, and trim every unit. Trimming isn't a cosmetic step. It restores the square after the bias edge has been handled.
Choosing Fabrics and Sizing Your Starting Squares
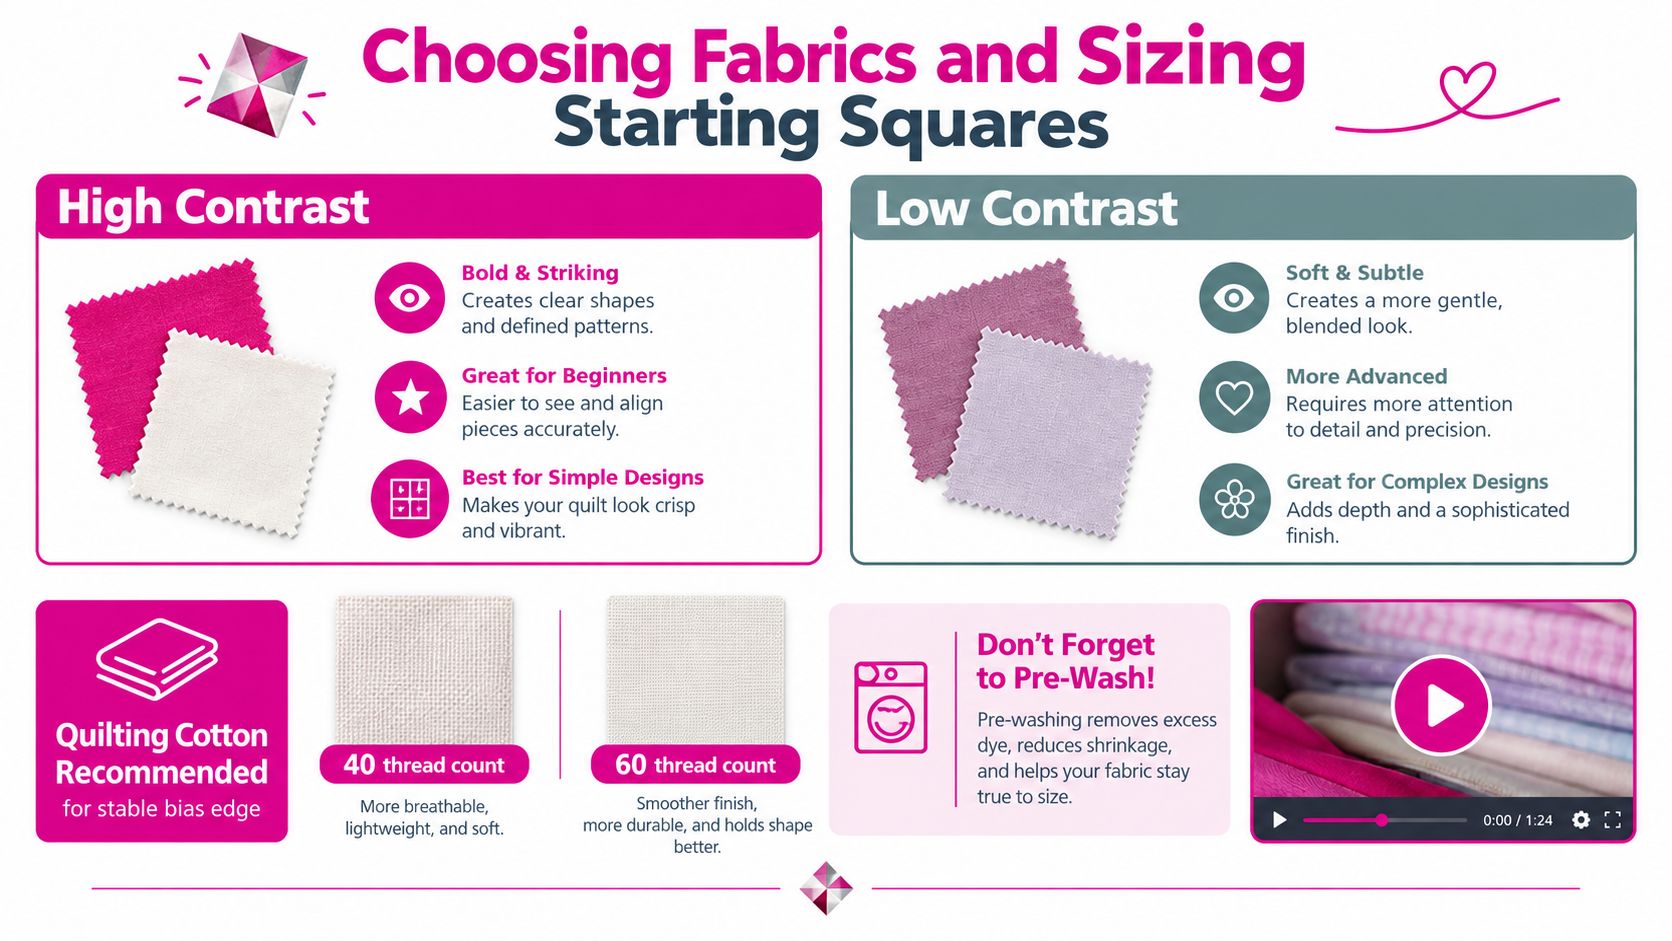
Fabric contrast matters more than many beginners expect. Put the two fabrics side by side and step back from the cutting table. If the triangle boundary disappears from a distance, the finished block may lose its design definition, even when the colors look different up close.
Quilting cotton is a practical choice because it gives the bias edge enough stability for marking, stitching, and trimming. The planning notes for this project call for quilting cotton in the 40 to 60 thread count range as a stable option. Pre-washing is a personal choice, but it can help you control shrinkage before cutting. If you skip pre-washing, keep that decision consistent across the project.
Prepare the fabric before measuring
Press each fabric flat. A fold or ripple can shift the ruler and make every starting square slightly inaccurate. For bias control, use a light starch or starch alternative spray, allow the fabric to dry, and press it flat before cutting. Damp fabric can change shape while you're working, so let it dry before rotary cutting.
Linda's notions wall is useful when you need a ruler that matches the scale of your project. A compact square ruler works well for small units, while a larger square ruler gives better support for bigger starting squares. Keep the ruler's lines aligned with the fabric grain, and use a sharp rotary blade so the cut doesn't push the fabric sideways.
Compare the two starting-square rules
The 1-inch rule is easy to remember for traditional two-at-a-time piecing. Add 1 inch to the desired finished HST size. For example, a 3-inch finished HST starts with a 4-inch square. Penny's Pool Quilts gives the 5-inch-to-4-inch example for a 4-inch finished HST.
The 7/8-inch rule uses a smaller starting square and is commonly paired with triangle paper or a more exact seam setup. A 3-inch finished HST starts with a 3 7/8-inch square. Scissortail Quilting illustrates the 2 7/8-inch square for a 2-inch finished HST.
Choose the 1-inch rule when you want a little more trimming tolerance. Choose 7/8 inch when your template, seam guide, and cutting accuracy are already dependable.
Comparing the Two, Four, and Eight at a Time Methods
The best HST method depends on how many units you need and how much control you want over fabric combinations. Two-at-a-time construction is the most flexible for a scrappy quilt because each pair of squares can use a different fabric combination. Four-at-a-time and eight-at-a-time methods are more efficient when you need repeated units.
| Method | Yields per Stack | Best Oversize Rule | Ideal Project |
|---|---|---|---|
| Two-at-a-time | Two HSTs from one pair of squares | 1 inch for traditional piecing, or 7/8 inch with a precise setup | Scrappy quilts and small projects |
| Four-at-a-time | Four HSTs from a coordinated cut arrangement | Use the project's specified formula and trim carefully | One-block samples and repeated units |
| Eight-at-a-time | Eight HSTs from a four-layer stack of each fabric | 1 inch for the starting-square side | Large repeated sections and bed-sized quilts |
The two-at-a-time method pairs two equal squares, marks the diagonal, sews on both sides, and cuts apart. It's the method I'd put in front of a beginner because every stage is visible and easy to inspect. It also suits small wall hangings under 30 blocks, where flexibility can matter more than maximum speed.
Four-at-a-time construction uses a smaller center square with four contrasting corner pieces to create a single HST in the middle. It can be useful for testing a color combination or making one block sample, but it demands careful placement and trimming.
Eight-at-a-time is the batch-production option. Stack four squares of each fabric, sew a 1/4-inch seam on all four sides of both diagonals, and cut the stack into eight matching HSTs. One tutorial notes that cutting through four layers can yield eight HSTs at once. Homemade Emily Jane compares higher-yield HST methods and planning tradeoffs.
For paper-based precision work nearby, 1.5in Square in a Square Quilt Block Foundation Paper is a white paper foundation with shaded and numbered templates for 1.5-inch square-in-a-square blocks. It isn't an HST template, but it belongs in the same precision-piecing toolkit.
Sewing Cutting Pressing and Trimming in Sequence
Set up the work so the unit moves in one direction. Keep the marked squares beside the machine, place the cutting mat next to the machine, and have the iron and square ruler ready. A consistent station prevents you from handling the bias edge more than necessary.
Mark and sew without pulling
Place two contrasting squares right sides together. On the wrong side of the lighter square, draw a line from corner to corner. Sew a scant 1/4-inch seam on each side of the line. A slightly shorter stitch length can help hold the seam securely, but the most important control is steady feeding. Let the feed dogs move the fabric. Don't pull the square toward you.
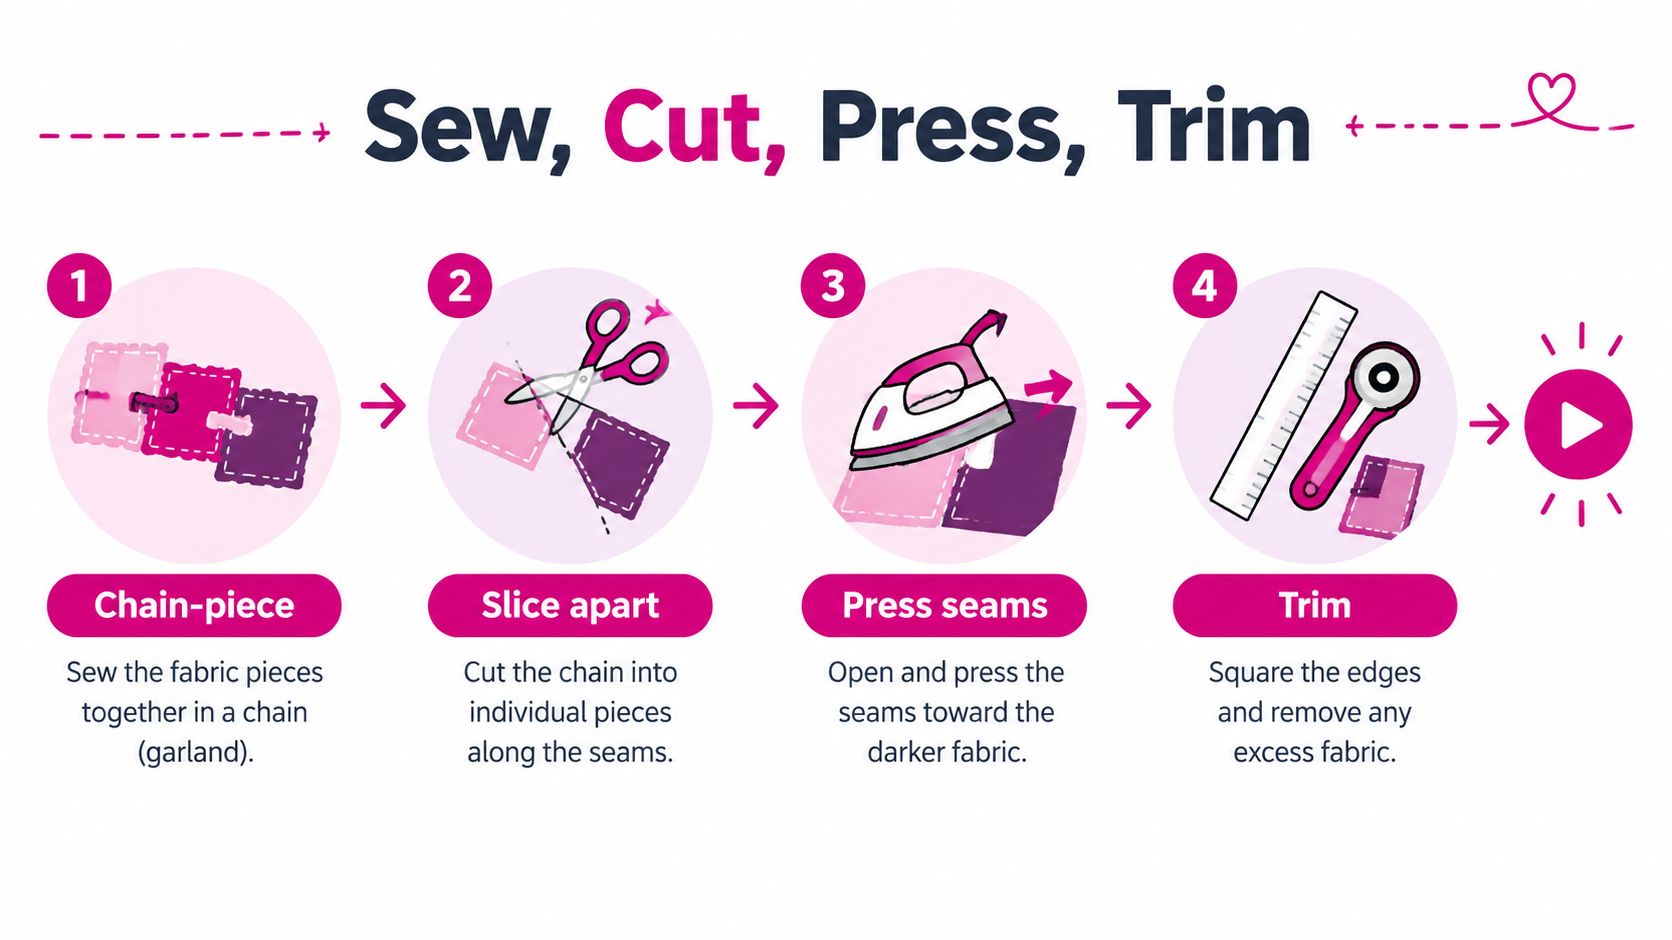
Chain-piecing keeps the pairs connected by short thread bridges, which saves handling time and maintains a steady rhythm. After sewing the first diagonal seam, sew the second seam, then move to the next pair. If you're uncertain about seam allowance terminology, this explanation of what seam allowance means gives useful general sewing context.
Cut, press, and protect the diagonal
Cut directly on the drawn line. Don't rotate the unit before the second cut in a multi-diagonal method. Use a sharp blade and light pressure so the layers stay aligned.
The moment you open the sewn unit, the diagonal seam becomes a bias edge. That edge can stretch when you tug, slide, or press aggressively. A light spray of starch from a pump sprayer can add temporary body before pressing.
Press the seam toward the darker fabric when you want the seam to nest with an adjacent unit. Press it open when a flatter intersection matters more. Finger-pressing is gentle for small units, while a dry iron gives more control after the seam has settled. A tailor's clapper can flatten a crisp seam after pressing, but don't use it to force a damp unit into shape.
Trim the unit square
Measure the pattern's unfinished size and trim to that measurement. Place the diagonal line on your square ruler over the sewn seam, then align the ruler's horizontal and vertical lines with the unit's edges. Trim two sides, rotate the unit carefully, and trim the remaining sides.
A Bloc-Loc-style HST ruler can help hold the seam in its groove while you square the unit. Trim the dog ears after the main edges are aligned. Those small triangles of excess fabric can interfere with accurate joining if you leave them attached.
Common HST Mistakes and How to Fix Them
Most HST problems don't come from complicated geometry. They come from small handling errors that become obvious only when the units reach the design wall.
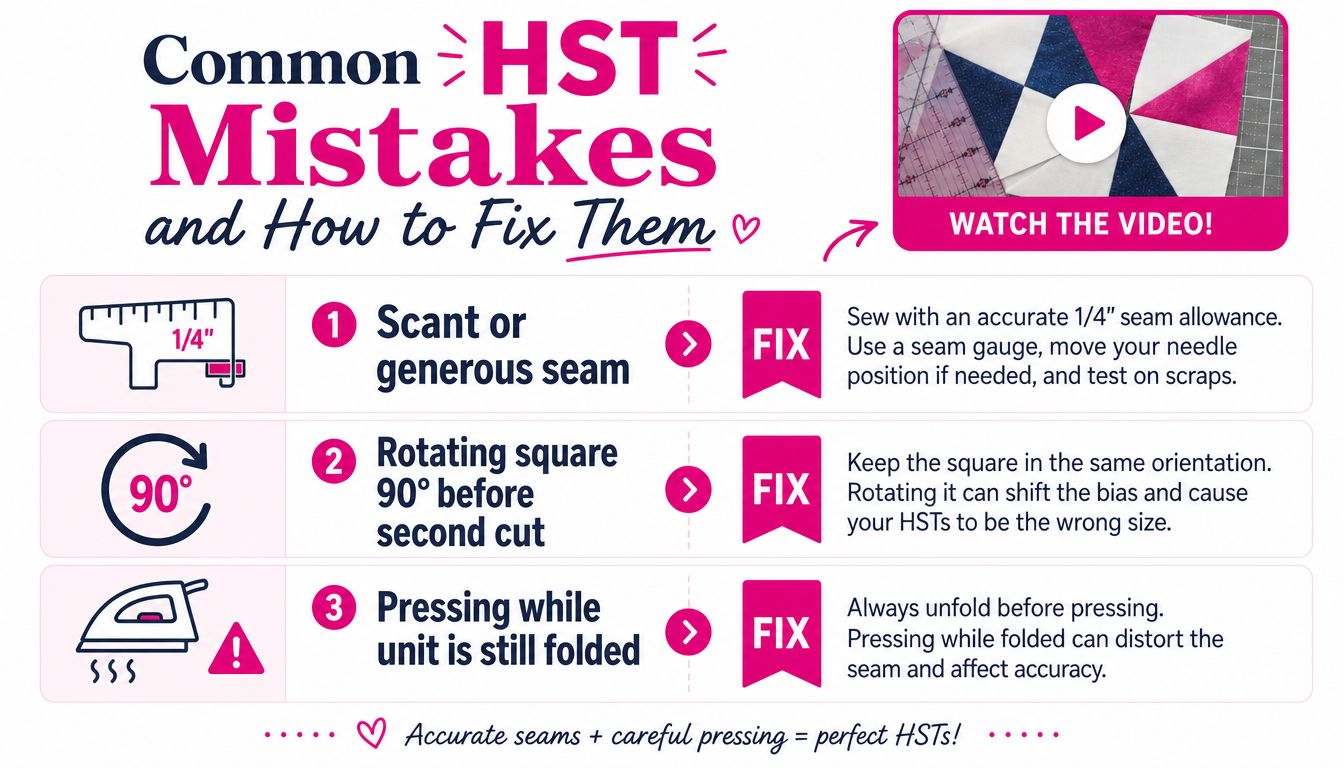
The seam is too scant or too generous
If the HST is consistently too large or too small before trimming, check the seam guide. A generous seam removes too much usable fabric, while a scant seam leaves a larger unit but can shift the triangle points. Test one pair before chain-piecing the whole batch.
If you need to remove a bias seam, shorten the stitches with a seam ripper and lift the thread rather than pulling the fabric. Work from the ends toward the center, then press the fabric flat before resewing.
The diagonal was cut or rotated incorrectly
In an eight-at-a-time stack, rotation can change the direction of the second cut and produce mismatched units. Keep the stack oriented exactly as it was sewn, and mark the cutting lines clearly before using the rotary cutter.
A unit that's slightly wonky but still larger than the required unfinished size can often be reclaimed with a square ruler. Align the diagonal, trim conservatively, and check whether the points remain usable. Start over when the unit is under-sized, the diagonal is badly distorted, or trimming would remove the intended points.
Pressing and skipping the final trim
Pressing while the unit is damp can distort the shape. Let starch dry, press with controlled movement, and avoid dragging the iron across the diagonal.
Skipping the final trim is one of the fastest ways to create mismatched intersections. Even careful stitching can't guarantee identical units without squaring up. Quilting Gallery's standard sequence emphasizes marking, sewing both sides, cutting, pressing, and trimming in that order.
Design-wall check: If the diagonal points don't line up, measure the units before changing your seam. Unequal unfinished sizes usually point to skipped trimming or inconsistent cutting.
Cutting Charts for Every Finished HST Size
Use this chart as a planning reference, but treat it as a starting point rather than a substitute for your pattern's unfinished measurement. The 7/8-inch calculation is commonly used for two-at-a-time squares, while the 1-inch calculation gives more trimming tolerance in traditional workflows.
The four-at-a-time starting strip column follows the project formula specified here. Because strip layouts and pattern templates vary, confirm the strip width against the instructions for your chosen block before cutting a full batch. The final column is intentionally qualitative rather than numerical. Yardage yield changes with seam allowances, layout, fabric width, directional prints, and cutting efficiency.
| Finished HST Size | Two-at-a-Time Starting Square | Four-at-a-Time Starting Strip | HSTs per Yard (approx) |
|---|---|---|---|
| 1.5 inches | Finished size + 7/8 inch | Finished size + 1 inch | Depends on layout and fabric width |
| 2 inches | 2 7/8 inches | Finished size + 1 inch | Depends on layout and fabric width |
| 3 inches | 3 7/8 inches | Finished size + 1 inch | Depends on layout and fabric width |
| 4 inches | 4 7/8 inches | Finished size + 1 inch | Depends on layout and fabric width |
| 6 inches | 6 7/8 inches | Finished size + 1 inch | Depends on layout and fabric width |
| 8 inches | 8 7/8 inches | Finished size + 1 inch | Depends on layout and fabric width |
| 12 inches | 12 7/8 inches | Finished size + 1 inch | Depends on layout and fabric width |
For the classic two-at-a-time method, remember the alternative finished size plus 1 inch rule when you want extra trimming room. For example, a 4-inch finished HST can begin with a 5-inch square under that method. Snuggles Quilts discusses the 7/8-inch rule, 1-inch tolerance, and bias-edge controls.
Write the finished size and unfinished size at the top of your project notes. That one habit prevents the common mistake of trimming a 3-inch finished unit to 3 inches before seam allowances are accounted for.
Pro Tips Tools and Next Steps for Your Project
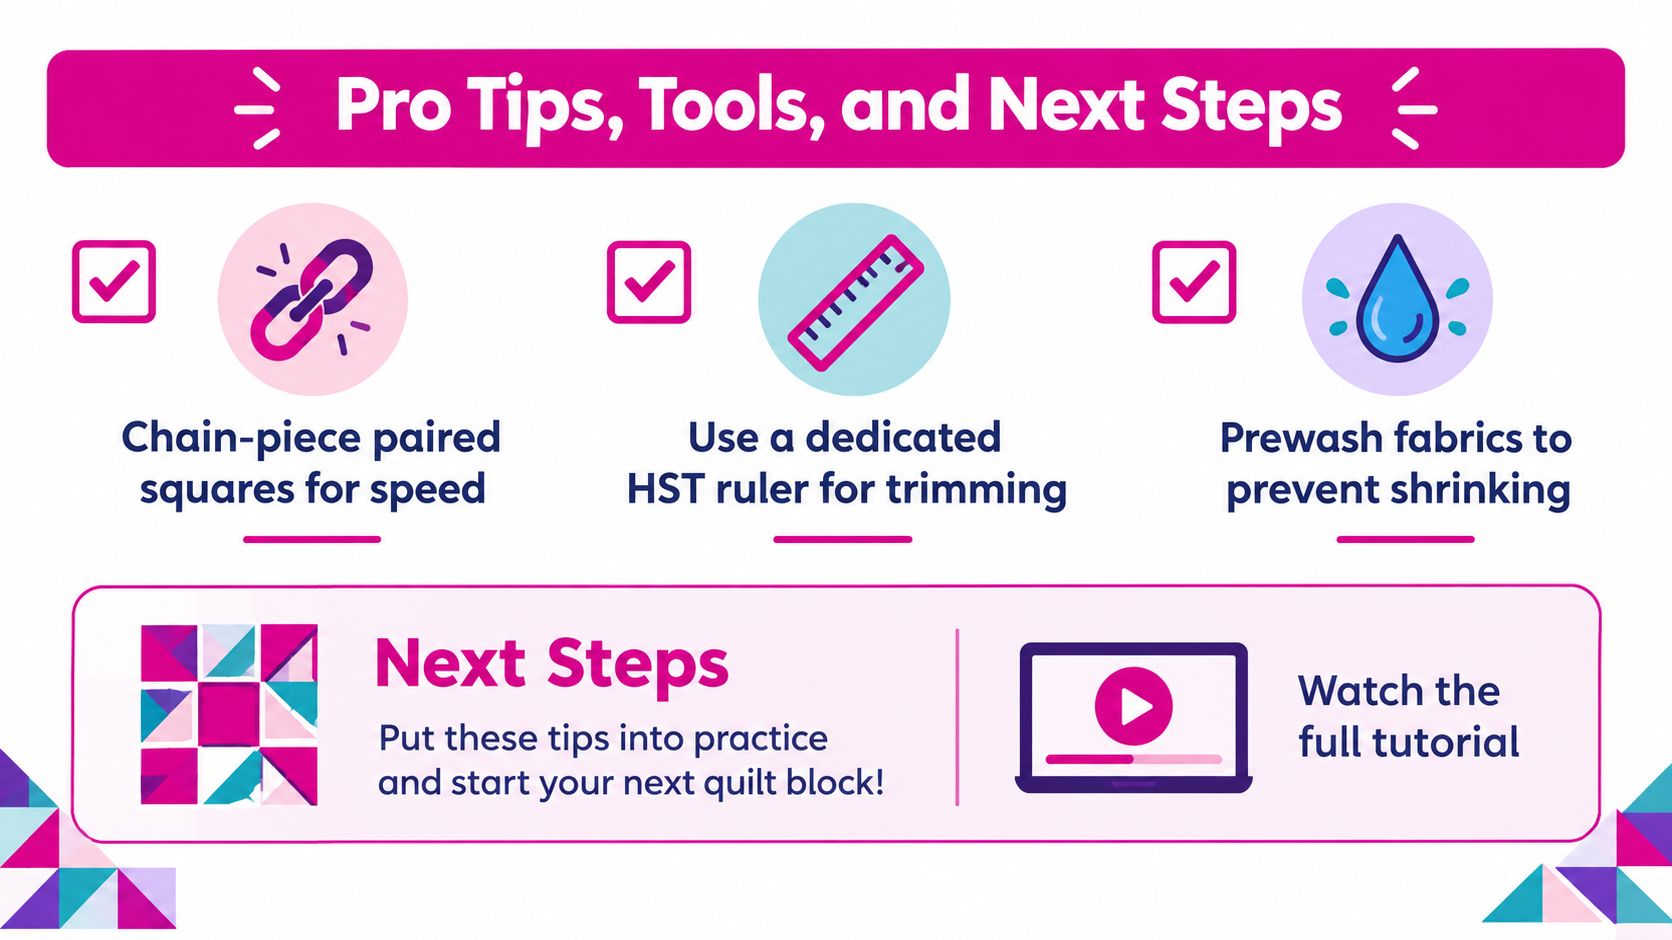
Three habits make an HST project calmer: chain-piece paired squares, trim with a ruler designed for diagonal units, and prepare fabric before cutting. The first improves rhythm, the second protects consistency, and the third reduces surprises from movement or shrinkage.
Build a dedicated HST station
A 45mm rotary cutter is a practical choice for repeated square cutting. Pair it with a self-healing mat and a square HST ruler with diagonal trim lines. The diagonal marking helps you center the sewn seam while the horizontal and vertical lines restore the unit's shape.
Triangle paper is useful when you want repeated, accurately marked units. Linda's Electric Quilters carries quilting fabrics, batting, thread, notions, and educational resources, so it can serve as one place to source materials for the project. Add glass-head pins for alignment, a wool pressing mat for crisp seams, and a starch alternative spray for bias control.
Keep your method matched to the project
Use two-at-a-time construction when the quilt is scrappy or the fabric pairings change frequently. Select eight-at-a-time when you need many identical units from the same fabric combination and can maintain accurate stacking and diagonal sewing.
Prewashing can help control shrinkage before cutting, but consistency matters more than choosing one universal approach. If you prewash one fabric, make the same decision for the fabrics that will be joined to it.
Pro tip: Make one test unit, press it the way you plan to press the quilt, then trim it to the unfinished size. That test tells you whether your seam guide and chosen oversize rule work together before you cut the full batch.
Save the cutting chart with your patterns. Once you're comfortable with HSTs, apply the same attention to grain, seam allowance, and trimming to flying geese and quarter square triangle construction. Those units add new cutting lines, but the discipline remains familiar.
Bookmark this half square triangle tutorial and keep the chart near your cutting station. When you're ready to finish the quilt, shop Linda's Electric Quilters for the quilting fabric, batting, thread, rotary tools, rulers, and notions that support accurate piecing and longarm-ready preparation. Visit the store to choose the supplies that fit your HST method and move your project from trimmed units to a finished quilt.


