
Hey everyone. Today we're talking about grainline, and why I wouldn't ignore it before I cut a single piece.
I know why it tempts you. I really do. Your fabric is spread out. Your pattern fits — just barely. If you turn one piece a little sideways, everything squeezes in. You save fabric. You save time. And that little arrow on the pattern? It looks like a suggestion. Folks, it is not a suggestion.
Here is what grainline means, plain and simple. Woven fabric has threads running lengthwise, and threads running crosswise. The lengthwise threads run parallel to the selvedge. That is the tightly woven finished edge. Those threads are the strongest. They stretch the least. The crosswise threads have a little more give. And the bias, at a true 45-degree angle, has the most stretch of all. Your pattern arrow is telling you which direction that piece needs to live on your body.
The story
I watched a skirt get cut in a hurry one time. The pieces looked fine on the table. The seams sewed up fine too. Nice stitching. Good pressing. Nothing wrong you could see flat.
Then she put it on. Oh my goodness. One side seam kept twisting toward the front. The hem dipped on one side. The whole skirt wanted to turn a little as she walked. She would tug it straight. Two steps later, it had crept right back.
That was not a sewing problem. That was a cutting problem. A main piece had gone down a good inch or two off grain at one end. Just a small angle on the table. A big angle once gravity got a vote. Off-grain pieces twist. They drape crooked. They never hang right, no matter how carefully you sew them. I have seen that lesson learned the hard way, and once was enough for me.
And here is the hard part, y'all. You cannot press it out. You cannot sew it out. Once that piece is cut off grain, the fight is built right into the cloth.
What I do instead
First, I square up the fabric before anything goes on it. I fold the fabric with the selvedges together. I smooth it flat on the table. If I see diagonal wrinkles pulling across it, it is not square yet. I shift the layers until it lies smooth and quiet. If the cut end is really crooked, I snip and tear it on a sturdy woven, or pull one crosswise thread and cut along that line. That gives me a true edge to start from.
Second, I lay the pattern piece down with its grainline arrow parallel to the selvedge. Not close. Parallel. That arrow has to run the same direction as those lengthwise threads, end to end.
Third — and this is the step folks skip — I measure both ends of that arrow. I pin the arrow at one end. I measure out to the selvedge. Say it reads 8 inches. Then I go to the other end of the arrow and measure again. If it reads 8 and 3/4 inches, I am off grain. I slide that end over until it reads 8 inches too. Equal at both ends means parallel. Parallel means on grain. Just like that.
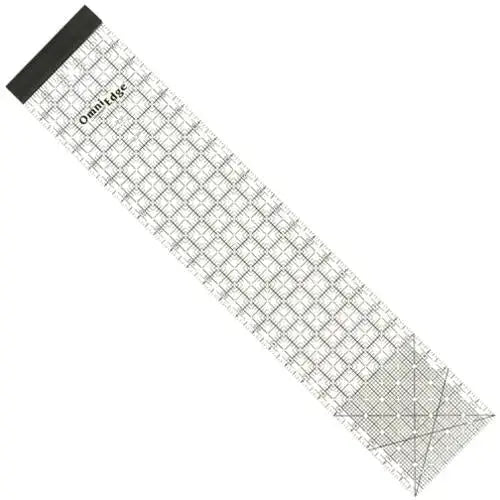
Fourth, I hold it there while I pin or weight it. A long ruler helps me here. I lay it along the arrow and check one more time. Then I pin inside the seam allowances, so I am not fighting the piece while I cut.
Fifth, I check again before the scissors touch fabric. Moving one piece can bump another one. It takes maybe 30 seconds to re-measure. Cutting takes one second to get wrong. That trade is easy math for me.
Now, you have options for measuring, and that is fine. Some folks use a tape measure. Some folks use a yardstick. My preference is a long, straight ruler, because I can see the whole arrow at once. But completely up to you. The tool matters less than the measuring.
And please hear me on this part. It doesn't have to be perfect to the last thread. You're your own worst critic here. We are talking about getting those two measurements equal, within about an 1/8 of an inch. Take your time. It's not a race. One extra minute at the cutting table saves you a garment that fights you every time you wear it.
This post is part of my What I Wouldn't Do as a Sewist series, where I share the lessons I learned the hard way so you don't have to.
Don't take my word for it — watch this:
Understanding Fabric as a Beginner Sewing | EP. 05 — Glory Allan, on YouTube (see the Grainline Basics section).
Shop the OmniEdge Ruler 5" x 24" at Linda's Electric Quilters.
Thanks for hanging out with me today, folks. Square it up. Measure both ends. Then cut with confidence. If I can do this, y'all can do it. We'll see you next time. Bye.
— Corey, Chief Quilter, Linda's Electric Quilters


