
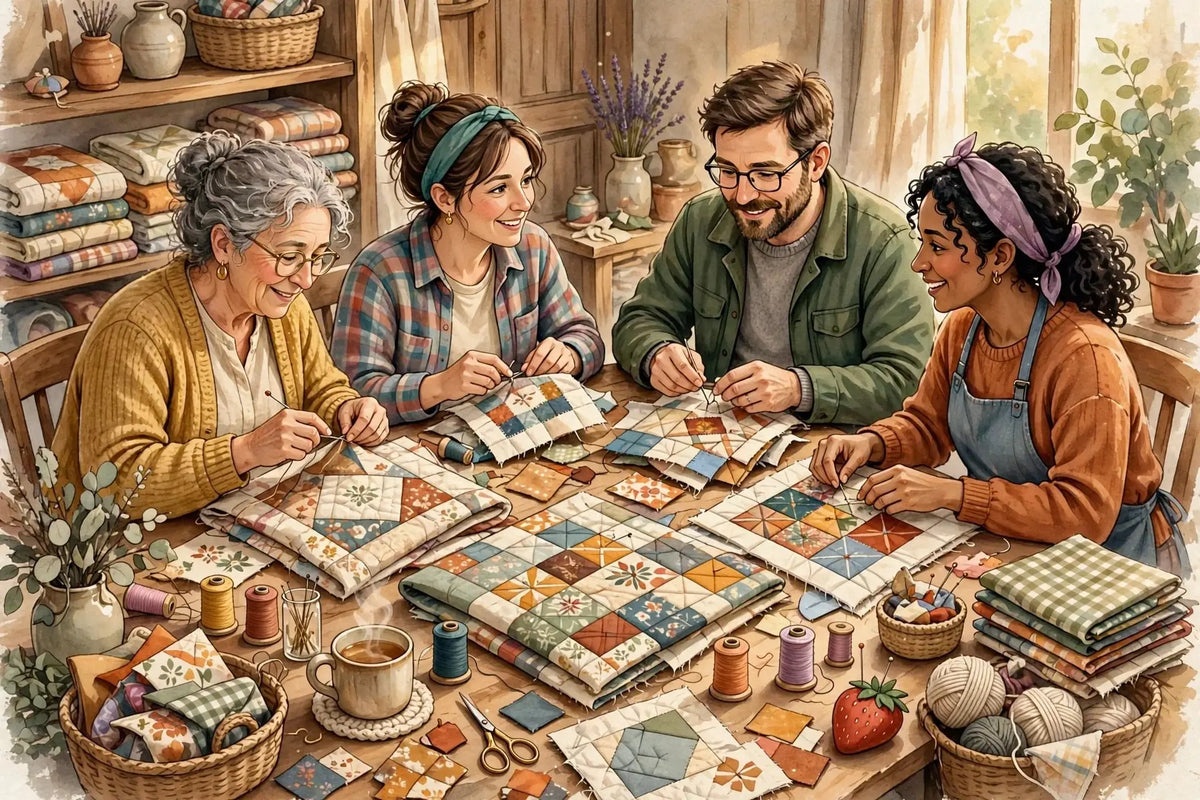
Hey everyone — today you will learn what to do with a seven-dollar serger, how to read pants wrinkles, and why your first embroidery stitch-out is telling the truth. Every day, thousands of quilters, sewists, and embroiderers gather on Reddit to ask the questions they would ask a trusted friend at the cutting table. We read through the day's conversations in r/quilting, r/sewing, r/sewhelp, r/MachineEmbroidery, and r/Machine_Embroidery, picked the ten questions everyone is asking, and brought them to Corey, our Chief Quilter, for straight answers. Here is today's chat.
1. "I thrifted a vintage Singer Ultralock serger for about seven dollars. Should I have it serviced first, and what tips do I need?"
Corey answers: Seven dollars. Oh my goodness, I love this story. But do not plug it in and floor it. Start gentle. Turn the handwheel toward you by hand. It should move smooth, with no grinding. Open it up and brush out the lint — sergers hide whole dust bunnies inside. Oil only where the manual says, one drop per point. Put in fresh serger needles, the system your manual calls for. Then thread it in order, loopers first, needles last, with four different thread colors while you learn. That trick shows you which thread misbehaves. Test on two layers of scrap cotton, stitch length about 2.5 to 3 mm. If it skips, chews fabric, smells hot, or the knives cut ragged, yes — service it. Dull knives and timing are shop jobs, not courage jobs. A serviced serger for thrift money is still a steal, folks.
2. "My wearable toile of pants fits almost right, but can I improve the rise, back, and crotch bunching?"
Corey answers: Almost right is exactly where a toile earns its keep. Read the wrinkles. They point at the problem, every time. Horizontal wrinkles under the back waist usually mean too much length there — pinch a small wedge, about 1/4 to 3/8 inch, tapering to nothing at the sides. Smile lines under the seat mean the back crotch curve needs a little more room: scoop it about 1/4 inch. Drag lines pulling toward the front crotch mean the front rise is short or the curve is the wrong shape. Change one thing. Baste it. Try the pants on standing, sitting, and climbing a step. I have chased pants fit for a whole afternoon by changing three things at once. Never again. One change, one try-on, one note on the pattern. Just like that, the next pair sews itself, almost.
3. "I inherited my grandmother's sewing supplies. Are these mystery objects actually sewing tools, and what are they for?"
Corey answers: Probably yes, and please do not toss anything yet. Grandmothers kept tools that look like riddles. Sort the box into families first. Measuring: a sliding seam gauge, a metal hem gauge, tailor's chalk. Marking: a tracing wheel, which looks like a tiny pizza cutter with teeth. Machine parts: presser feet, bobbin cases, and little screwdrivers belong with a specific machine — bag those together. Hand sewing: thimbles, needle cases, beeswax for strengthening thread, and bodkins for pulling elastic through casings. Anything sharp and mysterious, handle slow — seam rippers and awls hide in these boxes. Photograph each unknown next to a coin for scale and ask your sewing friends. Half the fun is the detective work. Keep one or two pieces by your machine, too. Her hands touched those tools. That matters.
4. "How is the quilt in this photo actually made? I want to understand its construction."
Corey answers: Reverse-engineering a quilt from a photo is a real skill. Here we go. First, find the repeat. Almost every quilt is one block, or two, tiled over and over. Count the blocks across and down. Second, break the block into units: squares, half-square triangles, flying geese, strips. Sketch it on graph paper, one square per unit. Third, estimate size. If it is draped on a twin bed, that is roughly 70 by 90 inches, so divide by your block count for a working block size. Fourth, study the color placement — where the darks sit is what makes the pattern read. One caution, friends: if it is a living designer's pattern, buy the pattern. Reverse-engineering a vintage or traditional block is fair game and great learning. Copying someone's current work to dodge a ten-dollar pattern is not who we are. Sew one test block before you cut a whole quilt. Always.
5. "I am brand new and sewing on my grandparent's older machine, and everything goes wrong. Where do I start?"
Corey answers: Welcome in, and take a breath. Old machines are honest machines. Most were built to outlive us. Give yours this fresh start. One: clean it. Brush lint from the bobbin area and feed dogs. Two: oil it if the manual calls for it, one drop per point, then sew on scrap to clear the excess. Three: new needle. A universal 80/12 solves more problems than any dial. Four: re-thread from zero, presser foot up, and confirm the bobbin unwinds the direction the manual shows. Five: set a plain starting point — stitch length 2.5 mm, tension mid-dial — and sew two layers of plain cotton. Still looping, skipping, or clunking? Stop there. Belts, timing, and electrical smells are service-shop territory, and that is not failure. That is wisdom. You are one good checklist from sewing.
6. "What are buttons with very large holes even for? A normal thread barely holds them."
Corey answers: Good eye — those holes are the point. Big-hole buttons are made for thick fastenings, not dainty thread. Think chunky knit cardigans sewn on with yarn, closures laced with leather cord or ribbon, and heavy coats stitched with doubled button thread. The hole has to swallow the fat stuff, plus a tapestry needle. You will also meet them in craft land: eyes on soft toys, embellishments on bags, even toggles run on cord. So no, they are not broken, and they are not seconds. Match the fastening to the hole. If you only have regular thread, pass through each hole four to six times, then shank it — wrap thread under the button several times so thick fabric has room to sit. Sew one on scrap first and give it a hard tug. Let the tug vote.
7. "I am a beginner and my project needs a zipper. Any advice on sewing it in and finishing it neatly?"
Corey answers: Zippers scare everyone the first time. Then they do not. Pick the right one first: a regular closed-end zipper for most projects, about an inch longer than the opening — extra tape gives you something to hold. Baste the seam closed where the zipper goes, press it open, and lay the zipper face down centered on that seam. Here is the beginner-friendly part: baste or glue-stick the tape in place before you machine stitch. No pins shifting. No tears. Use a zipper foot, 2.5 mm stitch, and sew slowly around three sides. Slow down at the slider — hand-crank past it so the needle does not snap. Then rip out the basting and watch that reveal. Super duper satisfying, I promise. Finish the top ends of the tape folded into the seam allowance so nothing pokes.
8. "I am an inexperienced quilter. How do I quilt a whole top on my home domestic machine?"
Corey answers: You can absolutely do this at home. Baste well first — pins every 3 to 4 inches, or basting spray on a flat surface, no wrinkles in the backing. Start simple: stitch in the ditch along the main seams, or straight lines spaced across the quilt. Straight lines forgive. Use a walking foot if you have one, stitch length about 3 mm, and a fresh 90/14 needle for all those layers. Roll the quilt, or puddle it loosely around the machine — just never let its weight hang off the table and drag. Start in the center and work out, one section at a time. Quilt twenty minutes, then walk away and come back. It is not a race. A twin quilt done simply and used daily beats a queen quilt waiting for a longarm budget. Completely up to you how fancy it gets from here.
9. "I am making a cartoon-character dress for my seven-year-old. How do I measure her and make it actually fit her shape?"
Corey answers: Kids are not small adults, so measure the actual child. You need four numbers, written down: full chest, natural waist, shoulder to where the hem should land, and back waist length, neck base to waist. Measure over a thin shirt, tape snug but not tight — two fingers under it. Compare to the pattern's finished measurements, not just the size chart. You want about 2 to 3 inches of wearing ease in the chest for a woven dress. Sew a quick toile from an old sheet, even just the bodice. Fit that. Kids grow mid-project, I swear, so add a generous 2-inch hem and a little adjustment in the straps or waist. One more thing, gently: a character dress for your own child is a joy. Selling character copies is where licensing trouble lives, so keep this one for home and photos.
10. "I got my embroidery machine yesterday. On my first stitch-outs the thread keeps clipping and the fabric color shows through. Is that normal?"
Corey answers: First, congratulations — and yes, your stitch-out is giving you honest homework. Fabric color grinning through usually means low density or weak underlay in the design, or stabilizer too light. Test on stable woven cotton with a medium cutaway stabilizer, hooped drum-tight without stretching it. Use a fresh 75/11 embroidery needle and 40-weight embroidery thread on top, with proper bobbin thread below. If the design itself is light and sketchy, some show-through is its style, and a topping or a denser fill is the fix in the software, not on your tension dials. Thread clipping: check whether the machine is set to trim jump stitches, and re-thread once with the presser foot up before touching tension. Stitch the same small design three times, changing one thing each time. That is your report card. Every embroiderer alive has a drawer of humble first stitch-outs. Keep yours. You will love them later.
That is today's chat — back tomorrow with a fresh sweep. Sewing along at home? Browse our fabric collection and Know Your Notions guides, and bring your own questions to the shop any time. Corey reads them all. Thanks for spending a little of your day with us. We'll see you next time. Bye.
Today's questions were gathered from r/quilting, r/sewing, r/sewhelp, r/MachineEmbroidery, and r/Machine_Embroidery, and are paraphrased from the day's most active help threads.


