
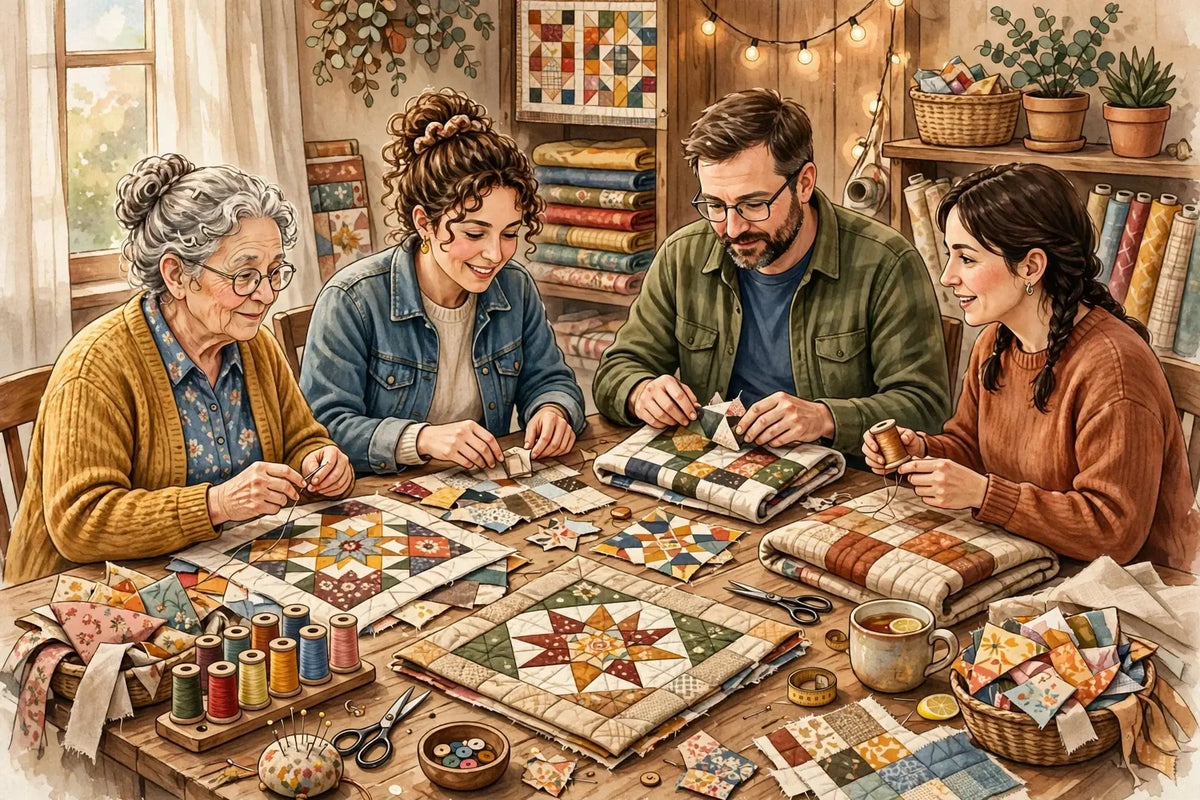
Hey everyone — today you will learn how to rescue a first block, finish a quilt your great-grandmother started, and stop a table runner from going wonky. Every day, thousands of quilters, sewists, and embroiderers gather on Reddit to ask the questions they would ask a trusted friend at the cutting table. We read the day's conversations in r/quilting, r/sewing, r/sewhelp, r/MachineEmbroidery, and r/Machine_Embroidery, picked the ten questions everyone is asking and brought them to Corey, our Chief Quilter. Here is today's chat.
1. "I just made my very first quilt block. What beginner advice do you have, especially for rulers and rotary cutting?"
Corey answers: Welcome to the club, friend. Here we go. Your first block teaches three things: cutting, the seam, and pressing. Cutting first. Cut away from your body, close the blade the second you finish, and keep the ruler hand flat with fingers curled up. A fresh 45 mm blade matters more than a fancy mat — a dull blade makes you push, and pushing is where slips live. Second, the seam. A true scant 1/4 inch is the whole game. Test it: two 2-1/2 inch strips sewn together should measure 4-1/2 inches across pressed. Adjust your needle position until they do. Third, press, do not iron — lift and set the iron down, seams toward the dark fabric. And hear this: your first block will not be perfect. Mine was not. It is not supposed to be. It is supposed to be finished. Just like that, you are a quilter.
2. "I inherited my great-grandmother's unfinished 1970s quilt. How do I finish it with respect?"
Corey answers: Oh my goodness, what a gift. Slow down and assess before you sew a stitch. Lay it flat and check three things. One: are the seams sound? Give a few a gentle tug — weak seams get reinforced, not wished well. Two: is it clean? Wash only if it must be, cool and gentle, never wrung. Three: what is missing? If blocks remain, you have two honest options. Finish it her way, matching her seam allowance as best you can. Or add a clear new chapter in your own fabrics and let the join show. Both are respectful — faking her hand is not the goal. Finish the top, use a modern batting, and quilt it simply: stitch in the ditch respects fragile seams best. Write her name and yours on the label — that label is the real inheritance.
3. "My finished table runner came out crooked and wonky. Did pin-basting cause it?"
Corey answers: Maybe a little, but pins rarely do it alone. Runners go wonky for three usual reasons. First, the top was not squared before basting. Measure corner to corner both ways — diagonals differing by more than about 1/4 inch mean it was a parallelogram before a pin went in. Second, shifting during quilting — a long, narrow runner drags one direction with every pass. Quilt alternate rows in opposite directions, use a walking foot at about 3 mm, and support the weight on the table. Third, binding applied to an untrimmed edge. Always square the quilted sandwich first, then bind. Sparse pinning lets layers creep too, so pin every 3 to 4 inches next time, or use basting spray. Good news: gentle blocking and steam can coax a mild wonk back. It does not have to be perfect, folks — it has to lay on a table and make people smile.
4. "My jelly-roll top is basted. What quilting pattern should I try on my home machine?"
Corey answers: Jelly-roll tops are long strips, so let the strips suggest the pattern. My favorite first finish is straight-line quilting. Stitch in the ditch along every strip seam, or echo lines about 1/2 inch either side — the geometry does the decorating for you. Use a walking foot, stitch length around 3 mm, and a fresh 90/14 needle. Work from the center strip outward. Want one step up? A gentle serpentine wave down each strip forgives wobbly hands beautifully — the wave hides the wobble. We're not reinventing the wheel here. Skip dense free-motion on a first jelly-roll top — it fights the strip piecing and takes forever. Simple lines, finished quilt, happy maker. Completely up to you, but done beats fancy every time.
5. "Serger or zigzag? Printable patterns or a projector? Small iron or big? Help me sort my next steps."
Corey answers: I love a good bundle of questions. One at a time. Serger versus zigzag: a zigzag finishes edges fine for most garments. A serger earns its keep when you sew knits weekly — it trims and finishes in one fast pass. Buy it for the sewing you actually do. Printable patterns versus projector: printables cost paper and taping time, forty-plus pages for a dress, but never drift out of focus. A projector costs setup and calibration, then cutting goes twice as fast. Frequent pattern sewist? Projector. Occasional? Print and tape. Iron: a small one is handy at the machine, but pressing yardage wants a full-size iron with real steam — if you can only have one, have the big one. Cutting: a 45 mm rotary cutter, a 6-by-24 inch ruler, and good shears cover ninety percent of sewing life.
6. "My needle jammed on a safety pin while I was binding, and now the machine will not sew at all. What else can I try?"
Corey answers: Stop sewing and unplug it. A hard jam bends things. Work this checklist in order. One: remove the needle — assume it is bent even if it looks straight, and fit a fresh one. Two: take out the bobbin case and hunt for the pin strike — a burr on the bobbin case or needle plate shreds every stitch after. Run a fingertip gently over both; a catch you can feel is a burr to smooth or replace. Three: check the hook area for thread and needle-tip fragments, machine off, flashlight on. Four: re-thread from zero, presser foot up. Five: hand-crank one full stitch cycle toward you and listen. A click or grind at the same spot every rotation means timing — and timing is a service-shop job. Do not force it past that click, or a small repair becomes a big one. Slow down near pins forever after, or pull them out before the foot arrives.
7. "I am new and my Christmas-gift quilt is large. How do I quilt the middle of it on a home machine?"
Corey answers: The middle is the hardest reach, so plan for it. First, baste well: pins every 3 to 4 inches, or spray baste on a flat floor — any shift doubles by the center. Second, roll smart. Roll both sides toward the center like a scroll, work one section, then re-roll. Or puddle the quilt loosely around the needle and lift, never drag, as you sew. Third, start at the center on purpose. Quilt anchor lines — a cross through the middle, both directions — then work outward in quadrants. Straight lines or a big meander forgive home-machine limits best, and check your batting label for its maximum quilting distance. Take breaks — a large quilt is twenty short sessions, not one long fight. The person receiving it will never measure your stitches. They will wrap up in it. If I can do this, y'all can do it.
8. "My bobbin pulls a wad of thread, and now the fabric itself, down into the machine. What fixes it?"
Corey answers: That wad has a name in every shop: bird's nest. And it almost always starts up top, not in the bobbin. Fix one: re-thread the whole machine with the presser foot UP, so thread seats deep in the tension discs — foot down while threading is the number one cause of this mess. Fix two: hold your thread tails for the first three or four stitches, or start on a small folded scrap — a leader — and sew off it onto your piece. Fix three: confirm the bobbin sits the right way round and its thread clicks into the case tension slot; a bobbin unwinding the wrong direction nests instantly. Fix four: fresh needle, 80/12 universal for plain cotton. Then clear the nest fully: cut the wad away, never yank the fabric up, and brush out every stray loop before testing on scrap. Three clean test seams before the real piece goes back under the foot. Just like that, it usually behaves.
9. "What should I quilt on a plain border? I am eyeing a hearts template but scared of messing it up."
Corey answers: Borders are a quilt's frame, so simple and even beats ambitious and apologetic. Three safe options. One: echo the edge — straight lines 1/2 inch apart following the border's shape, walking foot work, almost impossible to ruin. Two: a gentle wave running the border's length, which hides every small wobble by design. Three: your hearts — and here is how to de-risk them. Mark the whole border first, spacing hearts evenly and planning the corners before a single stitch. Then practice the motif on a scrap sandwich for five minutes. If your test hearts make you smile, quilt them. If they make you tense, waves will look just as loved. Keep border density close to the center's so the quilt lies flat. Completely up to you — permission granted to choose the joyful option.
10. "My embroidery designs keep slipping and puckering on beanies. Will two layers of stabilizer fix it?"
Corey answers: Beanies are a triple challenge: stretchy knit, curved surface, small hoop area. Two layers can help, but kind matters more than count. Use cutaway against knits — tearaway lets stitches keep stretching fabric after the hoop comes off, which is puckering on a delay. My shop answer for a dense beanie design: one firm cutaway plus fusible no-show mesh. Technique counts too. Hoop the stabilizer drum-tight, then float the beanie flat on top without stretching it, and add a water-soluble topping so stitches sit on the knit instead of sinking between ribs. Slow down — 600 stitches per minute or less — with a fresh 75/11 ballpoint needle. Stitch one test beanie and wear it an hour before judging — knits relax. Super duper common problem, truly fixable. Take your time.
That is today's chat — back tomorrow with a fresh sweep. Browse our fabric collection and Know Your Notions guides, and bring your own questions to the shop any time. Thanks for spending a little of your day with us. We'll see you next time. Bye.
Today's questions were gathered from r/quilting, r/sewing, r/sewhelp, r/MachineEmbroidery, and r/Machine_Embroidery, and are paraphrased from the day's most active help threads.


