
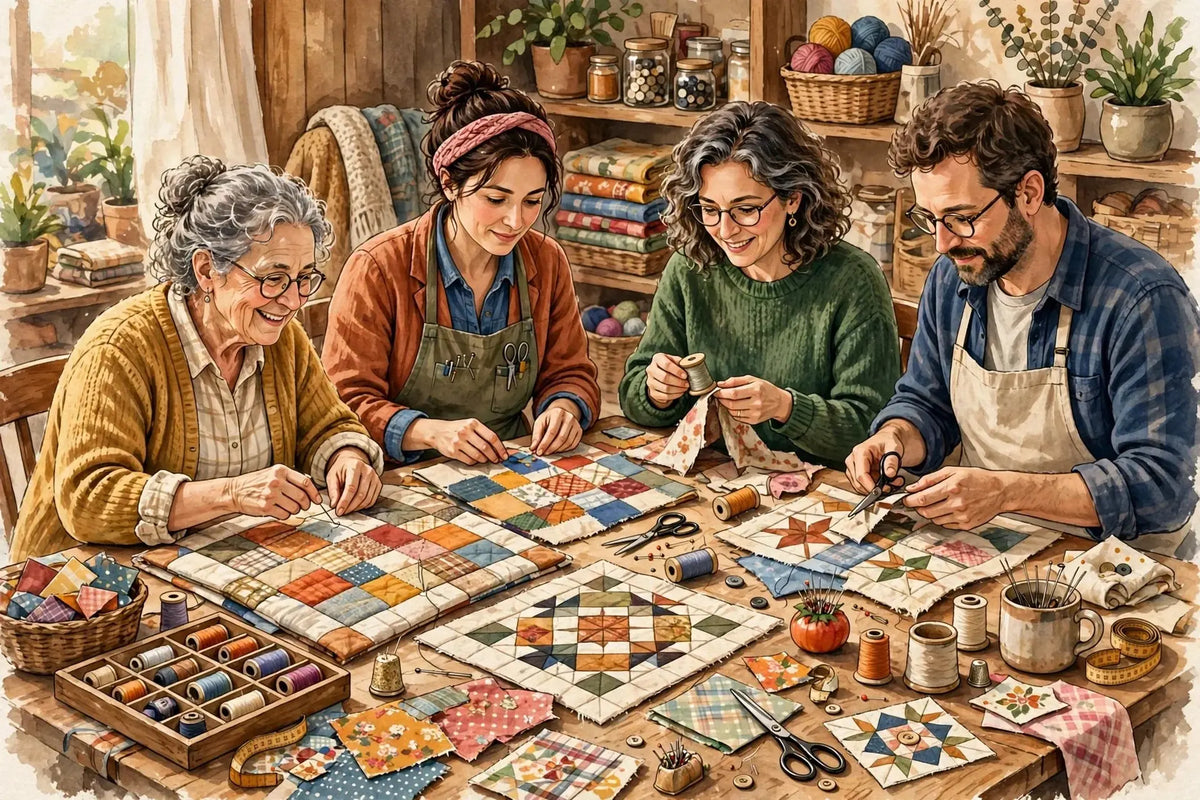
Hey everyone — today you will learn how to name a 1970s folded quilt, price a custom pattern honestly, and decide if you can walk away from an embroidery machine. Every day, thousands of quilters, sewists, and embroiderers gather on Reddit to ask the questions they would ask a trusted friend at the cutting table. We read the day's conversations in r/quilting, r/sewing, r/sewhelp, r/MachineEmbroidery, and r/Machine_Embroidery, picked the ten questions everyone is asking and brought them to Corey, our Chief Quilter. Here is today's chat.
1. "My mom made a big folded, hand-stitched quilt in the 1970s. What is that style actually called?"
Corey answers: That folded, windowpane look is most likely Cathedral Window. Here is how you tell. Each block starts as a folded square, usually muslin. The corners fold back like little curtains. A small colored square sits in the center window. Then those folded edges are hand-stitched down, one window at a time. No batting in the classic version — the folded layers are the warmth. And there is usually no separate backing either. If yours is heavy, thick at the folds, and stitched by hand, you have your answer. Photograph the back too. The back tells the construction story. Label what you learn while family still remembers it. That history is worth as much as the quilt, folks.
2. "I inherited a pile of scrap blocks. What block are they, and what was the maker probably building?"
Corey answers: Start by sorting, not sewing. Lay out every block flat. Measure three of them — inherited blocks rarely match perfectly. Then count the pieces in one block. Triangles plus squares usually point to a star or a pinwheel family. All squares points to a patchwork or a four-patch plan. Look for repeats. If one fabric shows up in every block, that was likely the planned background or sashing. My shop trick: photograph the blocks, then arrange the photos on your phone before you move fabric around. You will see the intended pattern faster that way. And hear this — you do not have to finish her exact plan. Honor the blocks. Choose a layout you love. Completely up to you.
3. "How much should it cost to have someone draft a custom quilt pattern from a photo, or just do the math?"
Corey answers: Good question, because those are two different jobs. Math only is the smaller job. Someone checks your block sizes, yardage, and cutting list. Expect a few hours of skilled time. A full draft is bigger. That means scaled drawings, templates, seam order, and tested instructions. That can run many hours, sometimes days. Before you agree, ask three things. One: what do I get — paper, PDF, or tested pattern? Two: how many revisions are included? Three: who owns the design afterward? Get the answers in writing. And a fair warning: a photo hides construction. A drafter has to guess some seams. Pay for a test block before the full top. Just like that, you avoid an expensive surprise.
4. "Can a shirt ever fit well when the chest pockets are loaded with gear?"
Corey answers: Yes — but the fit has to be planned around the load. Fit the shirt empty and it will pull the moment you fill the pockets. So do the opposite. Load the pockets first. Then fit. Check three spots. Buttons should close without gaping. You should pinch about 1 to 2 inches of ease at the chest. And you need to sit, reach, and lift your arms without the tails pulling out. Weight matters too. Heavy items in one pocket twist the whole front. Spread the load evenly, left and right. If a ready-made shirt almost works, a tailor can move buttons slightly and add a hidden placket snap. Super duper practical fix. Take your time trying it on loaded — that is the real test.
5. "Can I use a kaftan pattern to recreate a famous 1960s jumpsuit in drapy green knit?"
Corey answers: You can start there, yes. A kaftan gives you that loose, flowing top shape. But a jumpsuit is not just a long top. The difference lives below the waist. You need a trouser bottom with a working crotch curve, enough rise to sit down, and a way in and out — a zipper or a wrap opening. My advice: muslin the bottom half first, in cheap knit with the same stretch as your fashion fabric. Sit in it. Bend in it. Climb two stairs in it. Knit choice matters as well. Too drapy and the legs will cling and twist. A medium knit with good recovery behaves best. We're not reinventing the wheel here — kaftan top, tested trouser bottom, then join them at your true waist.
6. "How do I hand-quilt a large swan quilt top without losing its lovely drape?"
Corey answers: Oh my goodness, a hand-quilted heirloom in the making. Drape dies two ways: quilting that is too dense, and batting that is too stiff. Fight both. Pick a soft, low-loft batting — cotton or a cotton blend drapes best. Then quilt wide and gentle. Echo the swan's curves with lines about 1/2 to 1 inch apart in the feature area. Go wider in the background, 2 to 3 inches. That contrast makes the swan float. Keep your stitches even, around 8 to 10 per inch, and do not pull them tight. Tight stitches pucker and stiffen. Check your batting label for its widest allowed quilting distance and stay inside it. Roll the quilt toward your hoop, never bunch it hard. Slow work, soft quilt. If I can do this, y'all can do it.
7. "Can I dye a cotton-polyester trench coat solid black, or will it come out patchy?"
Corey answers: Honest answer: solid black is the hardest color to get even. And a blend fights you. Cotton takes one kind of dye. Polyester needs a different, high-heat kind. Dye only the cotton and the coat comes out charcoal gray, not black. Dye products made for blends exist — use one labeled for both fibers, and follow its temperature exactly. Three prep steps decide everything. Wash out all finishes and stains first. Pre-wet the coat evenly so no dry spot grabs dye first. And use a tub big enough that the coat moves freely — crowding is what makes patches. Test on an inside facing first. Even then, set expectations: deep charcoal is a win, true jet black is a gamble. The seams and thread are usually polyester and may stay lighter. That contrast can look intentional. Completely up to you whether that look works.
8. "Where in Canada can I find affordable natural-fiber garment fabric that is not quilting cotton?"
Corey answers: Quilting cotton is wonderful — for quilts. Garments want drape, and drape lives in other weaves. Shop by fiber and weave, not by store name. Look for rayon challis for flowy dresses. Linen and linen blends for shirts and pants. Cotton lawn and voile for light tops. Cotton double gauze for soft, easy pieces. In Canada, check the garment sections of the big fabric chains when natural-fiber lines go on sale, independent shops that stock apparel bolts, and online Canadian sellers who list fiber content clearly — no content listing, no purchase. Order a swatch first when you can. A $2 swatch saves a $40 mistake. And check width: garment fabric is often 54 to 60 inches wide, so a pattern needing 45-inch yardage math will short you if you swap blindly. Really really worth that one measurement.
9. "Do you leave your embroidery machine running unattended, or watch every stitch?"
Corey answers: I will give you my shop rule, plain. I stay close for the risky parts. I never walk away at the start. The first 2 minutes tell you everything — tension, hooping, thread path. I also stay for color changes, for trims, and for the last layer, where a tired bobbin runs out. In the middle of a long, proven fill? I might step to the next table. Never out of earshot. A snapped needle, a bird's nest, or fabric pulling loose makes a sound, and that sound is your alarm. One more rule: never leave a machine stitching while you leave the building, and keep the area clear of anything flammable. A design you have stitched ten times earns more trust than a first test. That is not fear, folks — that is respect for a fast needle. Slow down your judgment, not just the machine — most home machines run happiest around 600 to 700 stitches per minute on dense work anyway.
10. "Are interlocking gym mats good flooring for a converted sewing room?"
Corey answers: They do two jobs really well. They save your feet during long cutting sessions. And they deaden vibration and noise under a machine table. Standing on foam for an hour of cutting is a real kindness to your knees. Now the trade-offs. Your chair will not roll well — casters dig in and stall. Pins disappear into foam seams and wait for a bare foot. Ask me how I know. And a heavy cabinet can dent the mats permanently. My hybrid answer: mats at the cutting table and in front of the machine, hard floor under the chair and main walkway. Vacuum the seams weekly, and run a magnet over the floor before bare feet do. Here we go — comfort where you stand, hard surface where you roll. Best of both, and not a big spend.
That is today's chat — back tomorrow with a fresh sweep. Sewing along at home? Browse our fabric collection and Know Your Notions guides, and bring your own questions to the shop any time. Thanks for spending a little of your day with us. We'll see you next time. Bye.
Today's questions were gathered from r/quilting, r/sewing, r/sewhelp, r/MachineEmbroidery, and r/Machine_Embroidery, and are paraphrased from the day's most active help threads.


