
Hey everyone. Today you're going to learn how to teach a brand-new beginner their very first cuts, so they start out safe, calm, and proud of what they made.
Here's the problem, y'all. A beginner's first project can go sideways fast. Hand them big shears and good fabric, and nerves take over. The cuts wobble. The fabric shifts. And that first experience sticks — good or bad. We want a good one. Small cuts. Close supervision. Habits built early.
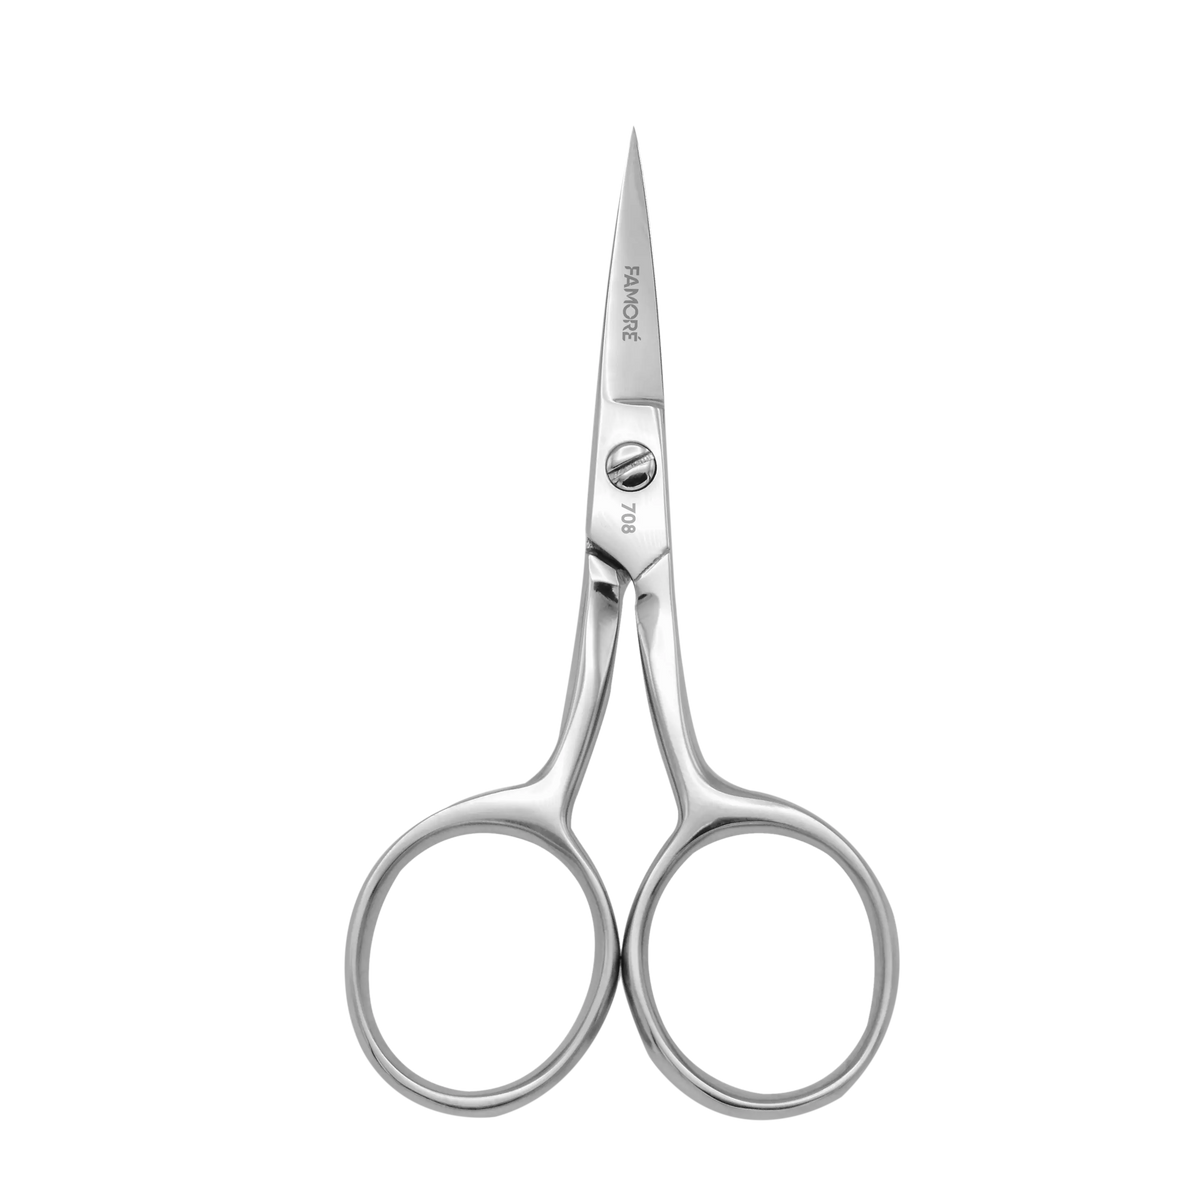
So here's what I use when I teach a first timer. These are the Famoré 708 scissors. They are 4 inches long, with a straight fine point and large rings. I reach for this pair because that small size is easy to control, the fine point makes precise little cuts, and the large rings give new fingers room to find a comfortable grip. Confidence cuts straighter than fear does.
What You Need
- 708 - Straight Fine Point, Large Ring Scissors (4in.)
- Practice fabric — cotton scraps you are happy to sacrifice
- One simple first project, like a small pincushion or needle book panel
- A fabric marker or chalk
- A ruler for drawing straight practice lines
- A clear, flat table and good light
- Pins for holding the project layers together
- Patience — yours and theirs, in equal measure
The Steps
- Start with a talk, not a cut. Cover the ground rules together first. Scissors stay closed when they are not cutting. Points stay down when walking. We never run, wave, or reach across a blade. Say it out loud. It takes one minute, and it sets the tone for every session after.
- Show the grip first. Thumb in one large ring. Middle finger in the other. Index finger rests outside, guiding the blade. Because the rings are large, most hands find this fast. Let them open and close the scissors in the air 5 or 6 times. No fabric yet. Just the feel of it.
- Practice on scrap lines. Draw 3 straight lines on practice cotton, each about 4 inches long. Then draw 2 gentle curves. Your beginner cuts on the lines, slow and steady. One layer only for this round. Wobbly is fine. We are building control, not chasing perfection.
- Teach the turn, not the twist. When the line curves, the fabric turns — the scissors stay steady. Show them once. Then let them try. Twisting the wrist mid-cut is the number one beginner habit to catch early, and this is the moment to catch it.
- Pick a small, real first project. Now move to the actual project — a pincushion panel or a needle book piece works great. Small pieces. Forgiving shapes. Mark every cutting line clearly in chalk. Pin the layers inside the seam allowance so nothing shifts under those fine points.
- Cut together, one piece at a time. You cut the first piece while they watch. They cut the second while you watch. Keep cuts short and deliberate. Stop just short of fully closed, advance, and cut again. Just like that. If a cut drifts, slow down, back up to the line, and keep going. No drama.
- Finish with a thread-trim pass. These little 4-inch scissors really shine here. Let your beginner snip loose threads around their finished piece, points angled away from the fabric. Precise, satisfying work — and they go home with a clean project they made themselves.
Tips From My Table
- Keep the first session short — 20 to 30 minutes is plenty. Tired hands make sloppy cuts.
- Praise the habits, not just the result. "You closed the scissors every time" builds a safe sewer faster than "nice straight line" ever will.
- It does not have to be perfect. A first project with a slightly wobbly edge is a treasure, not a failure. You're your own worst critic — and beginners are hardest on themselves. Take your time. It is not a race.
- Want them cutting curves first, or straight lines first? Completely up to you. Match the order to the student in front of you, not a rule in a book.
A Quick Care Note
Wipe the blades with a soft, dry cloth when the session ends. Store the scissors closed, in a dry spot, points protected. Teach your beginner this too — caring for the tool is part of the craft. And keep these fine points for fabric, thread, and detail work only. Paper and cardboard will dull a fine point faster than anything.
Alrighty, folks. Small scissors, close supervision, good habits from cut number one. If I can do this, y'all can do it. Thanks for sewing along with me today. We'll see you next time. Bye.
Shop the 708 - Straight Fine Point, Large Ring Scissors (4in.) at Linda's Electric Quilters.


