
Hey everyone. Today you're going to learn how to grade and trim seam allowances in garment sewing, so bulky seams lie flat and smooth.
Here's the problem, y'all. You sew a nice 5/8-inch seam. You press it. Then you turn the garment right side out. And there it is. A thick little ridge. It shows through on a collar. It puckers on a facing. The sewing was fine. The bulk underneath was the trouble.
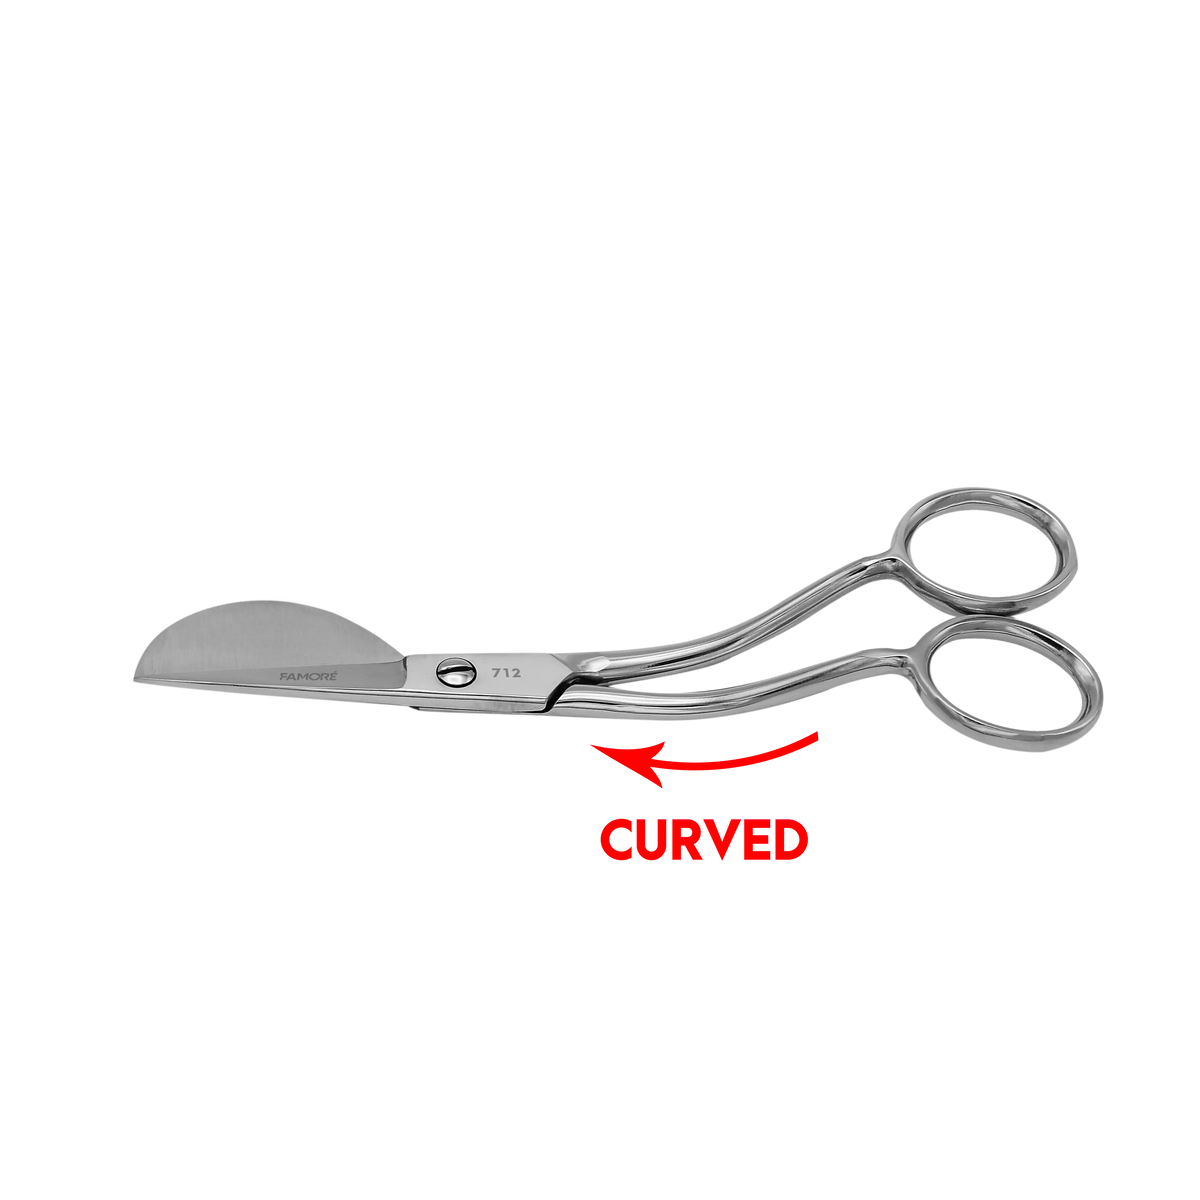
Grading fixes that. You trim each layer to a different width. No hard edge. Just a gentle slope inside the seam. Here's what I use for that job. These are the Famoré 712 Duckbill Applique Scissors. They are 6 inches long. That wide, flat duckbill blade slides under the layer you want to trim. It lifts that layer up. And it shields the layer underneath while you cut. I reach for this bad boy whenever a seam needs to lose bulk without risking the good fabric. If I can do this, y'all can do it.
What You Need
- 712 - Duckbill Applique Scissors (6in.)
- Your sewn garment piece, seams stitched but not yet turned
- An iron and pressing surface
- A clear, flat table with good light
- A small scrap bin for trimmed slivers
- A soft, dry cloth for wiping the blades
The Steps
- Press first, trim second. Press the seam allowances open, or to one side, as your pattern directs. Pressing takes about 10 seconds per seam. Flat layers are much easier to grade evenly than wrinkled ones.
- Decide your two widths. Start with a standard 5/8-inch seam allowance. Plan to trim the under layer to about 1/4 inch. Leave the top layer wider, about 1/2 inch. That stagger is the whole idea. On an enclosed seam, like a collar, go a touch narrower. Try 1/4 inch and 3/8 inch there.
- Slide the duckbill under one layer only. Lay the wide, flat blade flat against the fabric you want to protect. Slide it under only the layer you plan to trim shortest. Check with your finger. One layer up on the duckbill. Everything else safely below it. Slow down here, folks. This check takes 2 seconds, and it is what keeps the good layer whole.
- Trim in short, smooth cuts. Cut along that under layer, keeping the blade flat. Use 3 or 4 short cuts instead of one long push. Keep the edge even at about 1/4 inch from the stitching. Never trim closer than 1/8 inch. Too close, and the seam can pull out later. Just like that, the first layer is graded.
- Trim the second layer wider. Now lift the remaining seam allowance layer. Trim it to about 1/2 inch from the stitching. Again, short cuts. Keep it even. You should now see a clear step between the two layers. That little step is exactly what you want.
- Clip curves gently, if you have them. On a curved seam, make small clips into the graded allowance. Space them about 1/2 inch apart. Stop at least 1/16 inch short of the stitching. Slow down or you can clip right through a stitch, and nobody wants that surprise.
- Turn it and check the outside. Turn the piece right side out. Run your hand over the seam. It should feel smooth, not ridged. Press again from the right side. If one spot still feels thick, turn it back and trim only that spot.
Tips From My Table
- Practice on scrap first. Sew two scrap layers with a 5/8-inch seam. Grade one half. Leave the other half alone. Feel the difference. That 5-minute test teaches more than any picture.
- Keep the duckbill flat. If you tip the scissors up, the protection is gone. Flat blade down. Layer to trim up on top. Every time.
- It doesn't have to be perfect. An edge that wobbles between 1/4 and 3/8 inch still grades just fine. You're your own worst critic. Nobody will ever see this inside edge. Take your time. It's not a race.
- I learned this one the honest way. I once trimmed both layers to the same narrow width. The seam looked flat, sure. Then it felt weak and started to fray. Different widths are not fussy work, folks. They are what keep the seam strong. Completely up to you, but wider on one layer is my way.
A Quick Care Note
Wipe the blades with a soft, dry cloth when you're done. Close the scissors before you put them away. Store them flat, in a case or a dedicated spot, so that wide blade stays protected.
Alrighty, folks. Press first. Grade the under layer short. Leave the top layer wider. Thanks for sewing along with me today. We'll see you next time. Bye.
Shop the 712 - Duckbill Applique Scissors (6in.) at Linda's Electric Quilters.


