
Hey everyone. Today you're going to learn how to build a two-tool workflow for appliqué, so prep goes faster and your close trimming stays clean and safe.
Here's the problem, y'all. Appliqué asks for two very different cuts. First you cut the shape out of yardage. That is a big, rough job. Then you trim close to your stitch line. That is a small, careful job. Use one tool for both, and something suffers. Big shears feel clumsy up close. Small scissors crawl through the rough cut. Two tools. Two jobs. Just like that, the work gets easier.
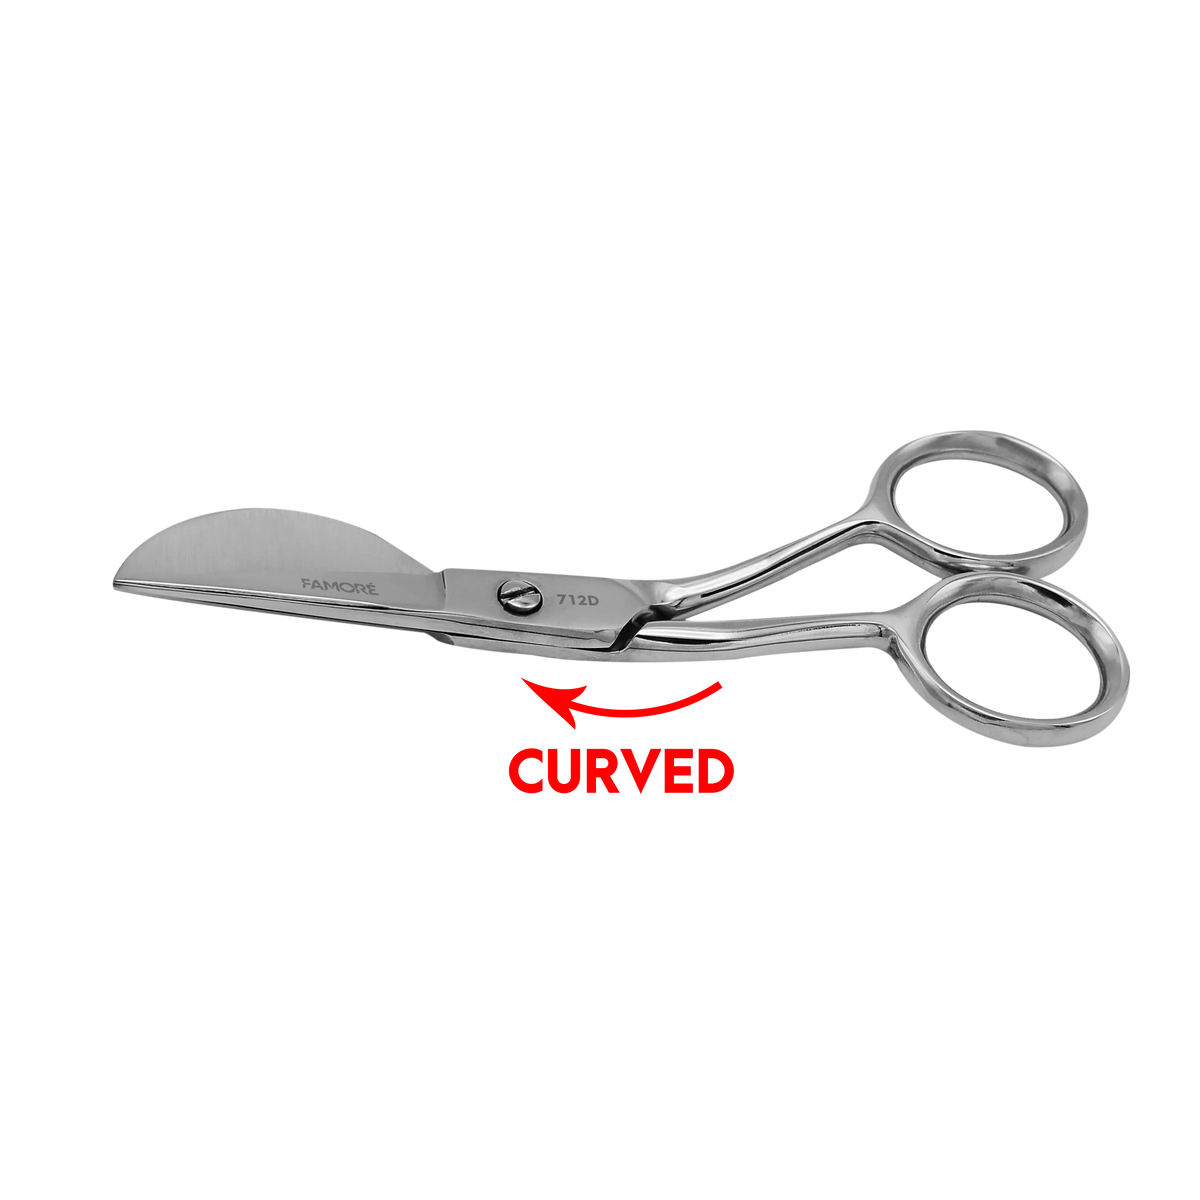
Here's what I use for the close work. These are the Famoré 712D Mini Duck Bill Appliqué Scissors. They are 4.5 inches long. That mini size is the whole point. The wide, flat duckbill blade slides under your appliqué piece. It holds the top layer up, away from your background. So you trim close, and the layer underneath stays safe. I keep this pair beside my shears at my appliqué station, and this pairing is how I prep piece after piece. If I can do this, y'all can do it.
What You Need
- 712D - Mini Duck Bill Applique Scissors (4.5in.)
- Your larger fabric shears — the partner tool for the rough cuts
- Your appliqué fabric and background fabric, pressed
- Your appliqué shapes, marked or fused and ready
- A fabric marker or chalk
- Pins or pattern weights
- A clear, flat table and good light
- A small tray for finished pieces
The Steps
- Sort the cuts before you start. Look at every shape first. Rough cuts go to your shears. Close trims go to the 712D. Two minutes of sorting saves you switching tools on every piece. We're not reinventing the wheel here. We are just putting each cut with the right tool.
- Rough-cut every shape with your shears. Cut around each shape, leaving about 1/4 inch of extra fabric outside your line. Keep the fabric flat on the table. Do all the rough cuts in one pass, while the fabric is still in big, stable pieces. Stack the rough shapes to one side.
- Close the shears and set them down. This habit makes the workflow work. One tool in your hand at a time. Shears closed, points away. Now pick up the 712D. A clean switch keeps your table safe, and your head clear about which job you are on.
- Position or stitch your first piece. Place the rough shape where it belongs on your background. Pin it, or fuse it if that is your method. If your design is stitched down first and trimmed after, stitch it now. The duckbill trim works best when the top piece cannot shift under your hand.
- Slide the duckbill under the top layer. Rest that wide, flat blade against the background fabric. Slide it under the edge of your appliqué piece. The bill lifts the top layer just a touch. Your background stays below it, protected. Angle the scissors so you can see your line the whole way.
- Trim close, in short, steady cuts. Trim the extra fabric to about 1/16 to 1/8 inch from your line. Small bites, not long chops. Turn the work, not the scissors, around a curve. Work one piece all the way around. Then set it in your tray, finished. Rough batch first, close batch second — and nothing gets missed or trimmed twice.
Tips From My Table
- Slow down on tight curves. That mini 4.5-inch size turns beautifully in small spaces, but it still rewards a steady pace. Take your time. It's not a race.
- It doesn't have to be perfect. An edge a hair wider in one spot still stitches down just fine. You're your own worst critic, folks. Keep moving and let the workflow carry you.
- Check your background as you go. After each piece, lift it gently and look underneath. No nicks where they don't belong? Good. That quick check is your proof the duckbill is doing its job.
- Prefer to trim before you stitch, right on your marked line? Completely up to you. This order works for me, but your table, your rules.
A Quick Care Note
Wipe both blades with a soft, dry cloth when prep is done. Store the 712D closed, in a dry spot, points protected. Keep this pair for fabric work only — paper and cardboard will dull a precision edge faster than anything. Care for the pair, and the pair will care for your projects.
Alrighty, folks. Big shears for the rough cut. Mini duckbill for the close trim. Super duper simple, and really really fast once it becomes habit. Thanks for sewing along today. We'll see you next time. Bye.
Shop the 712D - Mini Duck Bill Applique Scissors (4.5in.) at Linda's Electric Quilters.


