
Hey everyone. Today you'll learn how to turn leftover wool batting strips into a braided pet feeding mat that actually cushions the floor.
Here we go. You know that bin of long, skinny batting trimmings? The ones left after you square up a quilt? Don't toss them. They are perfect for this.
A feeding mat needs three things. It needs cushion under heavy bowls. It needs grip so bowls don't travel. And it needs to survive a rinse and a shake-out. Wool batting helps with all three.
Wool is springy. It bounces back instead of packing flat. It also has a little natural grab to it. That helps your braid hold its shape. And a strip rug uses every inch, so you get a useful mat for pennies.
I made my first one too tight. The edges curled right up. I loosened my tension, laid it flat overnight, and it settled. Just like that. Yours does not have to be perfect. Your pet is not judging your braiding. Take your time. It's not a race.
Materials
- Wool batting leftovers, enough for about 18 x 24 inches finished
- Rotary cutter, mat, and a long ruler
- Large safety pins or clips to hold braid starts
- Size Q (15 mm) crochet hook if you are crocheting, or a large-eye tapestry needle and strong thread if you are braiding and lacing
- Scissors for trimming tails
- Optional: thin non-slip shelf liner for underneath on slick floors
Pick wool with even loft and no thin spots. Hold it up to the light. Save lumpy bits for stuffing. Consistent strips keep the rug flat.
How to Make It
- Sort your scraps. Keep wool with wool. Wool strips stretch and recover together, so your mat stays even. Shake off loose threads first.
- Cut your strips. Cut strips 1 1/2 inches wide. Keep them as straight as you can. Trim any spot wider than 2 inches, or it will make a bump.
- Join strips into long strands. Overlap ends by about 1 inch. Roll them between your palms — wool fibers like to cling. Add 2 or 3 hand stitches for security. Make three strands, each 6 to 8 feet long to start.
- Start your braid or chain. For braiding, clip three strands to a heavy pillow. Braid loose and even, not tight. For crochet, use your Q hook and keep stitches big and loose — about 3 to 4 stitches across 6 inches.
- Build the mat shape. For a braided oval, coil the braid in a flat spiral. Lace each round to the last, stitching every 1 to 2 inches. Pull snug, not tight. For crochet, work in rows to about 18 x 24 inches. That fits two bowls for most cats and medium dogs. Completely up to you on size.
- Check it flat. Lay it on the floor every few rounds. Step on it. If it cups up, your lacing is too tight. If it ripples, add a stitch in the loose spot.
- Finish the edge. Tuck the last tail back at least 3 inches. Trim flush. Shake it outside and press flat with your hands. Really really simple.
Tips and Variations
Slow down at the joins. That is the moment of risk. A thick overlap can jam under a crochet hook or snap your lacing thread. Thin the overlap a touch with scissors if it feels bulky.
Make it washable-smart. Wool does best with a cool rinse and air drying flat. Shake crumbs off outside. Spot-clean spills fast.
Try a round version. A 16-inch round mat is super duper cute under a single water bowl. Same braid, same coil. Just stop earlier.
Add color if you like. Tuck a cotton fabric strip in every third strand. One fabric strip to two batting strips keeps the cushion and adds pattern.
Thicker pet, thicker mat. For a big dog and a heavy bowl, braid with double strips. The extra cushion is worth it.
Folks, this is scrap-busting at its best. We're not reinventing the wheel here.
If I can do this, y'all can do it. Thanks for hanging out with me today. We'll see you next time. Bye.
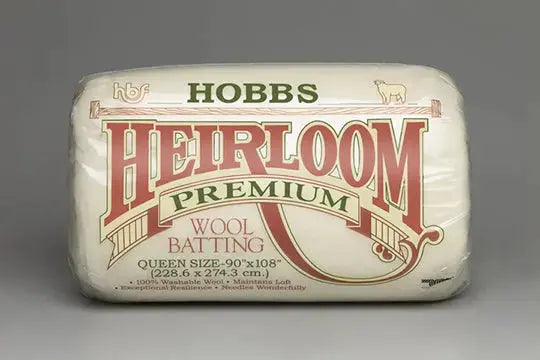
Shop Hobbs Heirloom Wool Batting Package at Linda's Electric Quilters.


