
Hey everyone. Today you'll learn how to sew a slim bifold wallet with card slots that stay crisp and an RFID-shielding layer tucked inside.
A handmade wallet fails in two places. The slots go soft and stretch out. Or the body gets so stiff it won't fold.
Here's the trick. Use two weights of interfacing, not one. A medium fusible gives the body its backbone. A lightweight fusible keeps the slots neat without adding bulk.
Then add one bonus layer. RFID-shielding fabric sits between outer fabric and lining. Folded closed, it surrounds your cards.
If I can do this, y'all can do it. Take your time. It's not a race.
Materials
- Outer fabric: one piece, 9 inches by 4 1/2 inches
- Lining fabric: one piece, 9 inches by 4 1/2 inches
- Slot fabric: two pieces, each 9 inches by 3 1/2 inches
- Medium-weight fusible interfacing: one piece, 8 1/2 inches by 4 inches, for the body
- Lightweight fusible interfacing: two pieces, each 8 1/2 inches by 3 inches, for the slots
- RFID-shielding fabric: one piece, 8 1/2 inches by 4 inches
- 80/12 Microtex or universal needle
- Thread to match, a marking pencil, clips, and your iron
Notice the interfacing is cut smaller than the fabric. That keeps it out of the seam allowances. Less bulk. Cleaner folds.
How to make it
- Fuse the body. Press the medium interfacing to the wrong side of the outer fabric. Use a press cloth and hold the iron 10 to 15 seconds per spot. Don't slide it. Sliding can shift the layer before it bonds.
- Fuse the slots. Press the lightweight interfacing to the wrong side of each slot piece. Let everything cool flat. Warm interfacing can stretch if you handle it too soon. Ask me how I know.
- Fold the slot panels. Fold each slot piece in half lengthwise, wrong sides together. Press. Topstitch along the fold at a 2.5 mm stitch length. That folded edge is the top of your pockets, so take a breath and sew it straight.
- Build the slot rows. Lay one slot panel on the lower half of the lining, raw edges aligned at the sides and bottom. Stitch a vertical divider line down the center. Then stitch one more line 2 1/4 inches from each side if you want narrower slots. Repeat with the second panel on the other half. Backstitch at the top edge of each divider. That's the stress point. Slow down there or the needle complains.
- Add the shielding layer. Lay the RFID-shielding fabric over the slot side of the lining, centered. Baste it inside the seam allowance only. Keep it out of the fold line if your fabric feels stiff. One layer across the closed wallet is what does the work.
- Join outer and lining. Place the outer piece and the lining piece right sides together. The slots and shielding layer face inward. Sew around all four sides with a 1/4-inch seam allowance. Leave a 3-inch gap along one long edge for turning.
- Trim and turn. Clip the corners at an angle. Don't clip into the stitching. Turn the wallet right side out through the gap. Push the corners out gently with a chopstick, never scissors.
- Press and close. Tuck the gap edges in and press the whole wallet flat. Topstitch around all four sides, about 1/8 inch from the edge. That closes the gap and sharpens every edge in one pass.
- Set the fold. Fold the wallet in half. Press lightly along the fold, then slip a card into every slot. Leave the cards in overnight. The slots learn their job that way.
Tips and variations
Test your slots first. Cards vary a hair in size. Slide a real card in before the final topstitch. Too snug? Move your divider lines out by 1/8 inch next time. Completely up to you.
Watch the stack. At the side edges you're sewing through outer fabric, interfacings, slots, and shielding fabric. Use clips, not pins. If your machine hesitates, lengthen the stitch to 3.0 mm for the topstitch pass.
Swap the build. Want a clutch size instead? Cut the body 9 inches by 7 inches and add a third slot panel. Want it softer? Use lightweight interfacing in the body too, and accept a gentler fold. Both ways work.
A word on the shielding fabric. It only helps where it covers the card. So size it to the full body panel, not just one slot.
Don't worry if a divider line wobbles a little. You're your own worst critic here. The cards won't mind. Folks will just ask where you got it.
Thanks for sewing along with me, folks. We'll see you next time. Bye.
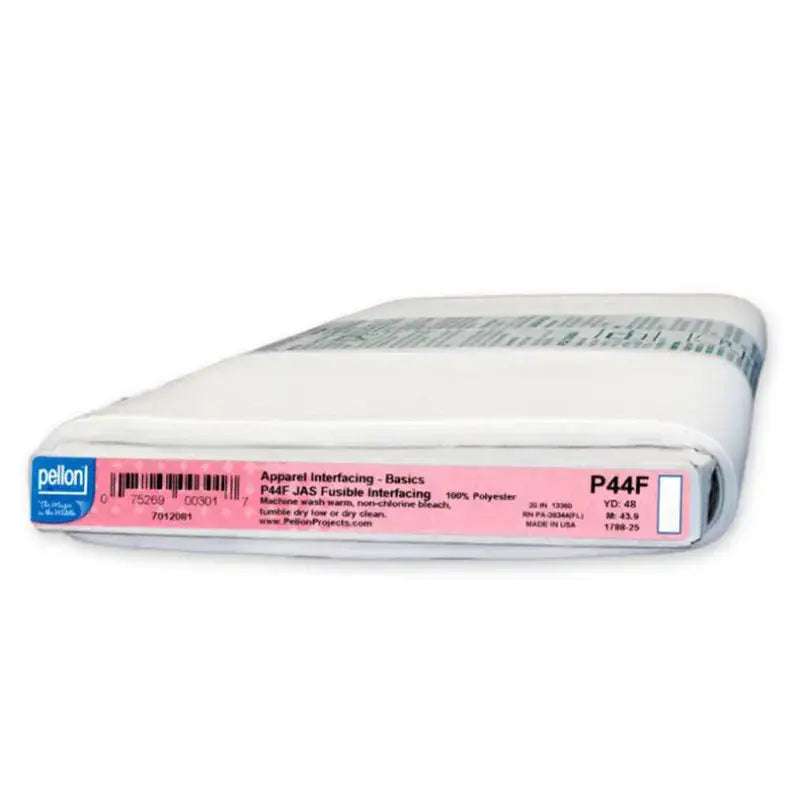
Shop Pellon Lightweight Nonwoven Fusible Interfacing 20" White By The Yard at Linda's Electric Quilters.


