
Hey everyone. Today you will learn how to make Christmas stockings with padded cuffs and your family's names embroidered right where everybody can read them.
Here we go. A good stocking holds its shape on the mantel, empty. And it holds a name without wobbling. Batting gives you the shape. Interfacing gives you the steady stitching surface.
The cuff is your billboard, folks. If it is thin and floppy, your letters droop. If you embroider with nothing behind the fabric, stitches pull and pucker. Fuse interfacing behind the cuff first. Then pad it lightly. Your name sits flat and readable. Just like that.
Why these two helpers work together
Batting is the soft part. A thin, low-loft layer in the cuff and toe makes the stocking feel plush and heirloom, with a gentle rounded shape instead of a flat, papery one.
Interfacing is the steady part. Fused to the body, it stops stretching. Fused behind the cuff, it is your embroidery stabilizer. Soft on top. Steady underneath.
Materials
- Outer fabric, about 1/2 yard or two fat quarters
- Lining fabric, smooth quilting cotton to match
- Contrasting cuff fabric, one fat quarter
- Low-loft batting, scraps are perfect here
- Woven fusible interfacing for the cuff and body
- A stocking pattern, about 18 inches tall
- Embroidery thread or floss in a color that pops
- All-purpose thread and an 80/12 universal needle
- 6 inches of ribbon or twill tape for the hanging loop
- Water-soluble marker, ruler, pins, scissors, and a rotary cutter
Pick low-loft on purpose. High-loft eats stitching detail and steals room inside. Thin is your friend here.
How to do it
- Cut and interface the body first. Fuse interfacing to the wrong side of your outer fabric. Press from the center out and let it cool flat. Then trace your pattern with a 1/4-inch seam allowance and cut front and back.
- Prep the cuff before you sew. Cut the cuff about 3 to 3 1/2 inches deep when finished. Fuse interfacing to the whole cuff, including the fold line, where unstabilized cuffs love to stretch.
- Mark the name dead center. Fold the cuff in half to find center. Mark a baseline with your water-soluble marker. Letters about 3/4 inch tall read well across the room. Say the spelling out loud, letter by letter. Twice. Ask me how I know.
- Embroider the name flat. Stitch before the cuff becomes a tube. Machine embroidery works great here. Hand backstitch works too. Do not pull tight — tight pulls pucker. Script, block, or appliqué letters are all fine. Completely up to you.
- Pad the cuff lightly. Lay a thin batting strip behind the cuff, away from the name. Sandwich it with a backing piece. Quilt one or two lines below the name, about 1 inch apart, at 2.5 to 3 mm stitch length. That locks the batting in place.
- Pad the toe, just a little. Baste a small, thin batting piece inside the toe curve of the front piece. Trim every bit of batting out of the seam allowance. Batting in the toe makes comfort. Batting in the seam makes bulk.
- Sew the outer stocking and lining. Sew front and back right sides together, 1/4-inch seam, top open. Go slow around the heel and toe curves. Sew the lining the same way, leaving a 3-inch opening for turning.
- Join cuff, loop, and lining. Pin your ribbon loop at the top side seam, loop down. Wrap the cuff around the top edge. Slip the lining over everything, right sides together, and sew the full top circle.
- Turn and finish. Turn right side out through the lining opening. Stitch it closed and tuck the lining inside. Press gently, keeping the iron off the name. Hang it empty overnight. Still proud in the morning? You nailed it.
Tips and variations
Growing family? Plan for it. Keep your pattern, cuff measurements, and a fabric scrap in a labeled bag. When a new baby joins the crew, match the set in an afternoon. Same shape. New name. Super duper cute.
My mistake, so you can skip it. I once padded first and embroidered second. Oh my goodness. The hoop would not sit flat and my letters leaned. Interface, embroider, then pad. That order matters.
No fancy embroidery setup? Hand-stitch the name, or cut felt letters and appliqué them with a tiny zigzag. The name is the love. The method is up to you.
It does not have to be perfect. You're your own worst critic. A wobbly letter proves a real person made it. Take your time. It's not a race. If I can do this, y'all can do it.
Thanks so much for sewing along with me. We'll see you next time. Bye.
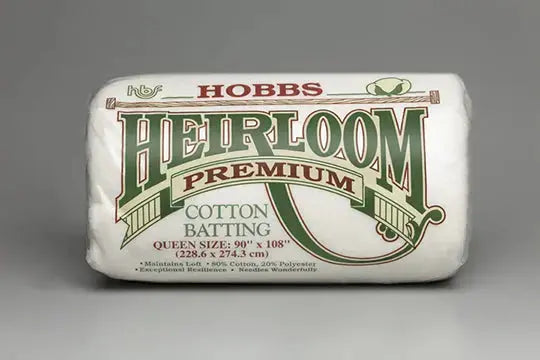
Shop Hobbs Heirloom 80/20 Batting Package at Linda's Electric Quilters.


