
Hey everyone. Today you will learn how to make a quilted vest that is warm in the body and easy to layer.
Here is the trick. You only put batting in the body. You leave it out of the armholes. Just like that, the bulk disappears.
A vest is core warmth. Your chest and back need the insulation. Your arms need to move. If you pad everything the same, the armholes get thick. Jackets bunch. Sleeves fight you. We are not doing that.
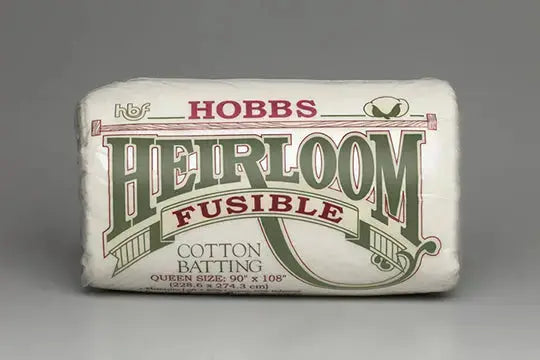
For this project, I reach for fusible batting. You fuse it to the wrong side of your outer fabric. No shifting. No pinning a wiggly sandwich. It stays put while you quilt and sew.
Why fusible batting works here
Fusible batting has a light heat-activated side. A warm iron tacks it in place. That is perfect for garment pieces. Vest fronts and backs are curved. They are not big flat quilts.
Pick a low to medium loft. You want warmth, not a marshmallow. Squeeze it in your hand. If it springs back soft and flat, you are in good shape. Save high-loft for puff quilts. Completely up to you on fiber — a test scrap will tell you what feels right.
Materials
- A simple vest pattern in your size, with front, back, and lining pieces
- Outer fabric: quilting cotton, flannel, or light denim, per your pattern
- Lining fabric: quilting cotton or flannel, per your pattern
- Fusible batting, enough for the front and back body pieces only
- All-purpose thread, 50 weight
- A size 90/14 universal or microtex needle
- Buttons, snaps, or a zipper, per your pattern
- Rotary cutter, mat, and ruler, or fabric scissors
- Chalk or a fabric marker, pins, and clips
- An iron and a pressing cloth
How to do it
- Cut the body pieces first. Cut vest fronts and back from outer fabric and from lining. Cut armhole facings or bindings as your pattern directs. Use the seam allowance your pattern calls for, and stay consistent.
- Cut batting for the body only. Lay the front and back outer pieces on the batting and trace them. Then trim the batting about 1/2 inch smaller on side and shoulder seams. That trims bulk out of the seams. Do not cut batting for armholes, facings, or collar. That is the whole point.
- Fuse with care. Lay an outer piece wrong side up. Lay batting fusible side down on it. Cover with a pressing cloth. Press in sections, holding the iron 10 to 15 seconds per spot, then lift and move. Do not slide it. Sliding can stretch the batting. Let each piece cool flat.
- Test on a scrap first. Fuse a 6-inch scrap sandwich. Quilt it. Wash it if you plan to wash the vest. Every fabric acts a little different. A two-minute test saves a whole vest.
- Quilt the body panels. Lay lining behind the fused outer piece, wrong sides together. Pin the edges. Quilt simple lines 2 to 3 inches apart. Use a 2.5 mm stitch length, about 10 to 12 stitches per inch. Try stitch in the ditch or a gentle meander. Keep it light. Dense quilting makes a vest stiff.
- Sew the vest together. Join shoulders and sides per your pattern. Press seams open where you can. Slow down at thick spots. Slow down or the needle snaps — I have learned that one the hard way.
- Finish the armholes clean. Bind or face them with lining fabric only, no batting. Turn, press, and topstitch about 1/8 inch from the edge. Just like that, you get a crisp opening that still bends with your arm.
- Add closure and hem. Sew buttonholes, snaps, or the zipper per your pattern. Hem the bottom. Give the vest a final press with the pressing cloth. Do not crush the batting with a super hot iron.
Tips and variations
It does not have to be perfect. Really. Your first vest is a learning vest. You are your own worst critic. Take your time. It is not a race.
Want more warmth? Add a second thin layer just in the back panel, where wind hits you on a walk. Want a reversible vest? Pick two fun fabrics, fuse batting between them for the body, and bind every edge. Super duper fun for gifts.
If the fusible lets go in a spot, do not panic. A few extra quilting lines will hold it. The stitches do the real work. The fusing just helps you get there.
If I can do this, y'all can do it. We're not reinventing the wheel here. We're just putting the warmth where it belongs.
Thanks so much for sewing along with me. We'll see you next time. Bye.
Shop Hobbs Heirloom 80/20 Fusible Batting Package at Linda's Electric Quilters.


