
Hey everyone. Today you'll learn how to make a collapsible quilted scrap basket with batting walls that stands open while you sew, then folds flat when you need the table back.
Here we go. Every sewing table grows the same pile. Strips here. Squares there. Then a big quilt needs the whole table, and that handy basket is in the way. A stiff basket won't store. A soft bin won't stand open. So we split the job. Batting pads the walls. Interfacing firms up only the rim and the base. The middle of each wall stays flexible, and that's the secret. It works hard, then folds and slides into a drawer. Just like that.
Here's what I use and why. Batting offcuts first — this project was made for them. Low to medium loft is perfect. High loft fights the fold. For interfacing, go lightweight to medium weight, not extra-firm. Ours needs to bend on purpose.
Materials
- Outer fabric: two pieces, 12 x 14 inches each, plus one 12 x 12 inch base piece — quilting cotton works great
- Lining fabric: same cuts as the outer
- Batting offcuts, low to medium loft, cut to match the outer wall and base pieces
- Lightweight to medium-weight fusible interfacing: one strip 3 x 44 inches for the rim band, plus one 12 x 12 inch piece for the base
- Thread, 50-weight for piecing, and your machine with a size 80/12 universal needle
- Scissors, clips, chalk, a ruler, and your iron
- Optional: two short fabric ties, or one snap, to hold the basket flat for storage
How to Do It
- Cut and sort your layers. Notice what's missing: no interfacing in the middle of the walls. That's deliberate. The rim and base get structure. The walls get only batting, so they can fold.
- Fuse the base interfacing to the wrong side of the outer base piece. Press, lift, press again for 10 to 15 seconds. Let it cool flat — that sets the bond.
- Lay batting behind each outer wall piece and the interfaced base. Clip the edges. Quilt each wall with straight lines every 1 inch, using a 2.5 mm stitch length. Travel edge to edge and tie off as you go. That quilting holds the batting through every fold and wash.
- Mark your fold lines. On each wall, chalk one diagonal line corner to corner, then stitch right on it through all the layers. That stitched diagonal becomes a hinge — like a crease in paper, only softer. The empty walls fold in along those hinges.
- Make the rim band. Fuse the interfacing strip to a matching fabric strip. Fold it in half lengthwise, wrong sides together, and press. This firm band holds the top open while you toss scraps in all day.
- Sew the outer box. Stitch the walls to the base with a 1/4 inch seam, then sew the side seams. Trim batting out of the seam allowances where you can. Less bulk, cleaner folds. Slow down at the thick corners or the needle snaps — ask me how I know. I broke two sewing my first one too fast. Slower fixed it.
- Sew the lining box the same way, but skip the batting. Leave a 4 inch gap in one lining seam for turning.
- Put the outer basket inside the lining, right sides together. Sandwich the rim band between them, raw edges even with the top. Clip, stitch the top edge, and turn through the gap. Tuck the lining in and press the rim crisp.
- Topstitch around the rim, about 1/8 inch from the edge. Stitch the gap closed. Now test it: fill it, empty it, then press the walls in along those hinges. Flat. Super duper fun, right?
Tips and Variations
Store it anywhere. Folded flat, this basket is about an inch thick. Slide it under your machine or into a project tote. Add the ties or snap if yours springs open in a drawer.
Stiffer version. Want it to stand prouder? Add interfacing to the top half of each wall only, above the diagonal hinge. You keep the fold and gain a firmer mouth. We're not reinventing the wheel here — we're just choosing where it bends.
Use up the tiniest scraps. Piece your outer walls crumb-style from strips before adding the batting. A scrap basket made of scraps? Oh my goodness, yes.
And listen. Your fold lines might not sit perfectly straight. Mine wandered on my first try. You're your own worst critic. Take your time. It's not a race. If I can do this, y'all can do it.
Thanks so much for sewing along with me today. We'll see you next time. Bye.
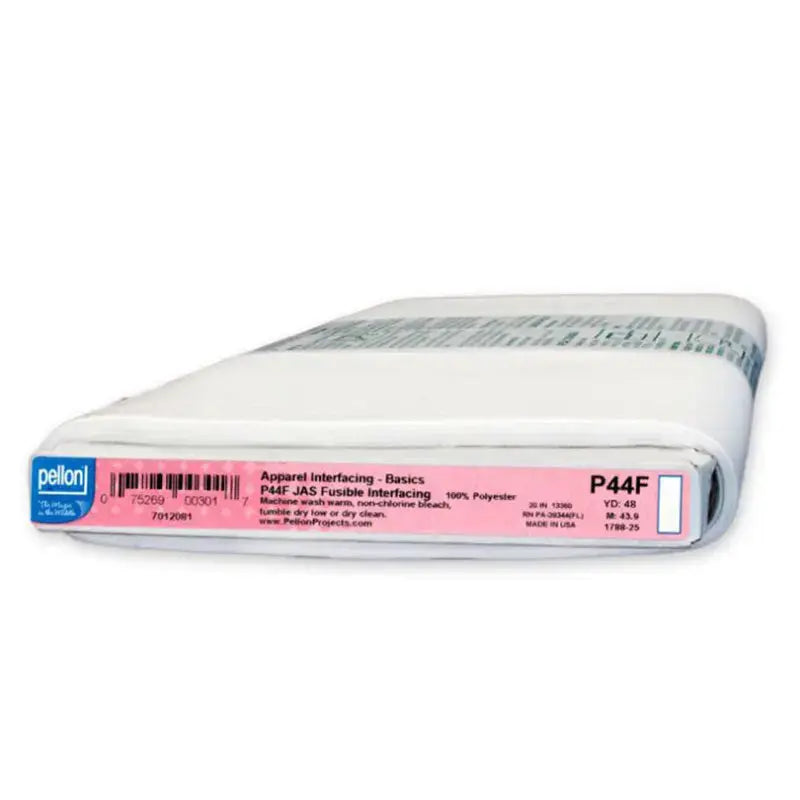
Shop Pellon Lightweight Nonwoven Fusible Interfacing 20" White By The Yard at Linda's Electric Quilters.


