
Hey everyone. Today you will learn how to make a quilted table runner with a heat-safe center that works as a long trivet too.
You set a pretty runner down the table. Then dinner shows up hot. Now you are hunting for trivets. I have done that dance, y'all.
This runner solves it in the layers. The whole runner gets one soft layer of batting. The center gets a second layer where the dishes actually sit. That double layer in the middle is the heat buffer. The ends stay thinner, so they still drape nice and flat.
Interfacing steadies the top fabric. Batting cushions and protects. Together, they make a runner that looks good and works hard. Here we go.
Materials
- Runner top fabric, cut about 14 inches by 44 inches
- Backing fabric, cut the same size
- Lightweight fusible interfacing for the top, cut 14 inches by 44 inches
- Low-loft batting for the full runner, cut 14 inches by 44 inches
- Insulated batting for the center only, cut about 14 inches by 20 inches
- Cotton thread, 50 weight, for quilting
- Binding strips, 2 1/4 inches wide, joined to go all the way around
- Walking foot, size 80/12 needle, pins or basting spray, and rotary cutting tools
How to make it
- Interface the top first. Fuse the interfacing to the wrong side of your top fabric. Press in sections. Lift and set the iron down. Do not slide it. Sliding can wrinkle the interfacing. Let it cool flat. This step keeps the top from stretching when you quilt those long lines.
- Mark your center zone. Measure the middle 20 inches of the runner length. Mark it lightly with chalk or pins. That is your heat-safe zone. Casseroles, sheet pans, and serving bowls almost always land right there. The ends do not need the extra thickness.
- Stack the sandwich in order. Lay the backing face down. Add the full layer of low-loft batting. Center the insulated batting piece inside your marks. Then lay the interfaced top face up on top. Smooth from the center out with your hands. Just like that, you can feel the center is a little firmer. That is exactly right.
- Baste well, especially at the step. Pin every 3 to 4 inches. Add extra pins where the center layer starts and stops. That step in thickness likes to shift. Extra pins fixed that on my second try.
- Quilt with a walking foot. Use a stitch length of 2.5 to 3.0. Start near the center and work out. I like straight lines down the length, spaced about 1 1/2 to 2 inches apart. Go slow through the thick center. Slow down or the needle will complain. Keep your speed even and let the walking foot do the work.
- Check the quilting density. You want lines close enough that the layers stay together in the wash. But not so close that the runner turns stiff as a board. Two inches apart is a sweet spot for me. Completely up to you if you prefer a simple grid or stitch in the ditch along seams.
- Square up and bind. Trim all four edges even. Bind all the way around, mitering the corners. Press the finished runner flat. Set a cool plate in the center to check how it sits. It should lie flat with no big hump.
Tips and variations
Test it before company comes. Warm a baking dish, set it in the center for five minutes, then feel the table underneath. It should feel warm at most, not hot. Every table finish is different, so test yours first. That is just good common sense.
Make it longer for a big table. Keep the width the same and add length to the ends, not the center. Your heat-safe zone stays about 20 inches. You just get more pretty drape on each side.
Want a bolder look? Piece the top from strips or orphan blocks. Interface the whole pieced top after it is sewn. That extra stability really helps when blocks were cut on the bias.
Care is simple. Wash gentle and lay flat or tumble low. If a crease forms at the step, a warm press from the back smooths it.
If a line wobbles a little, leave it. Nobody at dinner is grading your quilting. You are your own worst critic. Take your time. It is not a race.
If I can do this, y'all can do this. Thanks so much for sewing along with me. We'll see you next time. Bye.
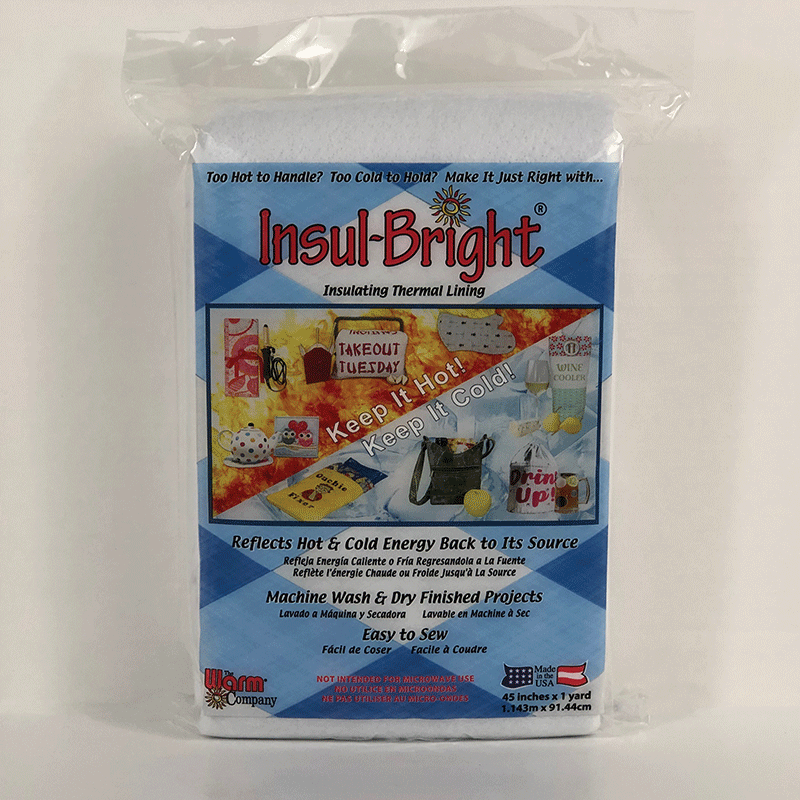
Shop Insul-Bright® Insulating Thermal Lining – 45" x 1 Yard at Linda's Electric Quilters.


