
Hey everyone. Today you will learn how to turn scrap interfacing into reusable applique templates for lettering on banners.
Here we go.
Banner lettering is where good projects go wobbly. You cut a beautiful B. The next B looks different. The letters drift.
I used to trace letters on paper. Paper tears. Paper curls. Paper hates an iron.
Scrap interfacing fixes that. It is already in your bin. It cuts clean and holds its edge. The fusible kind tacks to fabric, holds still while you cut, then peels off clean. Your template does the steady work. You just follow it.
Materials
- Scrap fusible interfacing, lightweight to medium-weight, pieces at least as big as your letters
- Banner fabric for the base, plus contrasting fabric for the letters
- Printed letters in your chosen font, sized for the banner
- Size 70/10 or 80/12 universal needle for sewing the letters down
- 40-weight polyester or cotton thread to match or contrast the letters
- Iron and ironing board, plus a press cloth
- Paper scissors for templates, fabric scissors or a small rotary cutter for fabric
- Pencil or fine removable marker
- Pins or wonder clips
- Ruler and a little painter's tape for spacing
Save scraps with flat, un-wrinkled areas. A creased scrap makes a creased letter. Ask me how I know.
How to make it
- Print and size your letters. Print each letter at full size. For most banners, 4 to 6 inch tall letters read well across a room. Lay them out on your banner fabric first. Check the total width before you cut anything.
- Trace onto the interfacing. Lay the interfacing paper side up if yours has one. Trace each letter in pencil. Remember to trace fusible letters in reverse if you will fuse them to the wrong side of the letter fabric. For a stencil style, trace them right-reading. Take your time here. It is not a race.
- Cut the templates clean. Use paper scissors on the interfacing, not your good fabric scissors. Cut just inside the line for applique templates. That keeps letters from growing fat. For stencils, cut the letter shape out of the center and keep the outside frame in one piece.
- Tack the template to the letter fabric. Place the fusible side down on the wrong side of your letter fabric. Press with a dry iron on medium heat, about 5 to 8 seconds per spot. Just tack it. You want it to hold for cutting, then peel. Let it cool completely before you move it.
- Cut the fabric letters. Cut the fabric right along the interfacing edge. The interfacing stops the fabric from stretching and shifting under your scissors. Just like that, every letter comes out the same size. Peel the interfacing off and save it. That same template will cut your next set.
- Plan your spacing on the banner. Lay painter's tape as your baseline. Set the letters down with even gaps, about half an inch to an inch between letters. Step back three feet and look. Your eyes catch uneven spacing better from far away.
- Fuse or pin, then stitch them down. If your letter fabric has fusible, fuse it now. If not, pin well. Set about 8 to 10 stitches per inch, roughly a 2.5 millimeter stitch. Use a narrow zigzag or straight stitch just inside the edge. Slow down on curves, or the letter will wobble.
- Try the stencil version. Lay the interfacing frame on the banner, tack the corners lightly, and mark or paint inside the opening. Peel it clean, wipe it, let it dry flat, and file it with the set.
Tips and variations
Build a letter library. Cut A through Z once, plus numbers. Store them flat in an envelope labeled with font and height. Next banner, you are halfway done before you start.
Mix weights on purpose. Lightweight is best for curved letters you peel often. Medium-weight lasts longer for block letters and stencils. Completely up to you.
Fix a fuzzy edge. If a template edge gets soft, trace it onto a fresh scrap and retire the old one. We're not reinventing the wheel here.
It does not have to be perfect. Handmade banners should look handmade. A tiny wobble is charm, not failure. You are your own worst critic, y'all.
If I can do this, y'all can do it. Those scraps in the bin? They just became your best lettering tool. Super duper handy.
Thanks for sewing along with me, folks. We'll see you next time. Bye.
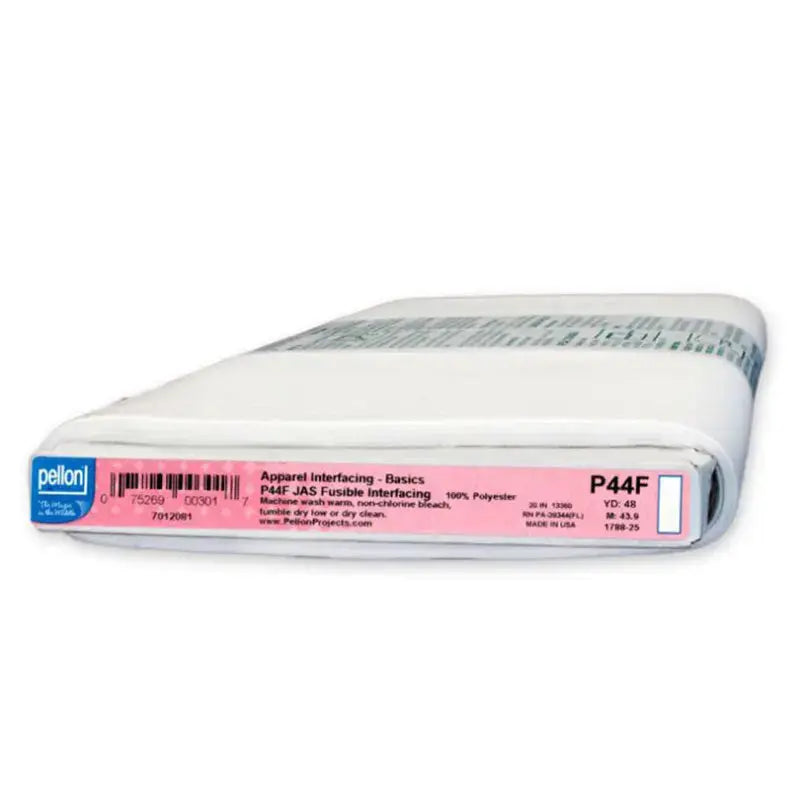
Shop Pellon Lightweight Nonwoven Fusible Interfacing 20" White By The Yard at Linda's Electric Quilters.


