
Hey everyone. Today you're going to learn how to turn stabilizer scraps into luggage tags that actually survive travel.
You know that bin, y'all. Little stiff offcuts. Too good to toss. Too small for a bag. Here we go. Those scraps are perfect for tags.
A paper tag tears off. A flimsy fabric tag folds over. Nobody can read it across the carousel. A heavy stabilizer core fixes that. Fuse woven interfacing around it, and the tag stays flat, stiff, and readable.
Why woven fusible? It has real threads, like fabric. It fuses smooth, without bubbles. It adds body, but still sews clean. Woven moves with your cotton. Just like that.
Materials
- Heavy stabilizer scraps, about 2 1/2 by 4 1/2 inches per tag
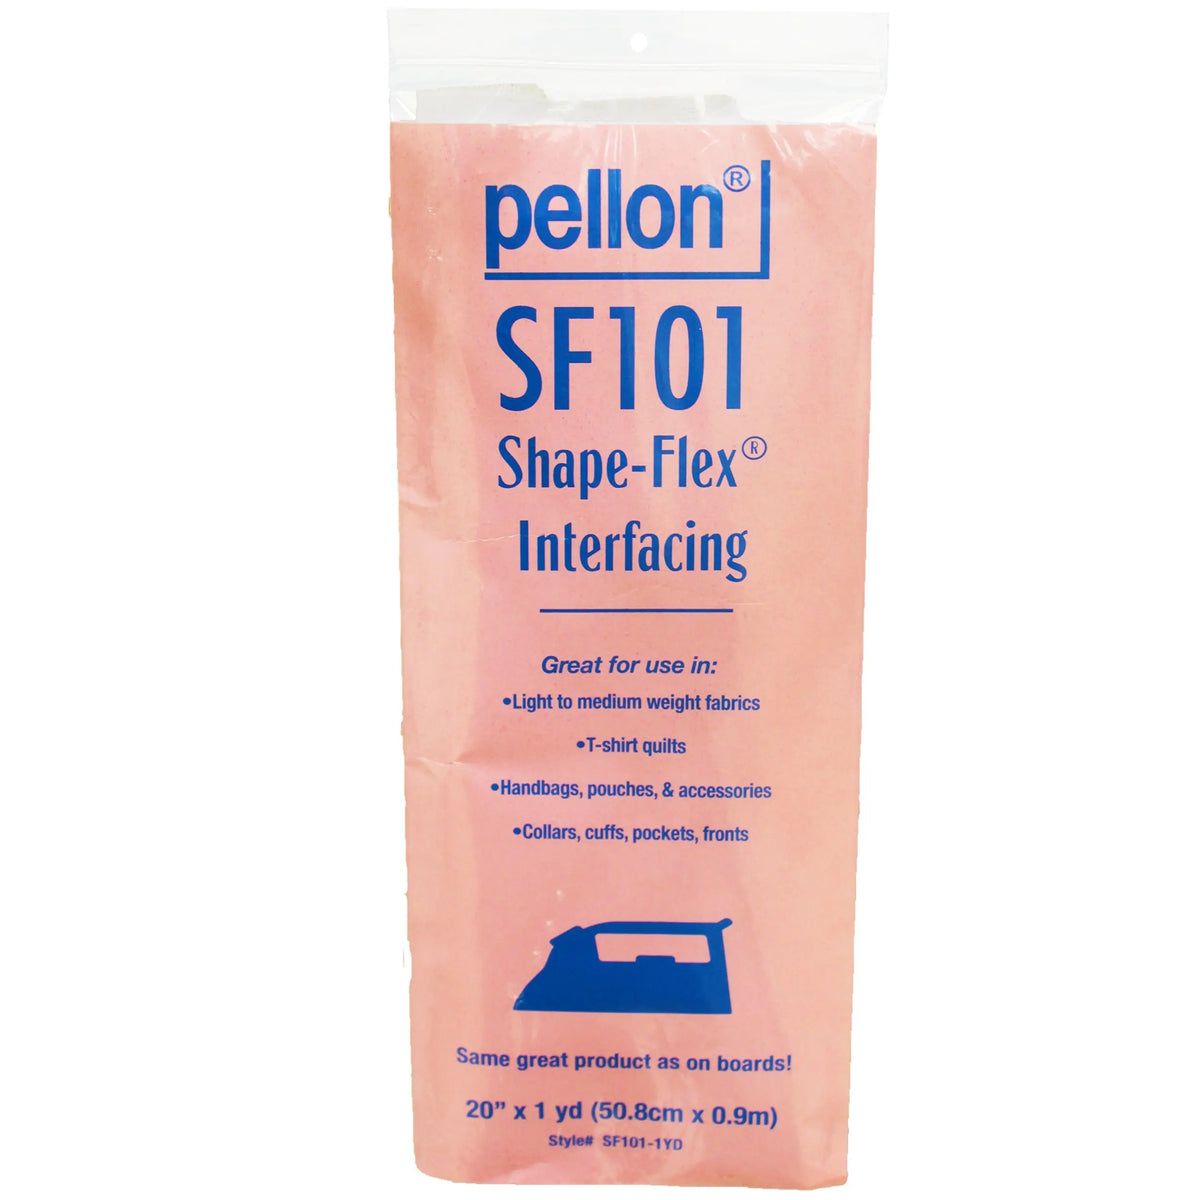
- Woven fusible interfacing, like Pellon SF101 Shape-Flex
- Two cotton fabric scraps per tag, cut 3 by 5 inches
- Clear vinyl scrap, cut 2 by 3 inches, for the window (optional)
- Paper card for your name and phone number
- Strap: fabric strip 1 by 10 inches, ribbon, or cord
- Iron and pressing cloth
- Size 80/12 or 90/14 needle
- Thread, 50-weight, for construction
- Scissors, pins or clips, and a marking pencil
How-to steps
- Pick the right scrap weight. Bend your stabilizer once. It should snap back flat. If it flops, stack two thin pieces. If it feels like cardboard, that's perfect. Too thick to sew? Save that piece for a bag bottom instead.
- Cut your core. Cut one core per tag at 2 1/2 by 4 1/2 inches. Round the corners just a little. Square corners poke through fabric. Rounded corners turn out smooth. I learned that the pokey way, folks.
- Fuse the woven interfacing. Cut woven fusible the same size as each fabric piece. Fuse it to the wrong side. Press with a hot, dry iron for about 10 to 15 seconds per spot. Don't slide the iron. Lift and press. Let it cool flat. Now your cotton has a backbone.
- Build the window side. On one fabric piece, center your vinyl if you're using it. Stitch three sides down, about 6 to 7 stitches per inch. Leave the top open. Your paper card slides in there later. No vinyl? Skip this, and write or embroider right on the fabric.
- Layer the sandwich. Place fabric pieces right sides together. Lay the core on top. Pin or clip. The core sits just inside your seam line, on purpose. You want the seam to catch fabric and interfacing, not fight the thick core.
- Sew around the edge. Use a 1/4-inch seam allowance. Set stitch length to about 2.5 mm. Sew three sides. Go slow at the corners. Slow down here, or the needle snaps on thick layers. Leave one short end open for turning.
- Trim, turn, and press. Trim the corners close, but not through the stitching. Turn right side out. Poke corners gently with a chopstick. Tuck the core back in flat if it shifted. Press from both sides with a cloth. Super duper flat. Just like that.
- Topstitch it shut. Fold the open end in. Topstitch all the way around, about 1/8 inch from the edge. This closes the opening and locks the core so it can't curl inside.
- Make the strap opening. Sew one sturdy buttonhole near the top end, or set a small eyelet. Test the buttonhole on a scrap sandwich first. Two minutes of practice saves a finished tag. Loop your strap through, then through your suitcase handle.
- Add your info card. Write your name and cell number on the paper card. Slide it under the vinyl. Use a number, not your home address. That little safety choice matters when you travel.
Tips and variations
It doesn't have to be perfect. A slightly crooked edge is fine. You're your own worst critic. That tag will still get your bag home. Take your time, it's not a race.
Pick bold fabric on purpose. Bright prints win. You want to spot your bag fast. Neon, red, or a wild floral. Completely up to you. If I can do this, y'all can do it.
Make a matched set. Use the same fabric for every suitcase. Add a different color strap for each family member. Really really handy at the airport.
No heavy scrap? Layer three pieces of woven fusible together instead. Test the bend. If it holds flat, it will work.
Embroider first, fuse second. Want your name stitched on? Embroider before you build the tag. Back it with woven fusible after. That keeps letters from puckering.
Alrighty. Save those scraps, folks. Turn them into tags this weekend. You'll thank yourself on your next trip.
Thanks for sewing along with me, folks. We'll see you next time. Bye.
Shop Pellon® SF101 Shape-Flex® Cotton Woven Fusible Interfacing 20" x 1 yard Package. Color: White. at Linda's Electric Quilters.


