
Hey everyone. Today we're building a tote that stands up by itself, holds its shape, and closes with a neat recessed zipper.
You know the floppy tote problem. You set it down. It puddles. Everything slides to the bottom in a heap. The fix is not thicker fabric. The fix is structure. Foam stabilizer fused to your outer fabric gives each side real body, so the bag sits square and stays open while you load it. And that recessed zipper sits just below the top edge, so the tote looks finished, keeps your things secure, and still opens wide. We're not reinventing the wheel here. We're just building it sturdier.
Materials
- 3/4 yard quilting cotton or canvas for the outer bag
- 3/4 yard quilting cotton for the lining
- One-sided fusible foam stabilizer, enough to cut two panels to match your outer pieces
- 1/4 yard coordinating fabric for the zipper panel and facing strips
- One nylon zipper, at least 4 inches longer than your bag's top width
- 1 1/2 yards webbing or fabric for handles
- Thread to match, a size 90/14 needle, and your usual marking tools
For a tote about 16 inches wide, 14 inches tall, and 4 inches deep, cut your outer and lining pieces 17 by 15 inches. That gives you a 1/2-inch seam allowance all around. Completely up to you on size. Just cut the foam to match the outer pieces exactly.
How to make it
- Fuse the foam. Place the fusible side of the foam against the wrong side of each outer piece. Press from the fabric side with a hot, dry iron, about 10 to 15 seconds per spot. Move the iron. Do not slide it. Let each piece cool flat before you move it. Just like that, floppy fabric turns into a panel.
- Quilt the panels, if you like. Straight lines or a light meander add texture and keep everything married together. Use a stitch length of about 3.0 so the holes do not tear the foam. Optional, but it really really helps the bag feel finished.
- Build the recessed zipper panel. Cut two facing strips the width of your bag and about 3 inches tall. Sew one strip to each end of the zipper tape, so the whole unit matches your bag width. Press the seams away from the teeth.
- Attach the panel to the lining. Sew one long edge of the zipper unit to the top of one lining piece, right sides together. Repeat on the other side. The zipper should sit about an inch below the lining top. That drop is the recess.
- Sew the outer bag. Right sides together, sew the two foam panels down both sides and across the bottom with a 1/2-inch seam. Go slow at the bottom corners. The foam is thick, and slow is how you keep your seams even.
- Box the corners. Flatten each bottom corner into a triangle, measure 2 inches in from the point, draw a line, and stitch across it. Trim the excess. Do the same on the lining, but leave a 5-inch opening in the lining bottom for turning.
- Add the handles. Pin your handles to the outer bag, centered on each side, raw edges at the top. Baste them in place inside the seam allowance so they do not shift.
- Join everything. Slip the outer bag inside the lining, right sides together, zipper panel in between. Match the side seams. Sew around the top. Turn the bag right side out through that lining opening. Take your time here. It is not a race.
- Finish up. Push the lining down into the bag, press the top edge flat, and stitch the lining opening closed. Give the zipper a test run. Done.
Tips and variations
Slow down or the needle snaps. Seriously. When you cross a seam stacked with foam, hand-walk the last few stitches if your machine complains. A size 90/14 needle handles those layers much better than a standard 80/12.
Made your foam panel a little wavy after fusing? I have done that too. Let it cool flat under a book for ten minutes. It usually settles right down.
It does not have to be perfect, y'all. You're your own worst critic. A zipper that sits a hair lower on one side still zips and still looks sharp. If I can do this, y'all can do it.
Want a variation? Swap the zipper for an open top with a magnetic snap for a quick market tote. Skip the quilting for a sleek finish. Or add an interior pocket to the lining before step 4. Super duper handy for your phone and seam ripper.
Thanks for sewing along with me today. We'll see you next time. Bye.
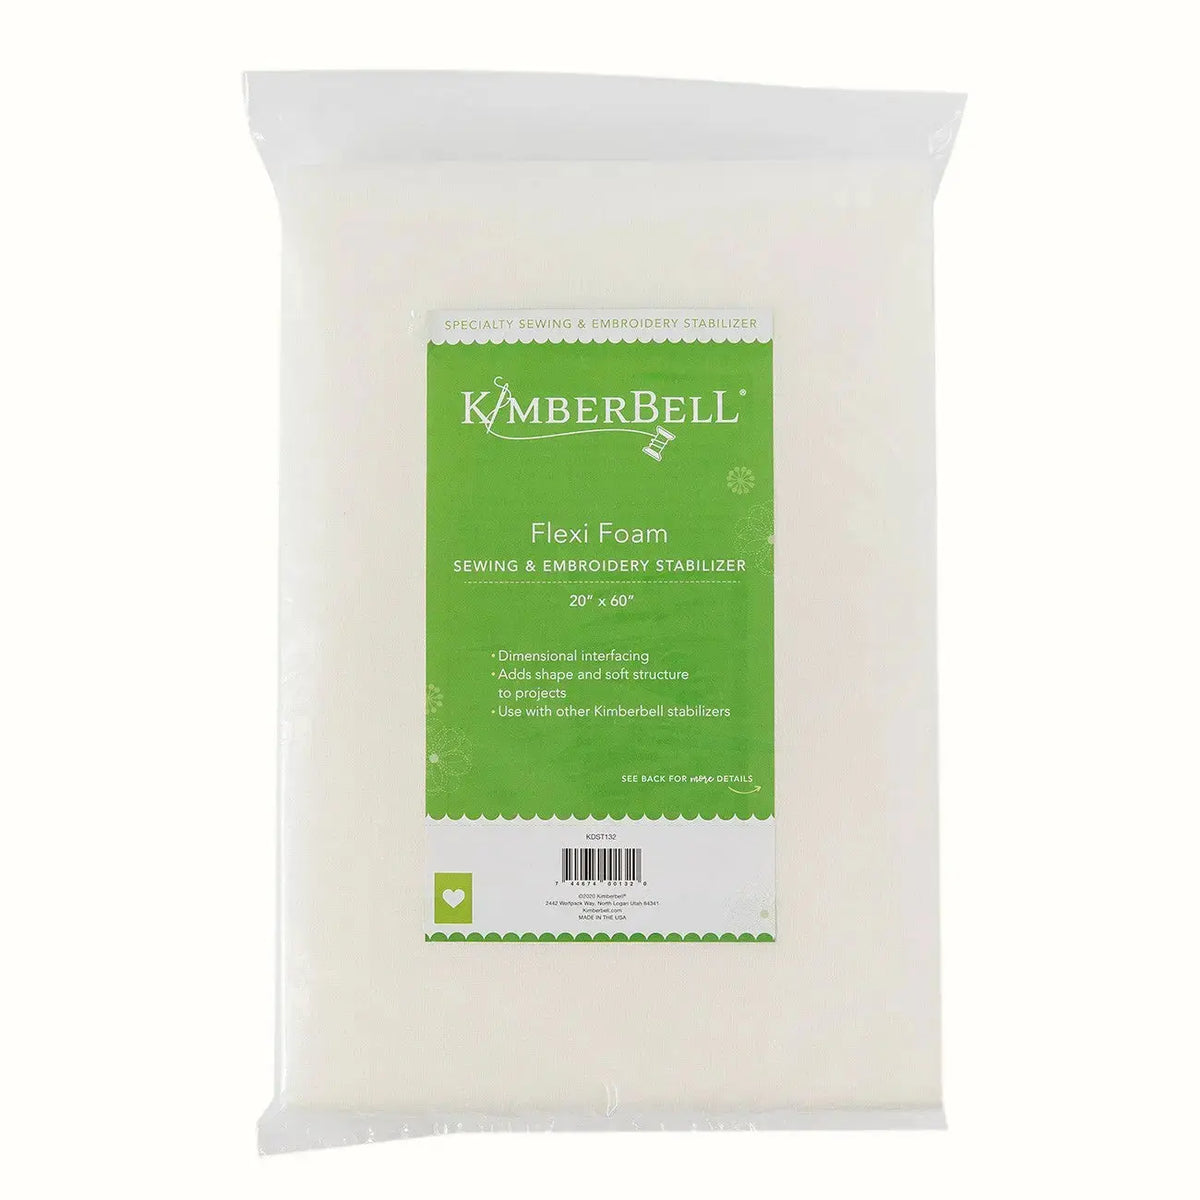
Shop Flex Foam 20in x 60in at Linda's Electric Quilters.


