
Hey everyone. Today you'll learn why a perfectly cut piece can come out a little too small — after you fuse it.
Here we go.
You measured twice. You cut once. Just like you're supposed to.
Then you pressed the fusible to the back. You lifted the iron. And something looked off.
The edges pulled in. Just a hair. Maybe an eighth of an inch.
Oh my goodness. I thought I cut it wrong the first time it happened to me.
I didn't. The interfacing shrank. And it took my fabric right along with it.
Why it happens
Fusible interfacing has glue dots on one side. Heat melts those dots. Steam helps them grab.
That same heat and steam relax the fibers in the interfacing. Relaxed fibers pull in. They get a little shorter. A little narrower.
It's not a lot. Most pieces shrink just a touch. Sometimes 1 to 2 percent on a test square.
On a 10-inch square, that's up to about a quarter inch total change. Small numbers. Big headache if your pieces have to match.
It happens most with nonwoven fusibles. Woven and knit fusibles can shrink too. Just usually less, and usually more evenly along the grain.
And here's the sneaky part. It doesn't always happen on the first press.
Sometimes a piece looks fine after fusing. Then you press it again later. A seam. A fold. A final press.
More heat. More steam. A little more shrink. Right after you thought you were done cutting.
What to do about it
Pre-shrink the fusible first. Before you cut a single good piece.
You have options here. Let me show you the ways I use.
First way: the steam hover. Lay the interfacing glue side up on your ironing board. Hold a steam iron about half an inch above it. Don't touch down. Just hover and steam, section by section.
Let it cool flat. Then cut. Most of the shrink is already out.
Second way: the warm soak. Soak nonwoven fusible in warm — not hot — water for about 15 minutes. Roll it in a towel to blot. Lay it flat to dry.
Go gentle here, folks. Some fusibles don't love a soak. Test a scrap first.
Third way, and this is my favorite: the test square habit. Cut a 5-inch square of the exact fusible. Fuse it to a 5-inch square of your actual fabric. Press for about 10 seconds per spot. Lift and press. Don't slide.
Let it cool completely. Then measure again. Write the change right on your notes.
Now you know. No guessing. No surprises on the good fabric.
Here's what I use and why. For most quilting cottons and light garment pieces, I reach for a lightweight fusible and I pre-shrink it with that steam hover. It's fast. It's gentle. And it keeps the hand soft.
Completely up to you, though. If a soak works better in your sewing room, do the soak. The goal is the same: shrink it on your terms, not on your project.
One more tip from a mistake I made. Don't stretch the piece while it's warm.
Warm fused pieces feel movable. Tempting, I know. But if you tug them straight while they're warm, they'll pull back as they cool. Let each section cool before you move it.
It doesn't have to be perfect, y'all. You're your own worst critic here. Take your time. It's not a race.
When it matters most
This matters most when pieces must match exactly. Appliqué shapes. Garment facings and collars. Bag panels that need to line up edge to edge.
It matters on big pieces too. A tiny shrink on a small patch is nothing. That same shrink across a long facing? Now your ends don't meet.
It matters less on loose, forgiving projects. A soft pouch lining. A test muslin. If a sixteenth of an inch won't change the finish, relax a little.
So plan ahead for the picky projects. Pre-shrink. Test square. Measure twice after fusing, not just before.
If I can do this, y'all can do it. We're not reinventing the wheel here. We're just shrinking the interfacing first, on purpose.
Thanks so much for learning along with me, folks. We'll see you next time. Bye.
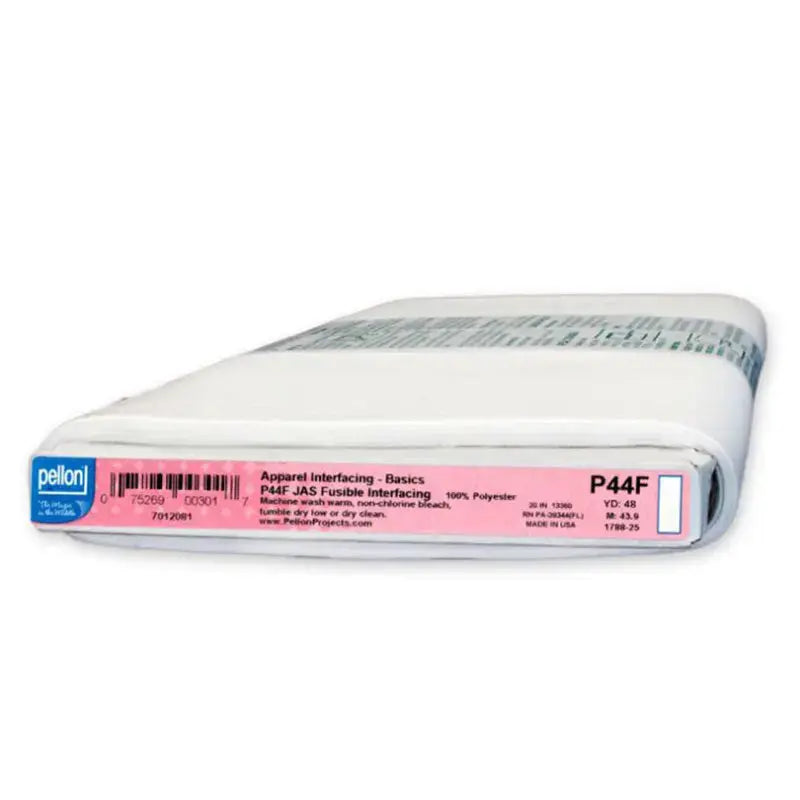
Shop Pellon Lightweight Nonwoven Fusible Interfacing 20" White By The Yard at Linda's Electric Quilters.


