
Hey everyone. Today you will learn why fusible interfacing can leave polka dots on sheer fabric.
Here we go.
You fuse a facing. It feels smooth and flat.
Then you hold it up to the light.
Oh my goodness. There they are.
Little dots. In neat, regular rows.
A polka-dot shadow, right through your fabric.
It shows worst on silk and voile.
Light quilting cotton can show it too.
Most folks blame the fabric first.
It is usually the glue, y'all.
Why it happens
Fusible interfacing is fabric plus glue dots.
The glue sits on one side in a pattern.
Heat melts those dots so they grab on.
On a sturdy fabric, nobody ever sees them.
The fabric is too thick and too opaque.
Sheer fabric plays by different rules.
Light passes right through those thin fibers.
Where a glue dot sits, light passes differently.
So each dot reads as a tiny shadow.
Coarse dots make bold, obvious spots.
Some heavy fusibles use big, spaced-out dots.
That pattern was built for heavier cloth.
Put it behind silk, and it prints through.
Too much heat can make it worse.
Extra heat and pressure push glue deeper.
Sometimes glue strikes clear through the fabric.
Then you get shine spots on the right side.
We're not reinventing the wheel here, folks.
The glue is doing exactly its job.
It just needs a finer pattern for delicate work.
What to do about it
Start by matching dot size to fabric weight.
For sheers, choose a fine-dot sheerweight fusible.
The dots are smaller and much closer together.
They spread the bond out nice and even.
No single dot has to shout, y'all.
Hold the interfacing up to the window first.
You can see the dot pattern against light.
Big, lonely dots? Save it for heavier fabric.
Fine, even texture? That one is your candidate.
Next, do the test that reveals everything.
Fuse a 4-inch square to your actual fabric.
Use a press cloth, always, on sheers.
Lift and press. Do not slide the iron.
Hold each spot about 10 seconds.
Let that test square cool completely.
Then hold it up to bright light.
Tilt it. Turn it. Check both sides.
Look for dots, shine, and any stiffness change.
That 4-inch square tells the truth early.
Way better than a finished blouse does.
Ask me how I know that one, folks.
I once fused a whole facing, no test.
Held it up, and there was my dot grid.
I peeled it warm and started over.
The second try got the test square first.
Fine-dot sheerweight. No dots. Just like that.
Keep your iron heat honest, too.
Use the setting the fusible maker suggests.
More heat is not more better here.
Slow down on this step, please.
Overheating sheers can scorch and shine them.
And here is your permission beat, folks.
It does not have to be perfect.
You are your own worst critic here.
Take your time. It is not a race.
If I can do this, y'all can do it.
When it matters / project notes
This matters most on light-colored sheers.
White voile shows dots like a billboard.
Silk blouses and dressy overlays show them too.
Lightweight quilting cotton sits in the middle.
Pale solids will show more than busy prints.
A busy print hides a multitude of dots.
Dark sheers can surprise you as well.
Glue shine can read light on dark fabric.
So the test square rule never changes.
Test every new fusible and fabric pairing.
You have other options, completely up to you.
Option one: fine-dot sheerweight fusible, my pick here.
Option two: a sew-in sheer, no glue at all.
Option three: woven fusible with a smooth glue layer.
Each one works on the right project.
For most light facings here at the shop, I reach for a lightweight fusible and test it first. That little habit has saved me more than once.
Alrighty. Small dots for sheer fabric, test before you commit.
Thank you so much for learning with me today. We'll see you next time. Bye.
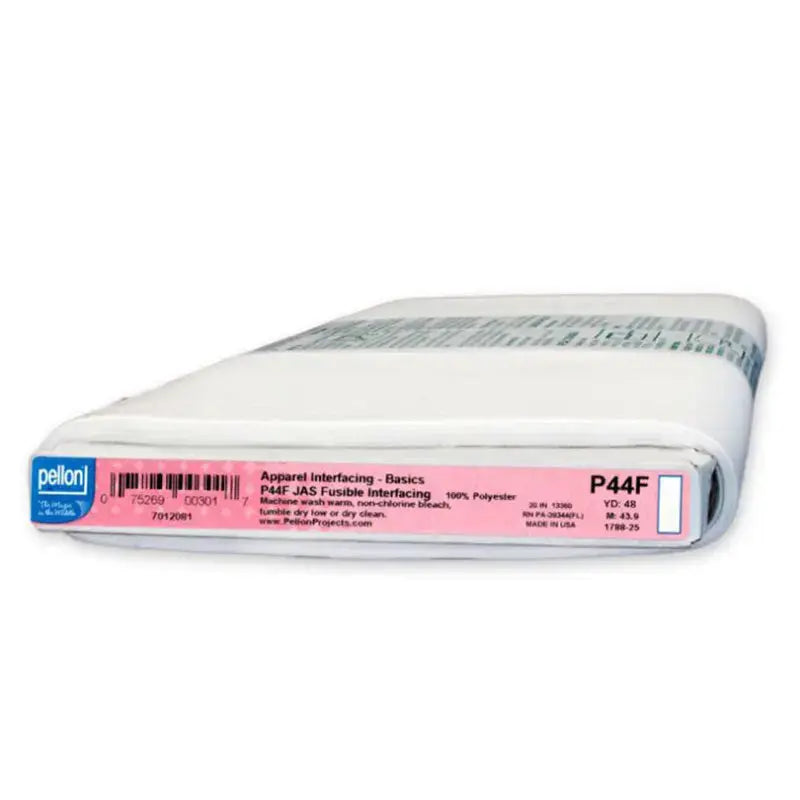
Shop Pellon Lightweight Nonwoven Fusible Interfacing 20" White By The Yard at Linda's Electric Quilters.


