
Hey everyone. Today you will learn a tiny trimming step that makes collars, cuffs, and bag seams look really really crisp.
Here we go. You fused your interfacing perfectly. Flat. No bubbles. Just like that. Then you sewed the seam. You pressed it. And there it is — a hard little ridge showing through. Oh my goodness, it can drive you crazy.
Here is the little-known part, folks. The problem is often not your sewing. It is the fusible hiding inside your seam allowance. That extra layer has nowhere to go. So it prints right through to the outside.
Why it happens
A seam allowance already holds two layers of fabric. Fold them open or fold them to one side, and they stack up fast. Add fusible to both sides, and now you have four layers plus glue in a very small space.
That stack does not press flat like the rest of your piece. It stays thicker. On a collar point, a cuff edge, or a bag seam, that thickness shows as a ridge. It can also keep a point from turning sharp. You poke and poke. The corner still looks soft and lumpy.
I learned this on shirt collars first. Then the collar edge looked wavy. Once I trimmed the fusible out of the seam allowance, the next collar laid flat. Same fabric. Same iron. Different trim. The more you know.
What to do about it
First, plan the trim before you fuse. If you cut interfacing from the same pattern piece, cut it a touch smaller on the seam edges. For a standard 5/8-inch seam allowance, trim the fusible back so it just kisses the seam line, not past it. On quilting cotton with a 1/4-inch seam, trim back that full 1/4 inch.
Second, you can trim after fusing, too. Fuse first. Then use small, sharp scissors. Trim the interfacing close to where the seam will be sewn. Go slow here, folks. You want to cut the fusible, not nick your fashion fabric. I turn the piece over and trim from the interfacing side so I can see exactly what I am doing.
Third, grade when you have layers. Grading just means each layer ends at a slightly different place. Trim one seam allowance a little wider, the next a little narrower, and the interfacing shortest of all. No single cliff edge. Just a gentle step down. That is how a thick seam learns to lie flat.
Fourth, hold your points to a stricter rule. At collar points and bag corners, trim the fusible a bit more aggressively. Clip the corner of the interfacing itself. Less bulk in the point means a sharper turn and less poking with a point turner. Slow down or you will tear the point — ask me how I know. I have done it. We fix it and we move on.
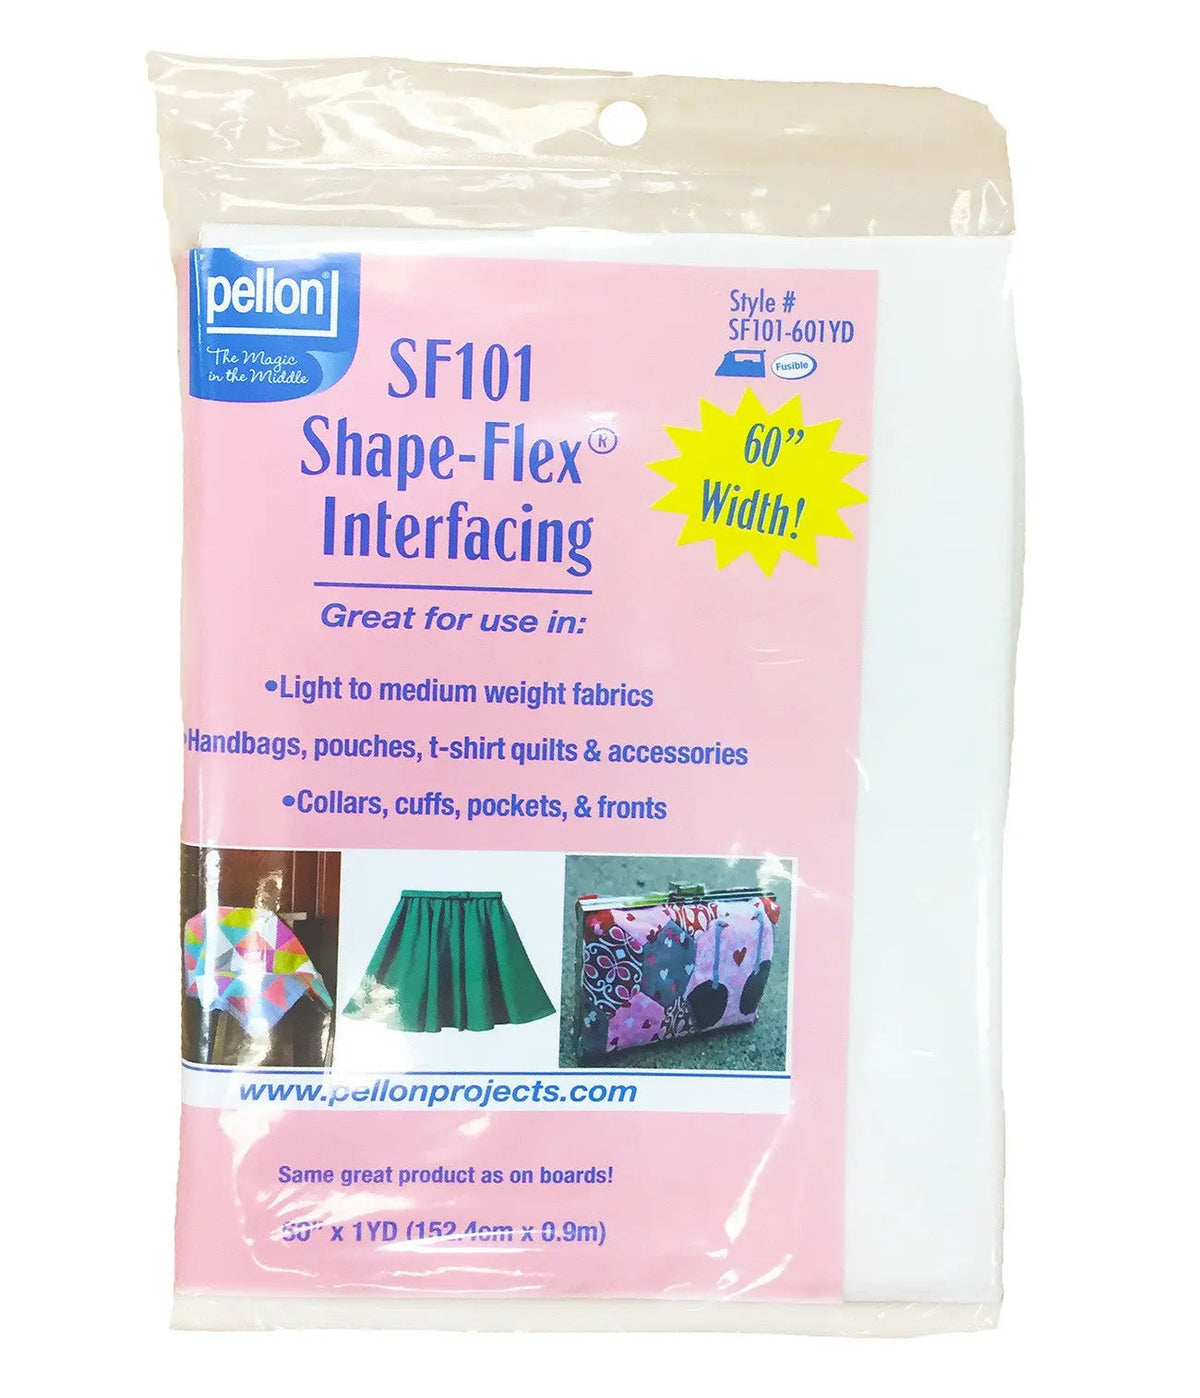
Here is what I use and why. For collars, cuffs, and facings on quilting cotton and shirts, I reach for a woven fusible like Shape-Flex. It moves like fabric. It fuses clean. And it trims clean, too, without crumbling at the edge. That is personal proof for me. A nonwoven can work, completely up to you, but test your trim on a scrap first.
When it matters most
This matters most anywhere a seam will be pressed flat and seen up close. Collars and cuffs. Waistbands. Bag straps and bag bottom seams. Zipper plackets. Any edge you topstitch, because topstitching at 1/8 inch will find and highlight every ridge under it.
It matters less on loose, gathered, or heavily quilted seams. Those textures hide a lot. If the seam will be covered by binding or lining and never pressed open, you can relax a little. Options, not verdicts, folks. I still trim collars every time.
Trimming takes maybe two extra minutes per piece. Pressing out a ridge that is already sewn in takes way longer, and it never fully leaves.
It does not have to be perfect. You are your own worst critic. Take your time, it is not a race. Trim close, press well, and check the right side as you go. If I can do this, y'all can do it.
Thanks for spending a few minutes with me, folks. We'll see you next time. Bye.
Shop SF101 ShapeFlex Interfacing 60in x 1yd White at Linda's Electric Quilters.


