
Furoshiki is a Japanese wrapping cloth: a hemmed fabric square that you fold and tie around a gift instead of taping paper around it. This version is a single layer of cotton with a narrow double-fold hem on all four sides — no lining and no batting.
What You'll Make
One finished wrap, about 24 by 24 inches, hemmed from a 25 by 25 inch cut square. It wraps a flat, boxed gift — check yours against the fit check in Tips.
Materials
Five of the six supply entries (about 83%, by item count) link to Linda's products.
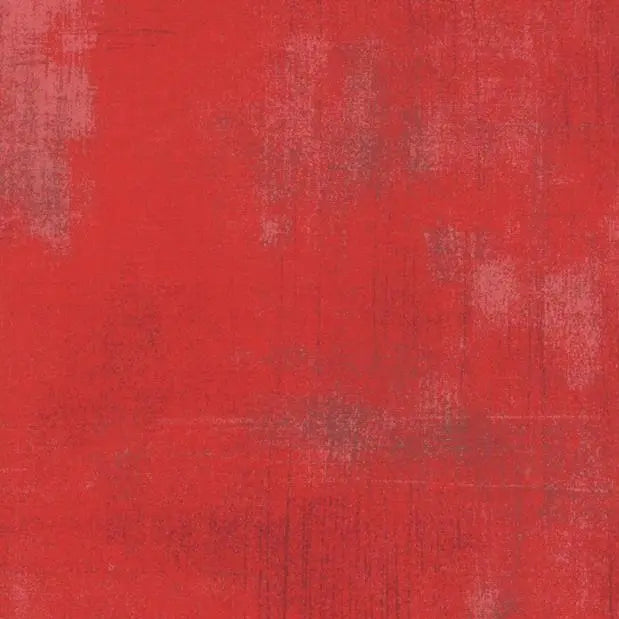
- Red Cherry Grunge Cotton Wideback Fabric Per Yard — choose this color or the green below, not both; cut one 25 by 25 inch square per cloth
- Green Christmas Grunge Cotton Wideback Fabric Per Yard — the alternative color; same 25 by 25 inch cut
- 2024 White Aurifil Cotton 50wt Large Spool — thread for the hems; the linked spool is white, which contrasts with both fabrics — pick a coordinating color for a less visible hem
- Universal Needles Assorted - 10 count by Organ Needles — pick a needle compatible with your machine and fabric
- Quilters Select 45mm Deluxe Rotary Cutter — for cutting the squares true
- Optional ribbon for the bow finish in Step 7 — check a craft store or your local quilt shop
Buying note: start with 1 yard of your chosen fabric — its 36-inch length covers the 25-inch cut (or the 31-inch large cut in Tips) with room to square up after prewashing, and more than one square fits across the wideback width.
Tools also needed: sewing machine, cutting mat and quilting ruler, straight pins, an iron and ironing surface, and a fabric scrap for stitch testing.
Steps
- Wash and press first. If you plan to wash the finished wraps, prewash before cutting and press flat (heat setting suitable for the fabric), to reduce the risk of shrinkage changing the finished size later.
- Cut the square. Per cloth, cut one square 25 by 25 inches and check the corners are square against the quilting ruler. With the rotary cutter, keep your free hand behind the ruler's edge and fingers clear of the blade, cut away from your body, and close the blade when set down.
- Fold and press the hem. Wrong side up, fold each edge 1/4 inch to the wrong side and press, then fold another 1/4 inch to enclose the raw edge and press again — opposite edges first, then the other pair.
- Pin and test. Pin the folded hems in place, then test stitch and stitch length on the folded scrap and adjust until the stitching sits smoothly.
- Stitch the hem. Stitch close to the inner folded edge on all four sides, backstitching at the start and end. At each corner, stop with the needle down, lift the presser foot, turn the work, lower the foot, and continue. Stitch slowly through the thicker corner layers, removing each pin before it reaches the needle — never sew over pins.
- Press and check. Press the finished cloth flat. Check no pins remain in the cloth before it goes near a gift.
- Wrap a gift. Lay the cloth wrong side up in a diamond shape and set the gift in the center. Fold the corner nearest you up over the gift, then fold the opposite corner down over it. Bring the two side corners to the top and tie a square knot — right end over left and under, then left end over right and under — and pull snug. Ribbon finish instead: overlap the side corners, wrap ribbon around the whole parcel in both directions, tie a bow on top, and carry the gift supported from underneath — never lift it by the ribbon. If the side corners do not reach, the cloth is too small for that gift — use a larger size instead of forcing the knot.
Tips
Sizing rule: the cut square is 1 inch wider and taller than the finished cloth, because the two 1/4 inch folds use up 1/2 inch per side. Cut 31 by 31 inches for about 30 by 30 inches finished. Gift-fit check: as a starting guide, the finished cloth's diagonal — about 34 inches on the 24-inch cloth — should be roughly three times your gift's longest side; treat that as a guide, not a guarantee, and test-wrap the box with a similar-sized scrap cloth first: the first two corners should overlap on top and the side corners should meet with enough length for the Step 7 knot.
Where to Get Everything
The fabrics, thread, needles, and cutter come from Linda's Electric Quilters. For the optional ribbon, or a missing tool, try a craft store or your local quilt shop.


