
A quilted heart ornament is a flat, padded fabric heart with a ribbon loop — for a tree, a wreath, or a gift bag. It is quilted first as a square sandwich, then cut to shape and edge-finished.
What You'll Make
One flat quilted heart ornament, stitched on an outline about 5 inches wide and tall and trimmed about 1/4 inch outside the stitching — about 5 1/2 inches wide and tall finished, plus the loop. Swap the fabrics for a matched pair.
Materials
Six of the seven entries in this supply list (about 86%, by item count) are linked to Linda's products — excluding the tools below, and not a percentage of cost or quantity.
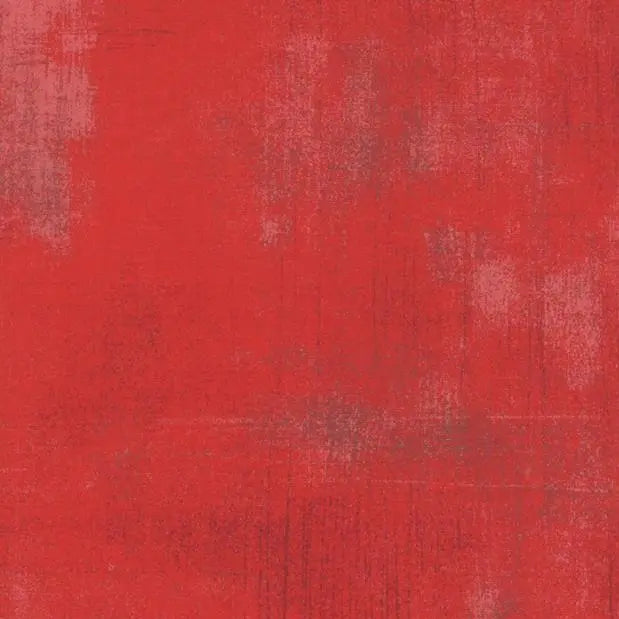
- Red Cherry Grunge Cotton Wideback Fabric Per Yard — front; cut one 6 1/2 by 6 1/2 inch square per ornament
- Green Christmas Grunge Cotton Wideback Fabric Per Yard — back; cut one 6 1/2 by 6 1/2 inch square per ornament
- Hobbs Heirloom 80/20 Batting Package — middle layer; choose a package large enough for one 6 1/2 by 6 1/2 inch square per ornament
- 2024 White Aurifil Cotton 50wt Large Spool — thread for quilting, the outline, the edge finish, and the loop
- Universal Needles Assorted - 10 count by Organ Needles — pick a needle compatible with your machine and layers
- Quilters Select 45mm Deluxe Rotary Cutter — for cutting the squares true
- Ribbon for the hanging loop, one 6 inch piece per ornament — check a craft store or your local quilt shop
Tools also needed: sewing machine, cutting mat and quilting ruler, paper and pencil, fabric scissors, a fabric marker or chalk, straight pins, a hand-sewing needle, an iron, and small extra scraps of both fabrics and batting for stitch testing. Not counted above.
Steps
- Make the template. Fold paper in half, draw half a heart along the fold — about 5 inches wide and tall unfolded — cut, and unfold. Check both sides match.
- Wash and press first. If you will wash the ornaments, prewash both fabrics before cutting and press flat. Do not prewash the batting (the maker advises against it). The batting can still shrink in the wash, so a washed ornament may pucker slightly — follow its package care instructions.
- Cut the layers. Per ornament, cut one red, one green, and one batting square, each 6 1/2 by 6 1/2 inches. With the rotary cutter, keep fingers clear of the blade, cut away from your body, and close the blade when you set it down.
- Layer and quilt the square. Lay green right side down, batting on top, red right side up. First test your stitch on a scrap sandwich, then pin the layers. Stitch lines about 1 inch apart, removing each pin before it reaches the needle — never sew over pins.
- Trace the heart. Center the template on the square; check the outline plus its 1/4 inch trimming allowance fits inside, then trace around it.
- Stitch the outline. Stitch slowly on the traced line, backstitching at start and end. At the bottom point and the top dip, stop with the needle down, lift the presser foot, turn the work, lower the foot, and continue.
- Trim the heart. With fabric scissors, trim about 1/4 inch outside the stitch line all around, keeping fingers clear of the blades.
- Finish the edge. Test zigzag width and stitch length on a scrap sandwich. Position the heart so one needle swing lands in the fabric and the other falls just beyond the cut edge, enclosing the raw edge. Zigzag around; at the point and dip, stop with the needle down, lift the foot, turn, lower the foot, and continue. Backstitch at the end.
- Attach the loop. Fold the 6 inch ribbon in half and align its cut ends; once attached, the exposed loop is slightly less than 3 inches. Lay both ends together against the back, just below the top dip, and hand-stitch through both ends and the backing, then knot and trim. Tug gently to check it holds.
- Press and hang. Check no pins remain. Press lightly from the back through a pressing cloth, using a heat setting suitable for the fabrics and batting per the package instructions and avoiding the ribbon, then hang by the loop.
Tips
To resize: keep squares at least 1 1/2 inches wider and taller than your template, and keep the 1/4 inch trim. This ornament is a decoration, not a toy: hang it out of reach of young children and pets, and check the loop each season.
Where to Get Everything
The fabrics, batting, thread, needles, and cutter come from Linda's Electric Quilters — six of the seven entries. For ribbon or a missing tool, try a craft store or your local quilt shop.


