
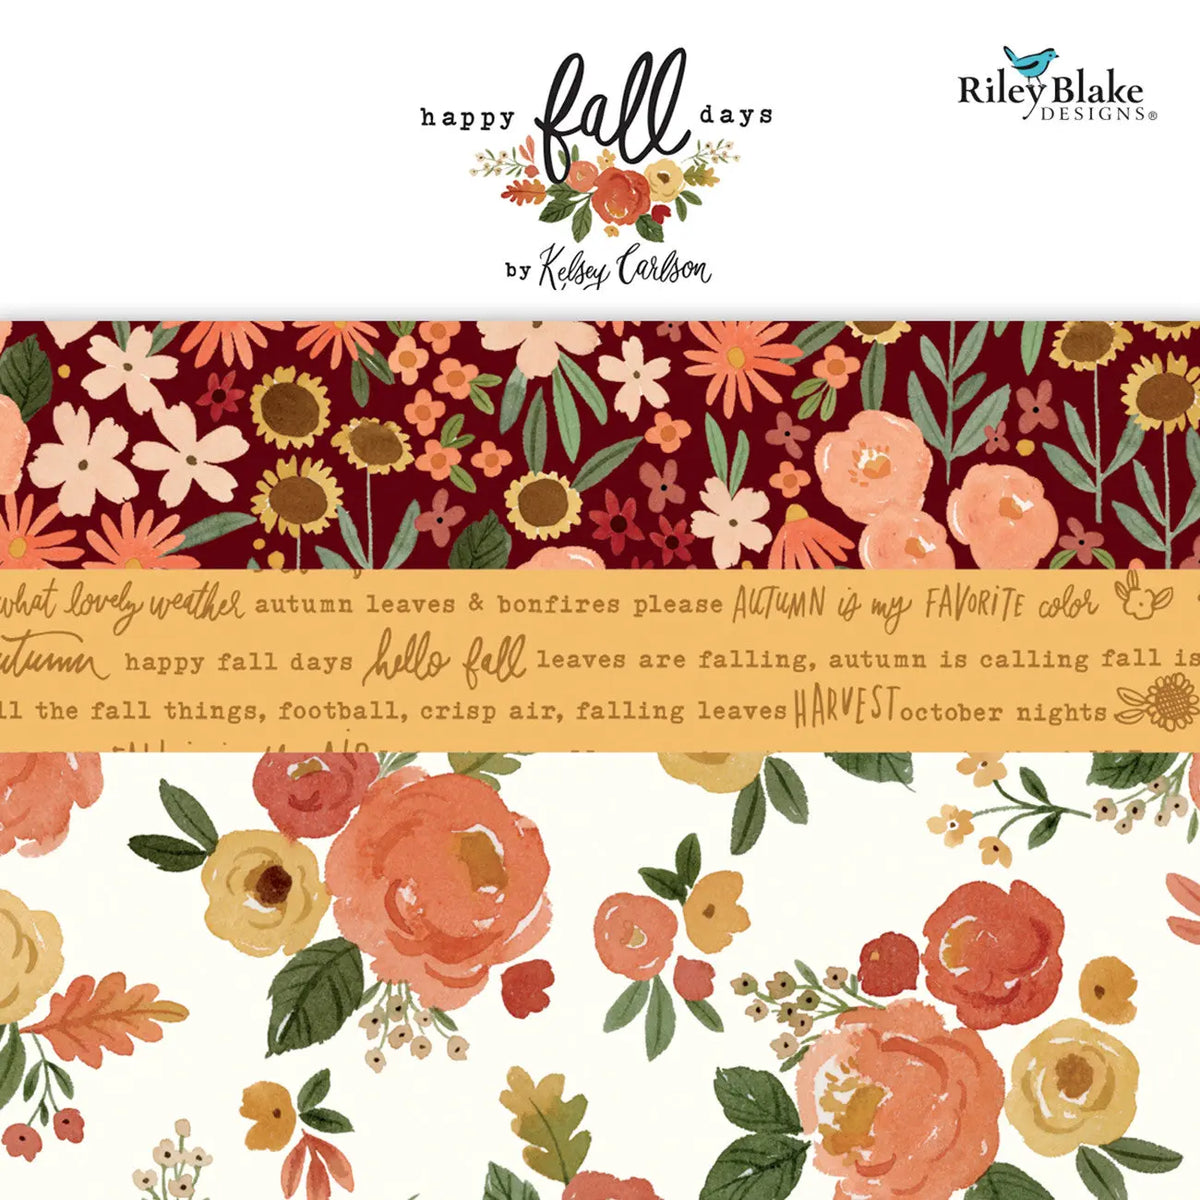
Every holiday baker has one sad, thin oven mitt that should have retired years ago. Sew a quilted one instead — thick, washable, and pretty enough to leave on the counter — and you have a gift that will get used at Thanksgiving, Christmas, and every bake sale in between. Make a pair in an afternoon, keep one, and wrap the other with a wooden spoon and your best cookie recipe.
What You'll Make
One quilted oven mitt, about 13 inches long, with a fall-print outer, a plain lining, a heat-reflective insulated layer, and a bound cuff with a hanging loop. The mitt is quilted before it is cut out, so the sewing is mostly straight lines, then one curved seam around your hand shape.
Materials
Seven of the eight items below (88%) come straight from Linda's — links included so you can grab exactly what we used.
- Happy Fall Days Fat Quarter Bundle, 21pcs — 1 fat quarter for the outer mitt, plus strips for the cuff binding and hanging loop
- 058 White Moda Grunge - Fat Quarter — 1 fat quarter for the lining; choose 100% quilting cotton
- Insul-Bright® Insulating Thermal Lining – 45" x 1 Yard — 1 piece, about 13 x 15 inches (enough here for several mitts)
- Hobbs Heirloom 100% Natural Cotton with Scrim Batting — 2 pieces, about 13 x 15 inches each (cut from your roll or a leftover)
- 900 Sinai King Tut Cotton Thread — use cotton thread throughout, so nothing in the mitt can melt against a hot pan
- Olfa Deluxe 45mm Rotary Cutter — for clean cuts through single layers
- Quilting Corsage Pins — to hold the thick layers together while you quilt and sew
- Freezer paper or parchment paper for your hand template, and a fresh heavy-duty sewing machine needle — available at most craft stores or your local quilt shop
Steps
- Make your template. Lay your hand flat on the paper, fingers together and thumb out, trace loosely around it, then redraw the shape about 1 inch bigger all around, rounding the top and smoothing the thumb curve. Add wrist length so the mitt reaches mid-forearm, and cut the template out.
- Build the outer panel. Layer your outer fat quarter right side up, one batting piece under it, and the Insul-Bright under that, following the manufacturer's directions for which side faces the heat. Pin well.
- Quilt the outer panel. Sew straight lines about 2 inches apart across the panel, then the other way, to make a grid. Use a longer stitch and sew slowly — the layers are thick.
- Build and quilt the lining panel. Layer the lining fat quarter right side down with the second batting piece on top, pin, and quilt the same grid. Trim both panels to about 13 x 15 inches.
- Cut the mitt shapes. Pin the template to the quilted outer panel and cut one mitt. Flip the template and cut a second outer piece. Do the same with the lining panel, giving you two outer and two lining pieces that mirror each other.
- Sew the mitt. Place the two outer pieces right sides together, pin, and sew around the curved edge with a ½-inch seam, leaving the cuff edge open. Sew slowly around the thumb, and backstitch at the start and end. Repeat with the two lining pieces.
- Combine and bind. Turn the outer mitt right side out. Slip the lining inside, wrong sides together, matching cuff edges and seams, and pin. Cut a 2¼-inch strip from a second fat quarter, fold it in half, and sew it around the cuff like quilt binding, tucking a 4-inch folded fabric loop inside the seam at one side. Fold the binding inside and stitch it down.
- Test before gifting. Try the mitt on, check the thumb moves freely, and lift a warm — not screaming hot — pan first. Trim loose threads, press the cuff, and you are done.
Tips
Use 100% cotton for the outer fabric, lining, batting, and thread, and read the Insul-Bright directions before you layer — that is what makes a homemade mitt safe for real kitchen use. Never use a damp mitt on a hot pan; wet fabric conducts heat fast. Want a pair? Quilt two larger panels at the start and cut both mitts before you sew.
Where to Get Everything
Start at Linda's: the Happy Fall Days bundle for the outer fabric, binding, and loop, the Moda Grunge fat quarter for lining, Insul-Bright, Hobbs cotton batting, King Tut cotton thread, the Olfa rotary cutter, and corsage pins — 88% of the list. For the rest, freezer paper and a heavy-duty machine needle are easy finds at most craft stores or your local quilt shop.


