
That cardboard sleeve from the coffee shop works once, then it tears and ends up in the trash. A quilted fabric sleeve does the job better: it cushions your hand from a hot cup, stops a cold drink sweating over your desk, and fits in a purse between uses. It is also a perfect scrap project and an easy gift — make one, or a dozen with a coffee gift card tucked inside.
What You'll Make
One reusable quilted coffee cup sleeve for a standard takeout cup or travel mug, with a button-and-loop closure that adjusts a little from cup to cup. It is a gently tapered band, about 3 inches tall and 10 inches around — straight seams, a little quilting, and one hand-sewn button. Expect 30 to 45 minutes for the first one, and much less for a batch.
Materials
Seven of the eight items below (88%) come from Linda's — links included. The button comes from your sewing box or a craft store, explained below.
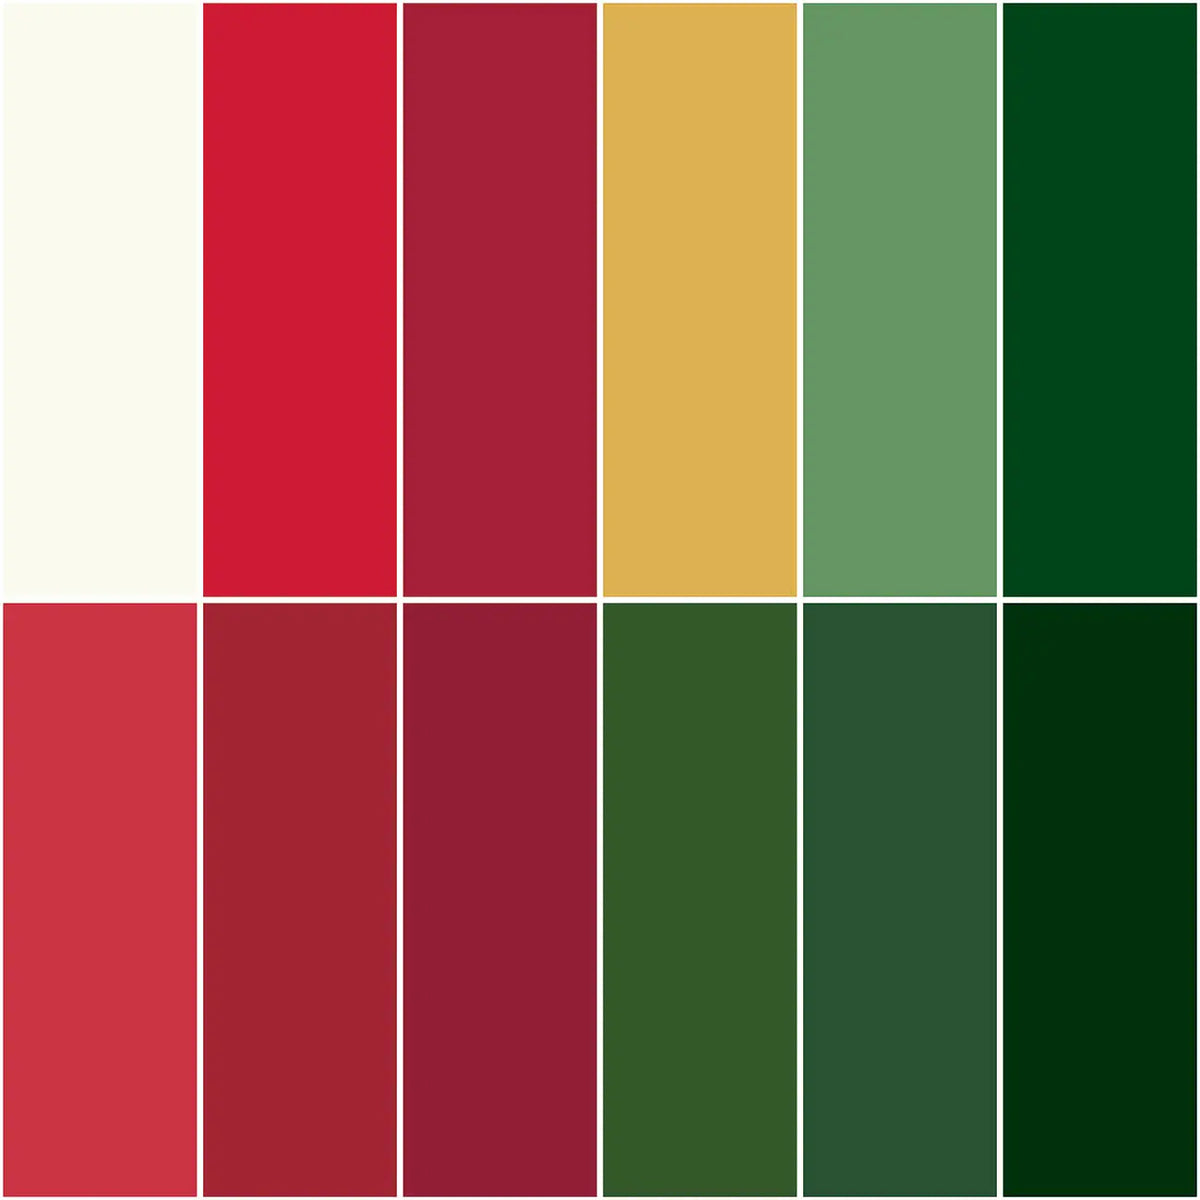
- Confetti Cotton Christmas Fat Quarter Bundle, 12 Pcs. — quilting cotton for the outside and lining; one fat quarter makes several sleeves
- Insul-Bright® Insulating Thermal Lining – 45" x 1 Yard — the heat-reflecting layer that protects your hand; a small piece goes a long way
- 1100 Red Plum Aurifil Cotton 50wt Large Spool — for seams, quilting lines, and topstitching; pick a color that suits your fabric
- 1/6" Soft Stretch Elastic by the yard — a short piece forms the closure loop
- Universal Needles Assorted - 10 count by Organ Needles — a fresh needle sews cleanly through fabric and insulating layer
- Olfa Deluxe 45mm Rotary Cutter — for cutting straight, even layers on a mat
- Riley Blake Designs Quilty Clips — to hold the thick layers together without bent pins
- One flat button, about 3/4 inch across — from your button jar, most craft stores, or your local quilt shop
Steps
- Make a template. Flatten a paper coffee-shop sleeve, trace it onto paper, and add 1/4 inch on all sides for seams. For a travel mug, wrap paper around it, mark the overlap, and cut a rectangle about 3 inches tall with a slight taper.
- Cut your layers. Using the template, cut one outer fabric piece, one lining piece, and one piece of Insul-Bright. Keep the shiny, reflective side of the Insul-Bright facing the outer fabric, toward the cup.
- Quilt the outer layer. Layer outer fabric over the Insul-Bright, clip together, and stitch straight lines across, about an inch apart. This keeps layers from shifting and gives the sleeve its finished look.
- Add the elastic loop. Cut elastic about 3 inches long and fold it into a loop. Pin or clip it to the right side of one short end of the outer piece, with the loop pointing inward and the raw ends at the edge.
- Sew the sandwich. Place the lining right side down over the outer piece, elastic loop tucked inside. Stitch around the edges with a 1/4-inch seam, catching the elastic ends, and leave a 2-inch gap in the bottom edge for turning.
- Turn and press. Turn right side out through the gap, push out the corners, and press flat with a warm iron on the fabric sides — do not rest a hot iron on exposed Insul-Bright. Fold the gap edges in and clip closed.
- Topstitch. Stitch close to the edge all the way around. This closes the gap, keeps the sleeve flat, and gives it a neat, store-bought finish.
- Add the button. Wrap the sleeve around your cup, pull the elastic loop to a comfortable stretch, and mark that spot on the opposite end. Hand-sew the button firmly there, then test the fit before gifting.
Tips
Prewash cotton if the sleeve will be washed often, so fabrics shrink together. This sleeve is for carrying drinks — it is not a pot holder or oven mitt, and should not go in the microwave. Wash cool and tumble dry low. Small prints and solids show the quilting best, and a contrasting lining makes a gift batch look cheerful.
Where to Get Everything
Start at Linda's: the Confetti Cotton Christmas fat quarter bundle for fabric, Insul-Bright insulating lining for heat protection, Aurifil cotton thread, soft stretch elastic, Organ universal needles, the Olfa rotary cutter, and Riley Blake Quilty Clips — 88% of the list. For the rest, a single flat button comes from your own button jar, most craft stores, or your local quilt shop, and a free paper sleeve from any coffee shop makes the template.


