
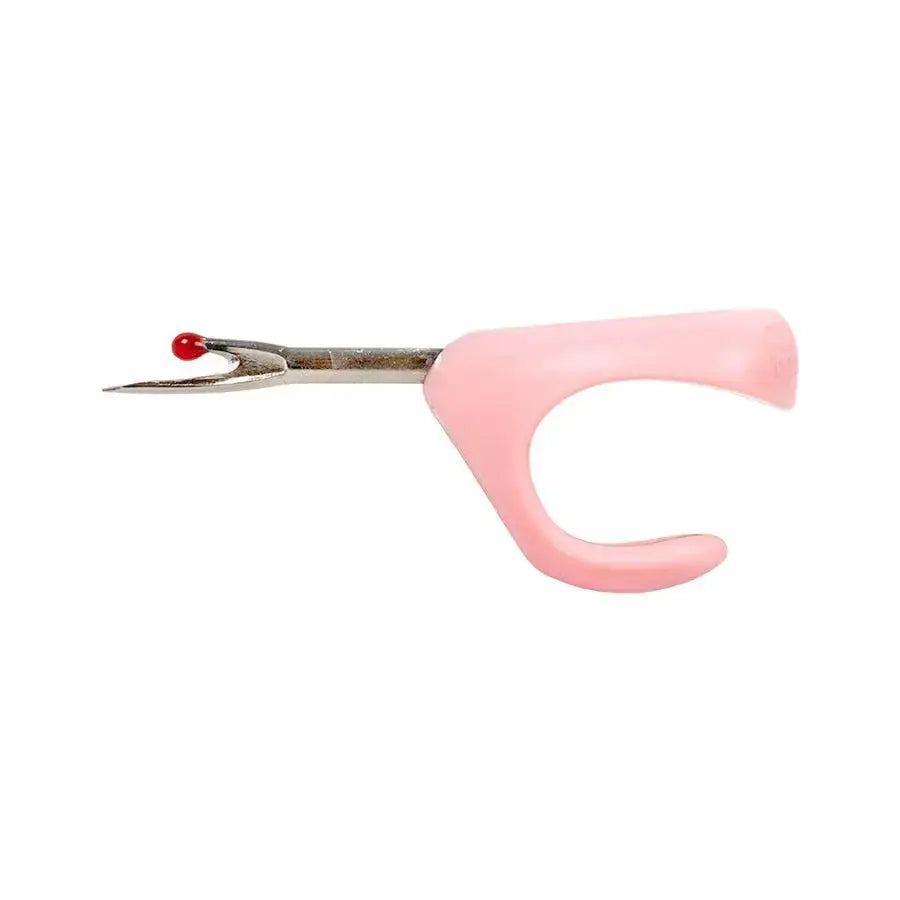
How to Rip Seams Without Damaging Fabric: Getting More Control From a Small Seam Ripper
Every quilter rips seams. A block gets turned the wrong way, a seam allowance drifts, or two fabrics that looked perfect on the cutting table refuse to live together in the finished quilt. Unpicking is not failure — it is part of making. Rip carelessly and you can stretch a bias edge, nick the fabric, or distort the pieces you are trying to save. Rip carefully, with a tool designed for control, and the same pieces go back together cleanly.
What Cindy's Seam Ripper Is
Cindy's Seam Ripper was developed by Cindy, the owner of Riley Blake Designs, and the product description notes it was years in the making. She calls it “the best little unpicker.” It is an ergonomic seam ripper made of plastic and metal, in pink, measuring approximately 1 inch by 2 inches. That compact size is the point: instead of a long handle you grip at a distance from the work, this patent-pending design sits close in your hand, and its unique shape is intended to give you more control while cutting threads and ripping out seams.
Control is exactly what seam ripping demands. The blade only has to sever thread — never fabric — so a tool that responds to small, deliberate movements is safer than one that encourages you to force your way down a seam line.
A Safer Way to Unpick a Seam
Cut stitches, do not tear the seam apart. Pulling two pieces of fabric apart until the thread breaks stretches the edges, especially on the bias, and can leave the pieces slightly larger than when you cut them. Instead, work stitch by stitch, or every few stitches, letting the ripper do the cutting.
Work from the side the thread shows most clearly. Slide the point under a stitch, lift gently, and cut the thread. Move a short distance and repeat. Once you have cut several stitches, the threads on the other side can often be pulled free in one piece, rather than picked out as dozens of tiny fragments.
Keep the blade angled toward the seam allowance. If the tool slips, you want it to slip into the allowance, not into the body of a block where a small nick will show — or worse, open up later under stress. Slow down at intersections and bulky seam junctions, where several layers meet and it is tempting to push harder.
Support the fabric with your other hand. Keep the work flat and taut rather than bunched. A small ripper helps here: at only about 1 by 2 inches, your fingers stay near the seam, so you can feel tension changes and stop before fabric distorts.
Clean up as you go. Remove all loose thread bits from both pieces before pressing. Leftover snippets trapped in a re-sewn seam create bumps, and dark threads can shadow through lighter fabrics. Press the pieces flat before re-piecing to restore their original shape.
When a Short, Controlled Ripper Helps Most
Detailed work is where control matters most: removing one mis-sewn patch from the middle of a row, taking out basting, opening a short seam for a correction, or unpicking around appliqué and pieced points where a long tool feels clumsy. It is also useful for simply cutting threads — trimming tails at the machine or snipping jump threads — instead of reaching for scissors every time.
Care and Storage
Keep it capped or stored in a notions pouch when not in use, so the metal point is not exposed in a drawer and does not dull against other tools. Keep it dry, set it down in a consistent spot while you sew, and replace any ripper once it feels dull — a dull point has to be forced, and forcing is when fabric gets cut.
Unpicking Is Part of Quilting
Beautiful finished work does not come from never making a mistake; it comes from undoing a mistake without leaving a trace. A small ergonomic ripper, a stitch-by-stitch approach, and a fresh press will get almost any seam back to square one.
Shop the Cindy's Seam Ripper at Linda's Electric Quilters.


